


准备材料:python3 opencv3
安装opencv的方法可以看我的其他文章
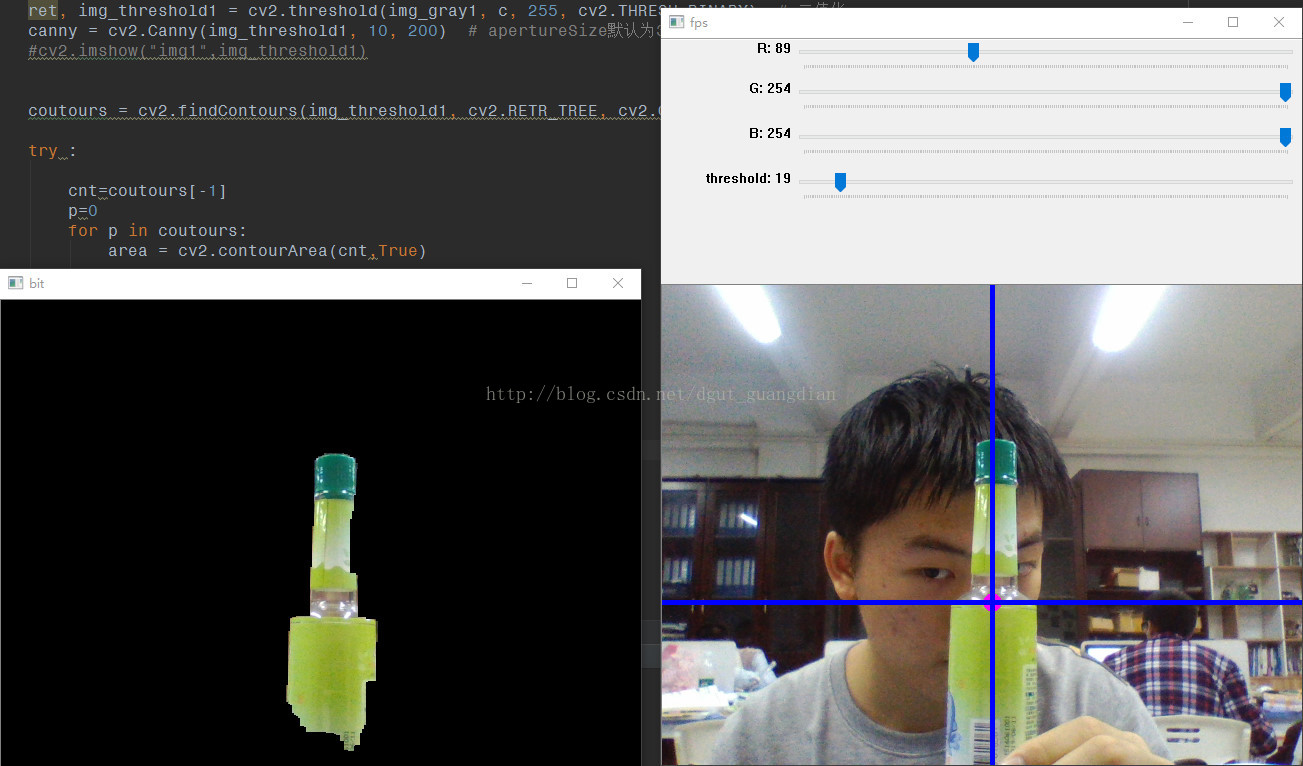
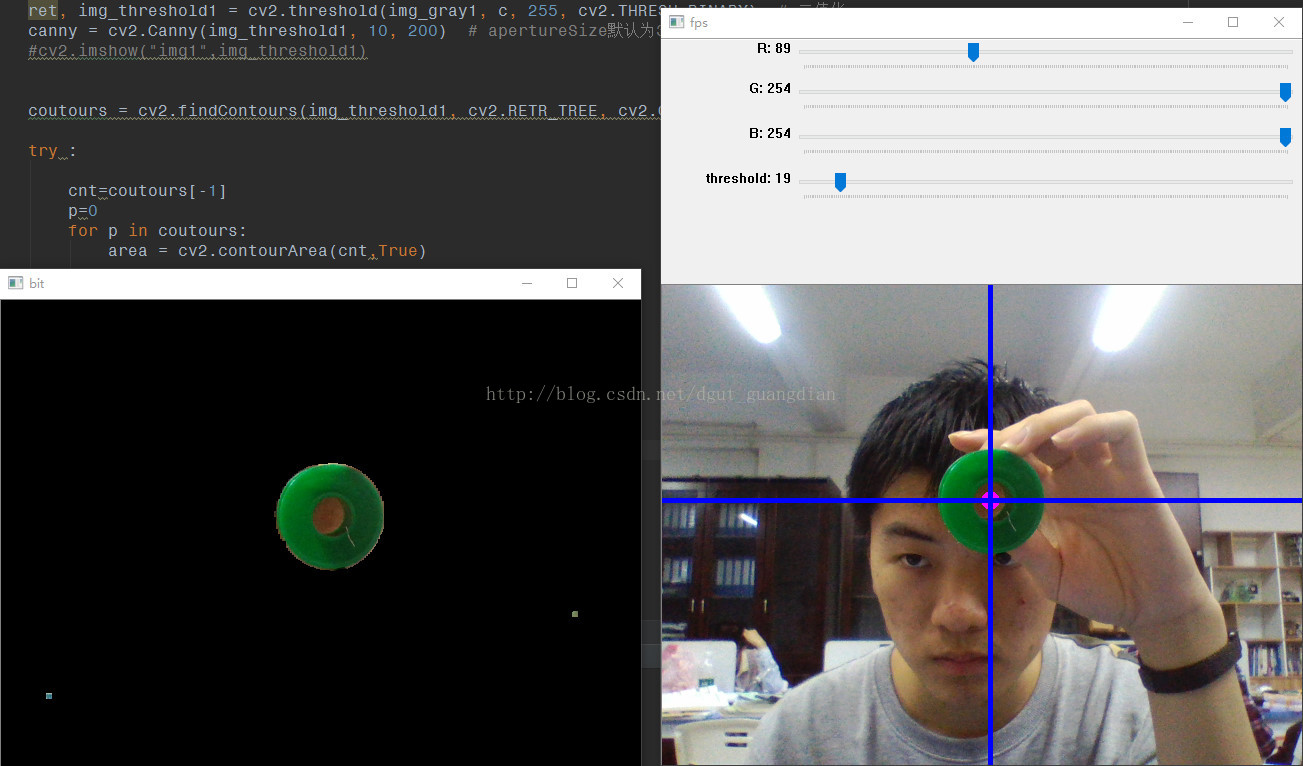
目标:使用摄像头0追踪绿色的学生证并且在画面上面标注出来
import numpy as np
import math
import cv2
import time

def nothing(x):
    pass

cap = cv2.VideoCapture(0)   #打开摄像头0


var = cv2.CAP_PVAPI
LowerRed = np.array([24, 75, 37])


# 创建改变颜色的滚动条
cv2.namedWindow("fps")  #新建一个窗口
cv2.createTrackbar('R','fps',89,255,nothing)    #想要追踪颜色的R值
cv2.createTrackbar('G','fps',254,255,nothing)   #想要追踪颜色的G值
cv2.createTrackbar('B','fps',254,255,nothing)   #想要追踪颜色的B值
cv2.createTrackbar('threshold','fps',19,255,nothing)    #二值化阈值

while(1):
    #滑动条赋值
    r = cv2.getTrackbarPos('R', 'fps')
    g = cv2.getTrackbarPos('G', 'fps')
    b = cv2.getTrackbarPos('B', 'fps')
    c = cv2.getTrackbarPos('threshold', 'fps')
    UpperRed = np.array([r, g, b])
    ret, frame = cap.read()#得到每一帧
    ret, frame1 = cap.read()  # 得到每一帧

    #hsv
    HSV= cv2.cvtColor(frame, cv2.COLOR_RGB2HSV)
    #遮罩
    mask = cv2.inRange(HSV, LowerRed, UpperRed)
    RED_Things = cv2.bitwise_and(frame, frame, mask=mask)
    img_gray = cv2.cvtColor(RED_Things, cv2.COLOR_BGR2GRAY)  # 灰度化
    ret, img_threshold = cv2.threshold(img_gray, c, 255, cv2.THRESH_BINARY)  # 二值化
    # 膨胀+腐蚀等形态学变化
    kerne1 = np.ones((3, 3), np.uint8)
    img_erosin = cv2.erode(img_threshold, kerne1, iterations=1)
    #cv2.imshow("dil",img_erosin)
    kerne2 = np.ones((45, 45), np.uint8)
    img_dilation = cv2.dilate(img_erosin, kerne2, iterations=1)
    kerne3 = np.ones((11, 11), np.uint8)
    img_dilation1 = cv2.dilate(img_dilation,kerne3,iterations=1)
    #cv2.imshow("ers",img_dilation1)
    kerne3 = np.ones((51, 51), np.uint8)
    img_erosin1 = cv2.erode(img_dilation1, kerne3, iterations=1)
    #图像相与
    img_bit = cv2.bitwise_and(frame, frame, mask=img_erosin1)
    cv2.imshow("bit",img_bit)


    # 边缘caany
    img_gray1 = cv2.cvtColor(img_bit, cv2.COLOR_BGR2GRAY)  # 灰度化
    ret, img_threshold1 = cv2.threshold(img_gray1, c, 255, cv2.THRESH_BINARY)  # 二值化
    canny = cv2.Canny(img_threshold1, 10, 200)  # apertureSize默认为3
    #cv2.imshow("img1",img_threshold1)


    coutours = cv2.findContours(img_threshold1, cv2.RETR_TREE, cv2.CHAIN_APPROX_SIMPLE)[-2]#得到轮廓
    #由于可能遇到画面中没有绿色的场景避免程序意外中断所以把计算写入了try里面
    try :

        cnt=coutours[-1]
        p=0
        for p in coutours:
            area = cv2.contourArea(cnt,True) #计算面积

            if area>=60:
                break
        M = cv2.moments(p) #计算中心
    except Exception as err1:
        print(err1)

        pass


    try :
        cx = int(M["m10"] / M["m00"])
        cy = int(M["m01"] / M["m00"])
        #得到中心然后在画面上显示
        cv2.circle(frame1, (cx, cy), 9, (255, 0, 255), -1)
        cv2.line(frame1,(cx,0),(cx,700),(255,0,0),3)
        cv2.line(frame1,(0,cy),(700,cy),(255,0,0),3)
    except Exception as err2:
        print(err2)

        pass

    cv2.imshow("fps", frame1)


    if cv2.waitKey(1) & 0xFF == ord('q'):   #按q保存一张图片
        cv2.imwrite("E:\cpy\pictures\\pic.jpg", frame1)
        break
cap.release()
cv2.destroyAllWindows()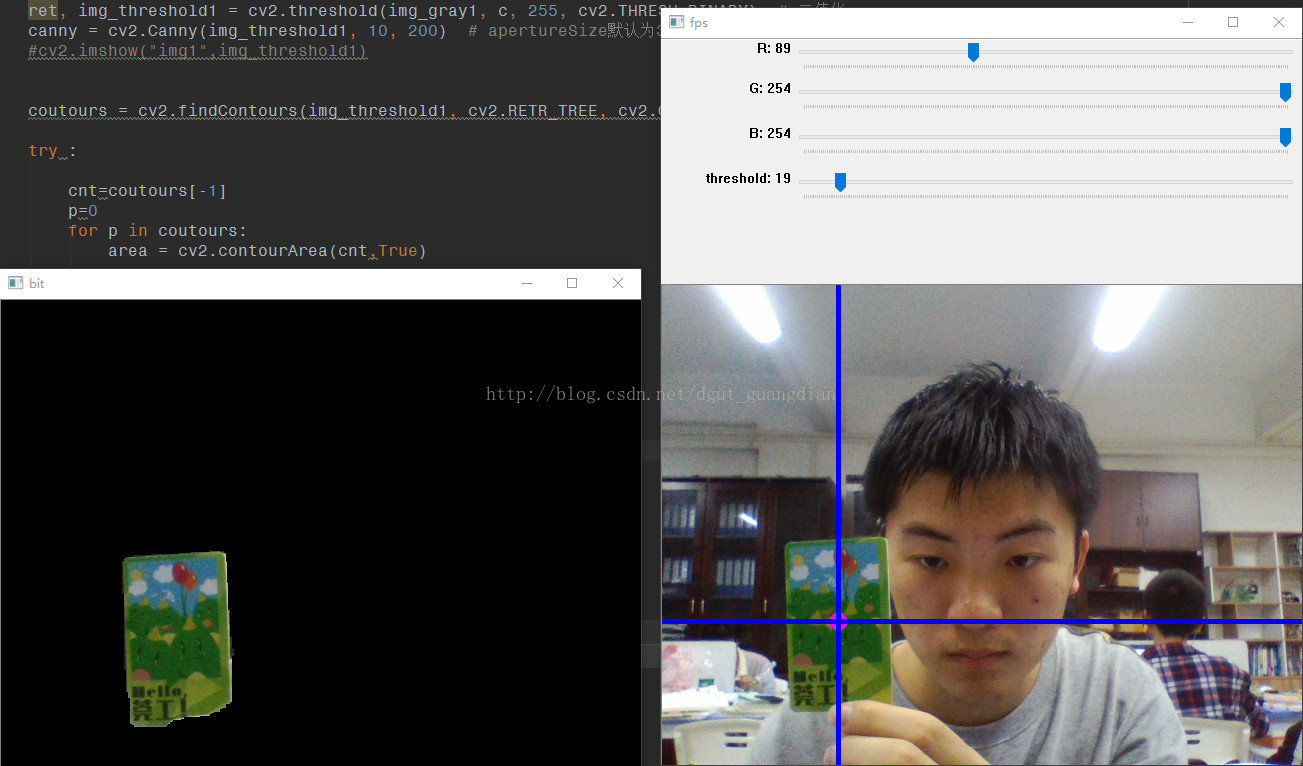


 1万+
1万+

 被折叠的 条评论
为什么被折叠?
被折叠的 条评论
为什么被折叠?
 到【灌水乐园】发言


