


最近在准备开发一个java web的项目,由于项目较大需要将项目分解成几个模块给几位同学一起开发,那么必然涉及到多项目的构建问题。一起用过一段时的ant,现在刚好项目还没开始,有时间也学习一下如何使用maven。
maven在项目添加依赖后会去maven的central库https://repo.maven.apache.org/maven2下载所依赖的jar包,如果项目组的多位同学都去central库下载必然会影响效率,我们可以在局域网建一个私有库,来代理和缓存central库,这样可以提高我们得下载速度。与此同时,对于那些由于版权问题无法放大central库中的jar包,如数据库驱动等,我们也可以放到这个私有库中,给项目组其他成员使用。
准备工作
- eclipse,由于项目组要开发java web,我们下载的是j2ee版本,该版本还自带maven插件。下载地址为http://www.eclipse.org/downloads/,最终我使用的是 Eclipse Luna SR1a (4.4.1) 。
- jdk,由于eclipse自带的是jre,而maven需要tool.jar,所以必须下载jdk。下载地址为http://www.oracle.com/technetwork/java/javase/downloads/index.html,最终我使用的是jdk1.8.0_11。
- maven,eclipse 虽然自带了maven,但是以jar包放在plugin中,最好下载一个单独的,方便学习和配置。下载地址为http://maven.apache.org/download.cgi,最终我使用的是apache-maven-3.2.5-bin.zip。
- nexus,目前使用的比较多的免费私用仓库。后台使用的是java,前端是extjs。下载地址为http://www.sonatype.org/nexus/go/。
配置maven不再连接central库
首先我们配置maven,使maven不再直接使用central库,解压apache-maven-3.2.5-bin.zip,在apache-maven-3.2.5\conf\settings.xml文件的profiles标签中加入以下配置。

- <profile>
- <id>disable-central</id>
- <repositories>
- <repository>
- <id>central</id>
- <name>Central Repository</name>
- <url>https://repo.maven.apache.org/maven2</url>
- <layout>default</layout>
- <snapshots>
- <enabled>false</enabled>
- <updatePolicy>never</updatePolicy>
- </snapshots>
- <releases>
- <enabled>false</enabled>
- <updatePolicy>never</updatePolicy>
- </releases>
- </repository>
- </repositories>
- <pluginRepositories>
- <pluginRepository>
- <id>central</id>
- <name>Central Repository</name>
- <url>https://repo.maven.apache.org/maven2</url>
- <layout>default</layout>
- <snapshots>
- <enabled>false</enabled>
- <updatePolicy>never</updatePolicy>
- </snapshots>
- <releases>
- <enabled>false</enabled>
- <updatePolicy>never</updatePolicy>
- </releases>
- </pluginRepository>
- </pluginRepositories>
- </profile>
   <profile>
        <id>disable-central</id>
          <repositories>
            <repository>
                <id>central</id>
                <name>Central Repository</name>
                <url>https://repo.maven.apache.org/maven2</url>
                <layout>default</layout>
                <snapshots>
                    <enabled>false</enabled>
                    <updatePolicy>never</updatePolicy>
                </snapshots>
                <releases>
                    <enabled>false</enabled>
                    <updatePolicy>never</updatePolicy>
                </releases>
            </repository>
        </repositories>
        <pluginRepositories>
            <pluginRepository>
                <id>central</id>
                <name>Central Repository</name>
                <url>https://repo.maven.apache.org/maven2</url>
                <layout>default</layout>
                <snapshots>
                    <enabled>false</enabled>
                    <updatePolicy>never</updatePolicy>
                </snapshots>
                <releases>
                    <enabled>false</enabled>
                    <updatePolicy>never</updatePolicy>
                </releases>
            </pluginRepository>
        </pluginRepositories>
    </profile>
启用这段配置
- <activeProfiles>
- <activeProfile>disable-central</activeProfile>
- </activeProfiles>
 <activeProfiles>
        <activeProfile>disable-central</activeProfile>
    </activeProfiles>
eclipse中设置jdk和maven
设置jdk
设置maven目录
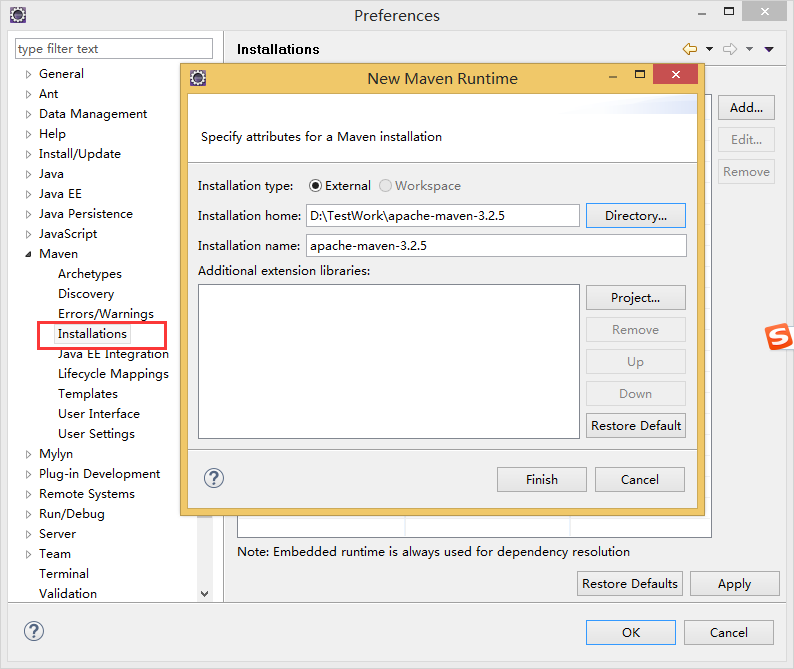
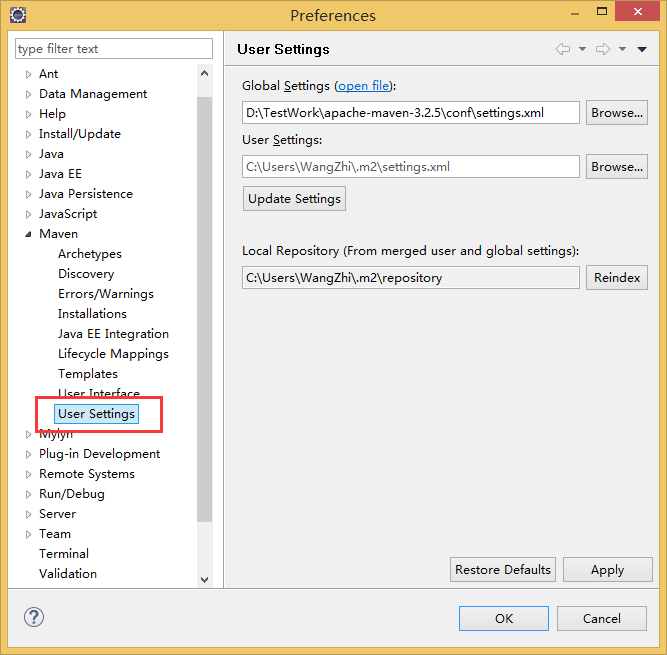
设置maven配置文件
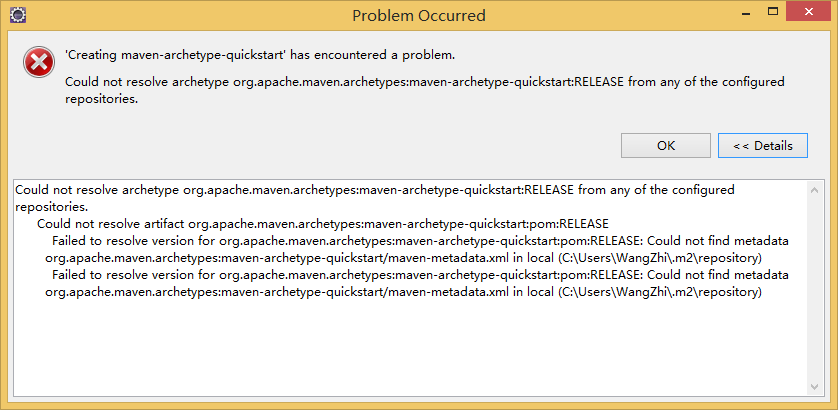
新建一个maven 工程测试

这个时候由于无法连接central库,会提示新建工程失败
创建私有库
将下载的nexus-2.11.1-01-bundle.zip解压后运行bin目录下的nexus start
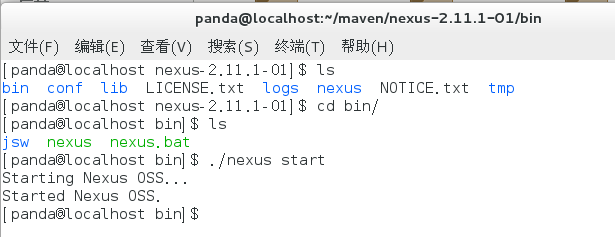
我的nexus是搭建在一个liunx虚拟机上的
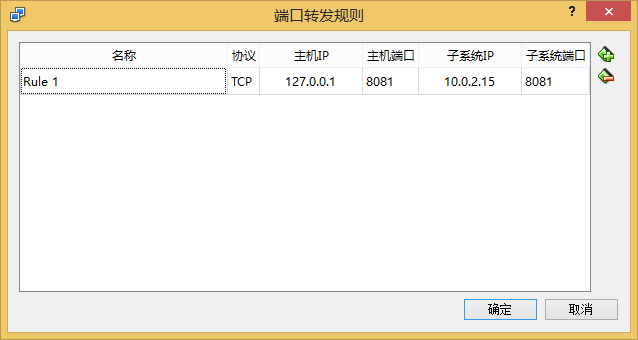
- 虚拟机设为host-only模式,将主机当前使用的网络连接共享;或者虚拟机设置为NAT模式,添加端口映射(下图)
- 关闭虚拟机的防火墙
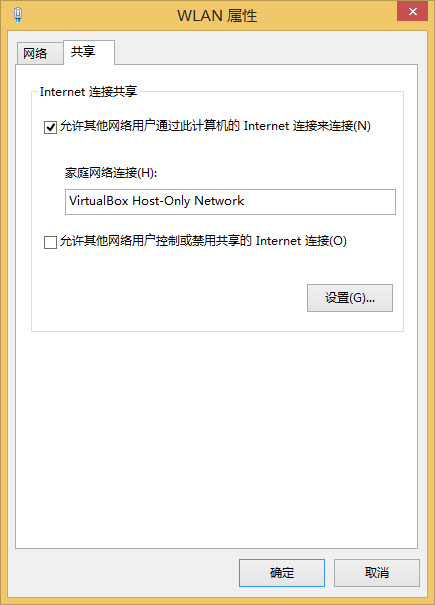
上图为host-only模式添加wlan共享,下图为nat模式添加端口映射
就可以访问虚拟机的nexus库,并进行管理了
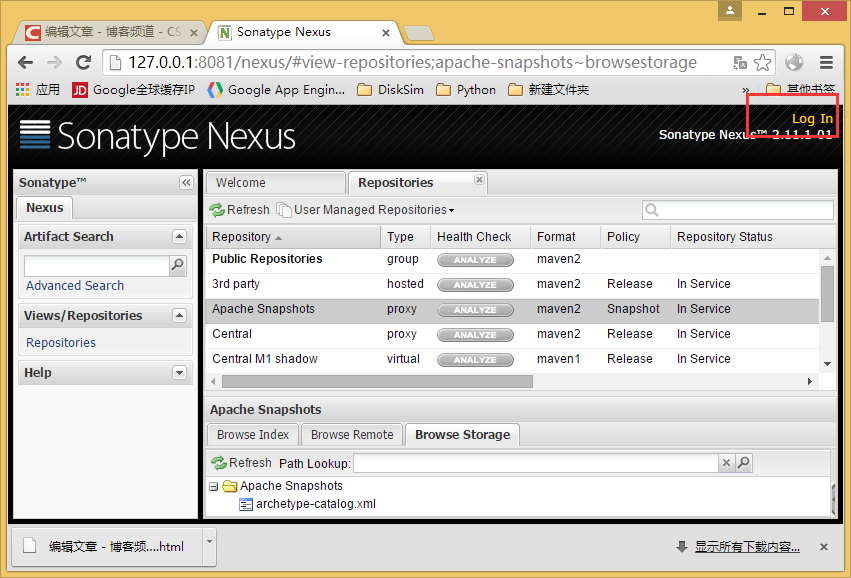
默认的用户名是admin,密码是admin123,默认nexus的库都给你建好了,至于各个库的含义可以自行百度,我们使用仓库组public就可以了
添加私有库到maven
和屏蔽central库一样,在配置文件中添加如下配置
- <profile>
- <id>nexus</id>
- <repositories>
- <repository>
- <id>packaging</id>
- <name>Packaging</name>
- <url>http://127.0.0.1:8081/nexus/content/groups/public/</url>
- <releases><enabled>true</enabled></releases>
- <snapshots><enabled>true</enabled></snapshots>
- </repository>
- </repositories>
- <pluginRepositories>
- <pluginRepository>
- <id>packaging</id>
- <name>Packaging</name>
- <url>http://127.0.0.1:8081/nexus/content/groups/public/</url>
- <releases><enabled>true</enabled></releases>
- <snapshots><enabled>true</enabled></snapshots>
- </pluginRepository>
- </pluginRepositories>
- </profile>
    <profile>
      <id>nexus</id>
      <repositories>
        <repository>
          <id>packaging</id>
          <name>Packaging</name>
          <url>http://127.0.0.1:8081/nexus/content/groups/public/</url>
          <releases><enabled>true</enabled></releases>
          <snapshots><enabled>true</enabled></snapshots>
        </repository>
      </repositories>
     <pluginRepositories>
        <pluginRepository>
          <id>packaging</id>
          <name>Packaging</name>
          <url>http://127.0.0.1:8081/nexus/content/groups/public/</url>
          <releases><enabled>true</enabled></releases>
          <snapshots><enabled>true</enabled></snapshots>
        </pluginRepository>
      </pluginRepositories>
</profile>- <activeProfiles>
- <activeProfile>disable-central</activeProfile>
- <activeProfile>nexus</activeProfile>
- </activeProfiles>
    <activeProfiles>
        <activeProfile>disable-central</activeProfile>
        <activeProfile>nexus</activeProfile>
    </activeProfiles>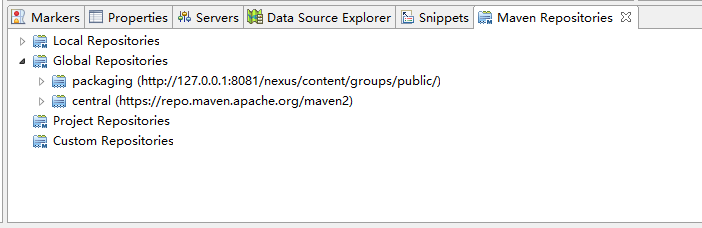
再次新建一个maven工程测试
此时就可以使用eclipse创建maven工程了
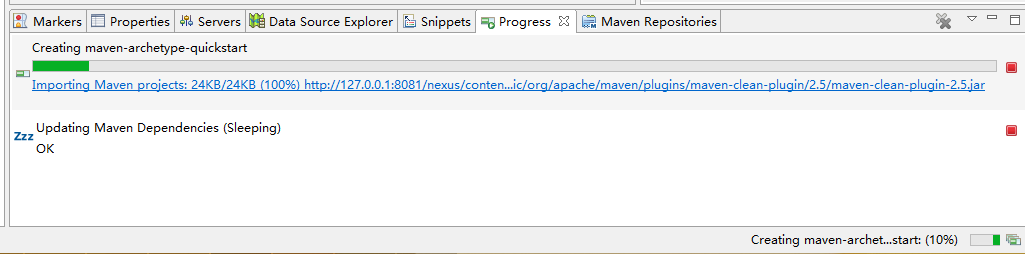
同时也可以看到在私有库的代理中缓存了所需的jar包
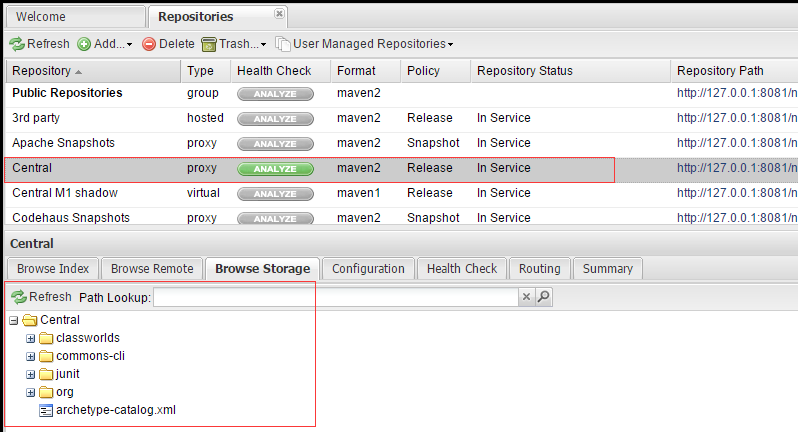
那么下次项目组的其他人创建工程时就可以直接使用私有库中的jar包了。
Maven学习资源链接
- http://maven.apache.org/settings.html,maven配置文件参考。
- http://books.sonatype.com/mvnref-book/reference/index.html,maven完全参考。
- http://books.sonatype.com/nexus-book/reference/index.html,nexus配置参考。
- http://juvenshun.iteye.com/category/34725,《maven实战》作者博客。
- http://blog.csdn.net/songdeitao/article/category/1818061,博客《一起学maven》。
- http://www.cnblogs.com/quanyongan/category/471332.html,博客《 maven学习》。
- http://blog.csdn.net/jolingogo/article/category/1387847/1
- http://kyfxbl.iteye.com/category/241885


 3285
3285

 被折叠的 条评论
为什么被折叠?
被折叠的 条评论
为什么被折叠?
 到【灌水乐园】发言


