


前言
前面我们详细讲解了deepseek MoE的具体代码实现细节,同时指出了Deepseek MoE存在的缺陷和不足。
而Qwen3 MoE作为近期的重大新闻,本文也讲解一下Qwen3的具体实现,顺便探讨该模型与DeepSeekMoE模型的区别。
本文将讲解Qwen3的核心模块即Qwen3MoeSparseMoeBlock类的代码实现和形状推理
代码地址
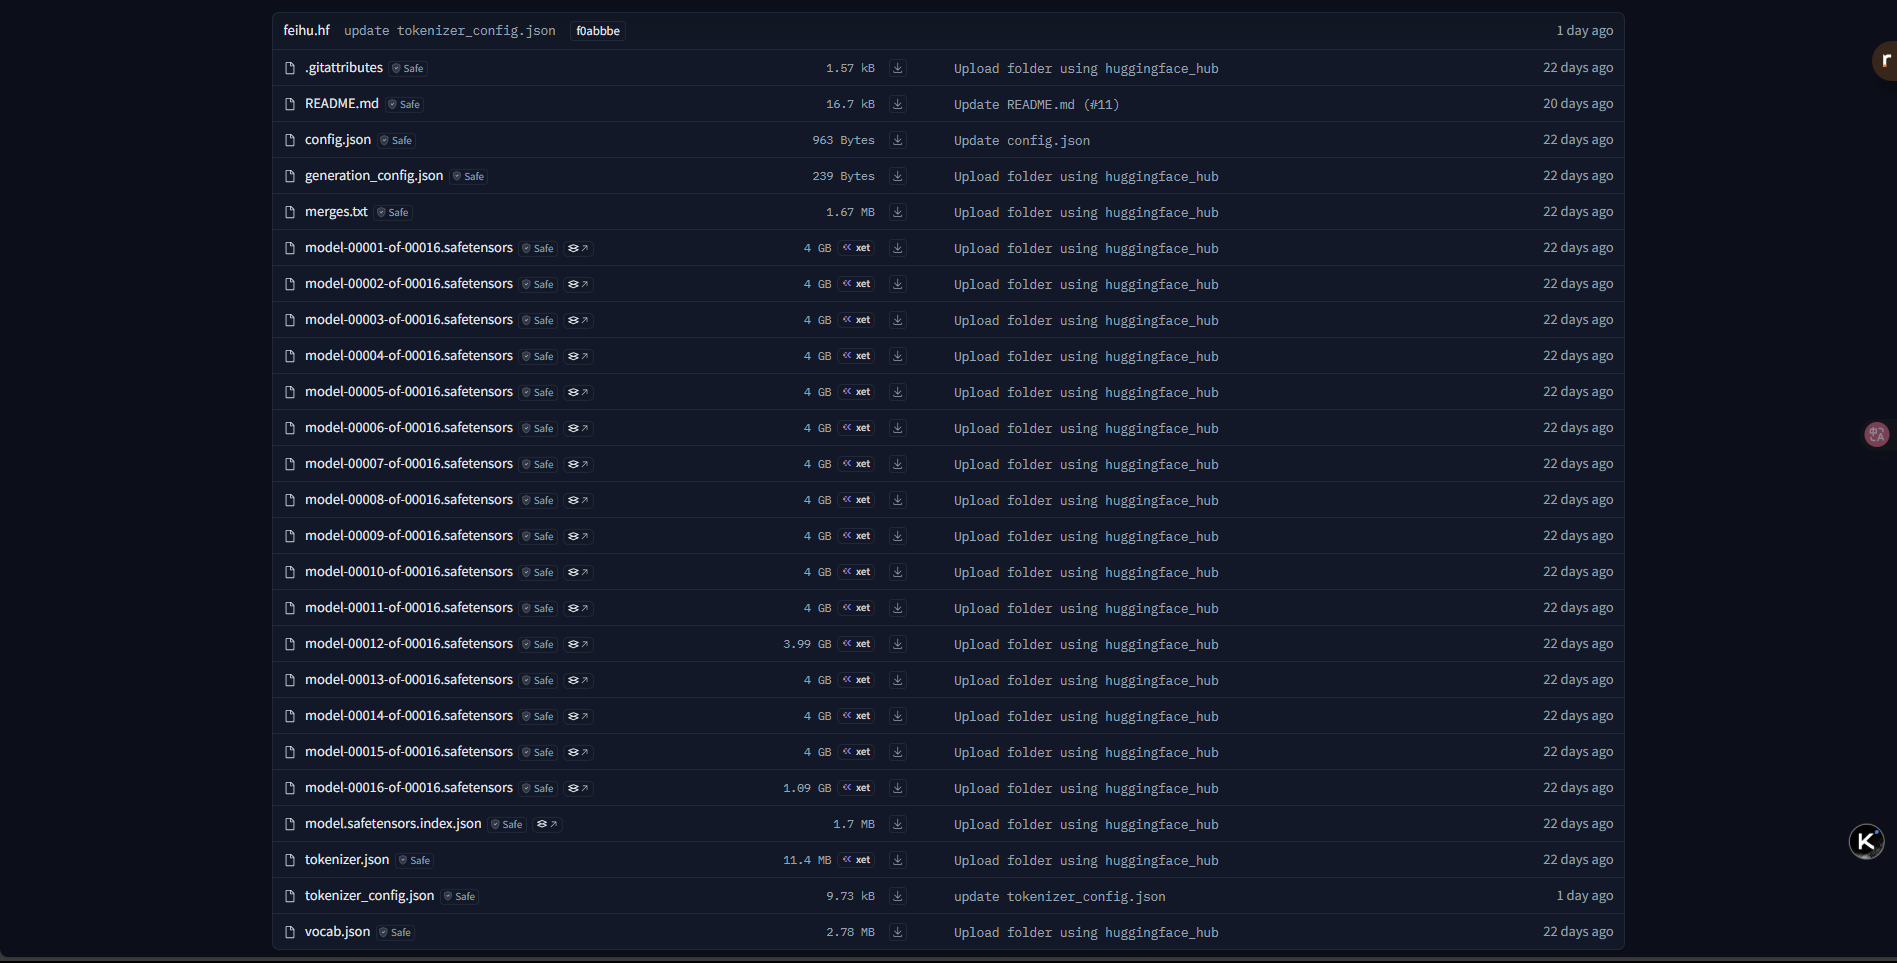
Qwen3 MoE开源的模型权重有:Qwen3-30B-A3B 和 Qwen3-235B-A22B ,其他模型并不是MoE架构的模型
模型:Qwen/Qwen3-30B-A3B · Hugging Face 和 Qwen/Qwen3-235B-A22B · Hugging Face
能够在Qwen 网站里进行对话:
modeling代码:该代码并不在模型权重仓库中,而是上传到了transformers中,可以在transformers看到。transformers/src/transformers/models/qwen3_moe at main · huggingface/transformers
可以看到里面没有modeling.py文件和configuration.py文件
Qwen3MoeSparseMoeBlock
class Qwen3MoeSparseMoeBlock(nn.Module):
    def __init__(self, config):
        super().__init__()
        self.num_experts = config.num_experts
        self.top_k = config.num_experts_per_tok
        self.norm_topk_prob = config.norm_topk_prob

        # gating
        self.gate = nn.Linear(config.hidden_size, config.num_experts, bias=False)
        self.experts = nn.ModuleList(
            [Qwen3MoeMLP(config, intermediate_size=config.moe_intermediate_size) for _ in range(self.num_experts)]
        )

    def forward(self, hidden_states: torch.Tensor) -> torch.Tensor:
        """ """
        batch_size, sequence_length, hidden_dim = hidden_states.shape
        hidden_states = hidden_states.view(-1, hidden_dim)  # hidden_states: (batch * sequence_length, hidden_dim)
        router_logits = self.gate(hidden_states)  # router_logits: (batch * sequence_length, n_experts)

        routing_weights = F.softmax(router_logits, dim=1, dtype=torch.float)
        routing_weights, selected_experts = torch.topk(routing_weights, self.top_k, dim=-1)  # routing_weights, selected_experts:(batch * sequence_length, topk)
        if self.norm_topk_prob:  # only diff with mixtral sparse moe block!
            routing_weights /= routing_weights.sum(dim=-1, keepdim=True)
        # we cast back to the input dtype
        routing_weights = routing_weights.to(hidden_states.dtype)

        final_hidden_states = torch.zeros(
            (batch_size * sequence_length, hidden_dim), dtype=hidden_states.dtype, device=hidden_states.device
        )

        # One hot encode the selected experts to create an expert mask
        # this will be used to easily index which expert is going to be sollicitated
        expert_mask = torch.nn.functional.one_hot(selected_experts, num_classes=self.num_experts).permute(2, 1, 0)  # expert_mask:(num_experts, topk, batch * sequence_length) 各个专家 选择的topk token

        # Loop over all available experts in the model and perform the computation on each expert
        for expert_idx in range(self.num_experts):
            expert_layer = self.experts[expert_idx]
            idx, top_x = torch.where(expert_mask[expert_idx])  # idx, top_x:(selected_token_num) 第expert_idx个专家选择token的位置(topk中第idx行的第top_x个token)

            # Index the correct hidden states and compute the expert hidden state for
            # the current expert. We need to make sure to multiply the output hidden
            # states by `routing_weights` on the corresponding tokens (top-1 and top-2)

            # hidden_states: (batch * sequence_length, hidden_dim)
            current_state = hidden_states[None, top_x].reshape(-1, hidden_dim)  # current_state:(selected_token_num, hidden_dim) 专家i选择的token
            current_hidden_states = expert_layer(current_state) * routing_weights[top_x, idx, None]  # current_hidden_states:(selected_token_num, hidden_dim)*(selected_token_num,1)=(selected_token_num, hidden_dim) 专家i对选择的token的输出结果(乘以token路由权重)

            # However `index_add_` only support torch tensors for indexing so we'll use
            # the `top_x` tensor here.
            final_hidden_states.index_add_(0, top_x, current_hidden_states.to(hidden_states.dtype))  # final_hidden_states:(batch_size * sequence_length, hidden_dim)
        final_hidden_states = final_hidden_states.reshape(batch_size, sequence_length, hidden_dim)  # final_hidden_states:(batch_size, sequence_length, hidden_dim) 最终经过各个专家输出的结果
        return final_hidden_states, router_logits
        # final_hidden_states:(batch_size, sequence_length, hidden_dim)
        # router_logits:(batch * sequence_length, n_experts)
one_hot
expert_mask = torch.nn.functional.one_hot(selected_experts, num_classes=self.num_experts).permute(2, 1, 0)
这段代码主要完成了对选中专家的独热编码转换以及维度重排
独热编码部分
torch.nn.functional.one_hot(selected_experts, num_classes=self.num_experts)
- 功能:把
selected_experts里的每个专家索引转换为独热编码向量。 - 输入条件:
selected_experts是一个二维张量,其形状为[batch * sequence_length, topk],里面存储的是专家的索引。num_classes设定了独热编码向量的维度,也就是专家的总数。
- 输出情况:输出的是一个三维张量,形状为
[batch * sequence_length, topk, num_experts]。
维度重排部分
.permute(2, 1, 0)
- 功能:将张量的维度顺序重新排列,从
[batch * sequence_length, topk, num_experts]变为[num_experts, topk, batch * sequence_length]。
具体例子
下面通过一个具体例子来说明,这里假设:
batch_size = 2sequence_length = 3topk = 2(即每个token选择2个专家)num_experts = 4(专家的总数为4)
1. 输入数据
# 形状为 [batch_size * sequence_length, topk] = [6, 2]
selected_experts = torch.tensor([
    [0, 2],  # 第1个token选择专家0和专家2
    [1, 3],  # 第2个token选择专家1和专家3
    [0, 1],  # 第3个token选择专家0和专家1
    [2, 3],  # 第4个token选择专家2和专家3
    [1, 2],  # 第5个token选择专家1和专家2
    [3, 0]   # 第6个token选择专家3和专家0
])
2. 执行独热编码后的结果
one_hot = torch.nn.functional.one_hot(selected_experts, num_classes=4)
# one_hot的形状为 [6, 2, 4]
# 具体内容如下:
[
    # token1
    [[1, 0, 0, 0],  # 专家0的独热编码
     [0, 0, 1, 0]], # 专家2的独热编码

    # token2
    [[0, 1, 0, 0],  # 专家1的独热编码
     [0, 0, 0, 1]], # 专家3的独热编码

    # token3
    [[1, 0, 0, 0],  # 专家0的独热编码
     [0, 1, 0, 0]], # 专家1的独热编码

    # token4
    [[0, 0, 1, 0],  # 专家2的独热编码
     [0, 0, 0, 1]], # 专家3的独热编码

    # token5
    [[0, 1, 0, 0],  # 专家1的独热编码
     [0, 0, 1, 0]], # 专家2的独热编码

    # token6
    [[0, 0, 0, 1],  # 专家3的独热编码
     [1, 0, 0, 0]]  # 专家0的独热编码
]
3. 进行维度重排后的结果
expert_mask = one_hot.permute(2, 1, 0)
# expert_mask的形状为 [4, 2, 6]
# 具体内容如下:
[
    # 专家0
    [[1, 0, 1, 0, 0, 0],  # 第1次选择专家时(token1、3被选中)
     [0, 0, 0, 0, 0, 1]], # 第2次选择专家时(token6被选中)

    # 专家1
    [[0, 1, 0, 0, 1, 0],  # 第1次选择专家时(token2、5被选中)
     [0, 0, 1, 0, 0, 0]], # 第2次选择专家时(token3被选中)

    # 专家2
    [[0, 0, 0, 1, 0, 0],  # 第1次选择专家时(token4被选中)
     [1, 0, 0, 0, 1, 0]], # 第2次选择专家时(token1、5被选中)

    # 专家3
    [[0, 0, 0, 0, 0, 1],  # 第1次选择专家时(token6被选中)
     [0, 1, 0, 1, 0, 0]]  # 第2次选择专家时(token2、4被选中)
]
因此,上面,expert_mask的形状为:(num_experts, topk, batch * sequence_length)
这段代码实现了两个关键操作:一是将专家索引转换为独热编码,二是对维度进行重排,从而得到一个按专家组织的掩码矩阵。这个掩码矩阵在后续的计算中可以用来高效地聚合或路由数据。
torch.where
for expert_idx in range(self.num_experts):
    expert_layer = self.experts[expert_idx]
    idx, top_x = torch.where(expert_mask[expert_idx])
注意:expert_mask:(num_experts, topk, batch * sequence_length)
具体例子
假设我们已经有了之前例子中的expert_mask,形状为[4, 2, 6],只分析expert_id=0的情况。
expert_idx = 0
expert_mask[0] =
[[1, 0, 1, 0, 0, 0],  # 第1次选择专家时(token1、3被选中)
 [0, 0, 0, 0, 0, 1]]  # 第2次选择专家时(token6被选中)

对于给定的 `expert_mask` 张量,执行 `idx, top_x = torch.where(expert_mask[0])` 后:

1. `expert_mask[0]` 的值:
   ```python
   tensor([[1, 0, 1, 0, 0, 0],
           [0, 0, 0, 0, 0, 1]])
-
torch.where的作用:返回非零元素(即值为1的位置)的坐标。
• 第一个返回值idx是行索引。• 第二个返回值
top_x是列索引。 -
非零元素的位置: •
(0, 0)→ 第 0 行,第 0 列•
(0, 2)→ 第 0 行,第 2 列•
(1, 5)→ 第 1 行,第 5 列 -
最终结果:
idx = tensor([0, 0, 1])    # 行索引
top_x = tensor([0, 2, 5])  # 列索引
解释:idx 和 top_x 中的对应元素组合起来,表示 expert_mask[0] 中所有值为 1 的位置。例如: • idx[0]=0 和 top_x[0]=0 → 对应 expert_mask[0][0, 0] = 1
• idx[1]=0 和 top_x[1]=2 → 对应 expert_mask[0][0, 2] = 1
• idx[2]=1 和 top_x[2]=5 → 对应 expert_mask[0][1, 5] = 1
这里可以方便的索引哪些句子里哪个token选择了专家i,即第 idx 个句子里的第 top_x 个token选择了专家i。 因此,idx, top_x的形状为:(selected_token_num)
hidden_states[None, top_x]
在代码
current_state = hidden_states[None, top_x].reshape(-1, hidden_dim)
中,None 的作用是 增加一个空维度,目的是让索引操作更灵活。我们通过一个具体例子来说明它的作用:
假设数据如下:
-
hidden_states的维度是(batch * sequence_length, hidden_dim)(这里batch * sequence_length = 4,hidden_dim是2):hidden_states = torch.tensor([ [1, 2], # token 0 [3, 4], # token 1 [5, 6], # token 2 [7, 8], # token 3 ]) -
top_x是选中的 token 索引,假设为:top_x = torch.tensor([0, 2, 3]) # 选中第 0、2、3 个 token
执行 hidden_states[None, top_x]: • None 在第一个维度插入一个空维度,将 hidden_states 从 (4, 2) 变为 (1, 4, 2)。
• 然后用 top_x 索引第二个维度(即 token 维度),结果是一个三维张量:
hidden_states[None, top_x].shape = (1, 3, 2)
实际值为:


 被折叠的 条评论
为什么被折叠?
被折叠的 条评论
为什么被折叠?
 到【灌水乐园】发言


