


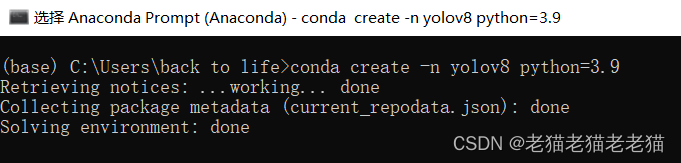
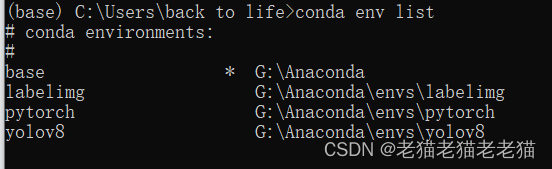
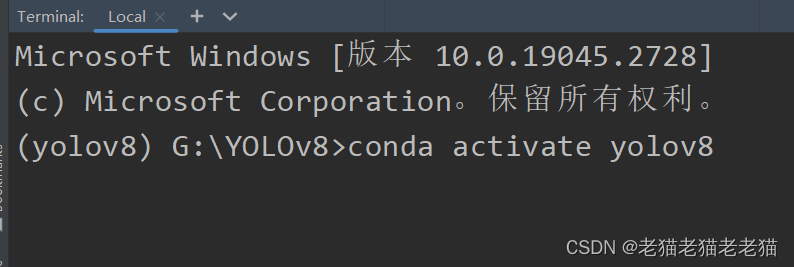
进入环境 失败就先activate进入base 再激活
先执行pip freeze > requirements.txt
然后再pip install -r requirements.txt
就解决了,也不知道是什么原理
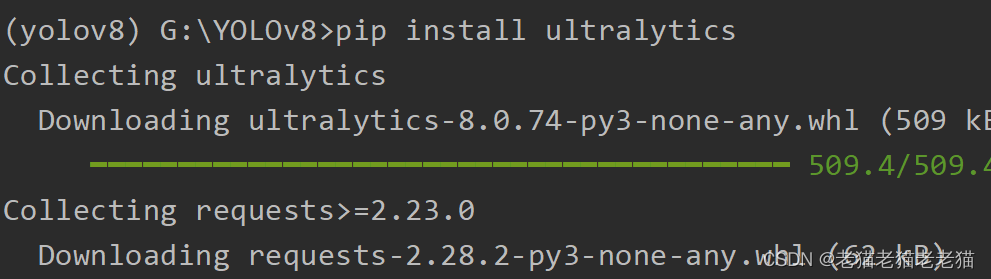
pip install -r yolov7-main/requirements.txt
换路径也解决了
pip install -r requirements.txt -i https://mirrors.bfsu.edu.cn/pypi/web/simple/
清华源也解决了
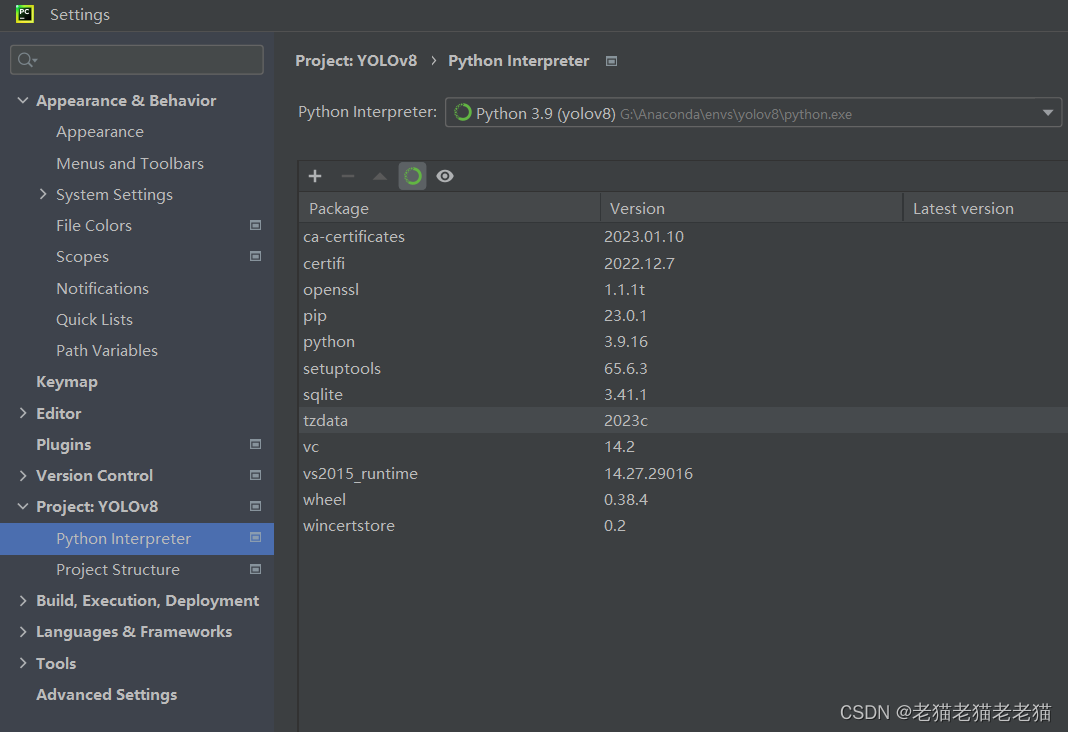
虚拟环境需要配置cuda 否则用不了GPU
conda install pytorch torchvision torchaudio pytorch-cuda=11.7 -c pytorch -c nvidia
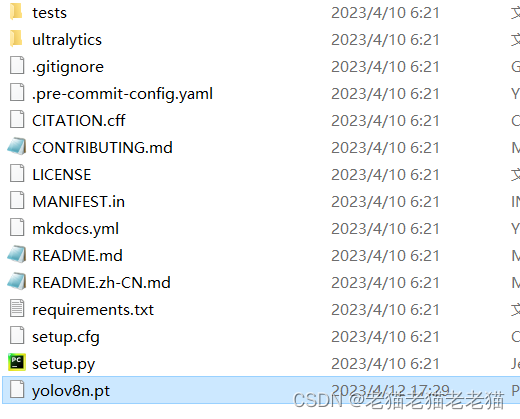
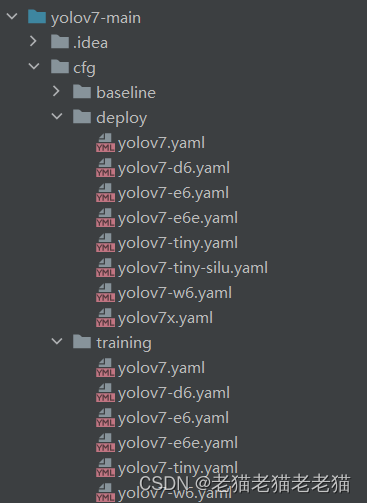
v7需要用到的文件有这些,一般test用deploy下的yolov7.pt,然后train就用training下的yolov7.pt,权重文件需要下载,可以用权重文件会报错,解决了很久没用调通,现在只好在train的时候不给权重去跑了
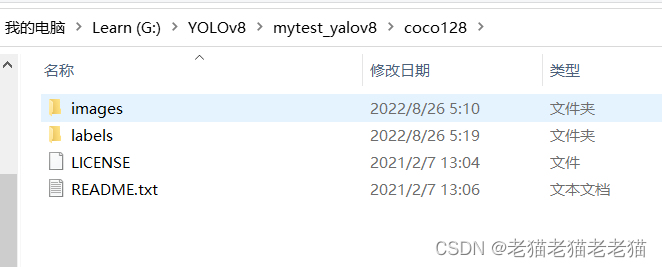
在train的过程中,yolov7对数据名的要求也比较高,稍微古怪一点就报错,不得不自己写个脚本修改文件名
以下是自己写的修改脚本
import os
import shutil


def rename_file(path, new_path, txt_path, new_txt):
    # 打开源文件图像
    file = os.listdir(path)
    for i in range(len(file)):
        # 获得图像扩展名
        (name, extent) = os.path.splitext(file[i])
        # 获得图像对应的txt文件
        txt_file = os.path.join(txt_path, name + '.txt')

        # 源文件
        src = os.path.join(path, str(file[i]))
        a = 1 + i
        # 对应的txt文件复制到新的路径中,并制定新的名称
        # shutil.copy(txt_file, os.path.join(new_txt, '0' + str(a) + '.txt')) #如果想新生成的名字不是1,2,3,4... 而是01,02,03..  只需要把该行代码解除注释
        shutil.copy(txt_file, os.path.join(new_txt, str(a) + '.txt'))
        # 新图像对应的名字及路径
        # new = os.path.join(new_path, '0' + str(a) + '.jpg')
        new = os.path.join(new_path,  str(a) + '.jpg')
        # 文件重命名,且源文件夹中无文件
        os.rename(src, new)


if __name__ == "__main__":
    img_path = r'C:\Users\back to life\Desktop\updatefile\datasets\images\train'
    new_img = r'C:\Users\back to life\Desktop\updatefile\dataset\images\train'
    txt_path = r'C:\Users\back to life\Desktop\updatefile\datasets\labels\train'
    new_txt = r'C:\Users\back to life\Desktop\updatefile\dataset\labels\train'
    rename_file(img_path, new_img, txt_path, new_txt)

    # img_path = r'C:\Users\back to life\Desktop\updatefile\datasets\images\val'
    # new_img = r'C:\Users\back to life\Desktop\updatefile\dataset\images\val'
    # txt_path = r'C:\Users\back to life\Desktop\updatefile\datasets\labels\val'
    # new_txt = r'C:\Users\back to life\Desktop\updatefile\dataset\labels\val'
    # rename_file(img_path, new_img, txt_path, new_txt)
最后就能正常跑通了,显存batch_size为8,works为4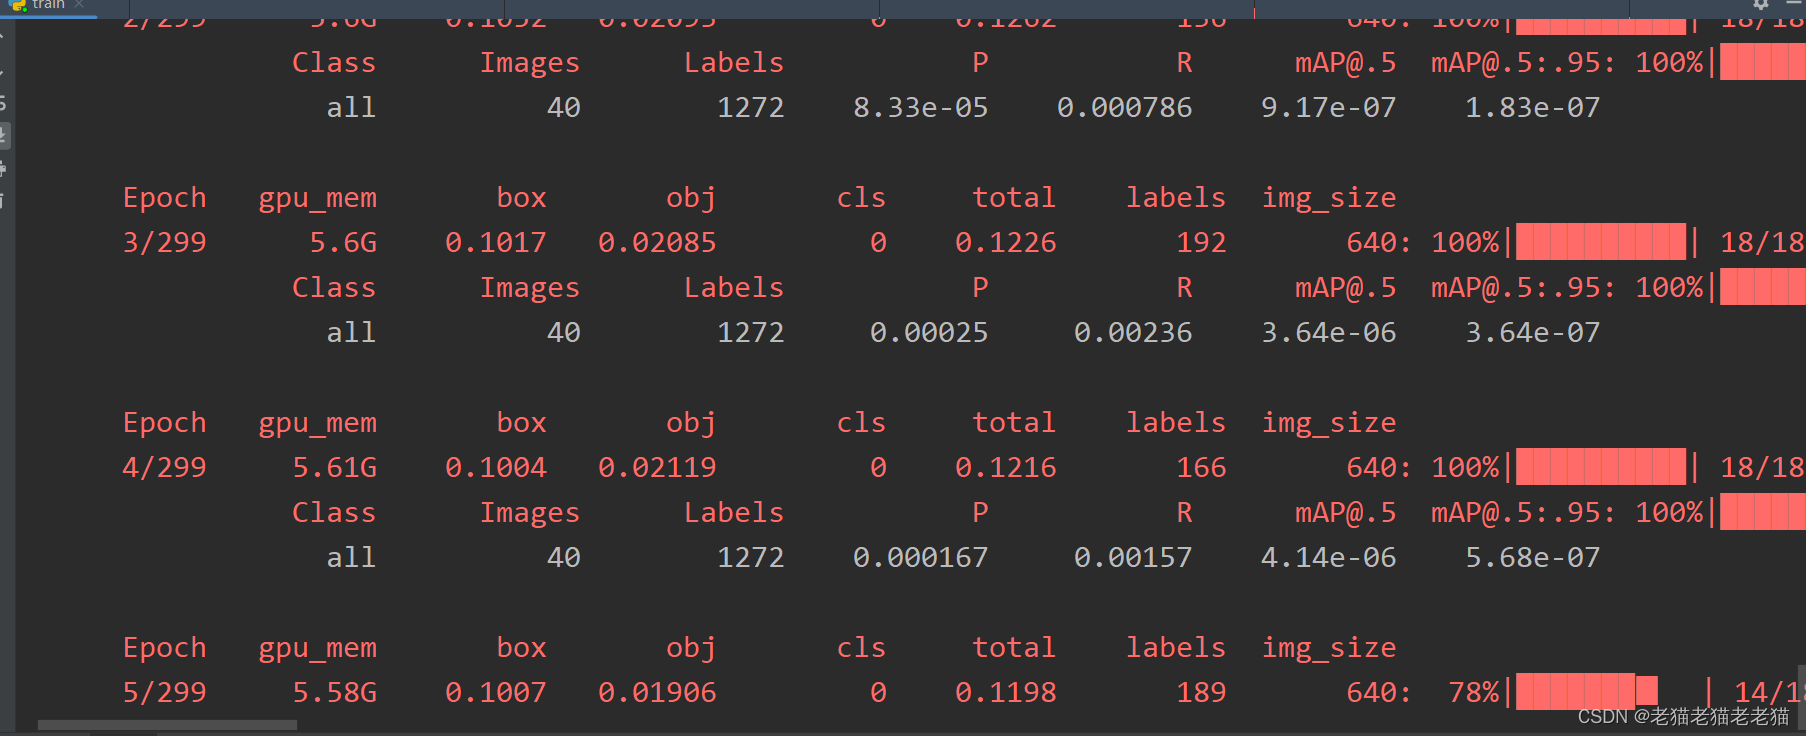


 1501
1501


 被折叠的 条评论
为什么被折叠?
被折叠的 条评论
为什么被折叠?
 到【灌水乐园】发言


