


官方文档来源:http://developer.android.com/guide/topics/ui/controls/button.html
模仿android官方文档,今天学习了自定义button的实现,下面分享给大家。
总结一下,自定义button需要如下几步:
第一步:准备好资源图片,至少2张,需要是.9.png格式的图片。
第二步:将步骤的资源图片拷贝到res/drawable/目录下。
第三步:res/drawable/ 目录下创建xml文件。
第四步:使用步骤3的drawable XML文件。
第一步、第二步省略,直接上图:


第三步:res/drawable/ 目录下创建button_custom.xml文件,代码如下:
<?xml version="1.0" encoding="utf-8"?>
<selector xmlns:android="http://schemas.android.com/apk/res/android">
    <item android:drawable="@drawable/button_pressed"
          android:state_pressed="true" />
    <item android:drawable="@drawable/button_default" />
</selector>
第四步引用:
<LinearLayout xmlns:android="http://schemas.android.com/apk/res/android"
xmlns:tools="http://schemas.android.com/tools"
android:id="@+id/LinearLayout1"
android:layout_width="match_parent"
android:layout_height="match_parent"
android:orientation="vertical"
android:background="#C1EEEE">
<Button
android:id="@+id/button1"
android:layout_width="wrap_content"
android:layout_height="wrap_content"
android:layout_gravity="center"
android:layout_marginLeft="20dp"
android:layout_marginRight="20dp"
android:layout_marginTop="20dp"
//引用此xml文件
android:background="@drawable/button_custom"
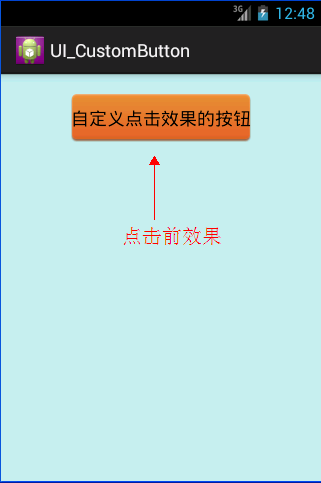
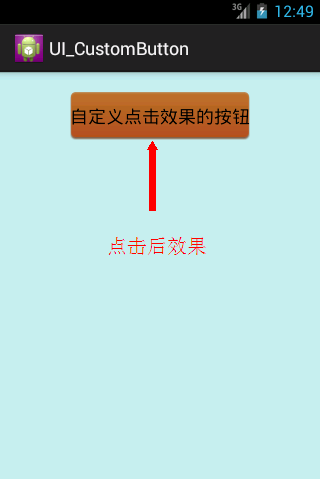
android:text="自定义点击效果的按钮" />
</LinearLayout>效果图如下:


 6万+
6万+

 被折叠的 条评论
为什么被折叠?
被折叠的 条评论
为什么被折叠?
 到【灌水乐园】发言


