


2021 UnderAutomation - UnderAutomation通用机器人.NET通信SDK(软件开发工具包)提供了创建定制的.NET核心、.NET框架和.NET标准应用程序的能力,可以与每个UR机器人通信。提供了可用于Windows、Mac OS和Linux、LabView、Node.js和Python的现成例子。Ω578867473它使用TCP/IP仪表板服务器和XML-RPC来远程控制机器人,并使用客户端接口来接收和解码数据流。
Windows 窗体 .NET 框架示例
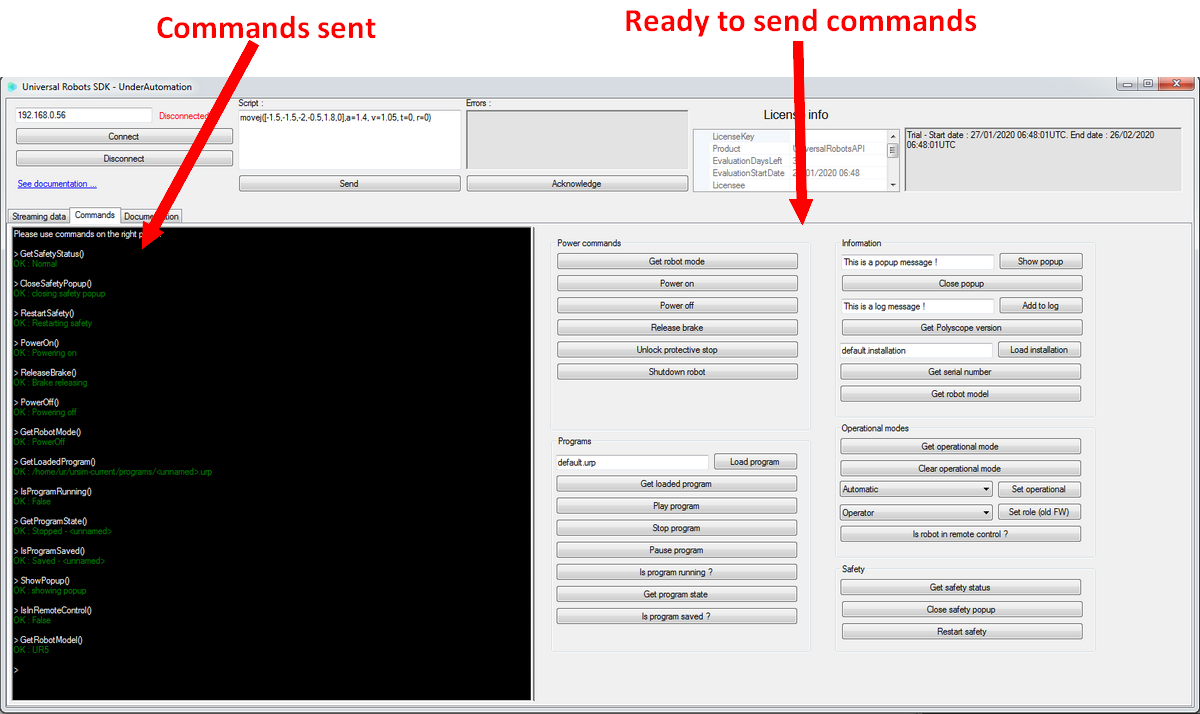
Windows 窗体 .NET Framework 示例位于:UniversalRobotsSDK_UnderAutomation\Examples\ WindowsDesktop\bin\Release\ WindowsDesktopURExample.exe。
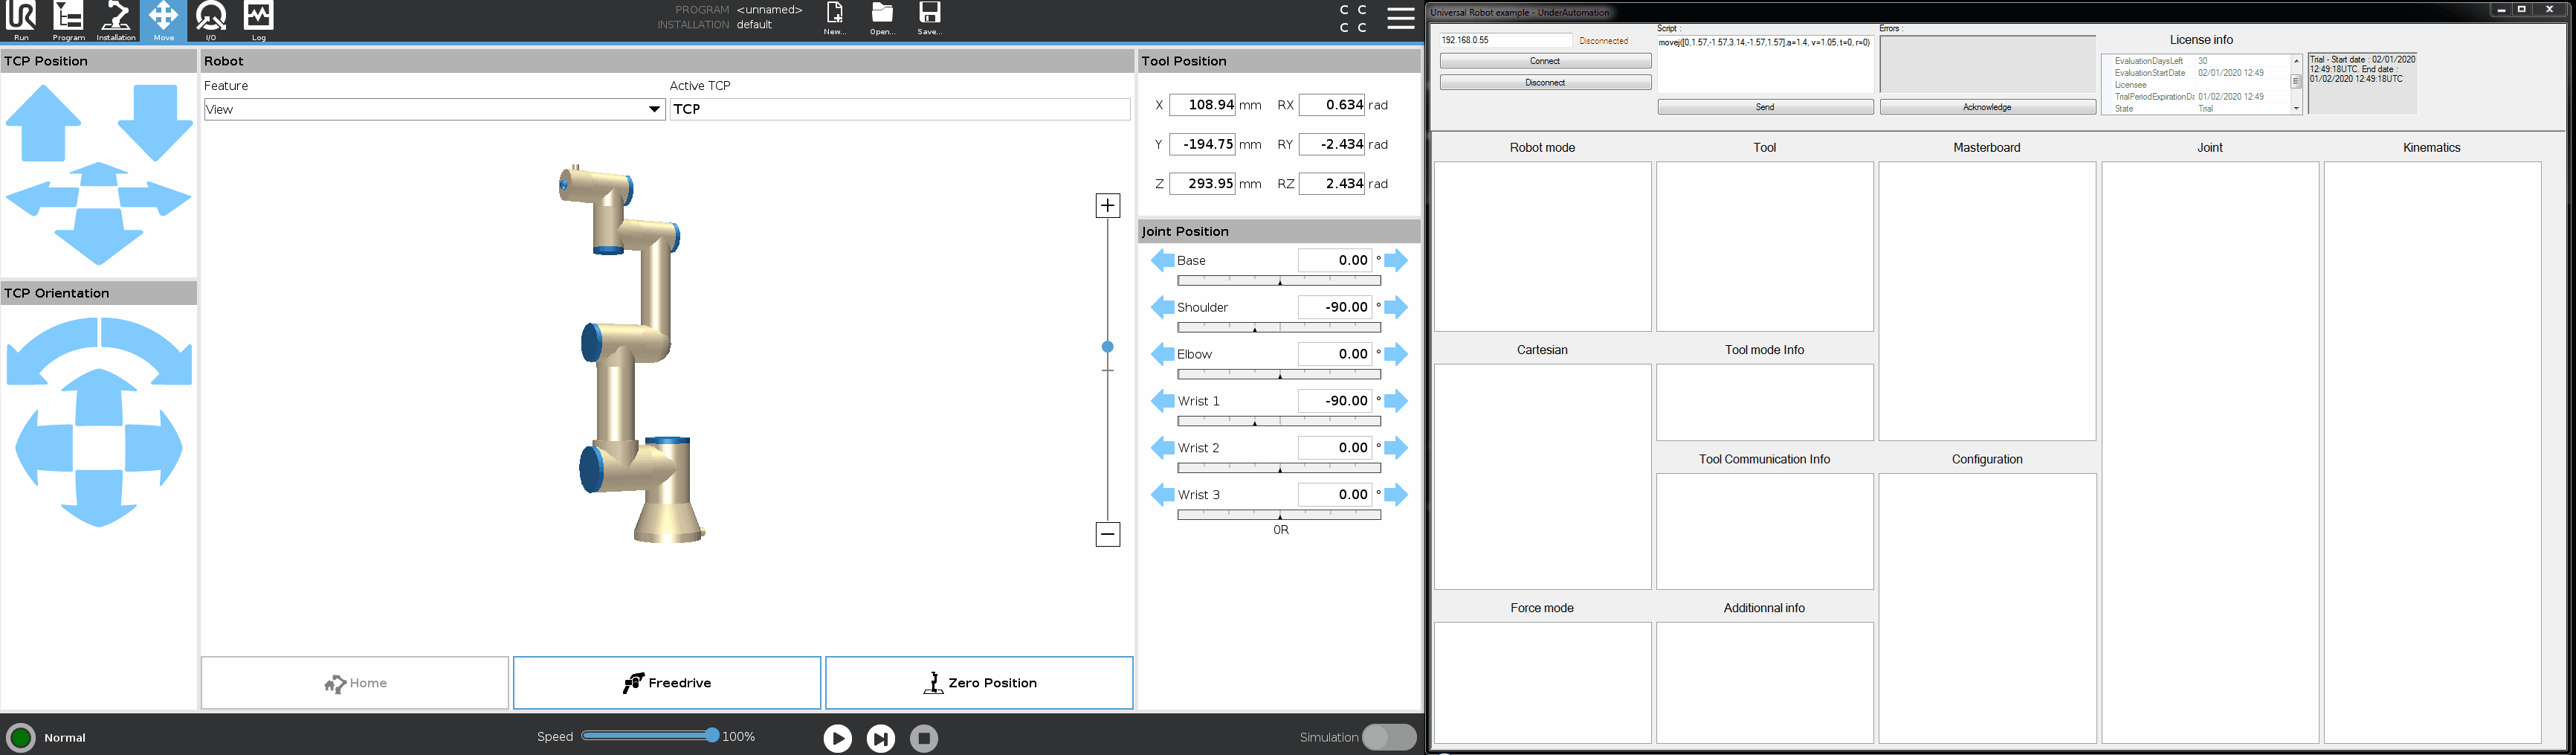
此示例包含 UnderAutomation Universal Robots SDK 的所有功能。

控制台示例
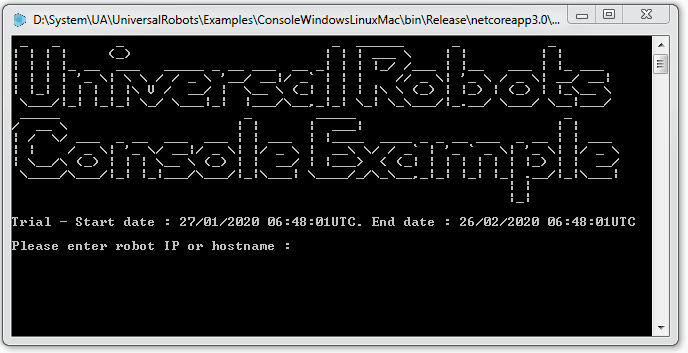
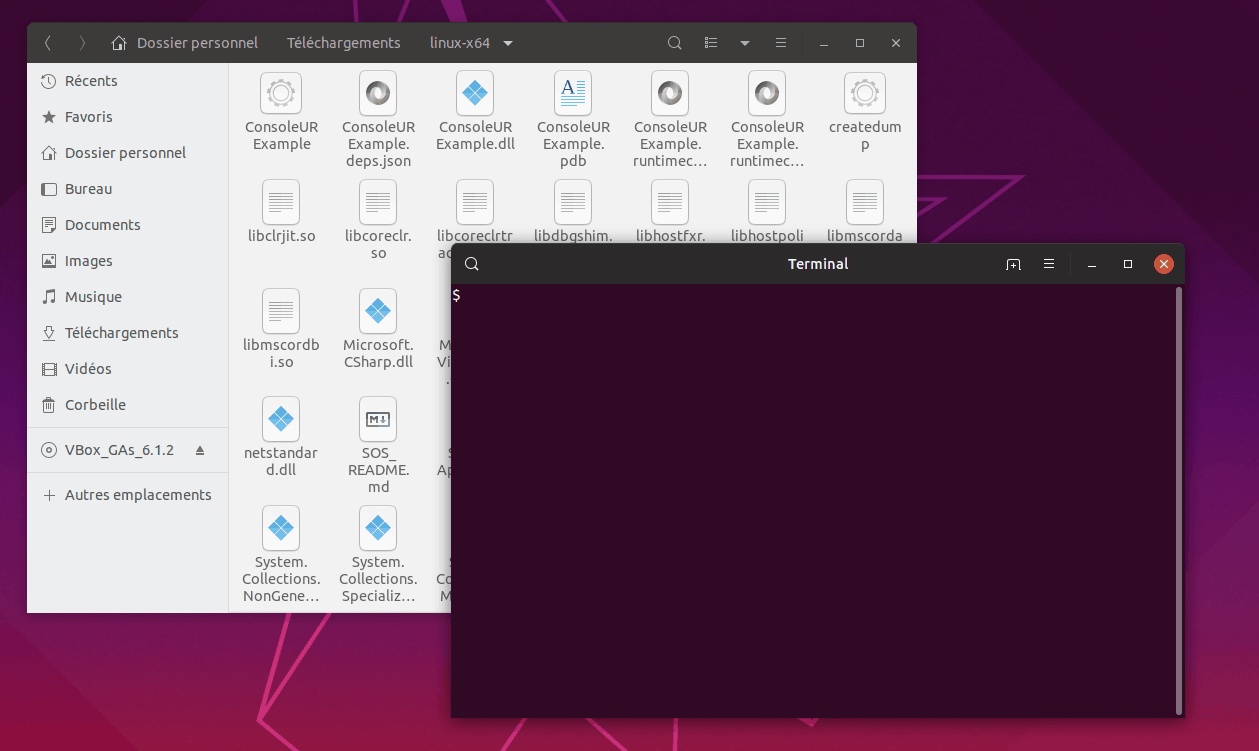
控制台示例位于:UniversalRobotsSDK_UnderAutomation\Examples\ConsoleWindowsLinuxMac\bin。在此文件夹中,示例针对以下体系结构进行编译:
- Windows 32 位 (win-x86):旧的 Windows 系统
- Windows 64 位 (win-x64):最近的 Windows 系统
- Windows IOT (win-arm) :例如用于 Raspberry PI 的 windows IOT
- Linux 64 位 (linux-x64):最近的 linux 系统,如 Ubuntu 19.04
- Linux ARM (linux-arm):适用于嵌入式 linux,如 Raspbian for Raspberry PI
它是一个 .NET Core 3.0 控制台应用程序,用于打印机器人工具中心点的笛卡尔位置。
Python 示例
控制台示例位于:UniversalRobotsSDK_UnderAutomation\ Examples\Python\run.py。它需要库 Pythonnet 才能工作。只是PIP安装它:pip install pythonnet。然后,您可以使用命令运行该示例python run.py。
Node.js 示例
控制台示例位于:UniversalRobotsSDK_UnderAutomation\ Examples\node.js\run.js。它需要 npm 包 edge.js 才能工作。使用命令安装此节点模块npm install。然后,您可以使用命令运行该示例node run.js。
MATLAB 集成
MATLAB 集成也可以与函数NET.LoadAssembly('UnerAutomation.UniversalRobots.dll');. 然后,所有功能都可以在 MATLAB 中使用。只需参考 .NET MATLAB 文档:Microsoft .NET 入门。
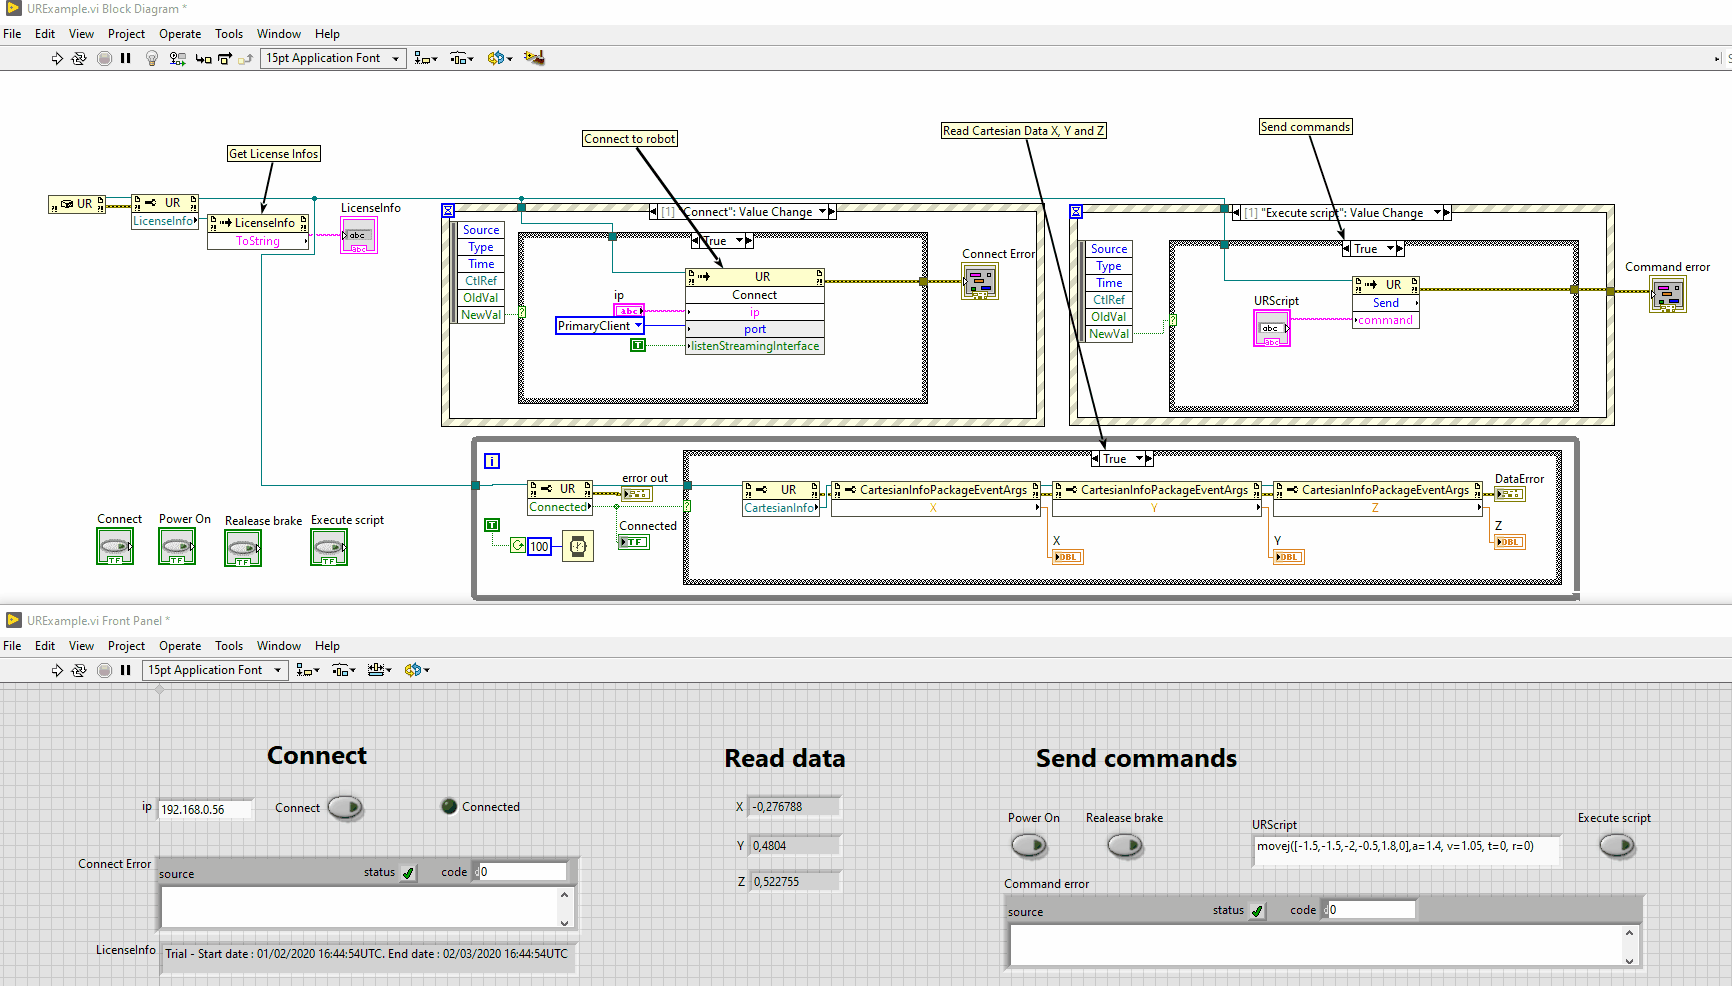
LabVIEW集成
National Instruments LabVIEW 示例位于:UniversalRobotsSDK_UnderAutomation\ Examples\LabVIEW\URExample.vi。它已经过 LabVIEW 2019 SP1 的测试。
用离线机器人模拟器试试
如果您没有真正的机器人但想测试这个库,请按照说明进行操作。
-
从优傲网站下载模拟器:下载离线模拟器。如果链接失效,请从以下网址下载:https : //www.universal-robots.com/download/?option=61542#section41570 您也可以使用其他 UR 固件版本进行测试,该库兼容。
-
提取存档(例如使用7Zip)
-
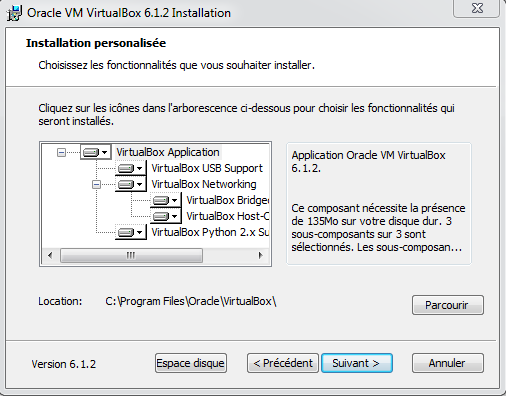
下载最新版本的 Virtual Box:https : //www.virtualbox.org/wiki/Downloads。
-
安装 VirtualBox 并确保您检查了安装程序中的所有网络功能,如下所示:
-
将您的 VirtualBox Host-Only Network IP 地址更改为静态 IP,例如 192.168.0.10
-
打开 Oracle VM Virtualbox,按 CTRL+A(或机器菜单/添加...)并选择下载的
URSim_VIRTUAL-x.x.x.xxxxx.vbox文件。 -
打开配置,转到网络并附加到
Host only Adapter(Réseau privé hôte法语)namedVirtualbox Host-only Ethernet Adapter,然后按确定。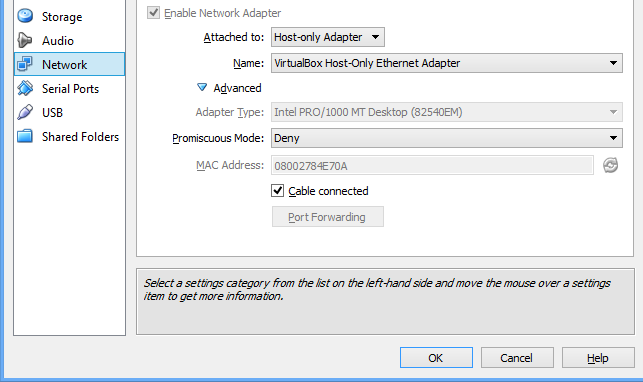
-
启动虚拟机,Lubuntu 应该会启动。
-
更改 Lubuntu IP 地址 单击开始菜单/运行并执行命令
sudo leafpad /etc/network/interfaces以编辑接口文件。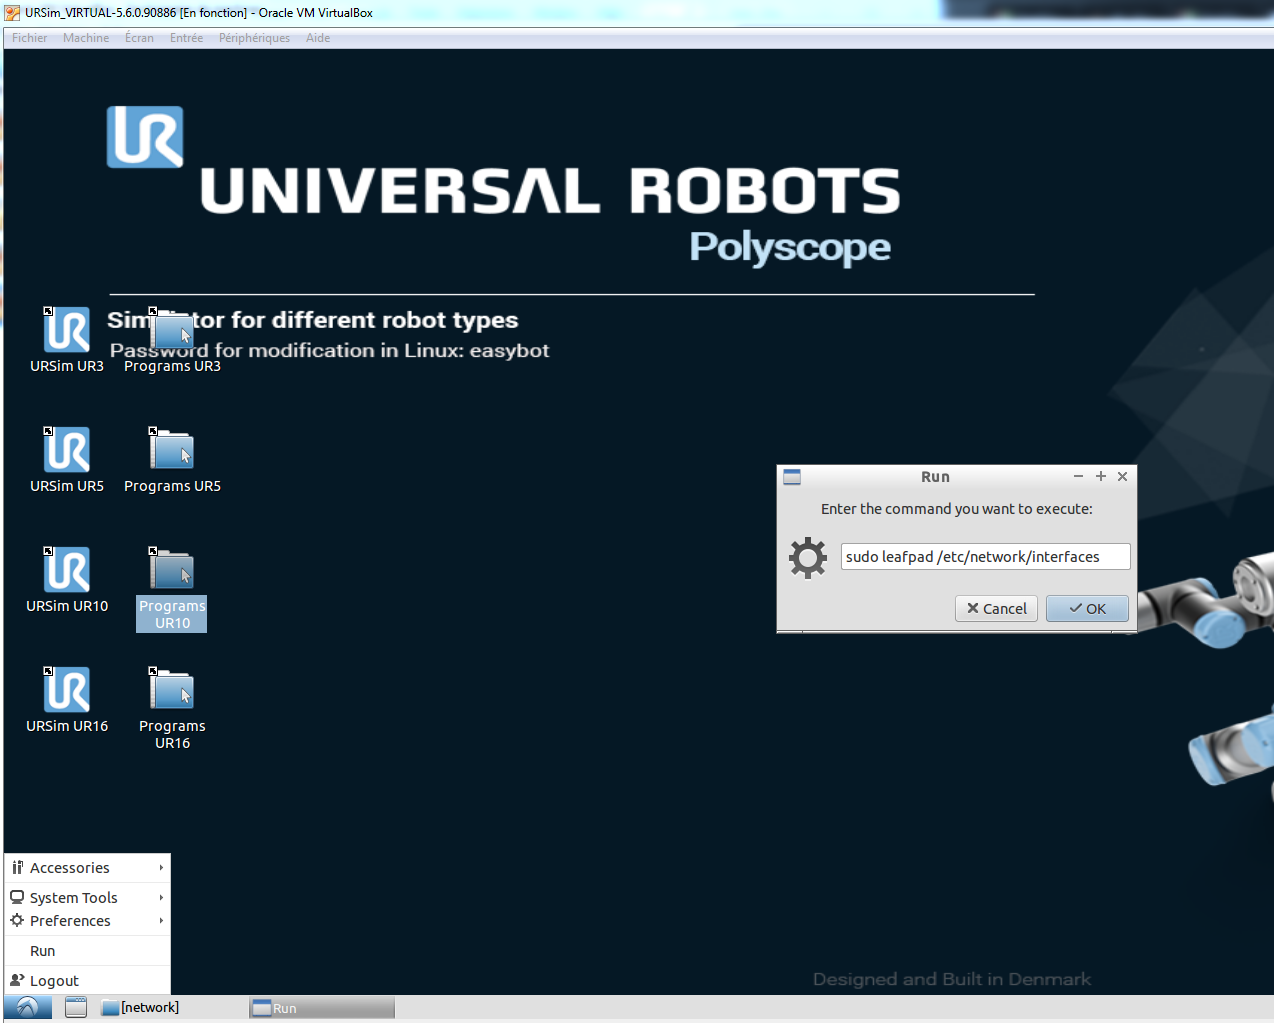
使用以下配置更改接口文件的内容以分配静态 IP 192.168.0.56:
<span style="color:rgba(0, 0, 0, 0.87)"><span style="background-color:#ffffff"><span style="background-color:#1e1e1e"><span style="color:#d4d4d4"><code class="language-unknown"># This file describes the network interfaces available on your system
# and how to activate them. For more information, see interfaces(5).

# The loopback network interface
auto lo
iface lo inet loopback

# The primary network interface
auto eth0
iface eth0 inet static
  address 192.168.0.56
  network 192.168.0.0
  netmask 255.255.255.0
  gateway 192.168.0.1</code></span></span></span></span>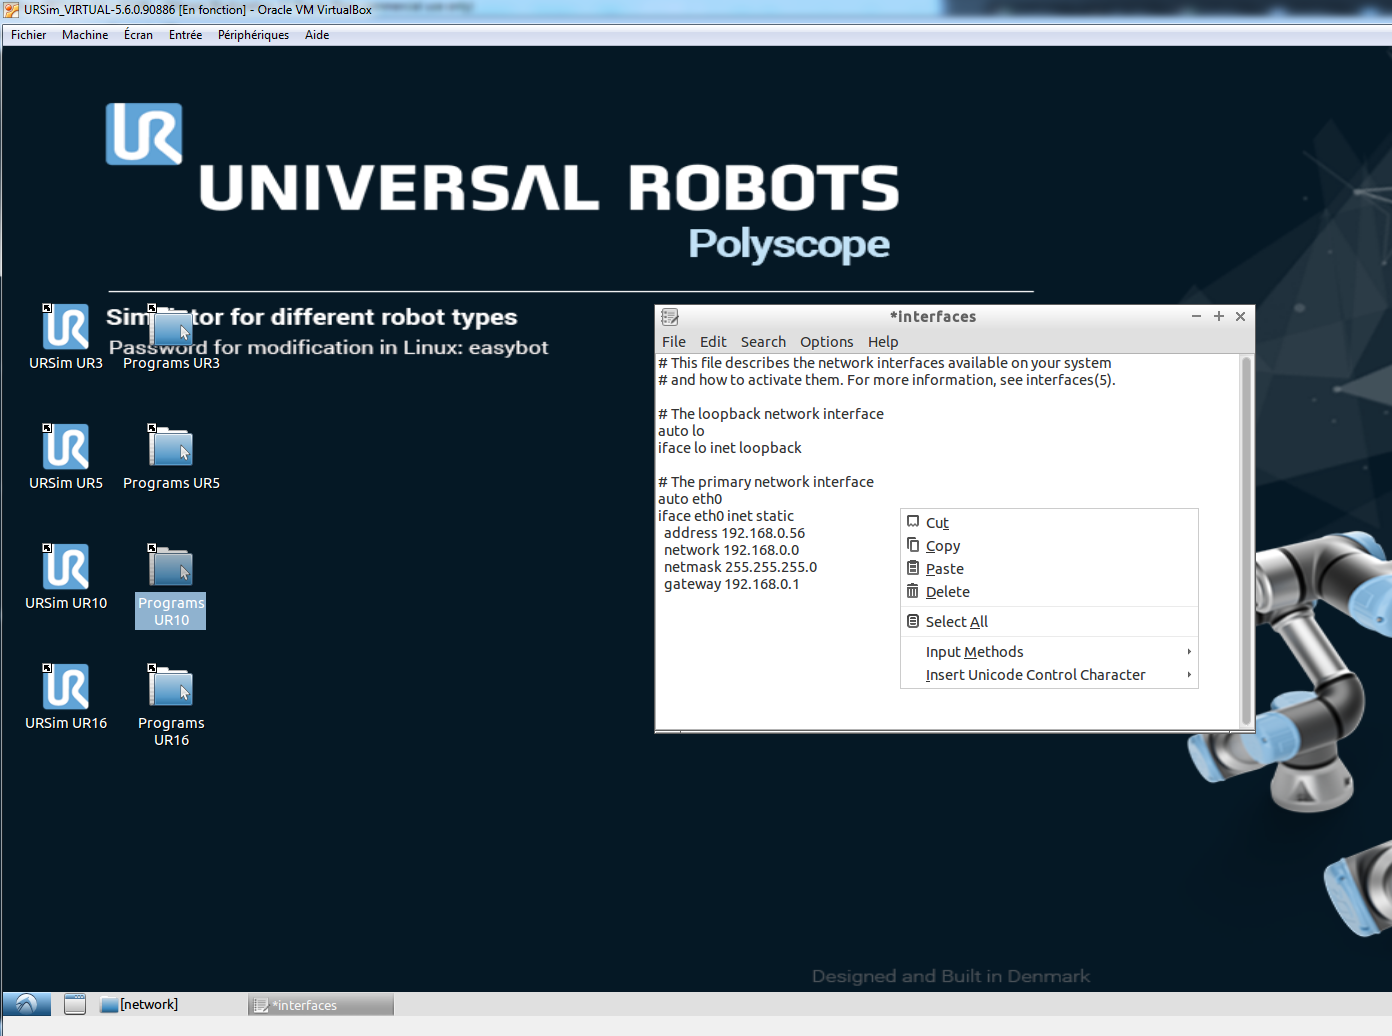
-
通过单击开始菜单/注销/重新启动重新启动 Lubuntu
-
当 VM 重新启动时,启动您选择的 URSim 版本(UR3、UR5、UR10 或 UR16)
-
第一次启动 URSim 时,您应该单击“确认安全”弹出按钮。
-
然后您可以通过连接到 192.168.0.56 来享受 Windows 窗体示例


 1万+
1万+


 被折叠的 条评论
为什么被折叠?
被折叠的 条评论
为什么被折叠?
 到【灌水乐园】发言


