


1. 概念
参考网上其它的教程,基本上是BitTorrent Tracker和Web服务器混合搭建的教程,这是正确的。但先要搞清楚二者的关系。
为什么要这么搭建呢?
因为要用Web服务器发布BT种子,做一个Web页面,让用户可以从这个页面下载种子,然后用BT客户端可以下载文件。
这是一般的做法(尤其是内网BT服务),当然也可以不要Web服务器,把种子发布到论坛或内部网站,这种情况下,可以不安装Web服务器。
2. 搭建过程
1. 切换到root用户
$sudo su -
2. 安装bittorrent
#apt-get install bittorrent
2. 安装Apache
#sapt-get install apache2
3. 配置apache服务器
 #cd /etc/apache2/mods-available
 #sudo vi mime.conf
 将这一段追加到合适的位置。
 AddType application/x-bittorrent .torrent
 如 AddType application/x-bzip2 .bz2的后面。
4. 在Web主目录下建立bt用文件夹
#mkdir /var/www/html/bt/
5. 上传共享文件到bt用文件夹
比如我的目录结构是这样的。
├── P001001
│ ├── stream0.ts
│ ├── stream1.ts
│ ├── stream2.ts
│ ├── stream3.ts
│ ├── stream4.ts
│ ├── stream5.ts
│ └── stream6.ts
└── P001001.torrent
1 directory, 8 files
6. 制作种子文件
 root@ubuntu-min:/var/www/html/bt# ls
 P001001
 root@ubuntu-min:/var/www/html/bt# btmakemetafile P001001 http://192.168.1.167:6969/announce
 root@ubuntu-min:/var/www/html/bt# ls -l
 total 12
 drwxrwxr-x 2 root root 4096 10月 3 13:53 P001001
 -rw-r--r-- 1 root root 7731 10月 3 14:49 P001001.torrent
 root@ubuntu-min:/var/www/html/bt#
7. 开启Tracker服务
 root@ubuntu-min:/var/www/html/bt# bttrack --port 6969 --dfile /tmp/dfile >/tmp/bt.log &
 [1] 2498
 root@ubuntu-min:/var/www/html/bt#
8. 服务器做种
 root@ubuntu-min:/var/www/html/bt# btlaunchmany ./ > /dev/null &
 [2] 2641
 root@ubuntu-min:/var/www/html/bt#
9. 开启Apache
#service apacha2 start
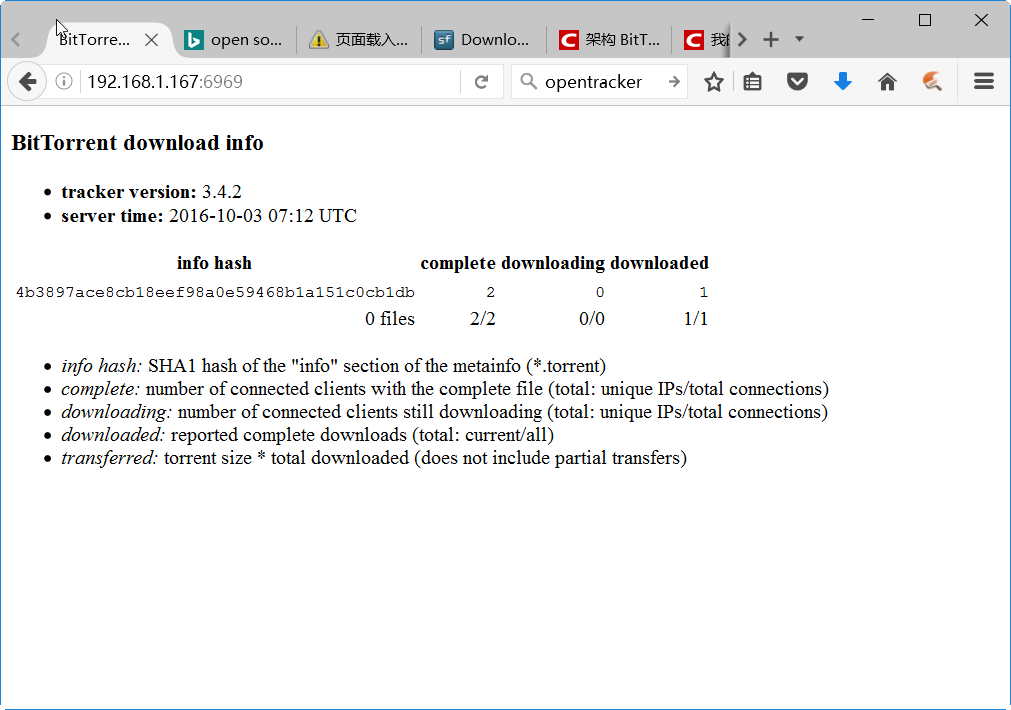
10. Web服务测试一下
在浏览器输入http://192.168.1.167:6969/,可以看到种子信息。
11. 下载测试
将第6步生成的种子文件下载到windows系统,开启客户端软件就可以下载了。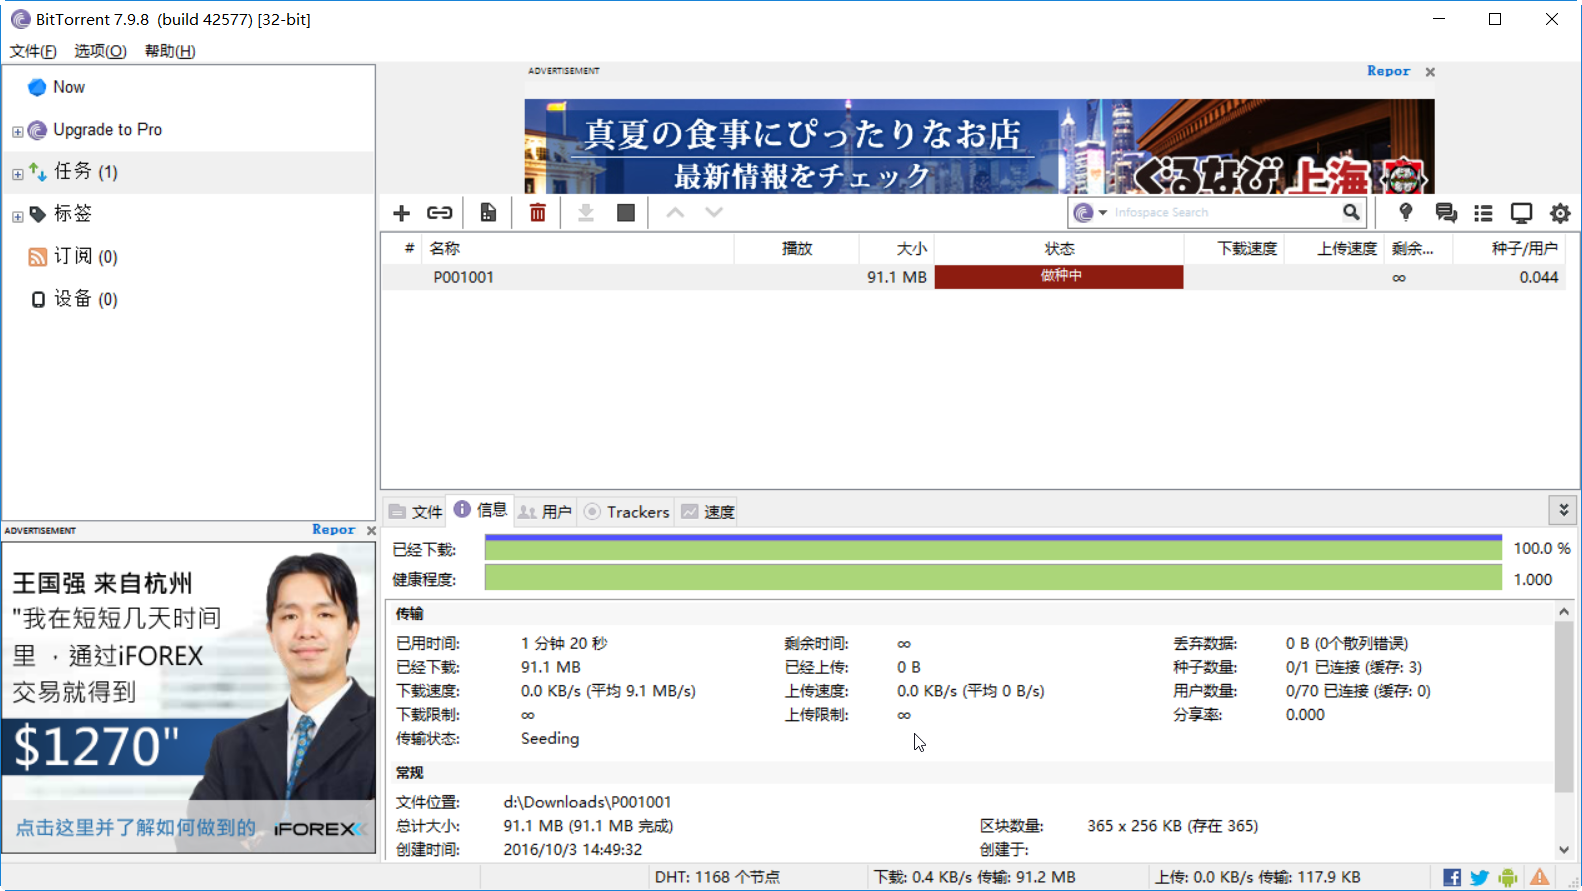
12. 其它
关于apache的种子发布,此处省略。
这个网址最后有一个启动脚本可以参考(http://wiki.huihoo.com/wiki/Linux_install_BT_Server)。


 338
338

 被折叠的 条评论
为什么被折叠?
被折叠的 条评论
为什么被折叠?
 到【灌水乐园】发言


