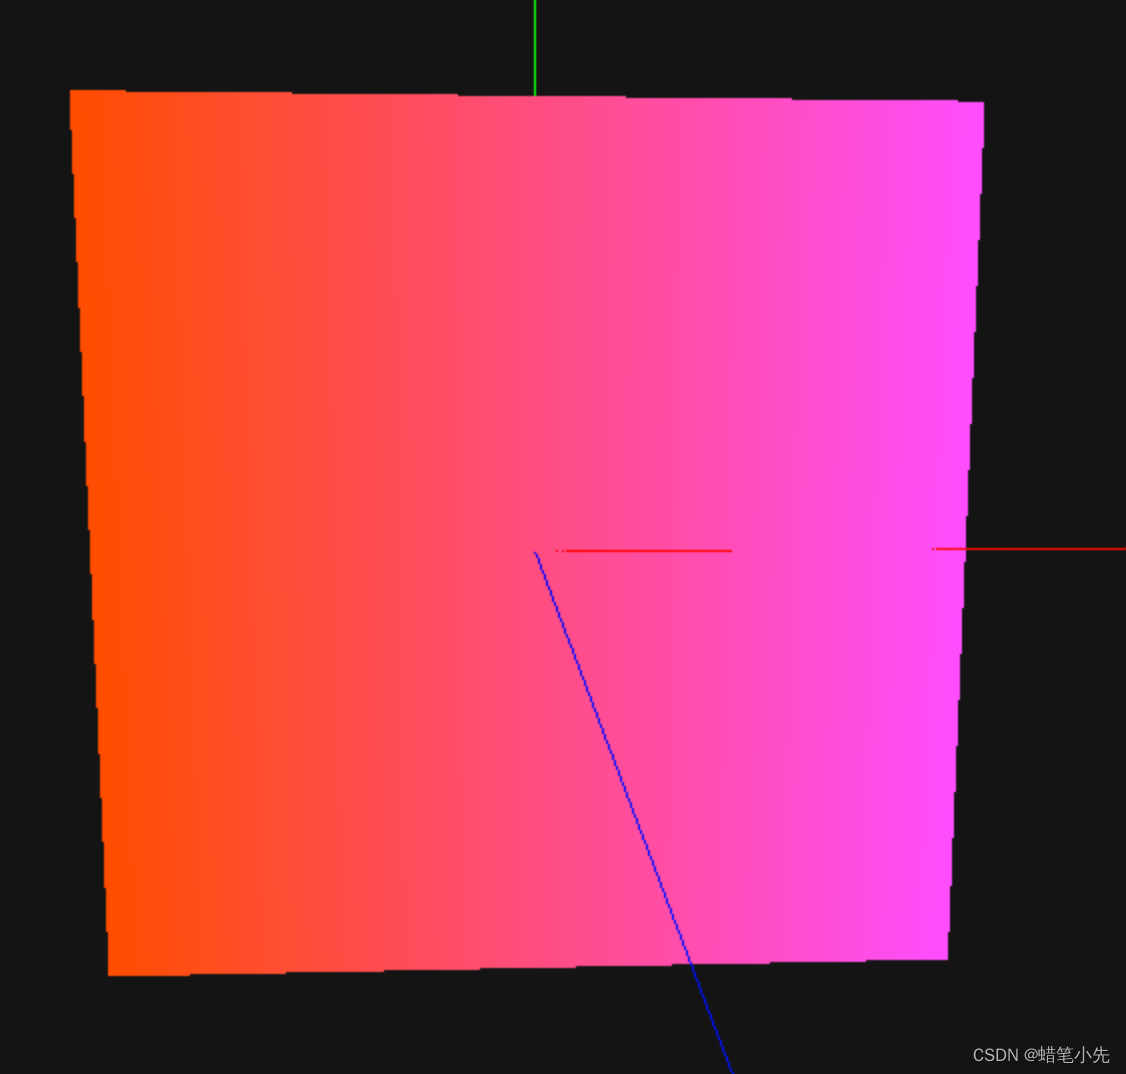
three.js BufferGeometry 设置顶点uv信息,在shader着色器实现渐变效果。

4 篇文章 0 订阅

效果如下:

 代码如下:

<!--
 * @Author: {haoxian1990} 149322439@qq.com
 * @Date: 2023-02-18 23:01:38
 * @LastEditors: {haoxian1990} 149322439@qq.com
 * @LastEditTime: 2023-02-25 11:07:48
 * @Description: 
-->
<template>
  <div></div>
  <div id="three-container"></div>
</template>

<script lang="ts" setup>
import { reactive, onMounted } from 'vue';
import * as THREE from 'three';
import initThree from '@/libs/three/initThree';

const state = reactive({});

onMounted(() => {
  init();
});

function init() {
  const { scene, camera, renderer } = initThree();

  // 创建几何体
  const positions = [
    -5.0, -5.0, 0.0, -5.0, 5.0, 0.0, 5.0, 5.0, 0.0, 5.0, 5.0, 0.0, 5.0, -5.0,
    0.0, -5.0, -5.0, 0.0,
  ];

  const geometry = new THREE.BufferGeometry();

  geometry.setAttribute(
    'position',
    new THREE.Float32BufferAttribute(positions, 3)
  );
  // 设置uv
  const uvs = [0.0, 0.0, 0.0, 1.0, 1.0, 1.0, 1.0, 1.0, 1.0, 0.0, 0.0, 0.0];
  geometry.setAttribute('uv', new THREE.Float32BufferAttribute(uvs, 2));

  // 创建材质
  // const material = new THREE.MeshBasicMaterial({ color: 0x00ff00 });
  const material = new THREE.ShaderMaterial({
    side: THREE.DoubleSide,
    vertexShader: `
      varying vec2 vUv;
      void main() {
        vUv = uv;
        vec4 modelPosition =  modelViewMatrix * vec4(position, 1.0);
        vec4 projectionPosition = projectionMatrix * modelPosition;
        gl_Position = projectionPosition;
      }
    `,
    fragmentShader: `
      varying vec2 vUv;
      void main() {
        gl_FragColor = vec4(1.0,0.3, vUv.x, 1.0);
      }
    `,
  });
  // 创建网格
  const cube = new THREE.Mesh(geometry, material);
  scene.add(cube);
}
</script>
<style scoped>
#three-container {
  width: 100%;
  height: 100%;
}
</style>

  • 1
    点赞
  • 1
    收藏
    觉得还不错? 一键收藏
  • 打赏
    打赏
  • 0
    评论
好的,让我来为你演示如何使用three.js实现这个效果。 首先,我们需要创建一个四棱锥的模型。我们可以使用three.jsTHREE.ConeGeometry来创建一个四棱锥。代码如下: ```javascript var geometry = new THREE.ConeGeometry( 5, 12, 4 ); var material = new THREE.MeshBasicMaterial( { vertexColors: THREE.VertexColors } ); var cone = new THREE.Mesh( geometry, material ); scene.add( cone ); ``` 这段代码将创建一个半径为5,高度为12,有4个面的四棱锥。我们还指定了一个使用顶点颜色的基础材质。 接下来,在顶点着色器,我们需要将每个顶点的颜色传递到片段着色器。我们可以使用THREE.BufferGeometry来创建一个顶点颜色缓冲区,并将其传递给geometry。代码如下: ```javascript var geometry = new THREE.ConeGeometry( 5, 12, 4 ); var colors = []; colors.push( new THREE.Color( 1, 0, 0 ) ); // red colors.push( new THREE.Color( 0, 1, 0 ) ); // green colors.push( new THREE.Color( 0, 0, 1 ) ); // blue colors.push( new THREE.Color( 1, 1, 0 ) ); // yellow geometry.setAttribute( 'color', new THREE.BufferAttribute( new Float32Array( colors ), 3 ) ); var material = new THREE.MeshBasicMaterial( { vertexColors: THREE.VertexColors } ); var cone = new THREE.Mesh( geometry, material ); scene.add( cone ); ``` 这段代码将为每个顶点指定一个颜色,并将其传递给geometry。我们将红色,绿色,蓝色和黄色分别指定给四个顶点。 最后,在片段着色器,我们可以使用插值函数来计算每个像素的颜色。我们可以使用varying变量来从顶点着色器传递颜色。代码如下: ```javascript var material = new THREE.ShaderMaterial( { vertexShader: ` varying vec3 vColor; void main() { vColor = color; gl_Position = projectionMatrix * modelViewMatrix * vec4( position, 1.0 ); } `, fragmentShader: ` varying vec3 vColor; void main() { gl_FragColor = vec4( vColor, 1.0 ); } ` } ); var geometry = new THREE.ConeGeometry( 5, 12, 4 ); var colors = []; colors.push( new THREE.Color( 1, 0, 0 ) ); // red colors.push( new THREE.Color( 0, 1, 0 ) ); // green colors.push( new THREE.Color( 0, 0, 1 ) ); // blue colors.push( new THREE.Color( 1, 1, 0 ) ); // yellow geometry.setAttribute( 'color', new THREE.BufferAttribute( new Float32Array( colors ), 3 ) ); var cone = new THREE.Mesh( geometry, material ); scene.add( cone ); ``` 这段代码将创建一个使用顶点颜色的着色器材质。在顶点着色器,我们将颜色存储在varying变量,并将其传递到片段着色器。在片段着色器,我们将vColor作为像素颜色返回。 通过这些步骤,我们就可以使用three.js实现四棱锥各个面的颜色渐变效果了。希望对你有所帮助!

“相关推荐”对你有帮助么?

  • 非常没帮助
  • 没帮助
  • 一般
  • 有帮助
  • 非常有帮助
提交
评论
添加红包

请填写红包祝福语或标题

红包个数最小为10个

红包金额最低5元

当前余额3.43前往充值 >
需支付:10.00
成就一亿技术人!
领取后你会自动成为博主和红包主的粉丝 规则
hope_wisdom
发出的红包

打赏作者

蜡笔小先

你的鼓励是我创作的最佳动力!

¥1 ¥2 ¥4 ¥6 ¥10 ¥20
扫码支付:¥1
获取中
扫码支付

您的余额不足,请更换扫码支付或充值

打赏作者

实付
使用余额支付
点击重新获取
扫码支付
钱包余额 0

抵扣说明:

1.余额是钱包充值的虚拟货币,按照1:1的比例进行支付金额的抵扣。
2.余额无法直接购买下载,可以购买VIP、付费专栏及课程。

余额充值