


 本文指导如何配置本地开发环境,包括CUDA11.7、Python3.10和RTX3090,然后部署FastChat平台并集成Vicuna-7BLLM,详细步骤包括创建虚拟环境、安装依赖、部署API服务以及设置OpenAI接口。
1.配置本地的虚拟环境(最好是一个项目配置一个环境),这里选择CUDA 11.7,python3.10,rtx3090;
conda create -n xxxx
pip install torch==1.13.1+cu117 torchvision==0.14.1+cu117 torchaudio==0.13.1 --extra-index-url https://download.pytorch.org/whl/cu117
可以使用下面代码来测试下载的cuda是否可用
import torch
print(torch.__version__)
print(torch.cuda.is_available())
2.首先我们需要用到fastchat,我们将会在这个平台进行api接口的部署
点击链接GitHub - lm-sys/FastChat: An open platform for training, serving, and evaluating large language models. Release repo for Vicuna and Chatbot Arena.进入github主页进行下载或者使用git均可:
git clone https://github.com/lm-sys/FastChat.git
下载完成之后进入FastChat文件夹,升级pip及安装依赖
cd FastChat
pip install --upgrade pip
pip install -e .
3.下载你需要使用的LLM,本文使用vicuna-7b(根据自己的需求)
去魔塔社区将模型下载到本地魔搭社区
git clone https://www.modelscope.cn/AI-ModelScope/Vicuna-7B.git
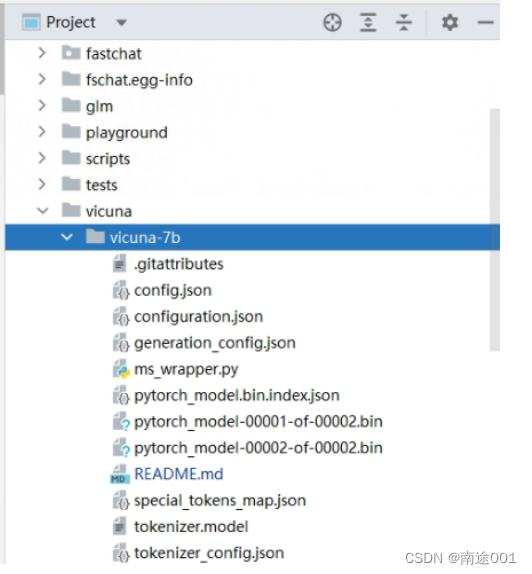
在FastChat文件夹下新建vicuna文件夹,将模型存在里面:
4.使用python编译器打开FastChat文件夹,部署api要经过三个步骤
首先开启三个不同的终端
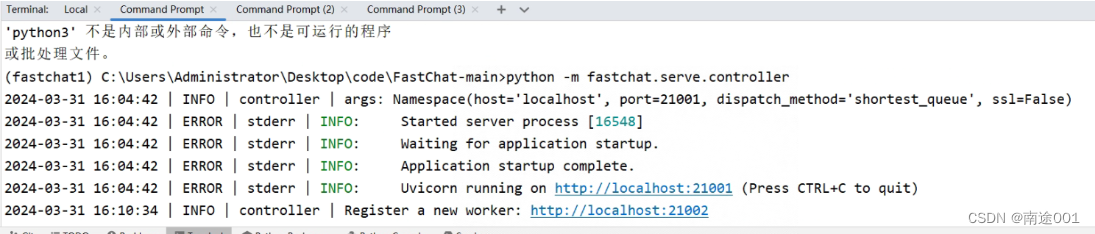
a:启动控制器
python -m fastchat.serve.controller
b:启动模型工作器,等待进程加载模型完成(图中是glm3,但是不影响)
python -m fastchat.serve.model_worker --model-path vicuna/vicuna-7b

看到"Uvicorn running on ..."的提示就ok

c:最后,启动 RESTful API 服务器
python -m fastchat.serve.openai_api_server --host localhost --port 8000

到这里,api就部署好了,可以通过下面的代码,验证是否部署成功(确保安装了openai)
import openai
openai.api_key = "EMPTY"
openai.api_base = "http://localhost:8000/v1"
model = "vicuna-7b"
prompt = "Once upon a time"
# create a completion
completion = openai.Completion.create(model=model, prompt=prompt, max_tokens=64)
# print the completion
print(prompt + completion.choices[0].text)
5.如果你的项目需要调用api接口,首先在自己项目的Terminal下面设置 OpenAI 环境
使用下面的命令
设置 OpenAI 基本网址
set OPENAI_API_BASE=http://localhost:8000/v1
设置 OpenAI API 密钥
set OPENAI_API_KEY=EMPTY
注:以上命令均在pycharm里的Terminal配置。


 6万+
6万+

 被折叠的 条评论
为什么被折叠?
被折叠的 条评论
为什么被折叠?
 到【灌水乐园】发言


