


源博客发布地址:www.ozyblog.top
head插件安装
可以使用可视化工具head来操作es,先安装git:
安装git需要使用yum,所以需要先安装yum,使用命令:
sudo apt install yum提示没找到
E: 无法定位软件包 yum然后
sudo apt update没用
更换源:
首先,打开终端,备份你原来Ubuntu默认的源地址:
sudo cp /etc/apt/sources.list /etc/apt/sources.list.backup#deb cdrom:[Ubuntu 22.04.3 LTS _Jammy Jellyfish_ - Release amd64 (20230807.2)]/ jammy main restricted
# See http://help.ubuntu.com/community/UpgradeNotes for how to upgrade to
# newer versions of the distribution.
deb http://cn.archive.ubuntu.com/ubuntu/ jammy main restricted
# deb-src http://cn.archive.ubuntu.com/ubuntu/ jammy main restricted
## Major bug fix updates produced after the final release of the
## distribution.
deb http://cn.archive.ubuntu.com/ubuntu/ jammy-updates main restricted
# deb-src http://cn.archive.ubuntu.com/ubuntu/ jammy-updates main restricted
## N.B. software from this repository is ENTIRELY UNSUPPORTED by the Ubuntu
## team. Also, please note that software in universe WILL NOT receive any
## review or updates from the Ubuntu security team.
deb http://cn.archive.ubuntu.com/ubuntu/ jammy universe
# deb-src http://cn.archive.ubuntu.com/ubuntu/ jammy universe
deb http://cn.archive.ubuntu.com/ubuntu/ jammy-updates universe
# deb-src http://cn.archive.ubuntu.com/ubuntu/ jammy-updates universe
## N.B. software from this repository is ENTIRELY UNSUPPORTED by the Ubuntu
## team, and may not be under a free licence. Please satisfy yourself as to
## your rights to use the software. Also, please note that software in
## multiverse WILL NOT receive any review or updates from the Ubuntu
## security team.
deb http://cn.archive.ubuntu.com/ubuntu/ jammy multiverse
# deb-src http://cn.archive.ubuntu.com/ubuntu/ jammy multiverse
deb http://cn.archive.ubuntu.com/ubuntu/ jammy-updates multiverse
# deb-src http://cn.archive.ubuntu.com/ubuntu/ jammy-updates multiverse
## N.B. software from this repository may not have been tested as
## extensively as that contained in the main release, although it includes
## newer versions of some applications which may provide useful features.
## Also, please note that software in backports WILL NOT receive any review
## or updates from the Ubuntu security team.
deb http://cn.archive.ubuntu.com/ubuntu/ jammy-backports main restricted universe multiverse
# deb-src http://cn.archive.ubuntu.com/ubuntu/ jammy-backports main restricted universe multiverse
deb http://security.ubuntu.com/ubuntu jammy-security main restricted
# deb-src http://security.ubuntu.com/ubuntu jammy-security main restricted
deb http://security.ubuntu.com/ubuntu jammy-security universe
# deb-src http://security.ubuntu.com/ubuntu jammy-security universe
deb http://security.ubuntu.com/ubuntu jammy-security multiverse
# deb-src http://security.ubuntu.com/ubuntu jammy-security multiverse
# This system was installed using small removable media
# (e.g. netinst, live or single CD). The matching "deb cdrom"
# entries were disabled at the end of the installation process.
# For information about how to configure apt package sources,
# see the sources.list(5) manual.
修改默认镜像源文件
sudo vim /etc/apt/sources.list在第一行添加如下记录并保存“”
deb http://archive.ubuntu.com/ubuntu/ trusty main universe restricted multiverse再次更新软件源
sudo apt-get update提示:
: GPG 错误:http://archive.ubuntu.com/ubuntu trusty Release: 由于没有公钥,无法验证下列签名: NO_PUBKEY 40976EAF437D05B5 NO_PUBKEY 3B4FE6ACC0B21F32
E: 仓库 “http://archive.ubuntu.com/ubuntu trusty Release” 没有数字签名
设置签名:
sudo apt-key adv --recv-keys --keyserver keyserver.Ubuntu.com 437D05B5
sudo apt-key adv --recv-keys --keyserver keyserver.Ubuntu.com C0B21F32
再次更新
sudo apt-get update再次报错:
下列软件包有未满足的依赖关系:
 python3-six : 破坏: libpython-stdlib (< 2.7.18) 但是 2.7.5-5ubuntu3 正要被安装
               破坏: python-minimal (< 2.7.18) 但是 2.7.5-5ubuntu3 正要被安装
 python3-yaml : 破坏: libpython-stdlib (< 2.7.18) 但是 2.7.5-5ubuntu3 正要被安装
                破坏: python-minimal (< 2.7.18) 但是 2.7.5-5ubuntu3 正要被安装
E: 错误,pkgProblemResolver::Resolve 发生故障,这可能是有软件包被要求保持现状的缘故。
解决冲突:
sudo apt install libpython-stdlib安装yum:
sudo apt install yum终于安装成功
下面安装git:
因为ubuntn默认包安装工具是apt不是yum,所以这里我们使用apt-get:
sudo apt-get install git然后需要安装node:
将node安装包传上去
注意,这里需要安装16以上的nodejs版本!!!
然后解压到目标nodejs文件夹,复制pwd路径:
/usr/local/nodejs/node-v18.18.0-linux-x64添加环境变量:
vim /etc/profile添加记录:
export NODE_HOME=/usr/local/nodejs/node-v18.18.0-linux-x64node下载需要一个淘宝镜像,现在去下载cnpm:
npm install cnpm -g --registry=https://registry.npmmirror.com
//注意:不要使用taobao镜像,亲测无用
然后电脑死机了。。。。。。。
强制关机重启,结果似乎系统出问题了。。。。。。:
amdgpu:device 1002:15add NOT added due to errorAMD-vi:firewallbug IOAPIC[4] NOT IN IVRS table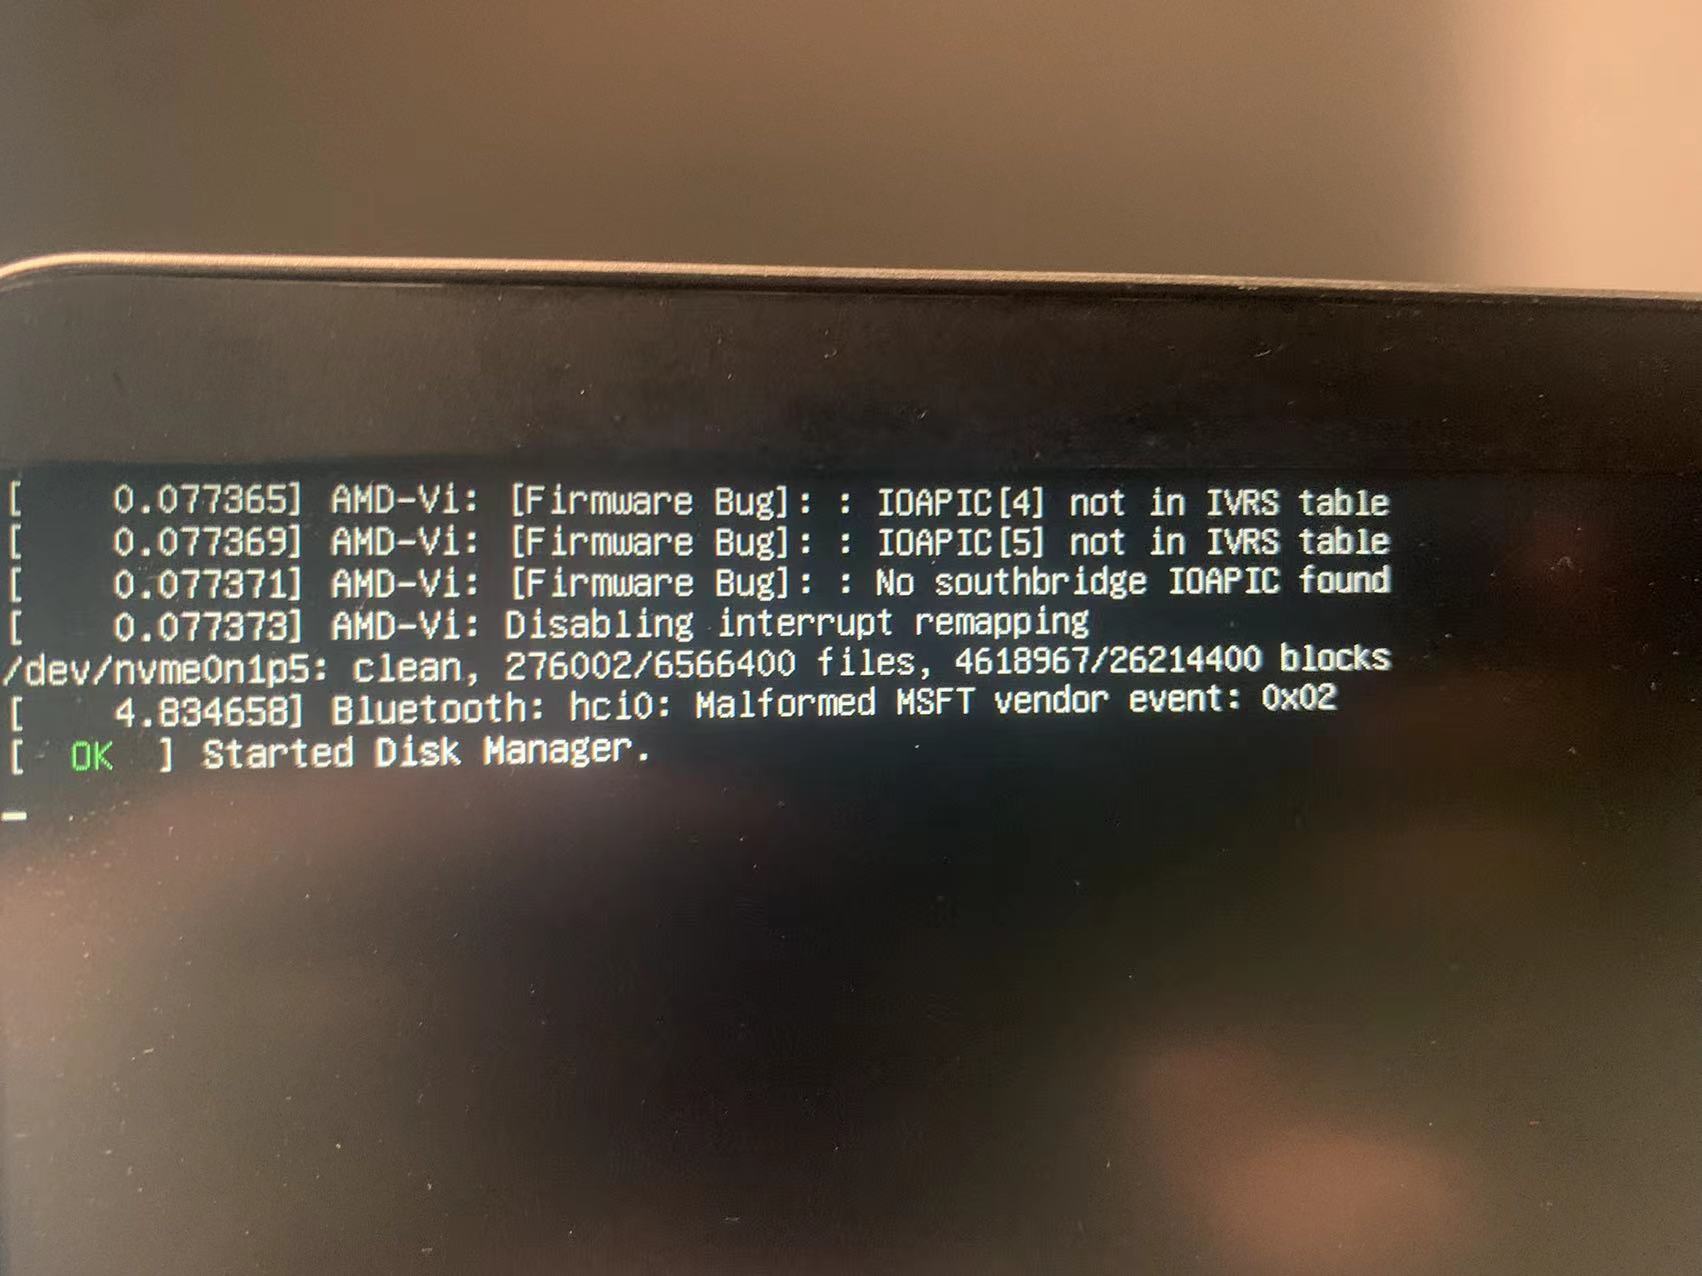
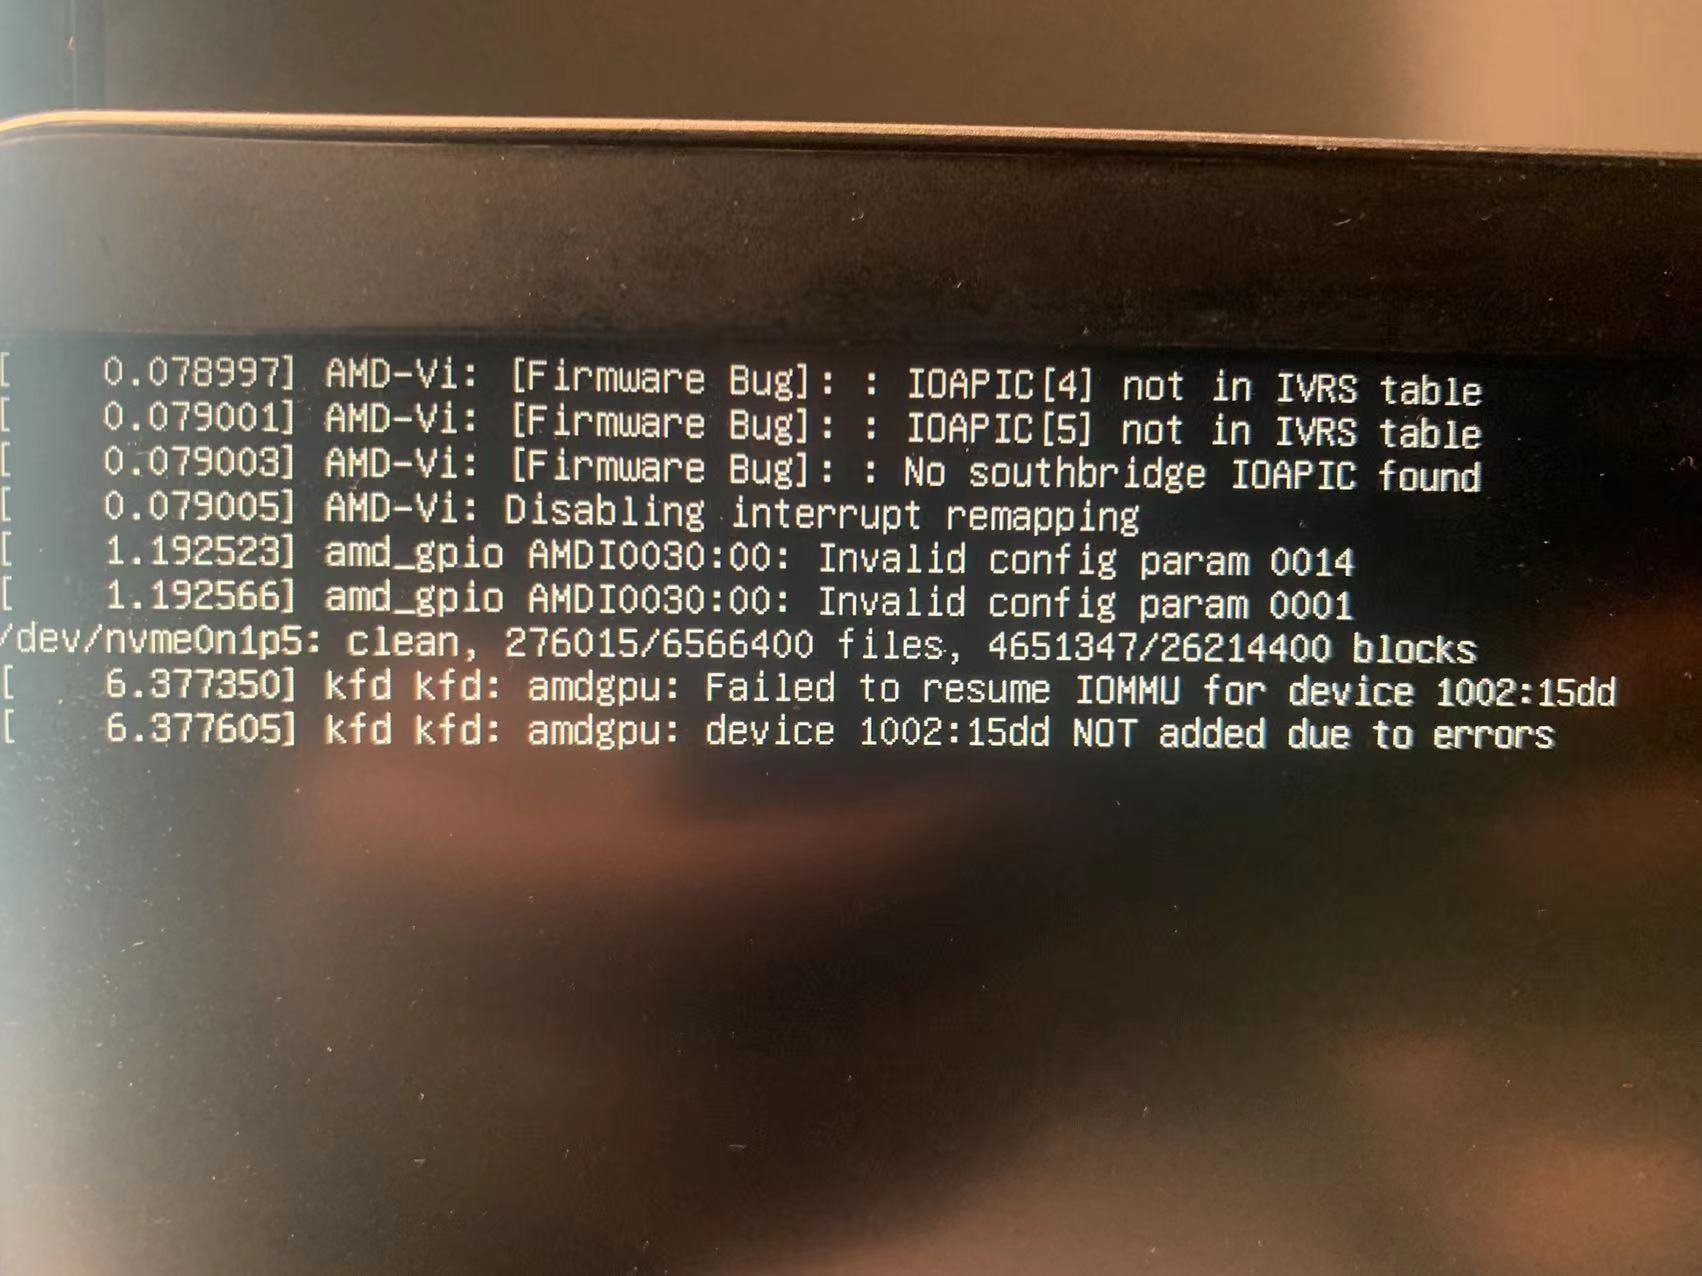
好了,折腾了一宿,重新安装系统了!!!!!!!
好了继续,上面说到了cnpm的安装,使用阿里镜像,然后会报错:npm ERR! Cannot read property ‘insert‘ of undefined
原因是阿里换镜像了,更新下镜像:
npm config set registry https://registry.npmmirror.com/
npm config set ELECTRON_MIRROR https://npmmirror.com/mirrors/electron/
然后去apt get install -g cnpm,又报错:
$ npm install -g cnpm
npm WARN EBADENGINE Unsupported engine {
npm WARN EBADENGINE   package: 'cnpm@9.2.0',
npm WARN EBADENGINE   required: { node: '>= 14.18.0' },
npm WARN EBADENGINE   current: { node: 'v12.22.9', npm: '8.5.1' }
npm WARN EBADENGINE }
npm WARN EBADENGINE Unsupported engine {
npm WARN EBADENGINE   package: 'npm@9.9.1',
npm WARN EBADENGINE   required: { node: '^14.17.0 || ^16.13.0 || >=18.0.0' },
npm WARN EBADENGINE   current: { node: 'v12.22.9', npm: '8.5.1' }
npm WARN EBADENGINE }
可以看到是因为node的版本太低了,好,卸载nodejs:
yum remove nodejs nm -y3.看看是否有残留
    进入 /usr/local/lib 删除所有 node 和 node_modules文件夹
    进入 /usr/local/include 删除所有 node 和 node_modules 文件夹
    进入 /usr/local/bin 删除 node 的可执行文件
然后重新安装最新版:
wget https://nodejs.org/dist/v20.9.0/node-v20.9.0-linux-x64.tar.xz然后解压,接着修改环境变量:
vim /etc/profile修改node_home
看下现在的node版本:
发现还是12.9
要删除原来的软连接,建立新的软连接:
请一定要注意:
- /bin下面是所有的能被系统识别的指令,自己安装的软件一般会自动建立一个软连接,比如安装node,会建立一个软连接:
node -> /path/bin/node
所以面对这种情况,需要修改软连接的指向,指向正确的安装路径,假设node安装路径为:/usr/local/nodejs/node-v18.18.0-linux-x64/bin/node,那么需要执行如下指令:
rm -f /bin/node # 删除旧的链接
ln -s /usr/local/nodejs/node-v18.18.0-linux-x64/bin/node  /bin/node # 新建新node的软连接
然后尝试install cnpm,不出意外又报错了:
Error: Cannot find module 'semver'重新安装nodejs:
linux nodejs重新安装配置-前端问答-PHP中文网
然后报错:
dpkg-deb: 错误: 粘贴 子进程被信号(断开的管道) 终止了 在处理时有错误发生:解决:
dpkg-deb: 错误: 粘贴 子进程被信号(断开的管道) 终止了 解决方法_51CTO博客_子进程dpkg-deb --control返回了错误号2
注意:
路径前面千万不要有空格:
sudo dpkg -i --force-overwrite " /var/cache/apt/archives/ace_0.0.5-3+b11_amd64.deb"这个给的就是错的,实际执行时候把空格删掉
然后检查node是否完成安装:

虽然版本低,但是够用了
现在安装cnpm:
npm install -g cnpm 一直报错。。。不装cnpm了
后记:不知道怎么回事,cnpm又重新给装好了,希望可以快乐地使用
所以现在head安装的环境ok了,安装head:
mkdir -p /usr/local/elasticsearch/plugins
cd /usr/local/elasticsearch/plugins
git clone git://github.com/mobz/elasticsearch-head.git
实测因为我的linux没装梯子访问不了:
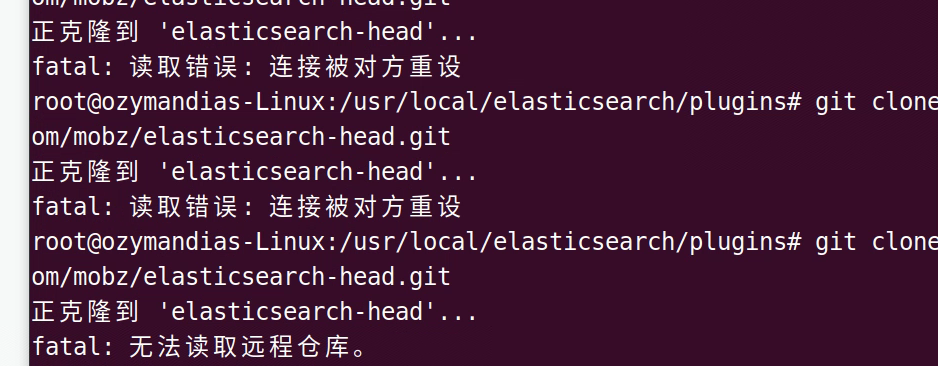
所以直接从链接github.com/mobz/elasticsearch-head.git下载文件elasticsearch-head.git.zip然后解压缩克隆过去:
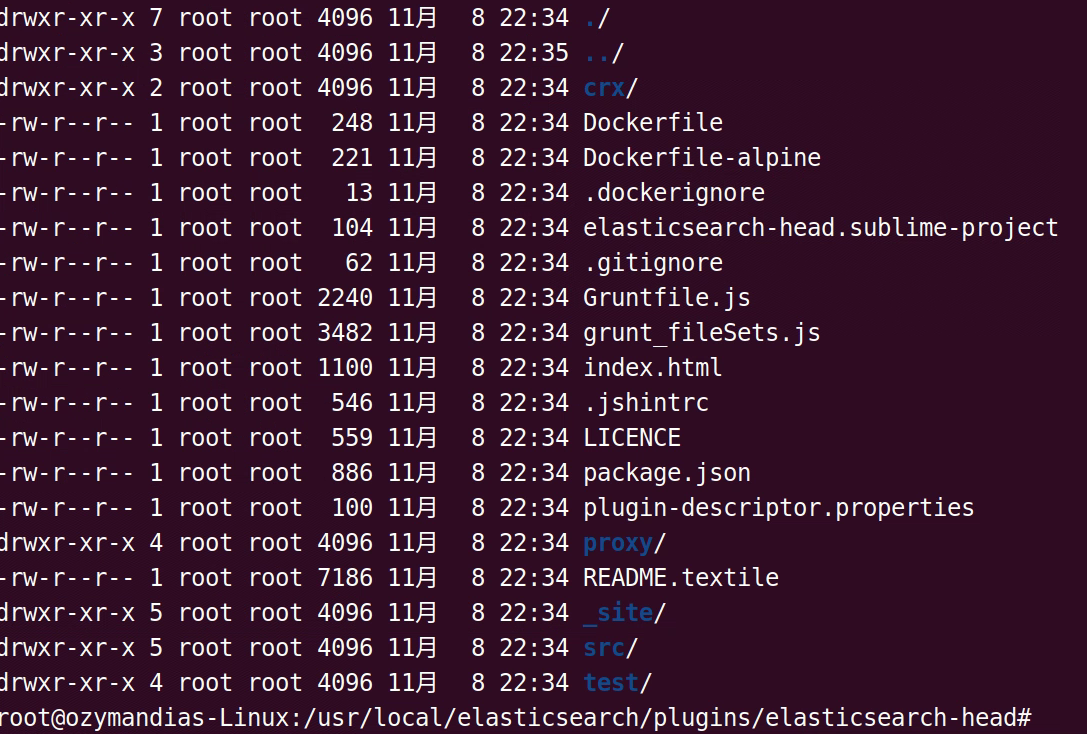
然后修改配置:
vim Gruntfile.js添加一个hostname记录:
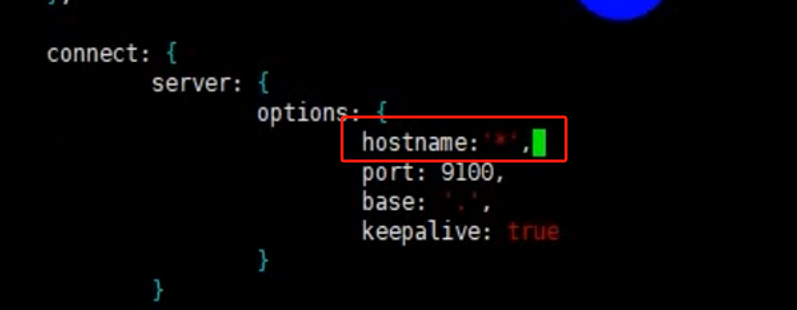
connect: {
                        server: {
                                options: {
                                        hostname:"*",
                                        port: 9100,
                                        base: '.',
                                        keepalive: true
                                }
                        }
                }
然后使用cnpm安装:
cnpm install完成后运行:
cnpm run start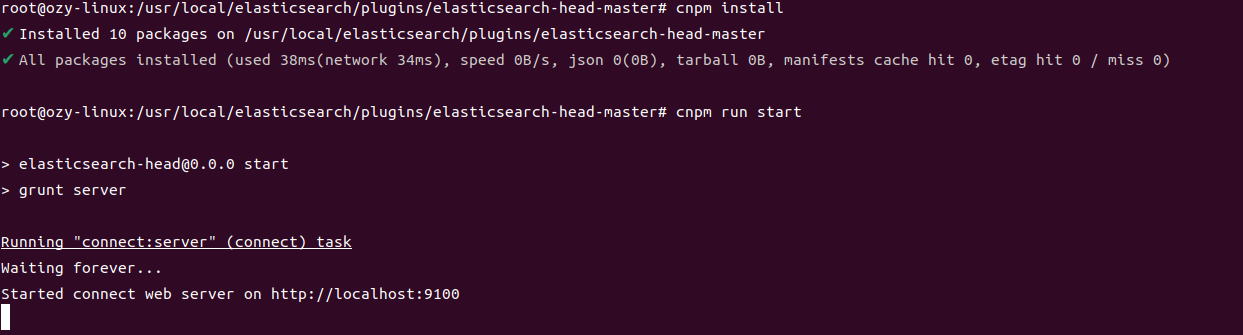
可以看到运行成功,发布在192.168.2.151:9100,访问:

修改上面的localhost为运行es的ip地址,连接:
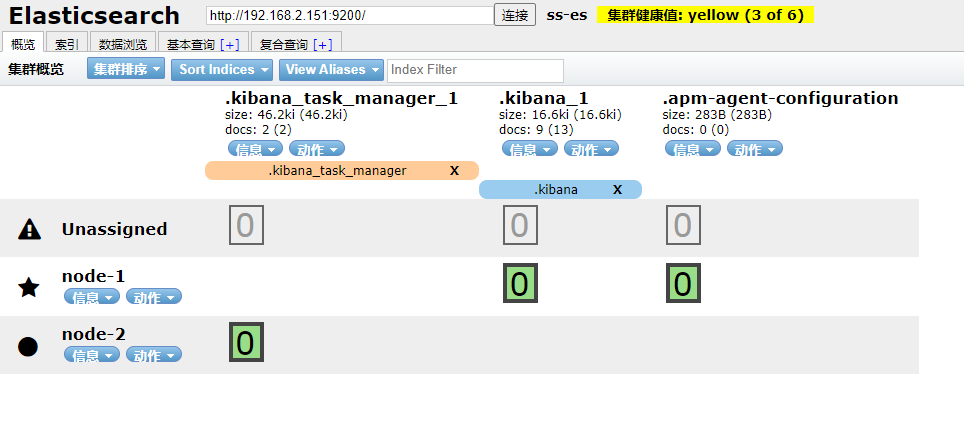
使用head插件操作es
先创建索引,一个索引可以认为就是一个数据库
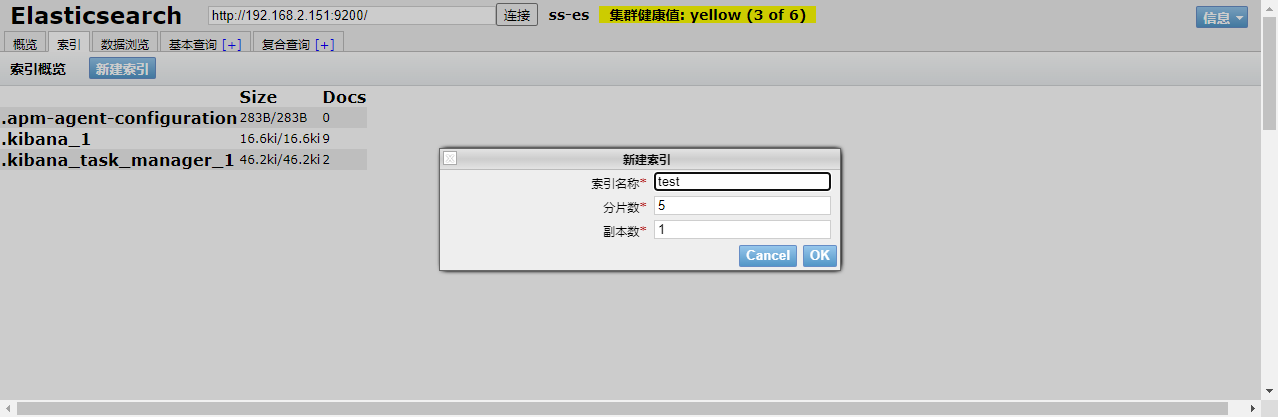
选择分片5,副本数1,分片就是一张表,备份是一个倍数的概念,分片数5,备份2,总片数就是15
为什么要分片呢?
数据分片之后放在不同的位置,这样查询起来可以起多线程,查询速度很快
插入数据记录:
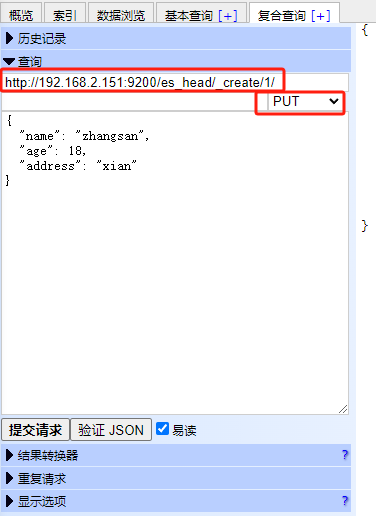
验证后提交:
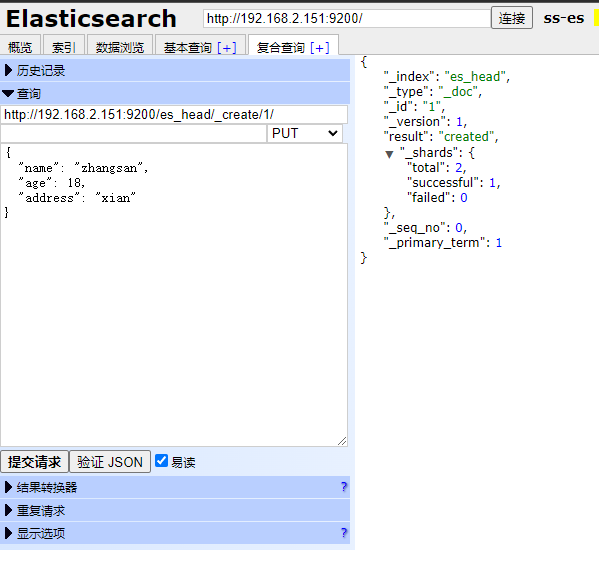
如果用put提交,那么需要指定id,如果有post提交,不需要指定id,,自动为随机值:

查询使用get:
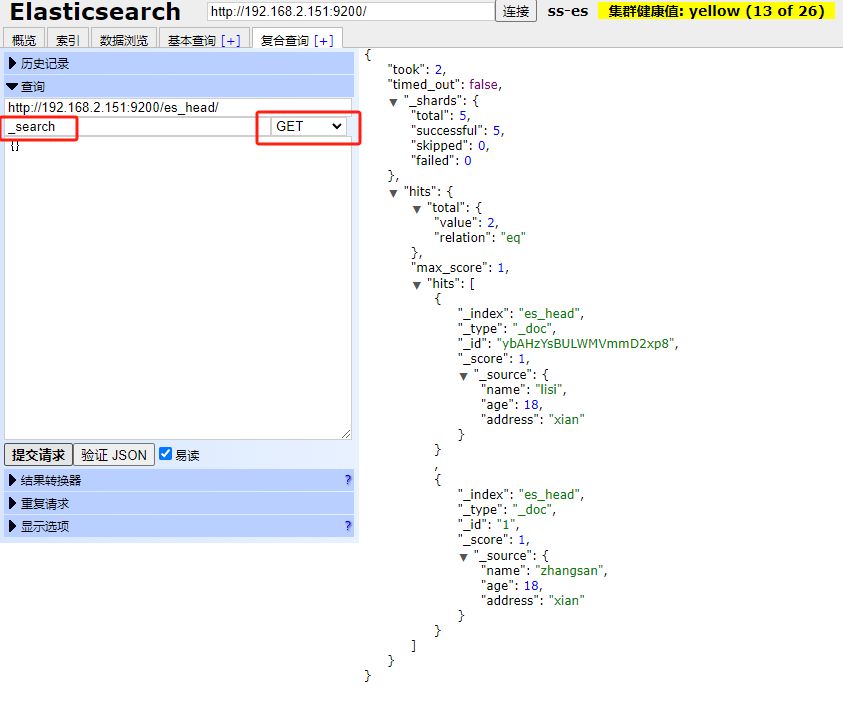
如果需要根据id查询:

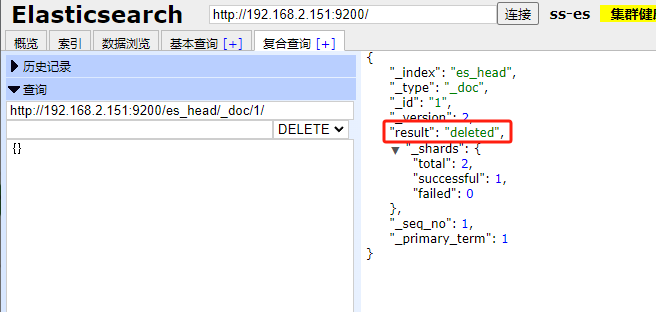
如果是删除,将get改成delete即可,但是数据不会真正被删除,而是将result改成delete,然后版本号再变一下


 2207
2207


 被折叠的 条评论
为什么被折叠?
被折叠的 条评论
为什么被折叠?
 到【灌水乐园】发言


