


首先是采集图像数据集的文件名,将label图,image图相对应的文件名放在同一行。(当然,如果你有多个模态的输入,可以同时将多个模态对于的文件名存储起来)

下面是采集文件名的代码:
自定义图像文件位置,然后将文件名依次按行存储
import os
def data_txt():
    file1 = r'D:\DATABASE\LEVIR-CD+\test\A'
    file2 = r'D:\DATABASE\LEVIR-CD+\test\B'
    file3 = r'D:\DATABASE\LEVIR-CD+\test\label'
    file4 = r'D:\DATABASE\LEVIR-CD+\train\A'
    file5 = r'D:\DATABASE\LEVIR-CD+\train\B'
    file6 = r'D:\DATABASE\LEVIR-CD+\train\label'
    with open(r'D:\DATABASE\pytorch_segementation_Bi_temporal_Sensing\database\LEVIR\test\test.txt',mode='w') as f:
        filelist1 = os.listdir(file4)
        filelist2 = os.listdir(file5)
        filelist3 = os.listdir(file6)
        # print(filelist1,filelist2,filelist3)
        for index,i in enumerate(filelist1):
            str = []
            str1 = file4 + os.sep + filelist1[index]
            str2 = file5 + os.sep + filelist2[index]
            str3 = file6 + os.sep + filelist3[index] + '\n'
            str.append(str1)
            str.append(str2)
            str.append(str3)
            str = ','.join(str)
            # print(str)
            f.write(str)
        # print(filelist1)
    f.close()
    print('over')
if __name__ == '__main__':
    data_txt()
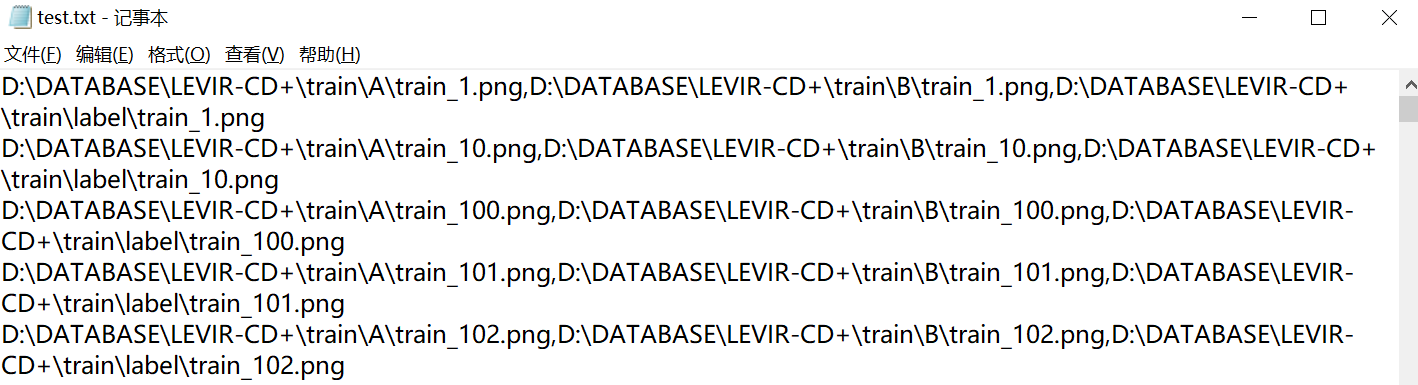
存储的大致情况
我们有了自己训练和测试的文本文件之后,就要进行数据加载部分。这里使用的是pytorch框架,使用DataLoader进行加载数据
init() 初始化方法,传入数据文件夹路径。
getitem() 切片方法,根据索引下标,获得相应的图片。
len() 计算长度方法,返回整个数据文件夹下所有文件的个数。
#通过创建data.Dataset子类Mydataset来创建输入
class Mydataset(data.Dataset):
# 类初始化
    def __init__(self, root):
        self.imgs_path = root
# 进行切片
    def __getitem__(self, index):
        img_path = self.imgs_path[index]
        return img_path
# 返回长度
    def __len__(self):
        return len(self.imgs_path)
#常规的类建立基本涉及到这三个函数,后面要对图像数据增强,可以再深入研究
class Levir(data.Dataset):
def __init__(self, cfg, mode='train', ):
assert mode in ['train', 'test']
self.mode = mode
# pre-processing
self.im_to_tensor = transforms.Compose([
transforms.ToTensor(),
# transforms.Normalize([0.485, 0.456, 0.406], [0.229, 0.224, 0.225]),
])
# 通过root存储根目录,便于寻找
self.root = cfg['root']
# self.file_path = cfg['root'] + "/class.csv"
# 一些数据增强的手段
self.aug = Compose([
RandomCrop(256),
RandomRotation(90),
RandomRotation(180),
RandomRotation(270)
])
# self.class_weight = np.array([0.73647099,1.01890093,8.82423856,0.98178754,1.03813632,0.79081619, ])
# 打开我之前存储的文本文件,全部读取图片位置,在item之中进行逐行解析
with open(os.path.join(cfg['root'], f'{mode}.txt'), 'r') as f:
self.t1_t2_labels = f.readlines()
def __len__(self):
# 计算数据集有多少
return len(self.t1_t2_labels)
def dp_to_tensor(self, dsm):
dsm = 1/255 * np.asarray(dsm)
# dsm = np.array([dsm, dsm, dsm])
dsm = torch.from_numpy(dsm).float().unsqueeze(0)
# dsm = torch.from_numpy(dsm).float()
return dsm
def __getitem__(self, index):
image_path, depth_path, label_path = self.t1_t2_labels[index].strip().split(',')
image1 = Image.open(image_path)
image2 = Image.open(depth_path)
label = Image.open(label_path).convert('L')
sample = {
'image1': image1,
'image2': image2,
'label': label,
}
if self.mode == 'train': # 只对训练集增强
sample = self.aug(sample)
# else:
# sample = self.val_resize(sample)
sample['image1'] = self.im_to_tensor(sample['image1'])
sample['image2'] = self.im_to_tensor(sample['image2'])
sample['label'] = torch.from_numpy(np.asarray(sample['label'], dtype=np.int64)).long()
# sample['edge'] = torch.from_numpy(np.asarray(sample['edge'], dtype=np.int64)).long() # 边界监督
sample['label_path'] = label_path.strip().split('/')[-1] # 后期保存预测图时的文件名和label文件名一致
return sample对图片数据预处理好后,就是调用
因为我处理的是双模态的,所以net的输入是两个,后续你们可以进行微调
from toolbox.datasets.LEVIR import Levir
from torch.utils.data import DataLoader

train_dataloader = DataLoader(Levir(cfg, mode='train'), batch_size=batch_size, shuffle=True, num_workers=4, pin_memory=True)
test_dataloader = DataLoader(Levir(cfg, mode='test'), batch_size=batch_size, shuffle=True, num_workers=4, pin_memory=True)
for i, sample in enumerate(train_dataloader):
    image1 = Variable(sample['image1'].cuda())  # [2, 3, 256, 256]
    image2 = Variable(sample['image2'].cuda())  # [2, 3, 256, 256]
    label = Variable(sample['label'].long().cuda())  # [2, 256, 256]
    out = net(image1,image2)
    loss = criterion_without(out,label)
    optimizer.zero_grad()
    loss.backward()  # backpropagation to get gradient
    optimizer.step()  # update the weight
    train_loss = loss.item() + train_loss
net = net.eval()
    eval_loss = 0
    with torch.no_grad():
    for j, sampleTest in enumerate(test_dataloader):
        image1Val = Variable(sampleTest['image1'].float().cuda())
        image2Val = Variable(sampleTest['image2'].float().cuda())
        labelVal = Variable(sampleTest['label'].long().cuda())


 730
730


 被折叠的 条评论
为什么被折叠?
被折叠的 条评论
为什么被折叠?
 到【灌水乐园】发言


