


haproxy负载均衡
1.简介:
HAProxy(高可用代理)是一款开源的、高性能的负载均衡和反向代理软件,在网络服务架构中起到分发网络流量的作用。它通常运行在透明模式下,将客户端请求转发到多个服务器上,以实现负载均衡和高可用性。
HAProxy的设计目标是提供高性能、可靠性和灵活性。它采用C语言编写,能够有效地处理大量并发连接,并支持多种负载均衡算法,如轮询、最少连接、源地址哈希等。此外,HAProxy还支持健康检查和故障转移功能,能够自动检测到不可用的服务器并将流量转发到可用的服务器上。
2.优缺点:
优点:
- 高性能:HAProxy采用事件驱动的方式处理连接,具有出色的性能和低的延迟。
- 可靠性:HAProxy支持健康检查和故障转移,可以自动从故障的服务器中排除,并将流量转发到正常工作的服务器上。
- 灵活性:HAProxy支持多种负载均衡算法,如轮询、最少连接等,可以根据实际需要进行配置。
- 架构简单:HAProxy是一个独立的软件,不依赖于其他软件或硬件,安装和配置相对简单。
缺点:
- 单点故障:在使用单个HAProxy实例的情况下,如果该实例发生故障,整个系统的可用性可能会受到影响。
- 功能有限:相对于其他负载均衡器,HAProxy的功能可能有限。它专注于负载均衡和反向代理,而不支持其他高级功能。
3.工作原理:
HAProxy工作原理如下:
- 客户端向HAProxy发送请求。
- HAProxy接收请求并根据预先配置的前端监听端口和负载均衡算法选择一个后端服务器。
- HAProxy将请求转发到选定的后端服务器。
- 后端服务器处理请求并生成响应。
- HAProxy接收来自后端服务器的响应并将其返回给原始的客户端。
4.工作流程:
- 配置HAProxy:在配置文件中指定前端和后端服务器的详细信息。
- 启动HAProxy:启动HAProxy实例并监听指定的端口。
- 接收请求:当客户端发送请求时,HAProxy监听并接收请求。
- 负载均衡:根据负载均衡算法,HAProxy选择一个后端服务器来处理请求。
- 转发请求:HAProxy将请求转发给所选的后端服务器。
- 接收响应:后端服务器处理请求并生成响应。
- 返回响应:HAProxy接收后端服务器的响应并将其返回给原始的客户端。
5.实战:
haproxy部署http负载均衡
环境说明:
| 服务器类型 | IP地址 | 系统版本 |
|---|---|---|
| haproxy | 192.168.195.133 | centos 8 |
| web1 | 192.168.195.134 | centos 8 |
| web2 | 192.168.195.135 | centos 8 |
在后端服务器上准备测试的http页面(主机web1、web2)
//安装httpd服务,启动并设置开机自启
[root@web1 ~]# yum -y install httpd
[root@web1 ~]# systemctl enable --now httpd
Created symlink /etc/systemd/system/multi-user.target.wants/httpd.service →
/usr/lib/systemd/system/httpd.service.
[root@web1 ~]# ss -antl
State             Recv-Q            Send-Q                       Local Address:Port                       Peer Address:Port
LISTEN            0                 128                                0.0.0.0:22                              0.0.0.0:*
LISTEN            0                 128                                   [::]:22                                 [::]:*
LISTEN            0                 128                                      *:80                                    *:*
//将web2的httpd服务端口更改为8080,测试实验效果
[root@web2 ~]# yum -y install httpd
[root@web2 ~]# systemctl enable --now httpd
Created symlink /etc/systemd/system/multi-user.target.wants/httpd.service →
/usr/lib/systemd/system/httpd.service.
//准备一个测试用的web页面文件
[root@web1 ~]# echo "web1" > /var/www/html/index.html
[root@web1 ~]# systemctl restart httpd
[root@web2 ~]# echo "web2" > /var/www/html/index.html
[root@web2 ~]# systemctl restart httpd
[root@web2 ~]# grep "^Listen" /etc/httpd/conf/httpd.conf
Listen 8080
[root@web2 ~]# ss -antl
State             Recv-Q            Send-Q                       Local Address:Port                       Peer Address:Port
LISTEN            0                 128                                0.0.0.0:22                              0.0.0.0:*
LISTEN            0                 128                                      *:8080                                  *:*
LISTEN            0                 128                                   [::]:22                                 [::]:*


1.关闭防火墙和selinux
//在所有主机上关闭防火墙和selinux
[root@haproxy ~]# systemctl disable --now firewalld.service
Removed /etc/systemd/system/multi-user.target.wants/firewalld.service.
Removed /etc/systemd/system/dbus-org.fedoraproject.FirewallD1.service.
[root@haproxy ~]# setenforce 0

[root@web1 ~]# systemctl disable --now firewalld.service
Removed /etc/systemd/system/multi-user.target.wants/firewalld.service.
Removed /etc/systemd/system/dbus-org.fedoraproject.FirewallD1.service.
[root@web1 ~]# setenforce 0

[root@web2 ~]# systemctl disable --now firewalld.service
Removed /etc/systemd/system/multi-user.target.wants/firewalld.service.
Removed /etc/systemd/system/dbus-org.fedoraproject.FirewallD1.service.
[root@web2 ~]# setenforce 0
2.安装haproxy并创建用户
//首先安装所需要的依赖包
[root@haproxy ~]# curl -o /etc/yum.repos.d/CentOS-Base.repo https://mirrors.aliyun.com/repo/Centos-vault-8.5.2111.repo
  % Total    % Received % Xferd  Average Speed   Time    Time     Time  Current
                                 Dload  Upload   Total   Spent    Left  Speed
100  2495  100  2495    0     0  14763      0 --:--:-- --:--:-- --:--:-- 14763
[root@haproxy ~]# yum clean all
Updating Subscription Management repositories.
Unable to read consumer identity
This system is not registered to Red Hat Subscription Management. You can use subscription-manager to register.
12 files removed
[root@haproxy ~]# yum makecache
Updating Subscription Management repositories.
Unable to read consumer identity
This system is not registered to Red Hat Subscription Management. You can use subscription-manager to register.
CentOS-8.5.2111 - Base - mirrors.aliyun.com                                                            23 kB/s | 3.9 kB     00:00
CentOS-8.5.2111 - Extras - mirrors.aliyun.com                                                         7.7 kB/s | 1.5 kB     00:00
CentOS-8.5.2111 - AppStream - mirrors.aliyun.com                                                       33 kB/s | 4.3 kB     00:00
Metadata cache created.
[root@haproxy ~]# yum -y install make gcc pcre-devel bzip2-devel openssl-devel systemd-devel vim wget
省略 . . .
[root@haproxy ~]# useradd -r -M -s /sbin/nologin haproxy
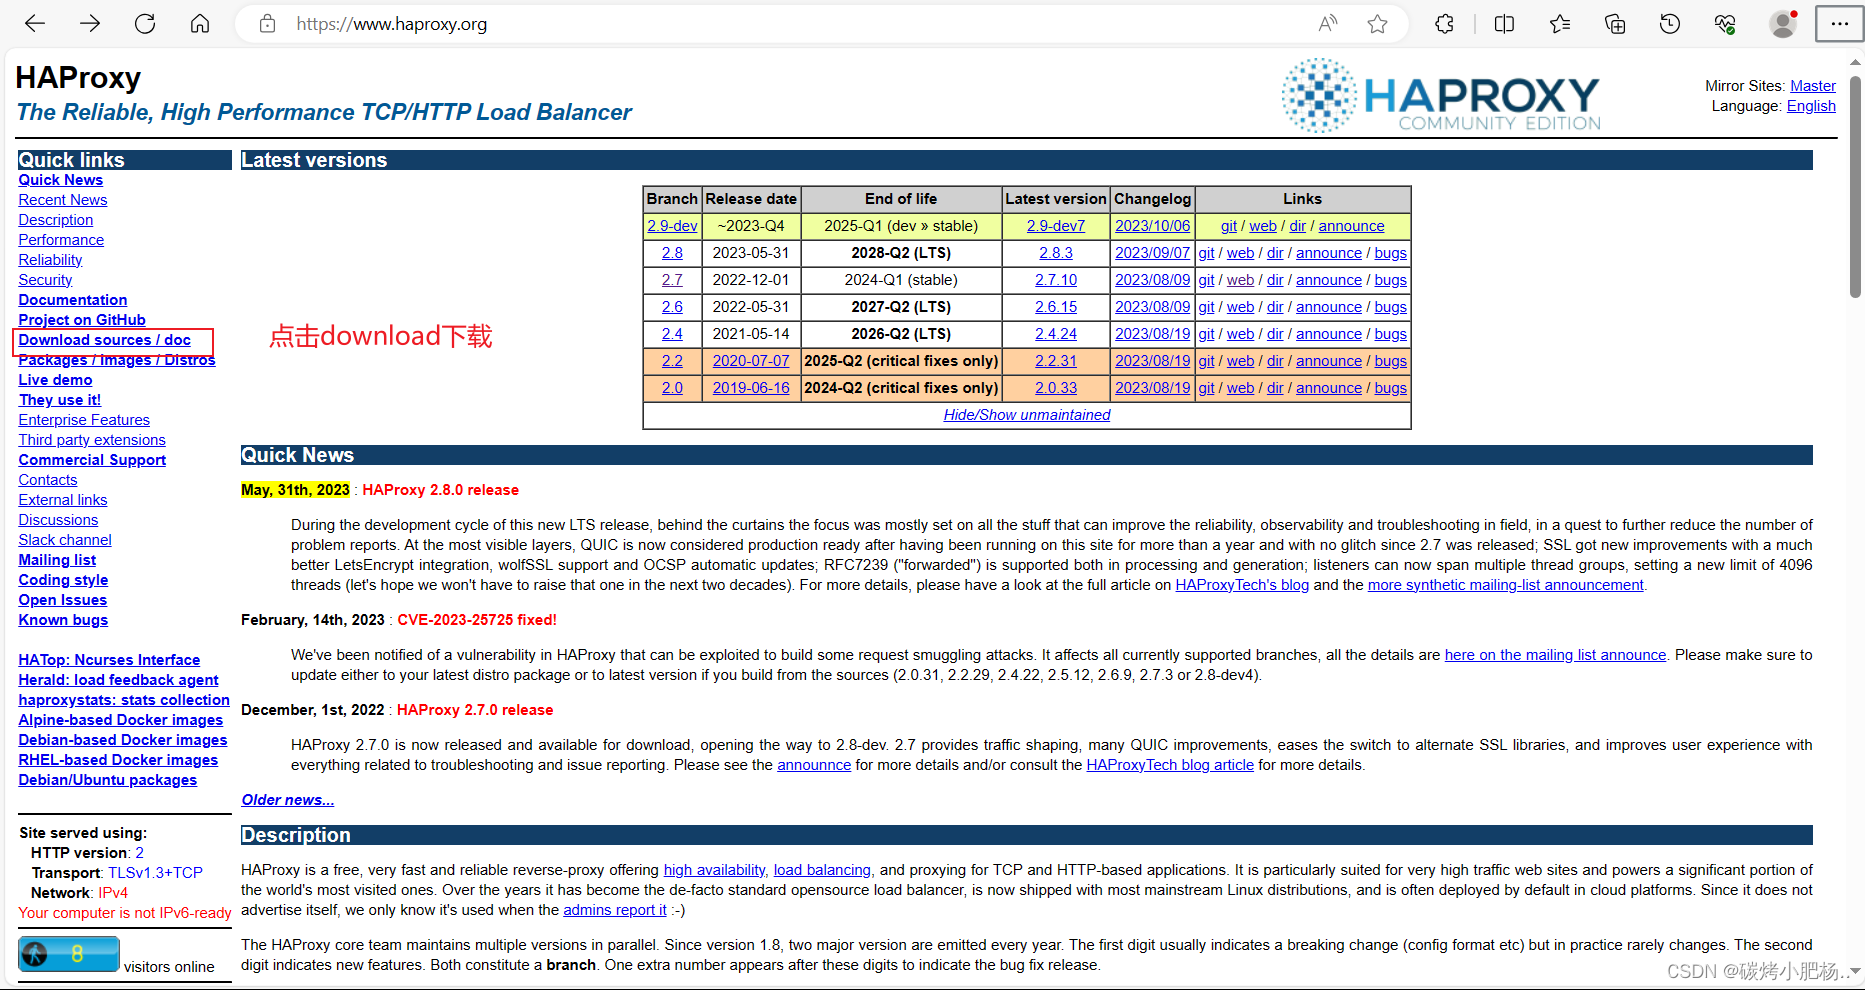
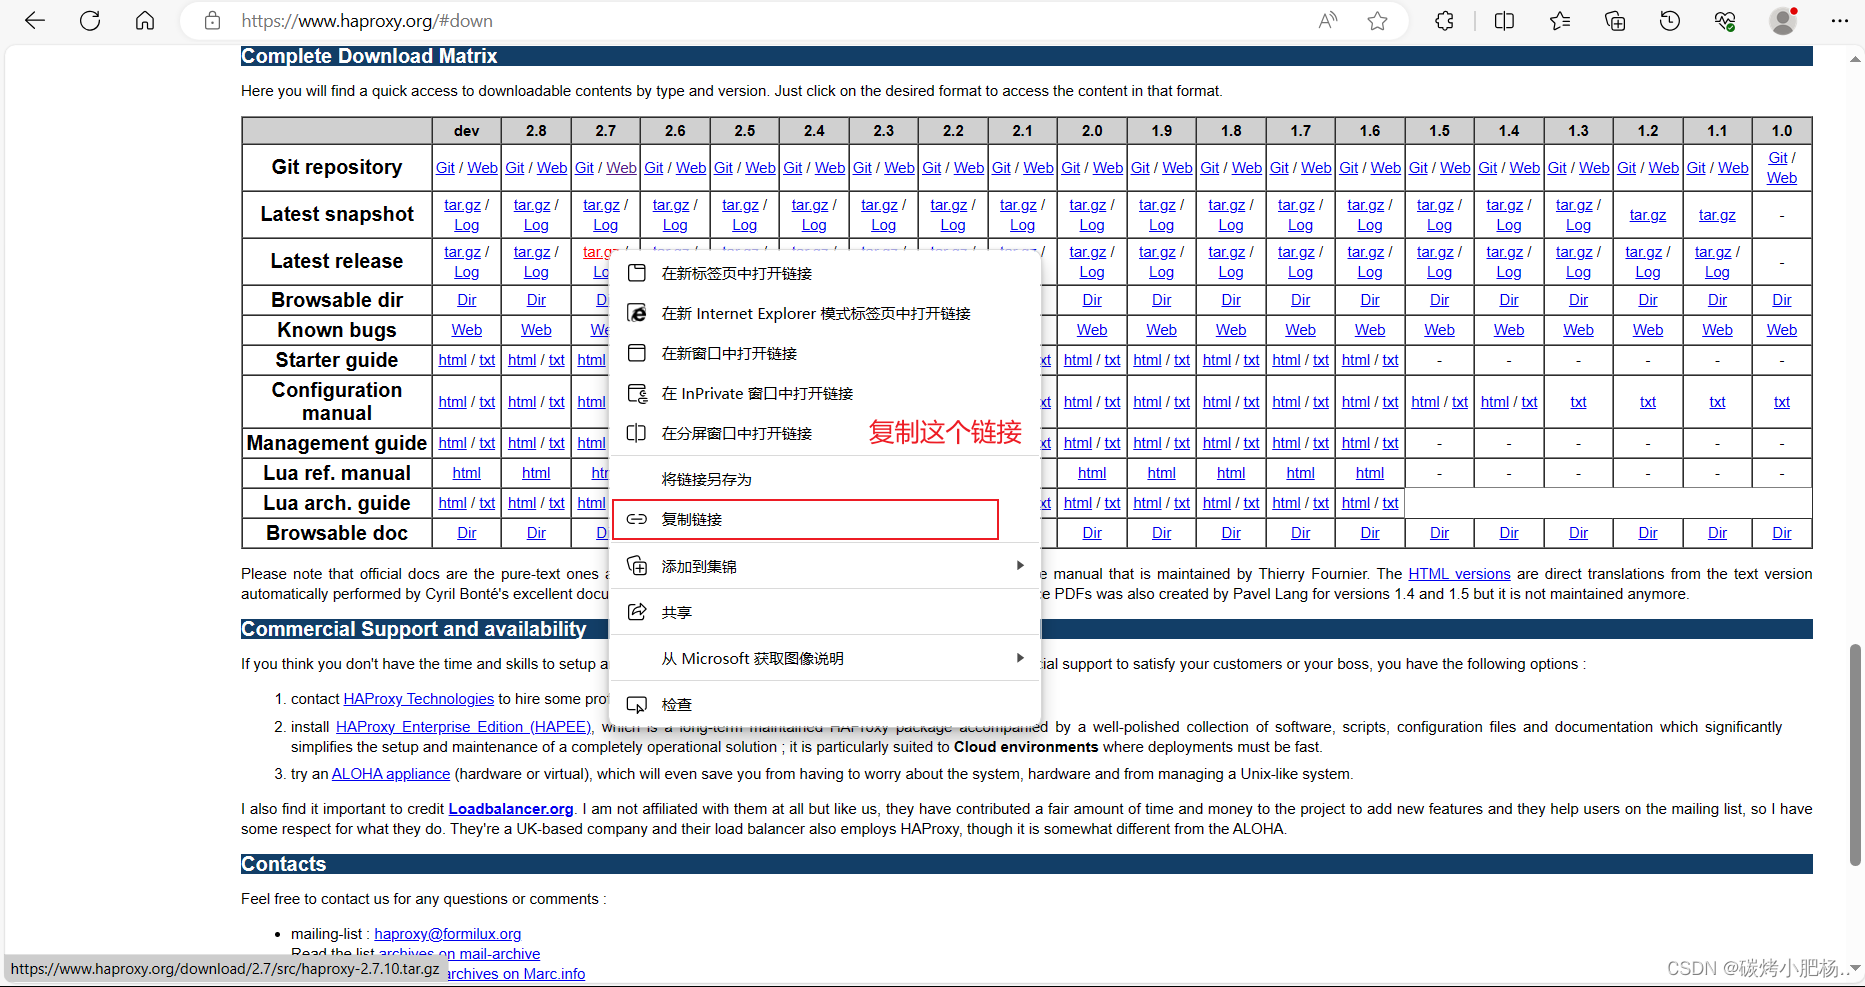
进入haproxy官网拉取软件包
HAProxy - The Reliable, High Perf. TCP/HTTP Load Balancer
//使用wget命令拉取haproxy软件包
[root@haproxy ~]# wget https://www.haproxy.org/download/2.7/src/haproxy-2.7.10.tar.gz
--2023-10-09 22:33:51--  https://www.haproxy.org/download/2.7/src/haproxy-2.7.10.tar.gz
Resolving www.haproxy.org (www.haproxy.org)... 51.15.8.218, 2001:bc8:35ee:100::1
Connecting to www.haproxy.org (www.haproxy.org)|51.15.8.218|:443... connected.
HTTP request sent, awaiting response... 200 OK
Length: 4191948 (4.0M) [application/x-tar]
Saving to: ‘haproxy-2.7.10.tar.gz’

haproxy-2.7.10.tar.gz             100%[===========================================================>]   4.00M  11.9KB/s    in 5m 1s

2023-10-09 22:38:53 (13.6 KB/s) - ‘haproxy-2.7.10.tar.gz’ saved [4191948/4191948]

[root@haproxy ~]# ls
anaconda-ks.cfg  haproxy-2.7.10.tar.gz         //软件包成功拉取

//解压并进入该目录进行编译
[root@haproxy ~]# tar xf haproxy-2.7.10.tar.gz
[root@haproxy ~]# ls
anaconda-ks.cfg  haproxy-2.7.10  haproxy-2.7.10.tar.gz
[root@haproxy ~]# cd haproxy-2.7.10/
[root@haproxy haproxy-2.7.10]# ls
addons  BRANCHES   CONTRIBUTING  doc       include  LICENSE      Makefile  reg-tests  src      tests    VERSION
admin   CHANGELOG  dev           examples  INSTALL  MAINTAINERS  README    scripts    SUBVERS  VERDATE
[root@haproxy haproxy-2.7.10]# make clean    //该命令用于清理之前编译的参数
[root@haproxy haproxy-2.7.10]# make -j $(nproc) TARGET=linux-glibc USE_OPENSSL=1 USE_ZLIB=1 USE_PCRE=1 USE_SYSTEMD=1   //此处的nproc是一个变量,指的是本机的cpu核心数,通过CPU核心数来编译,核心数越多,编译速度越快

//进行安装,指定路径
[root@haproxy haproxy-2.7.10]# make install PREFIX=/usr/local/haproxy

//进入指定路径查看
[root@haproxy haproxy-2.7.10]# ls /usr/local/
bin  etc  games  haproxy  include  lib  lib64  libexec  sbin  share  src
[root@haproxy haproxy-2.7.10]# ls /usr/local/haproxy/
doc  sbin  share
[root@haproxy haproxy-2.7.10]# cd /usr/local/haproxy/
[root@haproxy haproxy]# ls sbin/
haproxy
[root@haproxy haproxy]# file sbin/haproxy      //此文件为haproxy的一个执行程序,并非脚本
sbin/haproxy: ELF 64-bit LSB executable, x86-64, version 1 (SYSV), dynamically linked, interpreter /lib64/ld-linux-x86-64.so.2, for GNU/Linux 3.2.0, BuildID[sha1]=c86975b3859e52a8d3ee839dcb84199be4c6419c, with debug_info, not stripped

//设置环境变量(此处通过软链接的方式设置环境变量)
[root@haproxy haproxy]# ln -s /usr/local/haproxy/sbin/* /usr/sbin/
[root@haproxy haproxy]# which haproxy
/usr/sbin/haproxy

//查看haproxy的版本,能够查看版本,则说明我们这个命令是可以使用的
[root@haproxy ~]# haproxy -v
HAProxy version 2.7.10-d796057 2023/08/09 - https://haproxy.org/
Status: stable branch - will stop receiving fixes around Q1 2024.
Known bugs: http://www.haproxy.org/bugs/bugs-2.7.10.html
Running on: Linux 4.18.0-193.el8.x86_64 #1 SMP Fri Mar 27 14:35:58 UTC 2020 x86_64
3.配置各个负载的内核参数
1."net.ipv4.ip_nonlocal_bind"参数用于控制是否允许进程绑定到非本地IP地址。设置为1表示允许进程通过监听非本地IP地址来处理网络连接。
2."net.ipv4.ip_forward"参数用于控制是否启用IP转发功能。设置为1表示启用IP转发,允许Linux系统将收到的数据包从一个网络接口转发到另一个网络接口,从而实现数据包的路由功能。
3.重新加载sysctl配置以使之生效,可以使用"sysctl -p"命令或重启系统来应用更改。

[root@haproxy haproxy]# echo 'net.ipv4.ip_nonlocal_bind = 1' >> /etc/sysctl.conf
[root@haproxy haproxy]# echo 'net.ipv4.ip_forward = 1' >> /etc/sysctl.conf
[root@haproxy haproxy]# sysctl -p
net.ipv4.ip_nonlocal_bind = 1
net.ipv4.ip_forward = 1
4.编写haproxys.service文件
[root@haproxy ~]# vim /usr/lib/systemd/system/haproxy.service
[root@haproxy ~]# cat /usr/lib/systemd/system/haproxy.service
[Unit]
Description=HAProxy Load Balancer
After=syslog.target network.target

[Service]
ExecStartPre=/usr/sbin/haproxy -f /etc/haproxy/haproxy.cfg -c -q
ExecStart=/usr/sbin/haproxy -Ws -f /etc/haproxy/haproxy.cfg -p /var/run/haproxy.pid
ExecReload=/bin/kill -USR2 $MAINPID

[Install]
WantedBy=multi-user.target
[root@note1 haproxy]# systemctl daemon-reload  //重新加载
5.启动日志
//配置日志记录功能
[root@haproxy ~]# vim /etc/rsyslog.conf
[root@haproxy ~]# cat /etc/rsyslog.conf
# Save boot messages also to boot.log
local0.*          /var/log/haproxy.log //添加此行
local7.*          /var/log/boot.log
//重启日志服务
[root@haproxy ~]# systemctl restart rsyslog.service
6.提供配置文件
//配置man文档
[root@haproxy share]# pwd
/usr/local/haproxy/share
[root@haproxy share]# vim /etc/man_db.conf
[root@haproxy share]# grep '^MANDATORY_MANPATH' /etc/man_db.conf
MANDATORY_MANPATH			/usr/man
MANDATORY_MANPATH			/usr/share/man
MANDATORY_MANPATH			/usr/local/share/man
MANDATORY_MANPATH           /usr/local/haproxy/share/man   //将haproxy的man文档写入到该文件
[root@DR share]# man haproxy   //随后我们就可以使用此命令更方便的查看帮助文档

//编写配置文件
[root@haproxy ~]# mkdir /etc/haproxy
[root@haproxy ~]# vim /etc/haproxy/haproxy.cfg
[root@haproxy ~]# cat /etc/haproxy/haproxy.cfg
#--------------全局配置----------------
global
log 127.0.0.1 local0 info
#log loghost local0 info
maxconn 20480
#chroot /usr/local/haproxy
pidfile /var/run/haproxy.pid
#maxconn 4000
user haproxy
group haproxy
daemon
#---------------------------------------------------------------------
#common defaults that all the 'listen' and 'backend' sections will
#use if not designated in their block
#---------------------------------------------------------------------
defaults
mode http
log global
option dontlognull
option httpclose
option httplog
#option forwardfor
option redispatch
balance roundrobin
timeout connect 10s
timeout client 10s
timeout server 10s
timeout check 10s
maxconn 60000
retries 3
#--------------统计页面配置------------------
listen admin_stats
bind 0.0.0.0:8189
stats enable
mode http
log global
stats uri /haproxy_stats //访问状态页面的URI
stats realm Haproxy\ Statistics
stats auth admin:admin //登录状态页面的用户名和密码,可自行修改
#stats hide-version
stats admin if TRUE
stats refresh 30s
#---------------web设置-----------------------
listen webcluster
bind 0.0.0.0:80
mode http
#option httpchk GET /index.html
log global
maxconn 3000
balance roundrobin
cookie SESSION_COOKIE insert indirect nocache
server web1 192.168.179.11:80 check inter 2000 fall 5 //添加的后端服务器
server web2 192.168.179.12:80 check inter 2000 fall 5 //添加的后端服务器
#server web1 192.168.179.1:80 cookie web01 check inter 2000 fall 5
[root@haproxy haproxy]# ls
haproxy.cfg
[root@haproxy haproxy]# vim haproxy.cfg   //进入配置文件进行编辑
[root@haproxy haproxy]# tail -12 haproxy.cfg
#---------------web设置-----------------------
listen webcluster
    bind 0.0.0.0:80
    mode http
    #option httpchk GET /index.html
    log global
    maxconn 3000
    balance roundrobin
    cookie SESSION_COOKIE insert indirect nocache
    server web01 192.168.195.134:80 check inter 2000 fall 5   //加入我们做负载均衡的两台主机
    server web01 192.168.195.135:8080 check inter 2000 fall 5   配置每次检测间隔为2s,检查五次失败,也就是超过十秒都没有进行转发,这自动将该主机踢出群集
    #server web01 192.168.80.102:80 cookie web01 check inter 2000 fall 5

//重启haproxy服务,并将haproxy服务设置开机自启
[root@haproxy haproxy]# systemctl enable --now  haproxy.service
Created symlink /etc/systemd/system/multi-user.target.wants/haproxy.service → /usr/lib/systemd/system/haproxy.service.
[root@haproxy haproxy]# systemctl status haproxy.service
● haproxy.service - HAProxy Load Balancer
   Loaded: loaded (/usr/lib/systemd/system/haproxy.service; disabled; vendor preset: disabled)
   Active: active (running) since Tue 2023-10-10 01:09:07 CST; 9s ago
  Process: 12021 ExecStartPre=/usr/sbin/haproxy -f /etc/haproxy/haproxy.cfg -c -q (code=exited, status=0/SUCCESS)
 Main PID: 12024 (haproxy)
    Tasks: 3 (limit: 11294)

//查看端口
[root@haproxy haproxy]# ss -antl
State             Recv-Q            Send-Q                       Local Address:Port                       Peer Address:Port
LISTEN            0                 128                                0.0.0.0:80                              0.0.0.0:*
LISTEN            0                 128                                0.0.0.0:22                              0.0.0.0:*
LISTEN            0                 128                                0.0.0.0:8189                            0.0.0.0:*
LISTEN            0                 128                                   [::]:22                                 [::]:*
7.访问负载均衡器的http页面测试
刷新界面则会在web1和web2主机之间切换,实现负载均衡

由此可以看出,只要我们在haproxy的配置文件中指定了web服务器的端口号,那么都将在我们以我们的haproxy主机的ip的80端口进行访问

HAProxy的配置相对灵活,可以在配置文件中定义多个前端监听端口和后端服务器,还可以指定负载均衡算法、健康检查、SSL终止等功能。配置文件中还可以设置ACL(Access Control List)规则,用于根据请求的属性进行条件路由和访问控制。
HAProxy可以应用于各种场景,如Web服务器负载均衡、应用程序的高可用性、反向代理、SSL终止等。它被广泛应用于大型互联网公司和企业,以提供高效、可靠的服务。
需要注意的是,HAProxy虽然功能强大,但在一些特定场景下可能无法满足需求,因此在选择使用HAProxy之前,需要对具体的应用需求进行评估,并结合实际情况进行配置和部署。


 163
163


 被折叠的 条评论
为什么被折叠?
被折叠的 条评论
为什么被折叠?
 到【灌水乐园】发言


