


目录
latex文件的组织方式
\include{<filename>} <filename>参数为文件名(.tex文件)建议将文件放在同一个文件夹中,如果不在一个目录中,就要加上绝对路径
latex中的字符
行末的回车视为一个空格;但连续两个回车,也就是空行,会将文字分段。多个空行被视为一个空行。也可以在行末使用\par命令分段。
latex中的强调
latex强调文字的办法有添加下划线等装饰物或者是改变文字的字体
\underline{}为其内容添加下划线
\emph命令用来将文字变为斜体以示强调
latex中的分页和断行
我们可以使用字符~在合适的位置插入一个不会断行的空格,通常用在英文人名、图表名称等场景
①如果需要手动断行可以使用\\符号或者\newline
②分页命令有两个:\newpage or \clearpage
(通常情况下两个命令都能起到另起一页的作用,但有一些区别一实在双栏排版中\newpage只起到另起一栏的作用)
latex中文档元素
一篇结构化的、条理清晰文档一定是层次分明的,通过不同的命令分别为章、节、小节。三个标注文档类article、report和book提供了划分章节的命令:
\chapter{<title>}\section{<title>}\subsection{<title>}\subsubsection{<title>}\paragraph{<title>}\subparagraph{<title>}
其中\chapter只在book和report文档类有定义。这些命令生成章节标题,并能够自动编号。除此之外latex还提供了\par命令,用来将整个文档分割为大的分块,但不影响\chapter或section等的编号
latex的环境
列表环境
latex提供了基本的有序和无序列表环境enumerate和itemize,两者用法很类似,都用\item表明每个列表项。enumerate环境会自动对列表项编号。
1.有序列表
%导言区
\documentclass{article}


%正文区
\begin{document}
	\begin{enumerate}
		\item hello
		\item LaTex
	\end{enumerate}
\end{document}
2.无序列表
%导言区
\documentclass{article}


%正文区
\begin{document}
	\begin{itemize}
		\item hello
		\item LaTex
	\end{itemize}
\end{document} 
代码环境
有时候我们需要将一段代码输出,这就要用到代码环境verbatim
%导言区
\documentclass{ctexart}


%正文区
\begin{document}
	\begin{verbatim}
		clc;clear all;
		R=1;%PD探测器探测系数
		f_RF=0e9:0.00075e9:80e9;
		c=3e8;%光速
		D_q=17.9e-6;
		L=5e3;单位m;单模光纤的长度
		v1=0.9e-9;%波长间隔
	\end{verbatim}
\end{document}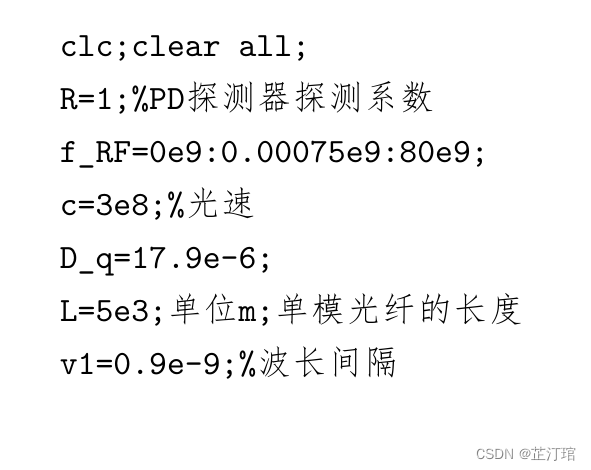
“htbp”命令
[htbp]为调整图片等浮动体排版位置选项,说明如下:
[h]当前位置。将图片放置在正文文本中给出该图形环境的地方。如果本页所剩下的页面不够,这一参数将不起作用。
[t]顶部。将图形放置在页面的顶部。
[b]底部。将图形放置在页面的底部。
[p]浮动页。将图形放置在一只允许有浮动对象的页面上。
latex中的表格
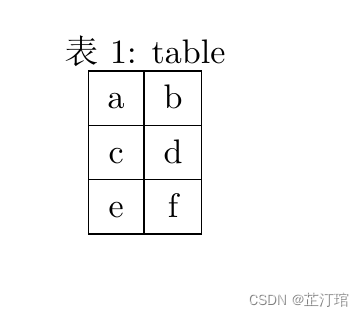
排版表格最基本的tabular环境用法为:
%导言区
\documentclass{ctexart}


%正文区
\begin{document}
	\begin{table}[h] %l左c居中r对齐 |竖线\hline横线 ||双竖线\hline\hline双横线
	 	 \centering%居中
	 	 \caption{table}%标题
	 	 \begin{tabular}{|c|c|}%真正对表格进行缩写
	 	 	\hline
	 	 	a&b\\\hline %\\表示换行 \hline表示横线
	 	 	c&d\\\hline
	 	 	e&f\\\hline
	 	 \end{tabular}
	\end{table}
\end{document}
效果:
latex中的图片
latex本身不支持插图功能,需要由graphicx宏包辅助支持(推荐使用Xelatex编译)
插入一张图片
\documentclass{ctexart}
\usepackage{graphicx}


%正文区
\begin{document}
	\begin{figure}[h]
	\centering%居中
	\includegraphics[width=10cm,height=8cm]{pic/sanya}%[参数设置图片格式],pic是图片所在的文件夹,sanya是该图片的名字
	\caption{这是一张图片,名为sanya}
    \end{figure}
\end{document}
需要注意的是latex目前只支持jpg、jpeg、png格式的图片,其他格式会报错
效果: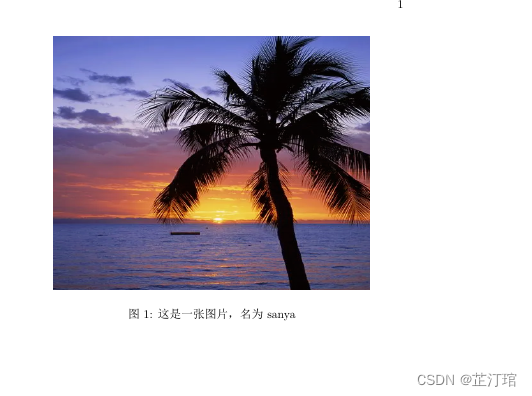
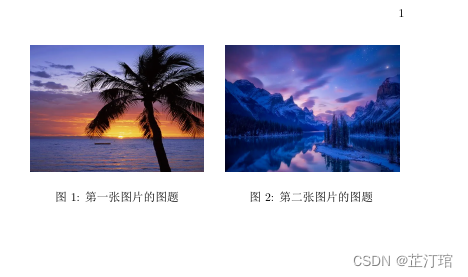
两图并排
当然当我们需要图片格式是两图并排的时候我们需要这样设置
%导言区
\documentclass{ctexart}
\usepackage{graphicx}%插入的宏包


%正文区
\begin{document}
	\begin{figure}[h]
	\begin{minipage}[t]{0.5\linewidth}
		\centering
		\includegraphics[width=5.5cm,height=4cm]{pic/sanya}
		\caption{第一张图片的图题}
	\end{minipage}
	\begin{minipage}[t]{0.5\linewidth}
		\hspace{2mm} %位调块命令
	    \includegraphics[width=5.5cm,height=4cm]{pic/yangsuo}
		\caption{第二张图片的图题}
	\end{minipage}
    \end{figure}
\end{document}
效果:
插入图进行比较
这时我们需要加入subfigure宏包
%导言区
\documentclass{ctexart}
\usepackage{graphicx}%插入的宏包
\usepackage{subfigure}


%正文区
\begin{document}
	\begin{figure}[htbp]
	\centering
	\subfigure[1]{
	\includegraphics[scale=0.5]{pic/sanya}\label{1}
	}        %scale=+缩放倍数(缩放到原图多少倍)
	\quad%空格
	\subfigure[2]{	\includegraphics[scale=0.5]{pic/sanya}\label{2}
	}
	\quad%空格
	\subfigure[3]{	\includegraphics[scale=0.5]{pic/sanya}\label{3}
	}
	\quad%空格
		\subfigure[4]{	\includegraphics[scale=0.5]{pic/sanya}\label{4}
	}
	\caption{Experimental results of the authors}
    \end{figure}
\end{document}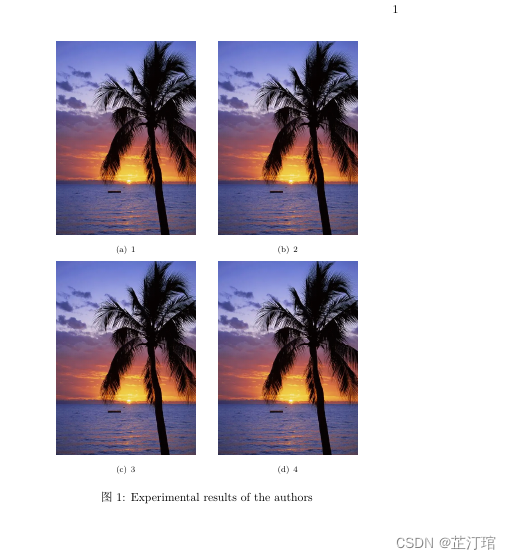
latex中的数学公式
数学公式有两种排版方式:其一是与文字混排,称为行内公式;
其二是单独列为一行排版,称为行间公式。、
行内公式
行内公式由一对$符号内的表示:
$数学公式$
行间公式
单独成行的行间公式在latex里由equation环境包裹
equation环境为公式自动生成一个编号,这个编号可以用\label和\ref生成交叉引用,amsmath 的\eqref命令甚至为引用自动加上圆括号;
还可以用\tag命令手动修改公式的编号,或者用\notag命令取消为公式编号(与之基本等效的命令是\nonumber)
\begin{equation}
f(x)=ax+b
\end{equation}
更多的情况是,我们需要罗列一系列公式,并令其按照等号对齐。我们需要引入amsmath包目前最常用的是align环境,它将公式用&隔为两部分并对齐。分隔符通常放在等号左边:
%导言区
\documentclass{ctexart}
\usepackage{amsmath}

%正文区
\begin{document}
	\begin{align}
		a&=b+c\\
		&=d+e
	\end{align}
\end{document}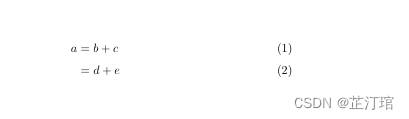
矩阵
为了排版二维数组,latex提供了array环境,用法与tabular环境极为类似,也需要定义列格式,并用\\换行。数组可作为一个公式块,在外套用\left、\right等定界符:
%导言区
\documentclass{ctexart}
\usepackage{amsmath}

%正文区
\begin{document}
	\[\mathbf{X}=\left(
	\begin{array}{ccc}
		x_{11}&x_{12}&x_{13}\\
		x_{21}&x_{22}&x_{23}\\
		x_{31}&x_{32}&x_{33}\\
	\end{array}\right)\]%数学模式
\end{document}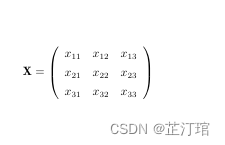
排版样式设定
字体相关
详情请见之前笔记http://t.csdn.cn/VExfl
页眉页脚
latex的不同document也拥有不同的页眉页脚格式,页眉页脚自动生成,能够满足大部分的情况,若想要实现自定义页眉页脚,可以使用fancyhdr宏包
%导言区
\documentclass{article}
\usepackage{fancyhdr}
\pagestyle{fancy}
\lhead{}%页眉左边无
\chead{}%页眉中间无
\rhead{My LaTex document}%页眉右边
\lfoot{}%页脚左边无
\cfoot{\thepage}%页脚中间页数
\rfoot{ZhiTingguan}%页脚右边作者名
\renewcommand{\headrulewidth}{0.4pt}%页眉横线,[]设置线宽
\renewcommand{\footrulewidth}{0.4pt}%页脚横线,[]设置线宽
%正文区
\begin{document}

	\[\mathbf{X}=\left(
	\begin{array}{cccc}
		x_{11}&x_{12}&\ldots&x_{1n}\\
		x_{21}&x_{22}&\ldots&x_{2n}\\
		\vdots&\vdots&\ddots&\vdots\\
		x_{n1}&x_{n2}&\ldots&x_{nn}\\
	\end{array}\right)\]%数学模式
\end{document}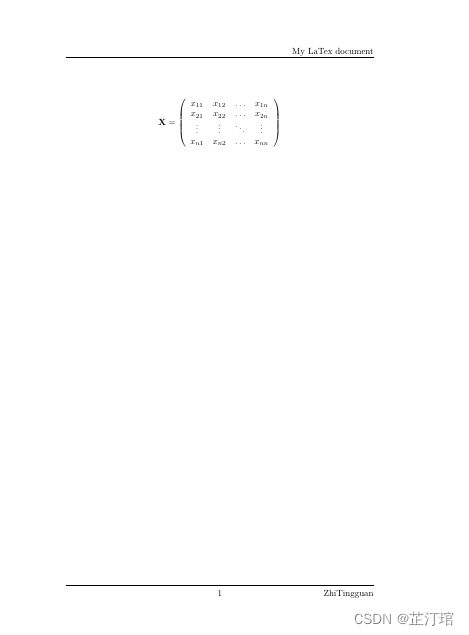
参考文献的引用
①手动写入
%导言区
\documentclass{article}
\usepackage{hyperref}

%正文区
\begin{document}
	text text text\cite{01} text text text\cite{02} text text text text text text text text text text text text text text text\cite{01} text text text text text text text text text text text text text text text\cite{03} text text text text text text text text text text text text text text text text text text text text
\begin{thebibliography}{99}%参考文献环境,99为可容纳参考文献数量
	\bibitem{01}A robust two-stage transit-based evacuation model for large-scale disaster response [J] . Xuehong Gao,Moddassir Khan Nayeem,Ibrahim M. Hezam.  Measurement . 2019
                %\bibtem{编号}+从百度词条粘贴的参考文献
	\bibitem{02}An optimization and simulation approach to emergency stations relocation. [J] . ?udmila Jáno?íková,Marek Kvet,Peter Jankovi?,Lydia Gábri?ová.  Central European Journal of Operations Research . 2019 (3)
	\bibitem{03}Uncertain multi-objective multi-commodity multi-period multi-vehicle location-allocation model for earthquake evacuation planning [J] . Peiman Ghasemi,Kaveh Khalili-Damghani,Ashkan Hafezolkotob,Sadigh Raissi.  Applied Mathematics and Computation . 2019
\end{thebibliography}
\end{document}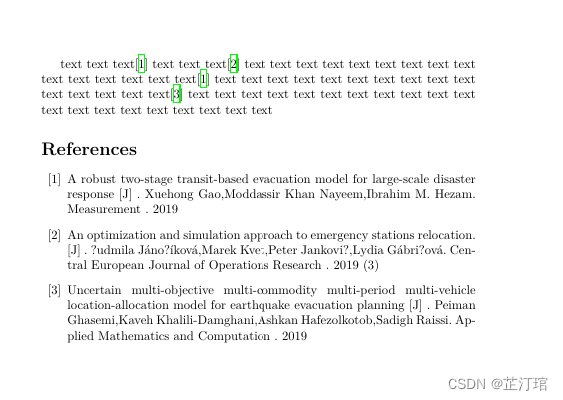
②bib文件智能化生成
首先我们要在与tex同文件路径下新建一个bib后缀文件,保存并运行
@article{name1,
	author = {作者, 多个作者用 and 连接},
	title = {标题},
	journal = {期刊名},
	volume = {卷20},
	number = {页码},
	year = {年份},
	abstract = {摘要, 这个主要是引用的时候自己参考的, 这一行不是必须的}
}
@book{name2,
	author ="作者",
	year="年份2008",
	title="书名",
	publisher ="出版社名称"
}
其次再到tex文件编写
%导言区
\documentclass{ctexart}
\usepackage{hyperref}
	\bibliographystyle{plain} %插入plain的参考文献格式

%正文区
\begin{document}
	text text text\cite{name1} text text text\cite{name2} text text text text text text text text text text text text text text text\cite{name1} text text text text text text text text text text text text text text text\cite{name2} text text text text text text text text text text text text text text text text text text text text

	\bibliography{Ref} %插入你自己命名的Ref.bib参考文献文件

\end{document}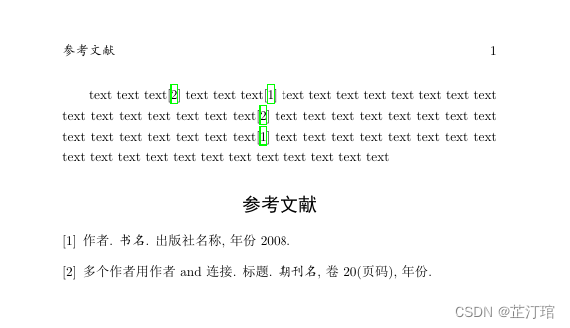
详情可见【LaTeX 直播之四 - LaTeX 参考文献自动化处理】 https://www.bilibili.com/video/BV1m64y1c7ZP/?share_source=copy_web&vd_source=9718f9235effd667c7f4aab6044ce046(十分详细)


 434
434


 被折叠的 条评论
为什么被折叠?
被折叠的 条评论
为什么被折叠?
 到【灌水乐园】发言


