<template>
<div>
</div>
</template>
<script setup>
import * as THREE from 'three'
import {GUI} from 'three/examples/jsm/libs/lil-gui.module.min.js'
// 初始化场景--抗锯齿
const scene =new THREE.Scene()
const camera= new THREE.PerspectiveCamera(45,window.innerWidth/window.innerHeight, 1, 2000)
// camera.position.set(-3.23,2.98,4.06)
camera.position.z = 1000;
const renderer=new THREE.WebGLRenderer({
antialias:true,
})
renderer.setSize(window.innerWidth,window.innerHeight)
renderer.setPixelRatio( window.devicePixelRatio );
renderer.useLegacyLights = false;
document.body.appendChild(renderer.domElement)
// 物体
/*
点(Points)----点材质(PointsMaterial)
1.点的位置
const vertices = [0,0,0];
const geometry = new THREE.BufferGeometry();
geometry.setAttribute( 'position', new THREE.Float32BufferAttribute( vertices, 3 ) );
2.材质,点颜色大小
const material = new THREE.PointsMaterial( { color: 0x888888,size:15, } );
3.添加点
const points = new THREE.Points( geometry, material );
scene.add( points );
数学函数(MathUtils)
.randFloatSpread ( range : Float ) : Float 在区间 [- range / 2, range / 2] 内随机一个浮点数。
*/
// const vertices = [0,0,0];
// 随机一万个点
const vertices = [];
for ( let i = 0; i < 10000; i ++ ) {
const x = THREE.MathUtils.randFloatSpread( 2000 );
const y = THREE.MathUtils.randFloatSpread( 2000 );
const z = THREE.MathUtils.randFloatSpread( 2000 );
vertices.push( x, y, z );
}
const geometry = new THREE.BufferGeometry();
geometry.setAttribute( 'position', new THREE.Float32BufferAttribute( vertices, 3 ) );
// const material = new THREE.PointsMaterial( { color: 0xff0000,size:15, } );
// const points = new THREE.Points( geometry, material );
// scene.add( points );
// 贴图加载
const textureLoader = new THREE.TextureLoader();
const assignSRGB = ( texture ) => {
texture.colorSpace = THREE.SRGBColorSpace;
};
const sprite1 = textureLoader.load( 'src/assets/snowflake1.png', assignSRGB );
const sprite2 = textureLoader.load( 'src/assets/snowflake2.png', assignSRGB );
const sprite3 = textureLoader.load( 'src/assets/snowflake3.png', assignSRGB );
const sprite4 = textureLoader.load( 'src/assets/snowflake4.png', assignSRGB );
const sprite5 = textureLoader.load( 'src/assets/snowflake5.png', assignSRGB );
let color=[[ 1.0, 0.2, 0.5 ], [ 0.95, 0.1, 0.5 ],[ 0.90, 0.05, 0.5 ],[ 0.85, 0, 0.5 ],[ 0.80, 0, 0.5 ],]
let sprite=[sprite2,sprite3,sprite1,sprite5,sprite4,]
let size=[20,15,10,8,5]
let materials=[]
// let parameters = [
// [[ 1.0, 0.2, 0.5 ], sprite2, 20 ],
// [[ 0.95, 0.1, 0.5 ], sprite3, 15 ],
// [[ 0.90, 0.05, 0.5 ], sprite1, 10 ],
// [[ 0.85, 0, 0.5 ], sprite5, 8 ],
// [[ 0.80, 0, 0.5 ], sprite4, 5 ]
// ];
for ( let i = 0; i < sprite.length; i ++ ) {
materials[ i ] = new THREE.PointsMaterial( {
size: size[ i ] ,
// size: 35,
map: sprite[ i ] ,
sizeAttenuation: true, //.sizeAttenuation : Boolean 指定点的大小是否因相机深度而衰减。(仅限透视摄像头。)默认为true。
// 贴图的背景透明
blending: THREE.AdditiveBlending,
depthTest: false,
transparent: true
} );
materials[ i ].color.setHSL( color[ i ][ 0 ], color[ i ][ 1 ], color[ i ][ 2 ], THREE.SRGBColorSpace );
const particles = new THREE.Points( geometry, materials[ i ] );
particles.rotation.set(Math.random() * 6,Math.random() * 6,Math.random() * 6)
scene.add( particles );
}
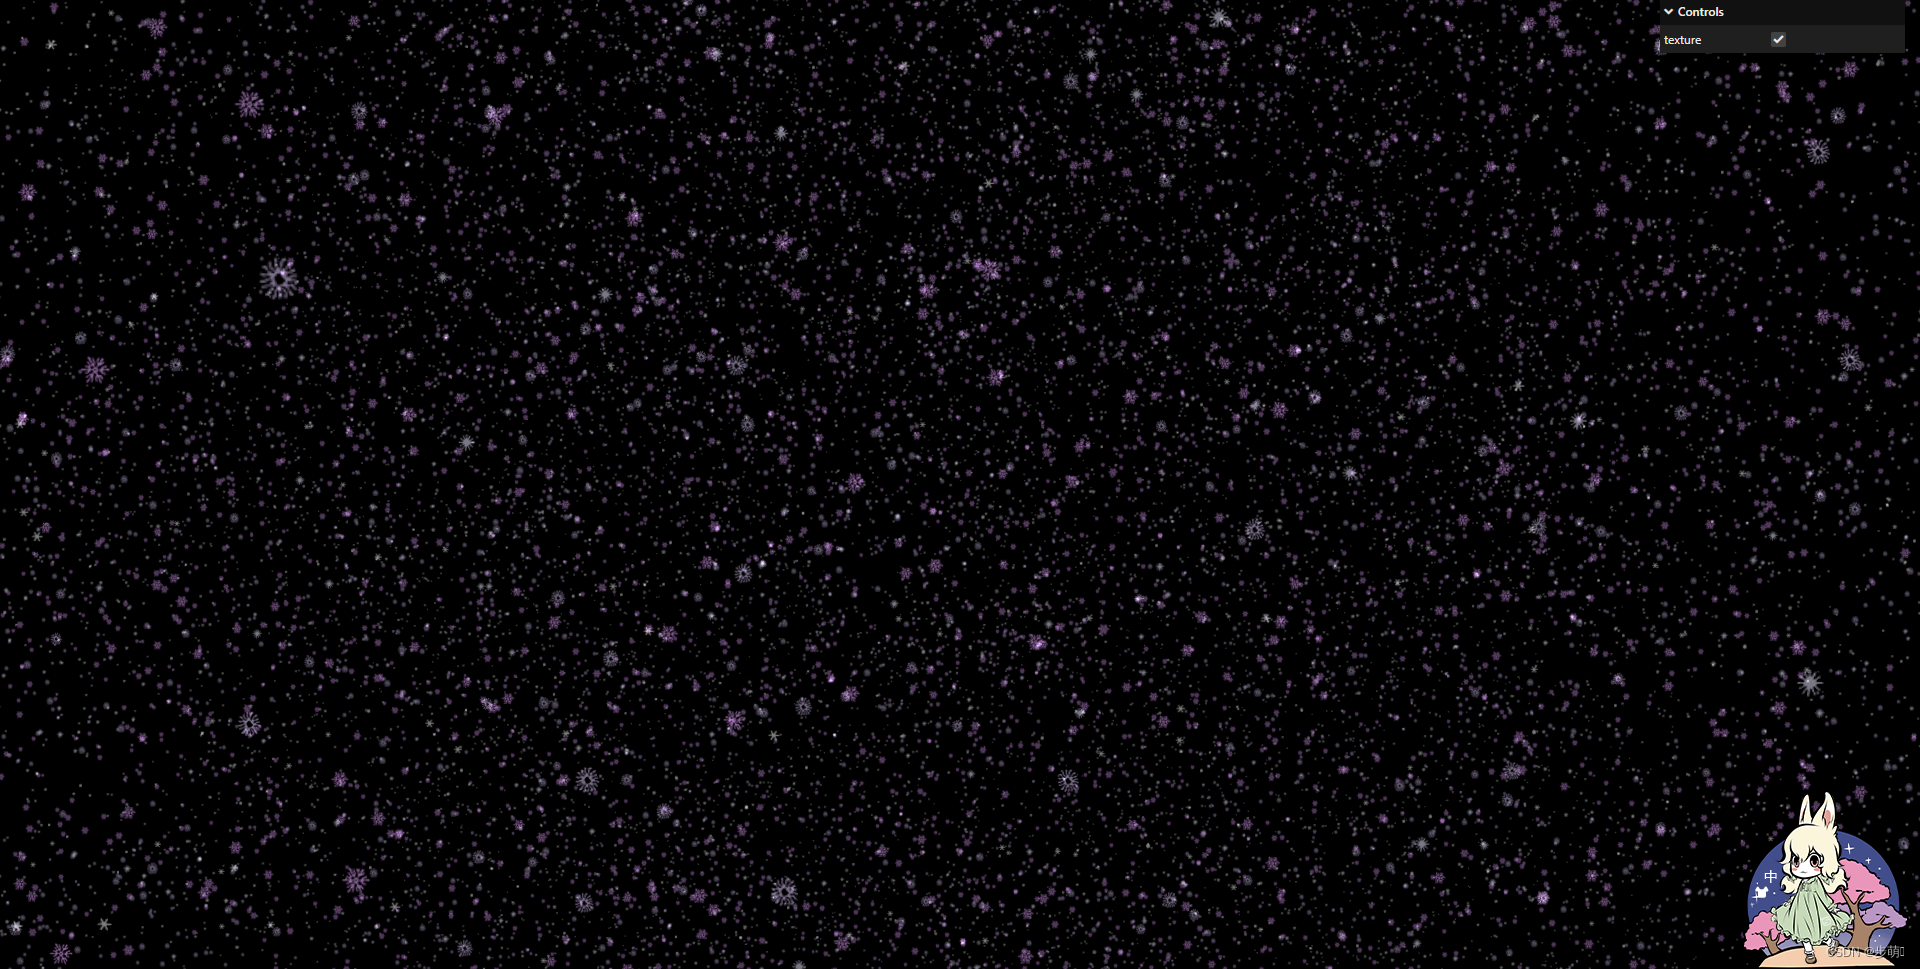
// gui----控制贴图
const gui = new GUI();
const params = {
texture: true
};
gui.add( params, 'texture' ).onChange( function ( value ) {
for ( let i = 0; i < materials.length; i ++ ) {
materials[ i ].map = ( value === true ) ? sprite[ i ]: null;
materials[ i ].needsUpdate = true;
}
} );
gui.open();
// 鼠标移动事件
/*
Pointer 指针事件是由微软推出的,统一了鼠标、手指触摸和笔的事件。
Pointer 指针事件直接继承了鼠标事件,在鼠标事件的基础上又添加了一些其他内容,处理 Pointer 指针事件和处理鼠标事件几乎一致。
pointerdown:指针按下时触发。
pointermove:指针移动时触发。
*/
let mouseX = 0, mouseY = 0;
let windowHalfX = window.innerWidth / 2;
let windowHalfY = window.innerHeight / 2;
document.body.style.touchAction = 'none';
document.body.addEventListener( 'pointermove', onPointerMove );
function onPointerMove( event ) {
if ( event.isPrimary === false ) return;
mouseX = event.clientX - windowHalfX;
mouseY = event.clientY - windowHalfY;
}
// 渲染动画
function render(){
requestAnimationFrame(render)
// 鼠标移动事件--改变摄像机位置
camera.position.x += ( mouseX - camera.position.x ) * 0.05;
camera.position.y += ( - mouseY - camera.position.y ) * 0.05;
camera.lookAt( scene.position );
// 点位置旋转
const time = Date.now() * 0.0001;
for ( let i = 0; i < scene.children.length; i ++ ) {
const object = scene.children[ i ];
if ( object instanceof THREE.Points ) {
object.rotation.y = time;
}
}
// 点颜色循环
// let color=[[ 1.0, 0.2, 0.5 ], [ 0.95, 0.1, 0.5 ],[ 0.90, 0.05, 0.5 ],[ 0.85, 0, 0.5 ],[ 0.80, 0, 0.5 ],]
for ( let i = 0; i < materials.length; i ++ ) {
const colors = color[ i ];
const h = ( 360 * ( colors[ 0 ] + time ) % 360 ) / 360;
materials[ i ].color.setHSL( h, colors[ 1 ], colors[ 2 ], THREE.SRGBColorSpace );
}
renderer.render(scene,camera)
}
render()
</script>
<style scoped>
canvas {
width: 100vw;
height: 100vh;
background-color: pink;
}
</style>


 3846
3846


 被折叠的 条评论
为什么被折叠?
被折叠的 条评论
为什么被折叠?
 到【灌水乐园】发言


