


目录
一、引言
windows课程要求,用C#编程语言进行网络连接,以百度AI的人脸识别技术为例,实现网络连接。通过调用百度AI提供的API接口,快速、准确地完成人脸特征的提取与比对,展示C#与AI技术的结合应用。
二、前期准备
1、准备百度AI接口
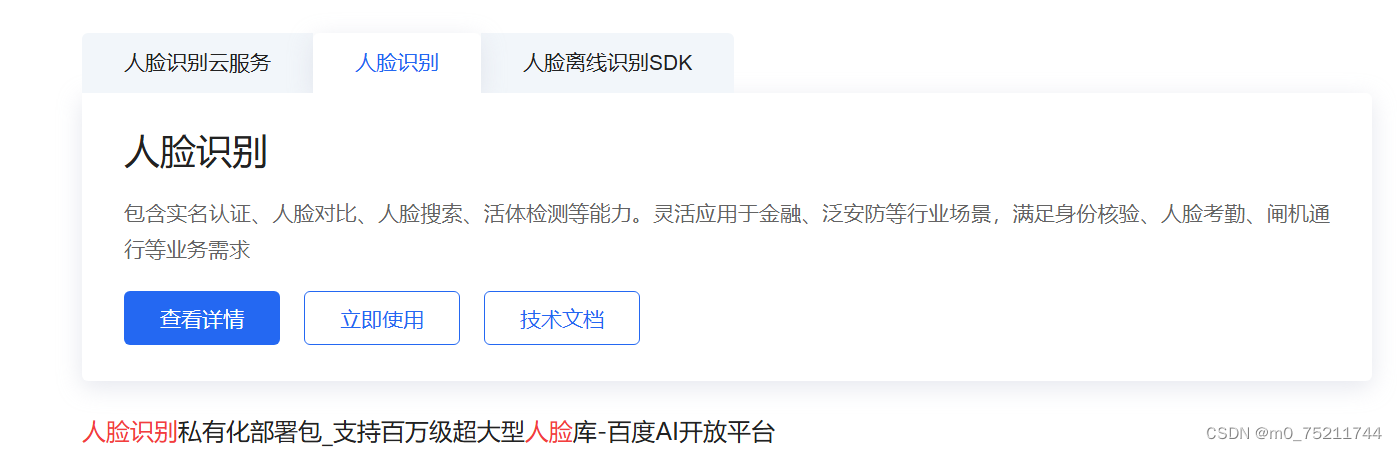
搜索进入百度智能云

找到人脸识别
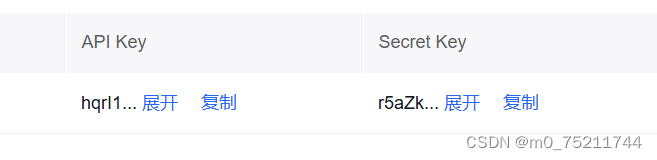
领取免费资源并创建应用,得到秘钥
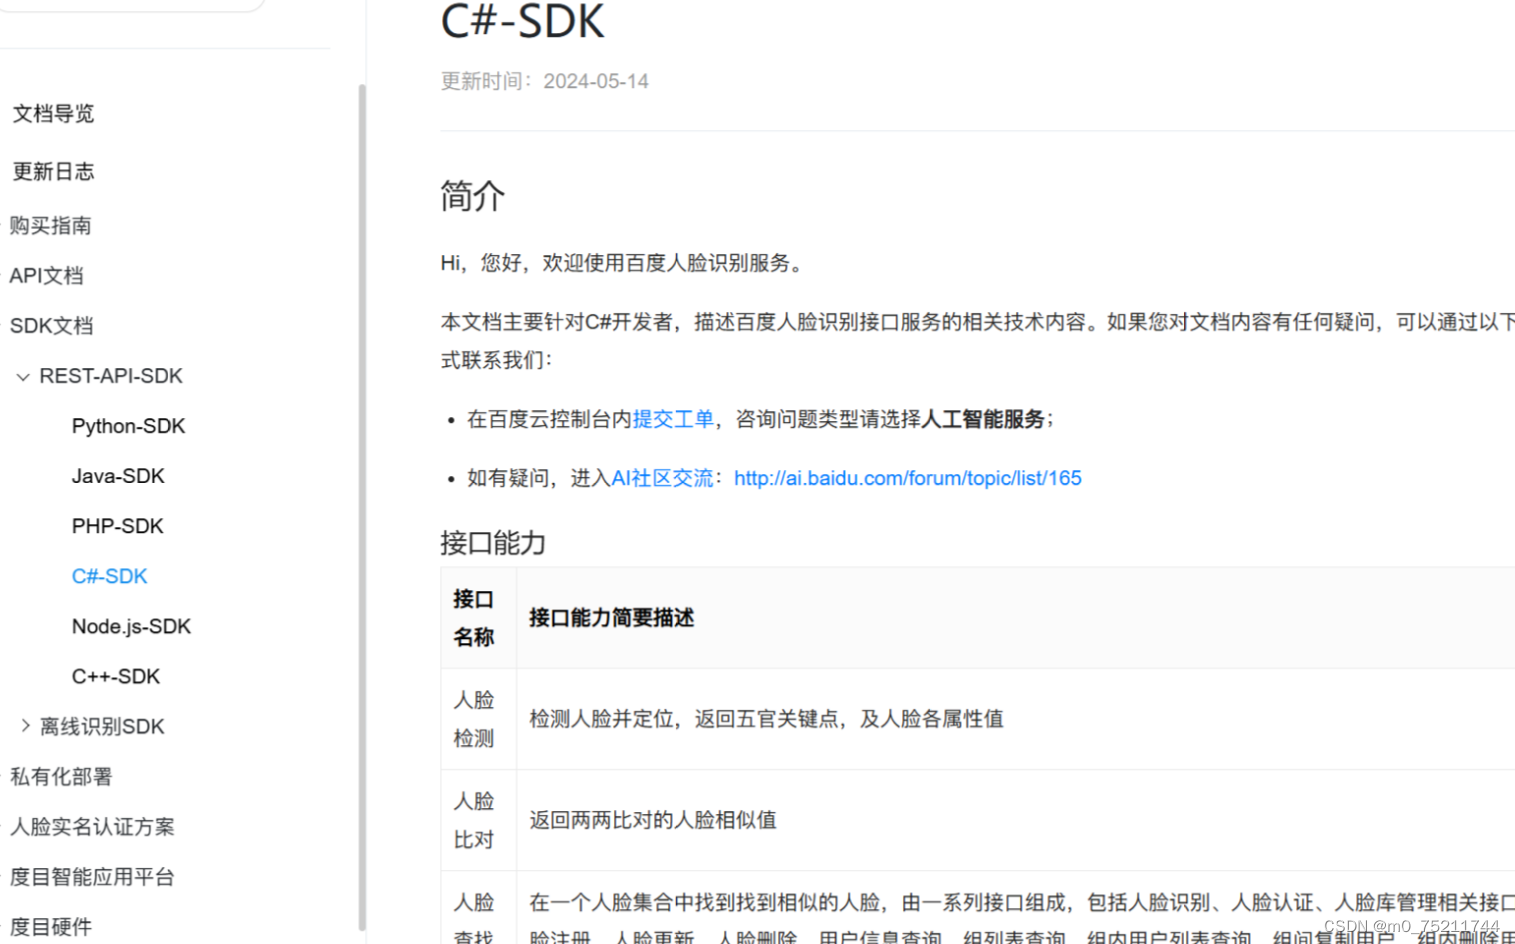
2、SDK下载
3、下载Nuget包AForge和Baidu.AI

三、核心功能及代码
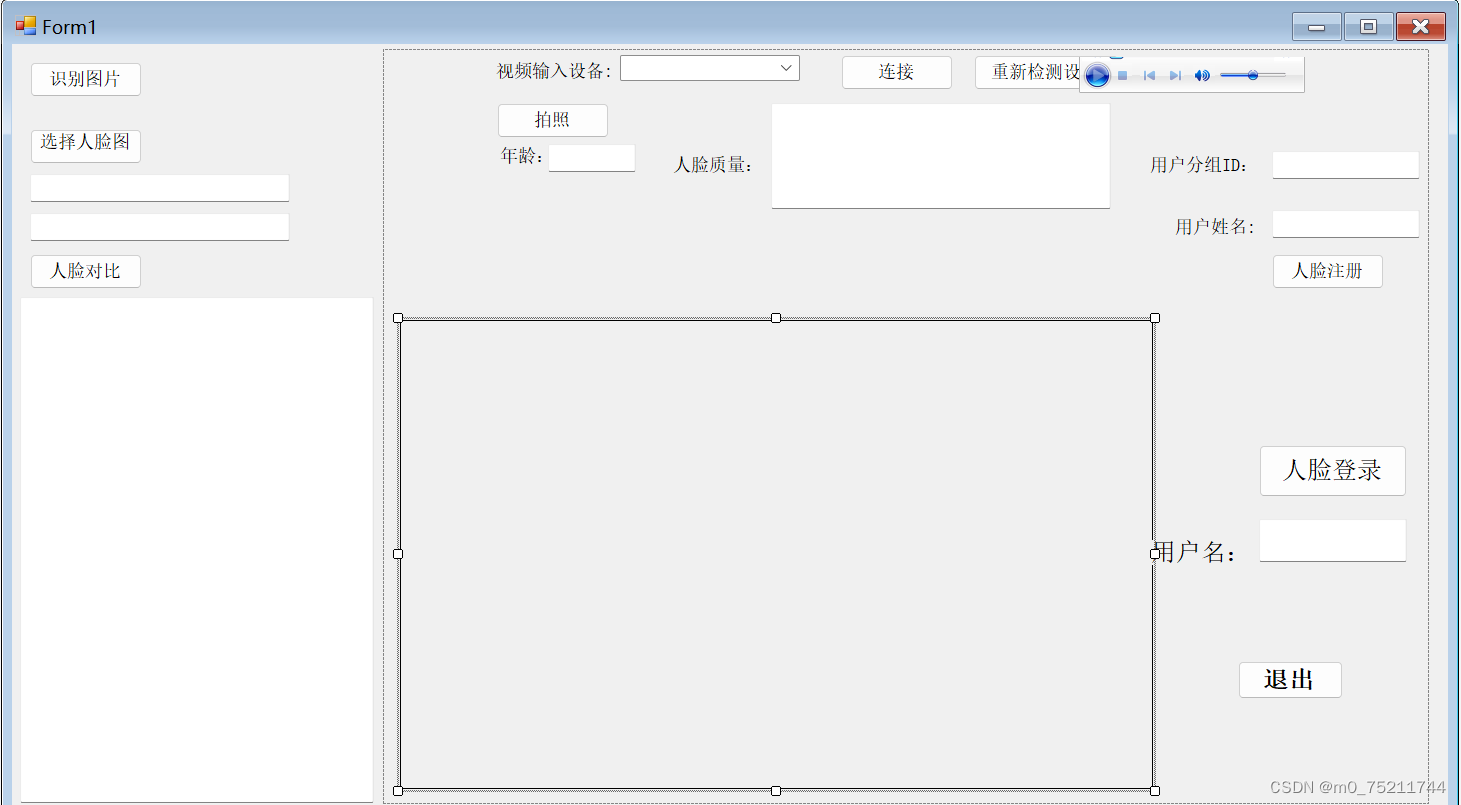
1、form
2、代码
namespace BaiduAI
{
public partial class Form1 : Form
{
private string APP_ID = "xxx";
private string API_KEY = "xxx";
private string SECRET_KEY = "xxx";
private Face client = null;
/// <summary>
/// 是否可以检测人脸
/// </summary>
private bool IsStart = false;
/// <summary>
/// 人脸在图像中的位置
/// </summary>
private FaceLocation location = null;
private FilterInfoCollection videoDevices = null;
private VideoCaptureDevice videoSource;
public Form1()
{
InitializeComponent();
axWindowsMediaPlayer1.uiMode = "Invisible";
client = new Face(API_KEY, SECRET_KEY);
}
/// <summary>
/// 识别图片
/// </summary>
/// <param name="sender"></param>
/// <param name="e"></param>
///
public string ConvertImageToBase64(Image file)
{
using (MemoryStream memoryStream = new MemoryStream())
{
file.Save(memoryStream, file.RawFormat);
byte[] imageBytes = memoryStream.ToArray();
return Convert.ToBase64String(imageBytes);
}
}
private void button1_Click(object sender, EventArgs e)
{
OpenFileDialog dialog = new OpenFileDialog();
dialog.InitialDirectory = "xxx";
dialog.Filter = "所有文件|*.*";
dialog.RestoreDirectory = true;
dialog.FilterIndex = 1;
if (dialog.ShowDialog() == DialogResult.OK)
{
string filename = dialog.FileName;
try
{
Image im = Image.FromFile(filename);
var image = ConvertImageToBase64(im);
string imageType = "BASE64";
// 如果有可选参数
var options = new Dictionary<string, object>{
//{"max_face_num", 2},
{"face_field", "age,beauty"},
{"face_fields", "age,qualities,beauty"}
};
var options1 = new Dictionary<string, object>{
{"face_field", "age"},
{"max_face_num", 2},
{"face_type", "LIVE"},
{"liveness_control", "LOW"}
};
var result = client.Detect(image, imageType,options);
textBox1.Text = result.ToString();
//FaceDetectInfo detect = JsonHelper.DeserializeObject<FaceDetectInfo>(result.ToString());
} catch (Exception ex)
{ MessageBox.Show(ex.Message); }
}
}
public string ReadImg(string img)
{
return Convert.ToBase64String(File.ReadAllBytes(img));
}
private void button2_Click(object sender, EventArgs e)
{
if (string.IsNullOrEmpty(textBox2.Text) || string.IsNullOrEmpty(textBox3.Text))
{
MessageBox.Show("请选择要对比的人脸图片");
return;
}
try
{
string path1=textBox2.Text;
string path2=textBox3.Text;
var faces = new JArray
{
new JObject
{
{"image", ReadImg(path1)},
{"image_type", "BASE64"},
{"face_type", "LIVE"},
{"quality_control", "LOW"},
{"liveness_control", "NONE"},
},
new JObject
{
{"image", ReadImg(path2)},
{"image_type", "BASE64"},
{"face_type", "LIVE"},
{"quality_control", "LOW"},
{"liveness_control", "NONE"},
}
};
// 带参数调用人脸比对
var result = client.Match(faces);
textBox1.Text = result.ToString();
}
catch (Exception ex)
{ }
}
这段代码实现了一个简单的窗体应用程序,用于调用百度AI的人脸检测和比对功能。
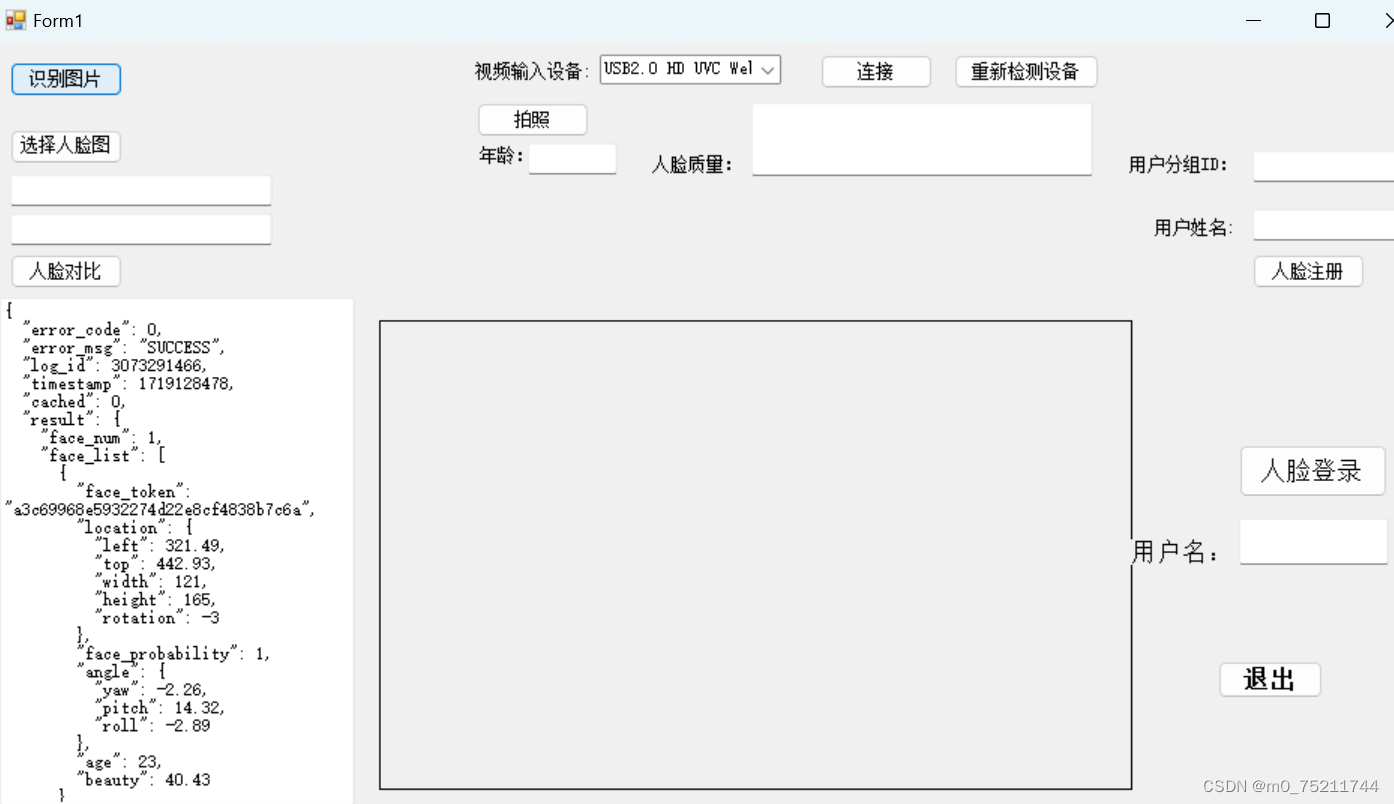
3、运行结果
单图片识别并返回人脸值:
四、总结
本次Windows作业通过使用C#编程语言进行网络连接,以百度AI的人脸识别技术为例,实现网络连接。成功调用了百度AI的人脸识别接口,实现了人脸识别、图片比对以及人脸登录等功能。在项目过程中,我学习了如何与第三方API进行交互,处理了多线程同步、图像处理等技术难点。通过此次实践,不仅加深了对C#编程技术的理解,也掌握了人工智能技术在实际应用中的开发流程和方法,为今后的学习和工作打下了坚实基础。


 442
442

 被折叠的 条评论
为什么被折叠?
被折叠的 条评论
为什么被折叠?
 到【灌水乐园】发言


