


实验一
内容1:用stm32F103核心板的GPIOA端一管脚接一个LED,GPIOB端口一引脚接一个开关(用杜邦线模拟代替)。采用中断模式编程,当开关接高电平时,LED亮灯;接低电平时,LED灭灯。
一、硬件连接
将LED连接到STM32F103核心板的GPIOA端口的一个引脚。将开关(用杜邦线模拟)连接到STM32F103核心板的GPIOB端口的一个引脚。
二、STM32中断编程
配置GPIOA引脚为输出模式,用于控制LED。配置GPIOB引脚为输入模式,用于接收开关信号。配置GPIOB引脚的中断,当引脚状态发生变化时触发中断。在中断服务函数中,检测GPIOB引脚的状态,根据高低电平控制LED的亮灭。
三、串口通信
初始化串口通信,设置波特率等参数。在main函数中加入一个定时器,每隔1秒发送一个字符到串口。
代码如下:
#include "stm32f10x.h"

void GPIO_Config(void) {
    GPIO_InitTypeDef GPIO_InitStructure;

    // 配置GPIOA引脚为输出模式,控制LED
    RCC_APB2PeriphClockCmd(RCC_APB2Periph_GPIOA, ENABLE);
    GPIO_InitStructure.GPIO_Pin = GPIO_Pin_0;
    GPIO_InitStructure.GPIO_Mode = GPIO_Mode_Out_PP;
    GPIO_InitStructure.GPIO_Speed = GPIO_Speed_50MHz;
    GPIO_Init(GPIOA, &GPIO_InitStructure);

    // 配置GPIOB引脚为输入模式,接收开关信号
    RCC_APB2PeriphClockCmd(RCC_APB2Periph_GPIOB, ENABLE);
    GPIO_InitStructure.GPIO_Pin = GPIO_Pin_0;
    GPIO_InitStructure.GPIO_Mode = GPIO_Mode_IPU; // 上拉输入
    GPIO_Init(GPIOB, &GPIO_InitStructure);

    // 配置中断线0,用于GPIOB引脚的中断
    EXTI_InitTypeDef EXTI_InitStructure;
    NVIC_InitTypeDef NVIC_InitStructure;

    RCC_APB2PeriphClockCmd(RCC_APB2Periph_AFIO, ENABLE);
    GPIO_EXTILineConfig(GPIO_PortSourceGPIOB, GPIO_PinSource0);

    EXTI_InitStructure.EXTI_Line = EXTI_Line0;
    EXTI_InitStructure.EXTI_Mode = EXTI_Mode_Interrupt;
    EXTI_InitStructure.EXTI_Trigger = EXTI_Trigger_Falling; // 下降沿触发中断
    EXTI_InitStructure.EXTI_LineCmd = ENABLE;
    EXTI_Init(&EXTI_InitStructure);

    NVIC_InitStructure.NVIC_IRQChannel = EXTI0_IRQn;
    NVIC_InitStructure.NVIC_IRQChannelPreemptionPriority = 0;
    NVIC_InitStructure.NVIC_IRQChannelSubPriority = 0;
    NVIC_InitStructure.NVIC_IRQChannelCmd = ENABLE;
    NVIC_Init(&NVIC_InitStructure);
}

void EXTI0_IRQHandler(void) {
    if (GPIO_ReadInputDataBit(GPIOB, GPIO_Pin_0) == Bit_SET) {
        GPIO_SetBits(GPIOA, GPIO_Pin_0); // 开关接高电平,LED亮
    } else {
        GPIO_ResetBits(GPIOA, GPIO_Pin_0); // 开关接低电平,LED灭
    }

    EXTI_ClearITPendingBit(EXTI_Line0);
}

int main(void) {
    GPIO_Config();

    while (1) {
        // 主循环中可以放一些其他的操作
    }
}在这个代码中,配置了一个外部中断线(EXTI0),当GPIOB引脚接收到下降沿信号时,会触发中断,并在中断服务函数EXTI0_IRQHandler中根据开关状态控制LED的亮灭。在main函数中是一个简单的主循环。
内容2:如果完成后,尝试在main函数while循环中加入一个串口每隔1s 发送一次字符的代码片段,观察按键中断对串口发送是否会带来干扰或延迟。
在STM32F103核心板上使用中断模式编程,根据开关的状态控制LED灯的亮灭,并在main函数的while循环中每隔1秒发送一个字符到串口,观察按键中断对串口发送是否会带来干扰或延迟
代码如下:
#include "stm32f10x.h"
#include <stdio.h>

void GPIO_Config(void) {
    // 配置GPIOA引脚为输出模式,控制LED
    RCC_APB2PeriphClockCmd(RCC_APB2Periph_GPIOA, ENABLE);
    GPIO_InitTypeDef GPIO_InitStructure;
    GPIO_InitStructure.GPIO_Pin = GPIO_Pin_0;
    GPIO_InitStructure.GPIO_Mode = GPIO_Mode_Out_PP;
    GPIO_InitStructure.GPIO_Speed = GPIO_Speed_50MHz;
    GPIO_Init(GPIOA, &GPIO_InitStructure);

    // 配置GPIOB引脚为输入模式,接收开关信号
    RCC_APB2PeriphClockCmd(RCC_APB2Periph_GPIOB, ENABLE);
    GPIO_InitStructure.GPIO_Pin = GPIO_Pin_0;
    GPIO_InitStructure.GPIO_Mode = GPIO_Mode_IPU; // 上拉输入
    GPIO_Init(GPIOB, &GPIO_InitStructure);

    // 配置中断线0,用于GPIOB引脚的中断
    EXTI_InitTypeDef EXTI_InitStructure;
    NVIC_InitTypeDef NVIC_InitStructure;

    RCC_APB2PeriphClockCmd(RCC_APB2Periph_AFIO, ENABLE);
    GPIO_EXTILineConfig(GPIO_PortSourceGPIOB, GPIO_PinSource0);

    EXTI_InitStructure.EXTI_Line = EXTI_Line0;
    EXTI_InitStructure.EXTI_Mode = EXTI_Mode_Interrupt;
    EXTI_InitStructure.EXTI_Trigger = EXTI_Trigger_Falling; // 下降沿触发中断
    EXTI_InitStructure.EXTI_LineCmd = ENABLE;
    EXTI_Init(&EXTI_InitStructure);

    NVIC_InitStructure.NVIC_IRQChannel = EXTI0_IRQn;
    NVIC_InitStructure.NVIC_IRQChannelPreemptionPriority = 0;
    NVIC_InitStructure.NVIC_IRQChannelSubPriority = 0;
    NVIC_InitStructure.NVIC_IRQChannelCmd = ENABLE;
    NVIC_Init(&NVIC_InitStructure);
}

void EXTI0_IRQHandler(void) {
    if (GPIO_ReadInputDataBit(GPIOB, GPIO_Pin_0) == Bit_SET) {
        GPIO_SetBits(GPIOA, GPIO_Pin_0); // 开关接高电平,LED亮
    } else {
        GPIO_ResetBits(GPIOA, GPIO_Pin_0); // 开关接低电平,LED灭
    }

    EXTI_ClearITPendingBit(EXTI_Line0);
}

void USART_Config(void) {
    // 初始化串口通信,设置波特率等参数
    // 请根据具体的串口初始化函数进行配置
}

void sendCharacter(void) {
    // 每隔1秒发送一个字符到串口
    USART_SendData(USART1, 'A');
    while (USART_GetFlagStatus(USART1, USART_FLAG_TXE) == RESET);
}

int main(void) {
    GPIO_Config();
    USART_Config();

    while (1) {
        sendCharacter();
        Delay(1000); // 延时1秒
    }
}在这个代码中,在main函数的while循环中添加了一个定时发送字符到串口的函数sendCharacter()。可以通过观察串口发送是否会受到按键中断的影响来判断是否会带来干扰或延迟。
LED111
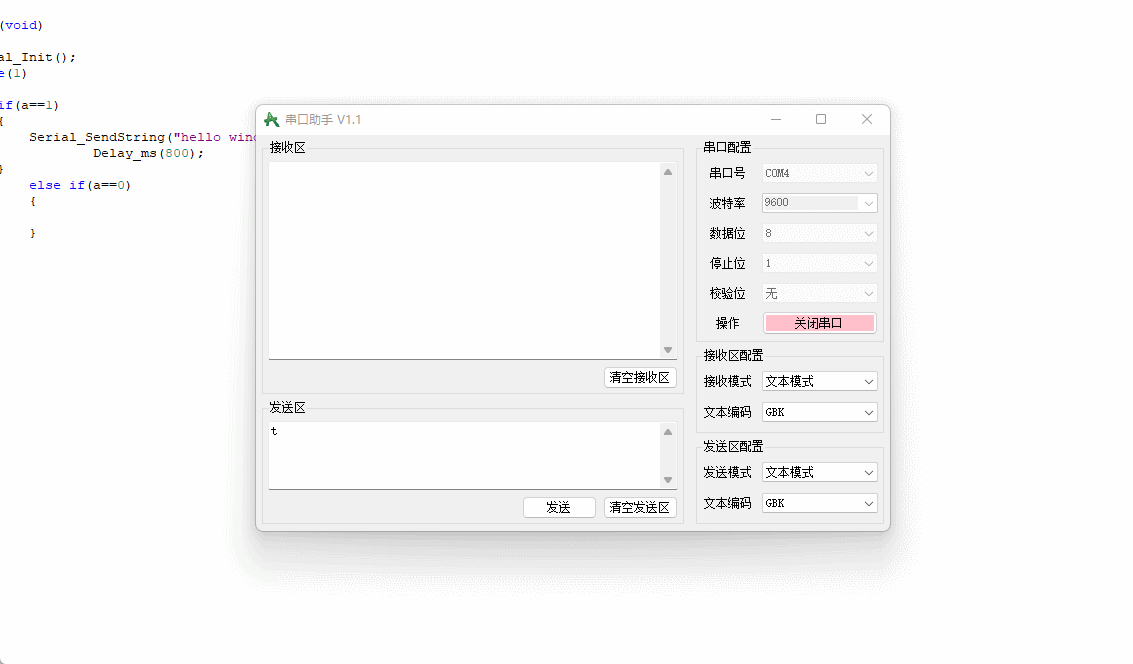
实验二:采用串口中断方式重做上周查询方式的串口通信
内容1:当stm32接收到1个字符“s”时,停止持续发送“hello windows!”; 当接收到1个字符“t”时,持续发送“hello windows!”
代码如下:
#include "stm32f10x.h"
#include <stdio.h>

volatile uint8_t continueSending = 1; // 全局变量作为信号灯,控制是否持续发送

void USART_Config(void) {
    // 初始化串口通信,设置波特率等参数
    USART_InitTypeDef USART_InitStructure;
    GPIO_InitTypeDef GPIO_InitStructure;

    RCC_APB2PeriphClockCmd(RCC_APB2Periph_GPIOA | RCC_APB2Periph_USART1, ENABLE);

    // 配置USART1的TX引脚
    GPIO_InitStructure.GPIO_Pin = GPIO_Pin_9;
    GPIO_InitStructure.GPIO_Mode = GPIO_Mode_AF_PP;
    GPIO_InitStructure.GPIO_Speed = GPIO_Speed_50MHz;
    GPIO_Init(GPIOA, &GPIO_InitStructure);

    // 配置USART1的RX引脚
    GPIO_InitStructure.GPIO_Pin = GPIO_Pin_10;
    GPIO_InitStructure.GPIO_Mode = GPIO_Mode_IN_FLOATING;
    GPIO_Init(GPIOA, &GPIO_InitStructure);

    USART_InitStructure.USART_BaudRate = 9600;
    USART_InitStructure.USART_WordLength = USART_WordLength_8b;
    USART_InitStructure.USART_StopBits = USART_StopBits_1;
    USART_InitStructure.USART_Parity = USART_Parity_No;
    USART_InitStructure.USART_Mode = USART_Mode_Rx | USART_Mode_Tx;
    USART_InitStructure.USART_HardwareFlowControl = USART_HardwareFlowControl_None;
    USART_Init(USART1, &USART_InitStructure);

    USART_ITConfig(USART1, USART_IT_RXNE, ENABLE); // 使能串口接收中断
    NVIC_EnableIRQ(USART1_IRQn); // 使能串口中断
    USART_Cmd(USART1, ENABLE);
}

void USART1_IRQHandler(void) {
    if (USART_GetITStatus(USART1, USART_IT_RXNE) != RESET) {
        char receivedChar = USART_ReceiveData(USART1);

        if (receivedChar == 's') {
            continueSending = 0; // 收到字符's',停止发送
        } else if (receivedChar == 't') {
            continueSending = 1; // 收到字符't',持续发送
        }

        USART_ClearITPendingBit(USART1, USART_IT_RXNE);
    }
}

void sendHelloWindows(void) {
    char helloMsg[] = "hello windows!\r\n";
    uint8_t i = 0;

    while (helloMsg[i] != '\0') {
        USART_SendData(USART1, helloMsg[i]);
        while (USART_GetFlagStatus(USART1, USART_FLAG_TXE) == RESET);
        i++;
    }
}

int main(void) {
    USART_Config();

    while (1) {
        if (continueSending) {
            sendHelloWindows();
        }
    }
}
在这个代码中,使用串口中断方式实现了接收到字符"S"停止发送"hello windows!",接收到字符"T"持续发送"hello windows!"的功能。通过全局变量continueSending作为信号灯来控制是否持续发送。串口中断函数USART1_IRQHandler中判断接收到的字符并作出相应的处理。
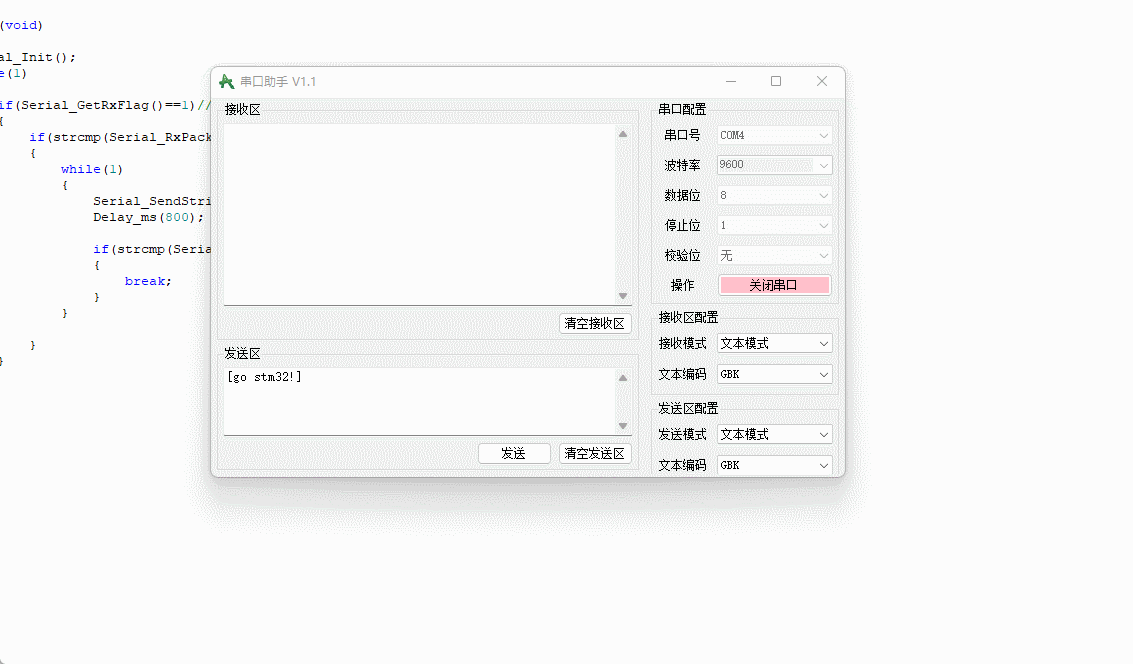
内容2:当stm32接收到字符“stop stm32!”时,停止持续发送“hello windows!”; 当接收到字符“go stm32!”时,持续发送“hello windows!”(提示:要将接收到的连续字符保存到一个字符数组里,进行判别匹配。写一个接收字符串的函数。
代码如下:
#include "stm32f10x.h"
#include <stdio.h>
#include <string.h>

#define MAX_RX_BUFFER_SIZE 50

volatile uint8_t continueSending = 1; // 全局变量作为信号灯,控制是否持续发送
char rxBuffer[MAX_RX_BUFFER_SIZE];
uint8_t rxIndex = 0;

void USART_Config(void) {
    // 初始化串口通信,设置波特率等参数
    USART_InitTypeDef USART_InitStructure;
    GPIO_InitTypeDef GPIO_InitStructure;

    RCC_APB2PeriphClockCmd(RCC_APB2Periph_GPIOA | RCC_APB2Periph_USART1, ENABLE);

    // 配置USART1的TX引脚
    GPIO_InitStructure.GPIO_Pin = GPIO_Pin_9;
    GPIO_InitStructure.GPIO_Mode = GPIO_Mode_AF_PP;
    GPIO_InitStructure.GPIO_Speed = GPIO_Speed_50MHz;
    GPIO_Init(GPIOA, &GPIO_InitStructure);

    // 配置USART1的RX引脚
    GPIO_InitStructure.GPIO_Pin = GPIO_Pin_10;
    GPIO_InitStructure.GPIO_Mode = GPIO_Mode_IN_FLOATING;
    GPIO_Init(GPIOA, &GPIO_InitStructure);

    USART_InitStructure.USART_BaudRate = 9600;
    USART_InitStructure.USART_WordLength = USART_WordLength_8b;
    USART_InitStructure.USART_StopBits = USART_StopBits_1;
    USART_InitStructure.USART_Parity = USART_Parity_No;
    USART_InitStructure.USART_Mode = USART_Mode_Rx | USART_Mode_Tx;
    USART_InitStructure.USART_HardwareFlowControl = USART_HardwareFlowControl_None;
    USART_Init(USART1, &USART_InitStructure);

    USART_ITConfig(USART1, USART_IT_RXNE, ENABLE); // 使能串口接收中断
    NVIC_EnableIRQ(USART1_IRQn); // 使能串口中断
    USART_Cmd(USART1, ENABLE);
}

void USART1_IRQHandler(void) {
    if (USART_GetITStatus(USART1, USART_IT_RXNE) != RESET) {
        char receivedChar = USART_ReceiveData(USART1);

        rxBuffer[rxIndex++] = receivedChar; // 将接收到的字符保存到缓冲区

        if (rxIndex >= strlen("stop stm32!")) {
            if (memcmp(rxBuffer, "stop stm32!", strlen("stop stm32!")) == 0) {
                continueSending = 0; // 收到"stop stm32!",停止发送
            } else if (memcmp(rxBuffer, "go stm32!", strlen("go stm32!")) == 0) {
                continueSending = 1; // 收到"go stm32!",持续发送
            }

            rxIndex = 0; // 重置缓冲区索引
        }

        USART_ClearITPendingBit(USART1, USART_IT_RXNE);
    }
}

void sendHelloWindows(void) {
    char helloMsg[] = "hello windows!\r\n";
    uint8_t i = 0;

    while (helloMsg[i] != '\0') {
        USART_SendData(USART1, helloMsg[i]);
        while (USART_GetFlagStatus(USART1, USART_FLAG_TXE) == RESET);
        i++;
    }
}

int main(void) {
    USART_Config();

    while (1) {
        if (continueSending) {
            sendHelloWindows();
        }
    }
}
在这个代码中,使用串口中断方式实现了接收到字符"stop stm32!"停止发送"hello windows!",接收到字符"go stm32!"持续发送"hello windows!"的功能。通过接收到的字符保存到缓冲区rxBuffer,并使用memcmp函数进行匹配判断。


 3845
3845

 被折叠的 条评论
为什么被折叠?
被折叠的 条评论
为什么被折叠?
 到【灌水乐园】发言


