这篇文章会引导大家使用 Golang 设置本地大型语言模型 (LLM) 并与之交互,以此在本地构建你的 AI 应用。
设置本地 LLM
首先,我们需要在本地计算机上运行 LLM。为此,我们将使用 Ollama(可在GitHub ollama[1] 上获取)。虽然本地加载模型有多种选择,但我发现 Ollama 是相对容易使用的。Ollama 支持 macOS、Linux 和 Windows。本文的代码还没有在 Windows 上测试过,所以我这里重点介绍 macOS 和 Linux,但在 Windows 上的过程应该类似。
从官方网站下载并安装 Ollama
接下来,在操作系统上打开终端,选择要运行的模型。最简单的方法是从 Ollama 模型列表中选择一个模型。你还可以从 Hugging Face 等资源中安装其他模型。选定模型后,在终端运行以下命令:
ollama pull <model name>
或者
ollama run <model name>
然后我们可以在本地计算机上运行 LLM 了。
使用 Go 与 LLM 交互
假设你已经建立了 Go 环境(如果没有,参考 Go 安装说明),然后我们就可以开始写代码了。
1. 初始化项目
mkdir go-ollama
cd go-ollama
go mod init go-ollama
2. 编辑代码
用你喜欢的编辑器打开一个新文件 main.go。首先根据 Ollama API 文档定义聊天请求结构:
package main

type Request struct {
 Model    string    `json:"model"`
 Messages []Message `json:"messages"`
 Stream   bool      `json:"stream"`
}

type Message struct {
 Role    string `json:"role"`
 Content string `json:"content"`
}
参数的含义分别是:
- Model: 使用 Ollama 下载的模型, 这里是 llama3.1
- Stream: 决定接收恒定的响应流(设为 true)还是单个响应(设为 false)。本例中我们将使用 false
- Message 结构:该结构包含要发送给 AI 的问题。
package main

type ChatRequest struct {
 Model    string    `json:"model"`
 Messages []Message `json:"messages"`
 Stream   bool      `json:"stream"`
}

type Message struct {
 Role    string `json:"role"`
 Content string `json:"content"`
}

func main() {
 msg := Message{
  Role:    "user",
  Content: "Why is the sky blue?",
 }
 req := Request{
  Model:    "llama3.1",
  Stream:   false,
  Messages: []Message{msg},
 }
}
3. 发送请求和接收回复
接下来,让我们向 Ollama 发送此请求并获取响应。下面是基于文档的响应结构:
package main

import "time"

type Response struct {
 Model              string    `json:"model"`
 CreatedAt          time.Time `json:"created_at"`
 Message            Message   `json:"message"`
 Done               bool      `json:"done"`
 TotalDuration      int64     `json:"total_duration"`
 LoadDuration       int       `json:"load_duration"`
 PromptEvalCount    int       `json:"prompt_eval_count"`
 PromptEvalDuration int       `json:"prompt_eval_duration"`
 EvalCount          int       `json:"eval_count"`
 EvalDuration       int64     `json:"eval_duration"`
}
让我们使用 Go 的标准库创建一个简单的 HTTP 客户端:
func talkToOllama(url string, ollamaReq Request) (*Response, error) {
 js, err := json.Marshal(&ollamaReq)
 if err != nil {
  return nil, err
 }
 client := http.Client{}
 httpReq, err := http.NewRequest(http.MethodPost, url, bytes.NewReader(js))
 if err != nil {
  return nil, err
 }
 httpResp, err := client.Do(httpReq)
 if err != nil {
  return nil, err
 }
 defer httpResp.Body.Close()
 ollamaResp := Response{}
 err = json.NewDecoder(httpResp.Body).Decode(&ollamaResp)
 return &ollamaResp, err
}
- TalkToOllama: 该函数接收 Ollama API URL 和请求结构。
- JSON Marshaling:将请求结构转换为 JSON 格式。
- HTTP 请求:创建并发送带有 JSON 有效载荷的 POST 请求。
- 响应处理:将 JSON 解码为响应结构并返回。
4. 运行程序
下面是完整的代码:
package main

import (
 "bytes"
 "encoding/json"
 "fmt"
 "net/http"
 "os"
 "time"
)

type Request struct {
 Model    string    `json:"model"`
 Messages []Message `json:"messages"`
 Stream   bool      `json:"stream"`
}

type Message struct {
 Role    string `json:"role"`
 Content string `json:"content"`
}

type Response struct {
 Model              string    `json:"model"`
 CreatedAt          time.Time `json:"created_at"`
 Message            Message   `json:"message"`
 Done               bool      `json:"done"`
 TotalDuration      int64     `json:"total_duration"`
 LoadDuration       int       `json:"load_duration"`
 PromptEvalCount    int       `json:"prompt_eval_count"`
 PromptEvalDuration int       `json:"prompt_eval_duration"`
 EvalCount          int       `json:"eval_count"`
 EvalDuration       int64     `json:"eval_duration"`
}

const defaultOllamaURL = "http://localhost:11434/api/chat"

func main() {
 start := time.Now()
 msg := Message{
  Role:    "user",
  Content: "Why is the sky blue?",
 }
 req := Request{
  Model:    "llama3.1",
  Stream:   false,
  Messages: []Message{msg},
 }
 resp, err := talkToOllama(defaultOllamaURL, req)
 if err != nil {
  fmt.Println(err)
  os.Exit(1)
 }
 fmt.Println(resp.Message.Content)
 fmt.Printf("Completed in %v", time.Since(start))
}

func talkToOllama(url string, ollamaReq Request) (*Response, error) {
 js, err := json.Marshal(&ollamaReq)
 if err != nil {
  return nil, err
 }
 client := http.Client{}
 httpReq, err := http.NewRequest(http.MethodPost, url, bytes.NewReader(js))
 if err != nil {
  return nil, err
 }
 httpResp, err := client.Do(httpReq)
 if err != nil {
  return nil, err
 }
 defer httpResp.Body.Close()
 ollamaResp := Response{}
 err = json.NewDecoder(httpResp.Body).Decode(&ollamaResp)
 return &ollamaResp, err
}
go run main.go
运行后应该会看到与此类似的响应:
The sky appears blue to us because of a phenomenon called scattering, which occurs when sunlight interacts with the tiny molecules of gases in the atmosphere. Here's a simplified explanation:

1. Sunlight enters the Earth's atmosphere**: When sunlight enters our atmosphere, it consists of a broad spectrum of electromagnetic radiation, including all the colors of the visible light (red, orange, yellow, green, blue, indigo, and violet).
2. Scattering occurs**: As sunlight travels through the atmosphere, it encounters tiny molecules of gases such as nitrogen (N2) and oxygen (O2). These molecules are much smaller than the wavelength of light, so they scatter the shorter (blue) wavelengths more efficiently than the longer (red) wavelengths.
3. Blue light is scattered in all directions**: The scattering process favors blue light because it has a shorter wavelength, which allows it to be deflected by the gas molecules more easily. This scattered blue light reaches our eyes from all parts of the sky.
4. Our eyes perceive the sky as blue**: Since we see the scattered blue light from every direction in the atmosphere, our brains interpret this as a blue color for the entire sky.

Other factors can affect the apparent color of the sky, such as:

* Dust and pollutants**: Tiny particles in the air can scatter light in a way that adds a reddish tint to the sky.
* Clouds: When sunlight passes through water droplets or ice crystals in clouds, it scatters in all directions, giving the sky a white or gray appearance.
* Time of day: The angle of the sun changes throughout the day, which can alter the intensity and color of the scattered light. For example, during sunrise and sunset, the light has to travel through more of the Earth's atmosphere, scattering off more particles and making the sky appear redder.

In summary, the sky appears blue due to the scattering of sunlight by the tiny molecules in the atmosphere, which favors shorter wavelengths like blue light.
Completed in 38.315152042s
结论
在本文中,我们建立了一个本地 LLM,并使用 Go 的标准库对其进行了查询。这仅仅是个开始–你可以在此基础上自由扩展。我们可以将 Ollama 托管在不同的机器上,使代码更适合生产。你甚至可以建立用户交互、创建对话或开发 RAG 应用程序的逻辑链。
如何学习AI大模型?
作为一名热心肠的互联网老兵,我决定把宝贵的AI知识分享给大家。 至于能学习到多少就看你的学习毅力和能力了 。我已将重要的AI大模型资料包括AI大模型入门学习思维导图、精品AI大模型学习书籍手册、视频教程、实战学习等录播视频免费分享出来。
这份完整版的大模型 AI 学习资料已经上传CSDN,朋友们如果需要可以微信扫描下方CSDN官方认证二维码免费领取【保证100%免费】

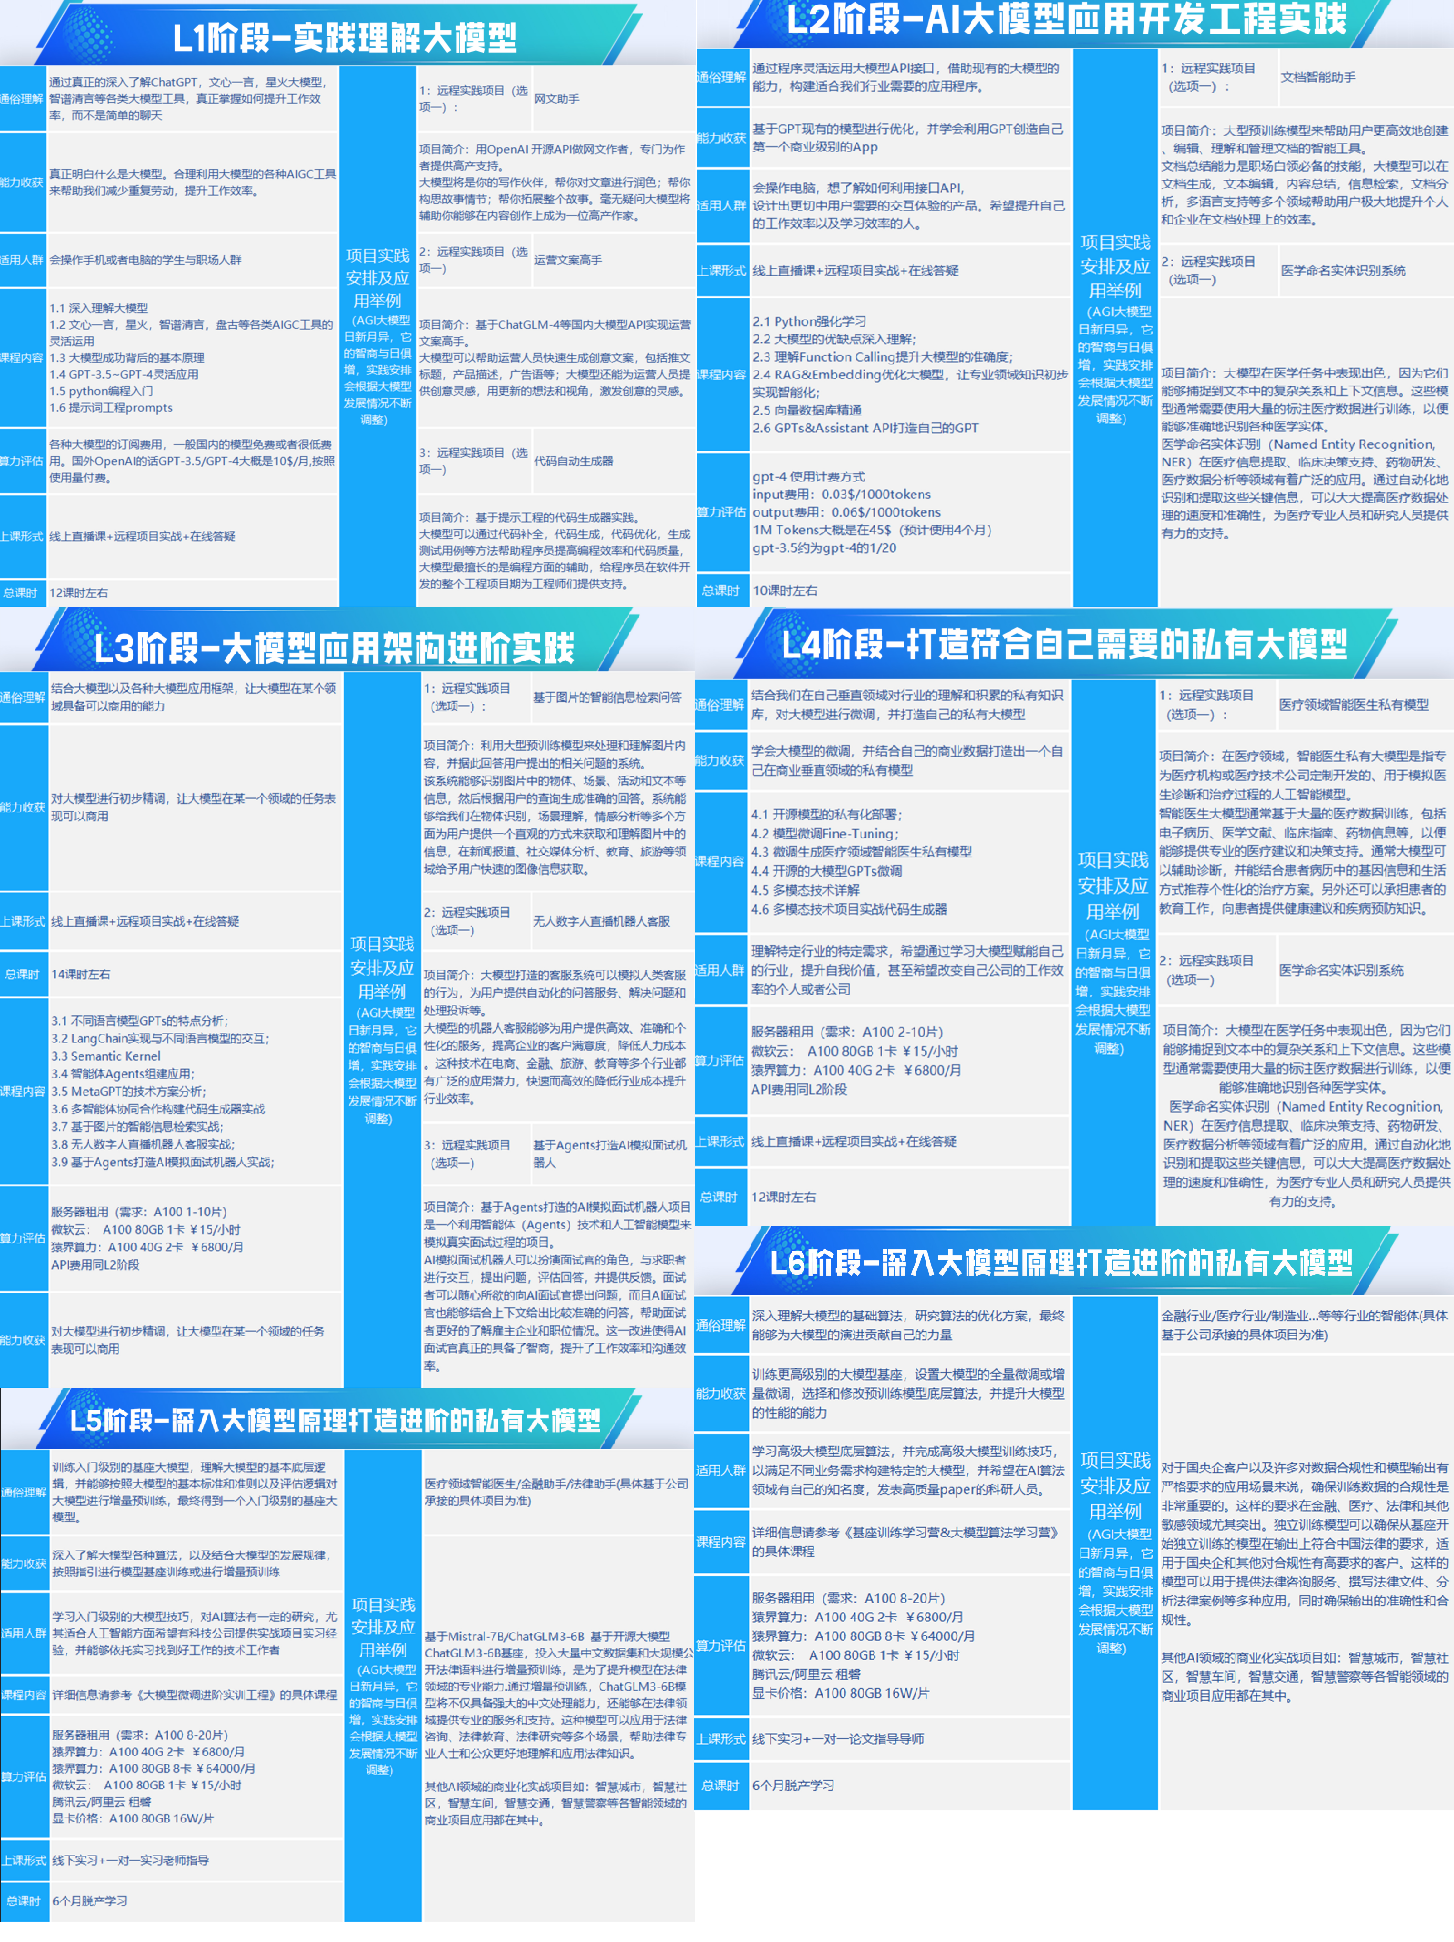
一、全套AGI大模型学习路线
AI大模型时代的学习之旅:从基础到前沿,掌握人工智能的核心技能!

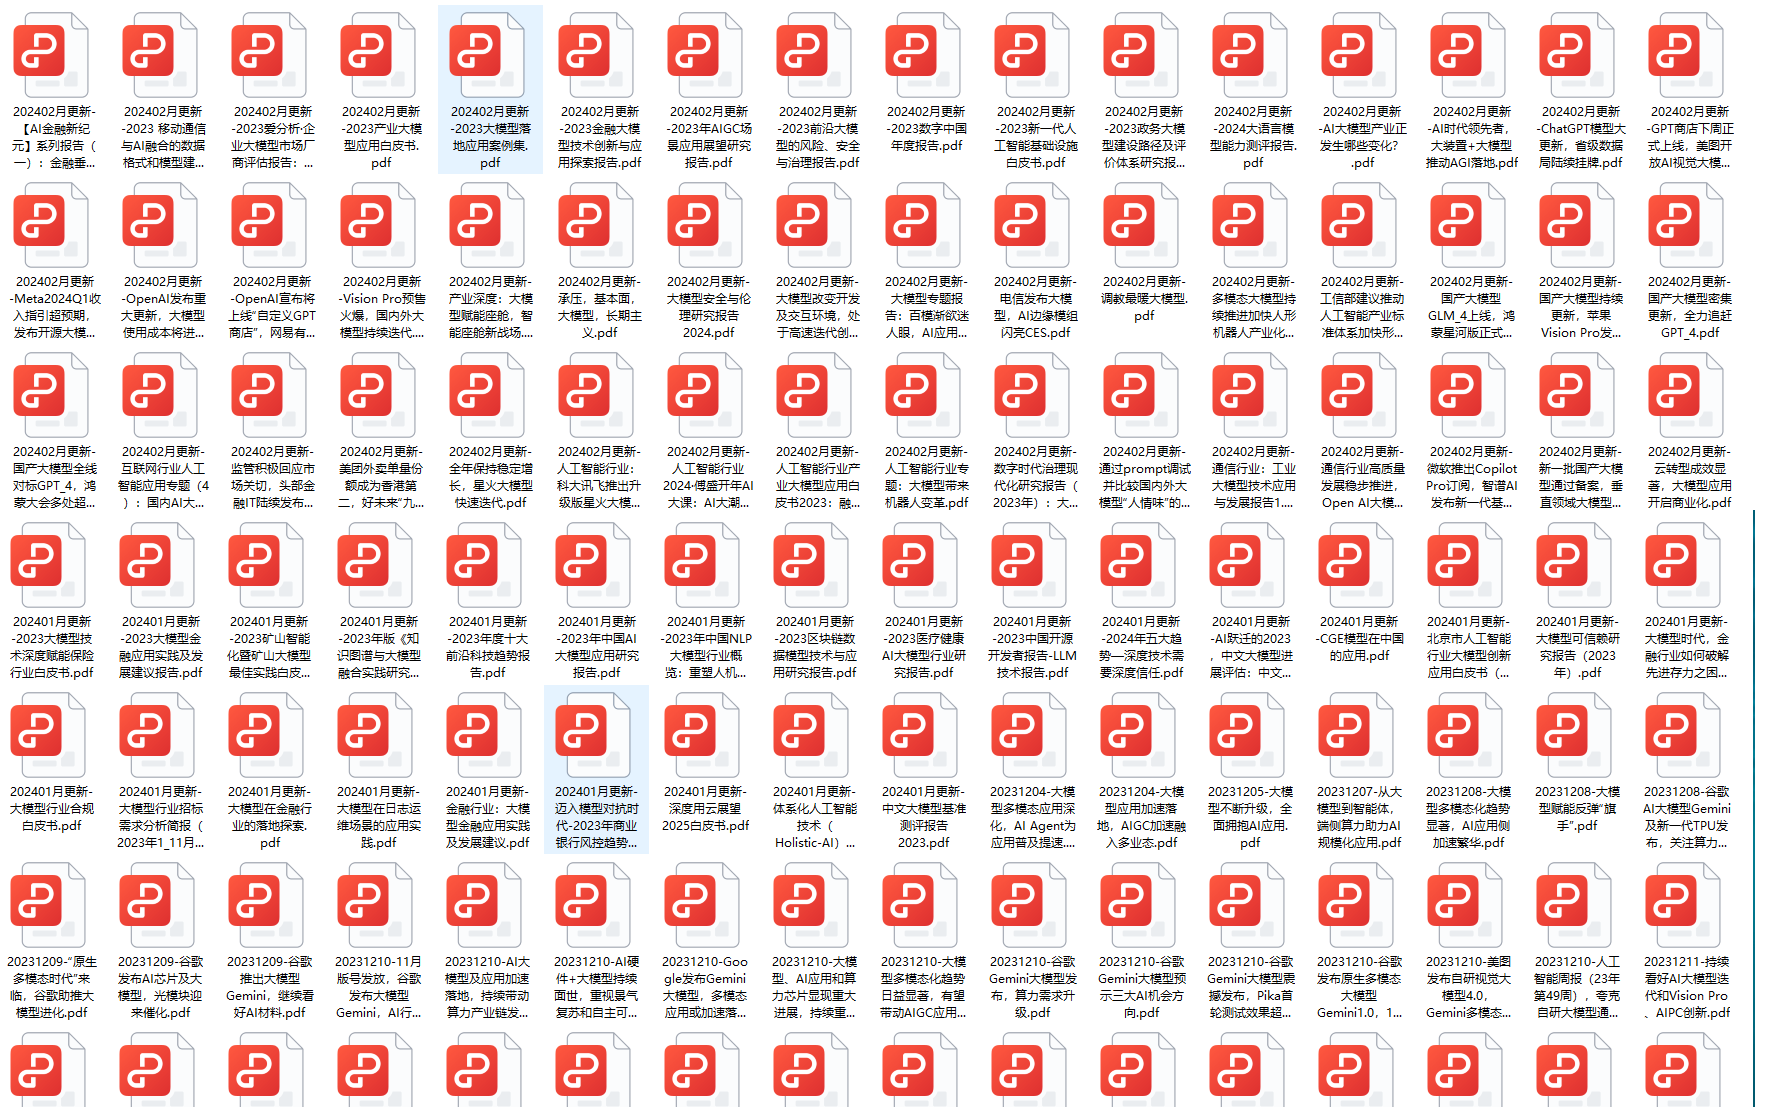
二、640套AI大模型报告合集
这套包含640份报告的合集,涵盖了AI大模型的理论研究、技术实现、行业应用等多个方面。无论您是科研人员、工程师,还是对AI大模型感兴趣的爱好者,这套报告合集都将为您提供宝贵的信息和启示。

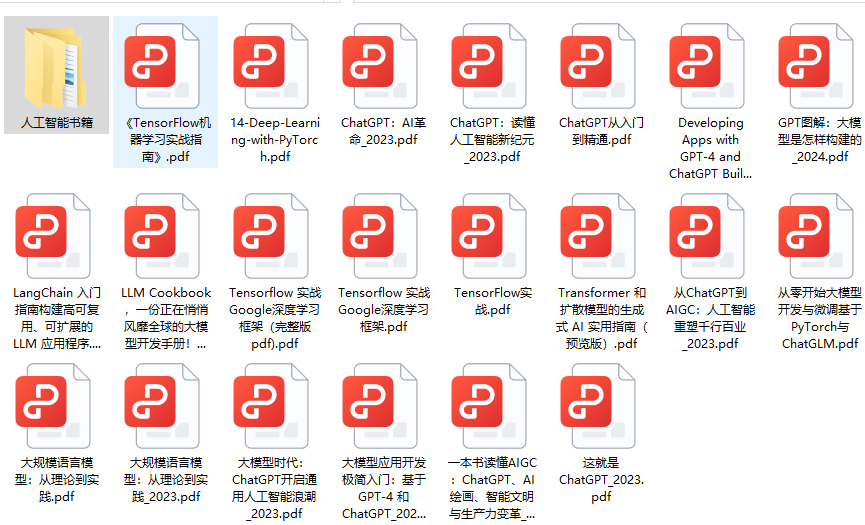
三、AI大模型经典PDF籍
随着人工智能技术的飞速发展,AI大模型已经成为了当今科技领域的一大热点。这些大型预训练模型,如GPT-3、BERT、XLNet等,以其强大的语言理解和生成能力,正在改变我们对人工智能的认识。 那以下这些PDF籍就是非常不错的学习资源。

四、AI大模型商业化落地方案

作为普通人,入局大模型时代需要持续学习和实践,不断提高自己的技能和认知水平,同时也需要有责任感和伦理意识,为人工智能的健康发展贡献力量。


 1万+
1万+

 被折叠的 条评论
为什么被折叠?


