


 本文介绍了如何在Cocos2d-x3.0中创建一个可旋转的饼图,提供了相应的代码示例,包括在CCDrawingPrimitives.h中添加画扇形的方法,以及创建DJPieLayout布局类和DJPieNode扇形节点类的详细步骤。虽然主要功能已完成,但仍有改进空间。
本文效果类代码:http://download.csdn.net/detail/qqmcy/7349165
效果:
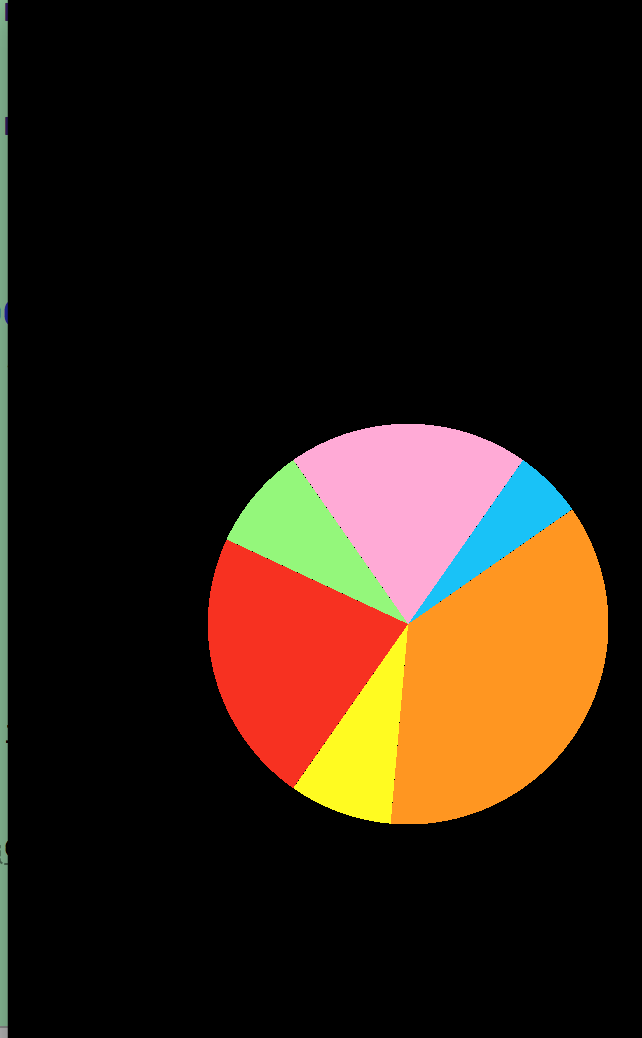
这个饼图是我参照iOS下的一个饼图效果制作的,主要功能实现了。但效果有待后期改进。下面附上使用方法。
首先,我们要先在Cocos2d-x框架下添加一个画扇形的方法:
CCDrawingPrimitives.h
这个文件下添加如下代码:
    /********************************************************画扇形****/
    void drawSolidfanshaped( const Point& center, float radius, float angle, unsigned int segments, float scaleX, float scaleY);
    void drawSolidfanshaped( const Point& center, float radius, float angle, unsigned int segments);


      /************************************************************/
CCDrawingPrimitives.cpp添加如下代码:
void drawSolidfanshaped( const Point& center, float radius, float angle, unsigned int segments)
    {
        drawSolidfanshaped(center, radius, angle, segments, 1.0f, 1.0f);
    }

void drawSolidfanshaped( const Point& center, float radius, float angle, unsigned int segments, float scaleX, float scaleY)
{

    lazy_init();


    const float coef = (float)angle/segments;  //系数:一段有多少度,angle为弧度制,要先通过CC_DEGREES_TO_RADIANS()转化

        GLfloat *vertices = (GLfloat*)calloc( sizeof(GLfloat)*2*(segments+2), 1);  //分配内存空间
        if( ! vertices )
            return;

        vertices[0] = center.x;
        vertices[1] = center.y;

        for(unsigned int i = 0;i <= segments; i++) {
            float rads = i*coef;
            GLfloat j = radius * cosf(rads + angle) * scaleX + center.x;
            GLfloat k = radius * sinf(rads + angle) * scaleY + center.y;

            vertices[(i+1)*2] = j;     //x坐标
            vertices[(i+1)*2+1] = k;   //y坐标
        }
        /*vertices[(segments+1)*2] = center.x;
         vertices[(segments+1)*2+1] = center.y;*/

            s_shader->use();
            s_shader->setUniformsForBuiltins();
           s_shader->setUniformLocationWith4fv(s_colorLocation, (GLfloat*) &s_color.r, 1);

        GL::enableVertexAttribs( GL::VERTEX_ATTRIB_FLAG_POSITION );

#ifdef EMSCRIPTEN
        setGLBufferData(vertices, sizeof(GLfloat)*2*(segments+2));
        glVertexAttribPointer(GLProgram::VERTEX_ATTRIB_POSITION, 2, GL_FLOAT, GL_FALSE, 0, 0);
#else
        glVertexAttribPointer(GLProgram::VERTEX_ATTRIB_POSITION, 2, GL_FLOAT, GL_FALSE, 0, vertices);
#endif // EMSCRIPTEN

        glDrawArrays(GL_TRIANGLE_FAN, 0, (GLsizei) segments+1);

    ::free(vertices);


        CC_INCREMENT_GL_DRAWN_BATCHES_AND_VERTICES(1,segments+1);

}
下面是饼图的使用方法:
创建一个Layout类
DJPieLayout.h
//
//  DJPieLayout.h
//  TestUI
//
//  Created by 杜甲 on 14-5-12.
//
//

#ifndef __TestUI__DJPieLayout__
#define __TestUI__DJPieLayout__

#include "ui/CocosGUI.h"
#include "DJPieRotateLayerManager.h"

USING_NS_CC;


class DJPieLayout:public ui::Layout ,public DJPieRotateLayerManagerDelegate{

public:
    CREATE_FUNC(DJPieLayout);

    virtual bool init();

    void selectedFinish(DJPieRotateLayerManager* djpieChartLayer , int index,bool canLayerOpen) ;


};

#endif /* defined(__TestUI__DJPieLayout__) */
DJPieLayout.cpp
//
//  DJPieLayout.cpp
//  TestUI
//
//  Created by 杜甲 on 14-5-12.
//
//

#include "DJPieLayout.h"


bool DJPieLayout::init()
{
    bool bRet = false;
    do {
        CC_BREAK_IF(!ui::Layout::init());

        std::vector<Color4B> colorVec;
        std::vector<float> angleVec;

        Color4B c = Color4B(24, 195, 243, 255);
        Color4B c1 = Color4B(251, 151, 36, 255);
        Color4B c2 = Color4B(248, 251, 38, 255);
        Color4B c3 = Color4B(247, 49, 35, 255);
        Color4B c4 = Color4B(146, 246, 125, 255);
        Color4B c5 = Color4B(255, 170, 213, 255);
        Color4B c6 = Color4B(255, 70, 213, 255);

        colorVec.push_back(c);
        colorVec.push_back(c1);
        colorVec.push_back(c2);
        colorVec.push_back(c3);
        colorVec.push_back(c4);
        colorVec.push_back(c5);
        colorVec.push_back(c6);


        angleVec.push_back(20.0);
        angleVec.push_back(130.0);
        angleVec.push_back(30.0);
        angleVec.push_back(80.0);
        angleVec.push_back(30.0);
        angleVec.push_back(70.0);


        DJPieRotateLayerManager* djplm = DJPieRotateLayerManager::create();
        djplm->delegate = this;

        djplm->angleVec.assign(angleVec.begin(), angleVec.end());


        djplm->colorVec.assign(colorVec.begin(), colorVec.end());


        djplm->setPosition(100,100);
        djplm->addPieLayour();

        addChild(djplm);


        bRet  = true;
    } while (0);
    return bRet;
}

void DJPieLayout::selectedFinish(DJPieRotateLayerManager *djpieChartLayer, int index,bool canLayerOpen)
{
    log("%d,bool = %d",index,canLayerOpen);
}
将这个Layout添加到HelloWorldScene中:
在init()方法中添加:
 最低0.47元/天 解锁文章


 358
358

 被折叠的 条评论
为什么被折叠?
被折叠的 条评论
为什么被折叠?
 到【灌水乐园】发言


