


cocos圆形头像案例与提高字体清晰度小技巧
cocos圆形头像案例

在线体验地址
https://clig.gitee.io/round-avatar/
案例仓库地址
https://gitee.com/clig/round-avatar
effect代码
CCEffect %{
  techniques:
  - passes:
    - vert: vs
      frag: fs
      blendState:
        targets:
        - blend: true
      rasterizerState:
        cullMode: none
      properties:
        texture: { value: white }
        alphaThreshold: { value: 0.5 }
}%

CCProgram vs %{

precision highp float;

#include <cc-global>
#include <cc-local>

in vec3 a_position;
in vec4 a_color;
#if USE_TINT
  in vec4 a_color0;
#endif

in vec2 a_uv0;
out vec2 v_uv0;

out vec4 v_light;
#if USE_TINT
  out vec4 v_dark;
#endif

void main () {
  mat4 mvp;

  #if CC_USE_MODEL
    mvp = cc_matViewProj * cc_matWorld;
  #else
    mvp = cc_matViewProj;
  #endif

  v_uv0 = a_uv0;

  v_light = a_color;
  #if USE_TINT
    v_dark = a_color0;
  #endif

  gl_Position = mvp * vec4(a_position, 1);
}

}%

CCProgram fs %{

precision highp float;

uniform sampler2D texture;
in vec2 v_uv0;

in vec4 v_light;
#if USE_TINT
  in vec4 v_dark;
#endif

#include <alpha-test>

void main () {
  if(((v_uv0.x - 0.5) * (v_uv0.x - 0.5) + (v_uv0.y - 0.5)*(v_uv0.y-0.5)) > 0.25)
  {
      discard;
  }
  vec4 texColor = texture2D(texture, v_uv0);
  #if CC_USE_ALPHA_ATLAS_TEXTURE
      texColor.a *= texture2D(texture, v_uv0 + vec2(0, 0.5)).r;
  #endif
  vec4 finalColor;

  #if USE_TINT
    finalColor.a = v_light.a * texColor.a;
    finalColor.rgb = ((texColor.a - 1.0) * v_dark.a + 1.0 - texColor.rgb) * v_dark.rgb + texColor.rgb * v_light.rgb;
  #else
    finalColor = texColor * v_light;
  #endif

  ALPHA_TEST(finalColor);

  gl_FragColor = finalColor;
}

}%
cocos提高字体清晰度小技巧
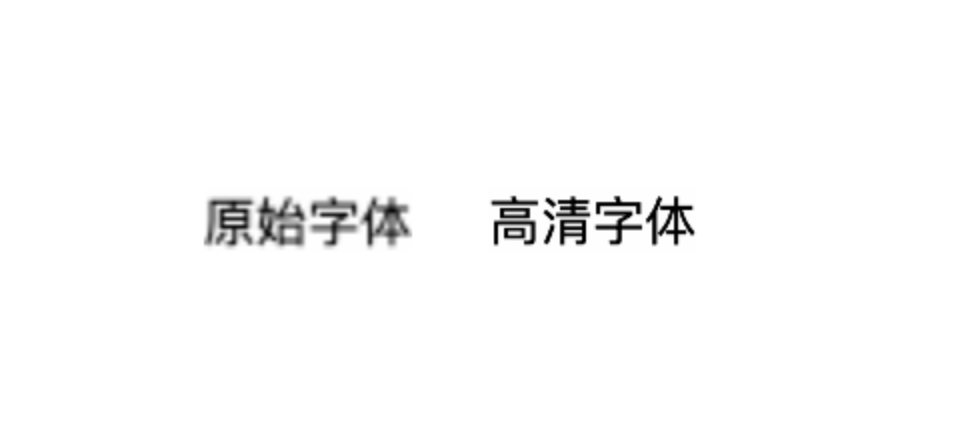
左边的字体直接使用 cocos creator 字体
右边的字体字体大小变大4倍,宽高缩放为1/4
直接使用 cocos creator 的字体是存在清晰度问题的,如果直接按照设计稿来设置字体大小,如字体大小设为 15 ,真机上是会模糊的,后来发现了一个不错的方案,就是直接将字体大小乘以 4 (字体大小就是 60 了),scaleX = 0.25, scaleY = 0.25 ,这样做真机上就很清晰了。


 3005
3005


 被折叠的 条评论
为什么被折叠?
被折叠的 条评论
为什么被折叠?
 到【灌水乐园】发言


