


目录
创建一个dataset
class TestDataset(torchvision.datasets.ImageFolder):
    # 根路径,
    def __init__(self, root, imgsz, cache):
        super().__init__(root=root)
        self.torch_transforms = T.Compose([CenterCrop(size), ToTensor(), T.Normalize(IMAGENET_MEAN, IMAGENET_STD)])
        self.cache_ram = cache is True or cache == 'ram'
        self.cache_disk = cache == 'disk'
        self.samples = [list(x) + [Path(x[0]).with_suffix('.npy'), None] for x in self.samples]

    def __getitem__(self, i):
        f, j, fn, im = self.samples[i]
        if self.cache_ram and im is None:
            im = self.samples[i][3] = cv2.imread(f)
        elif self.cache_disk:
            if not fn.exists():  # load npy
                np.save(fn.as_posix(), cv2.imread(f))
            im = np.load(fn)
        return self.torch_transforms(im)
CenterCrop:
CenterCrop图像裁剪原理_3分钟秒懂大数据的博客-CSDN博客_centercrop
class CenterCrop:
# YOLOv5 CenterCrop class for image preprocessing, i.e. T.Compose([CenterCrop(size), ToTensor()])
def __init__(self, size=640):
super().__init__()
self.h, self.w = (size, size) if isinstance(size, int) else size
def __call__(self, im): # im = np.array HWC
imh, imw = im.shape[:2]
m = min(imh, imw) # min dimension
top, left = (imh - m) // 2, (imw - m) // 2
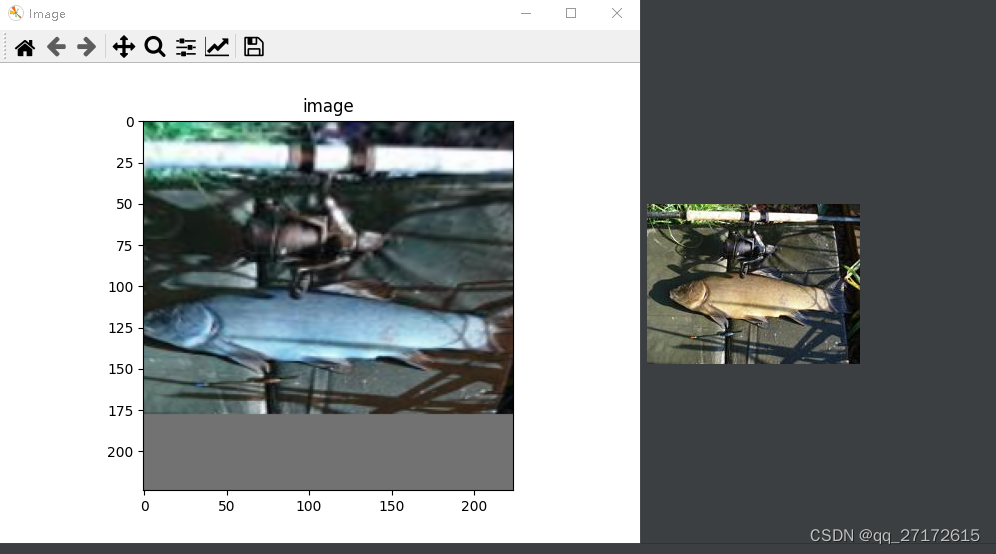
return cv2.resize(im[top:top + m, left:left + m], (self.w, self.h), interpolation=cv2.INTER_LINEAR)代码解释: 我目前看的都是yolo中的方法 总体就是先裁剪再resize
假设我们输入一个(h, w) = (300, 250) 图片, m 的值就是 250, top, left = 25, 0
所以裁剪的 [25:275, 0:250]
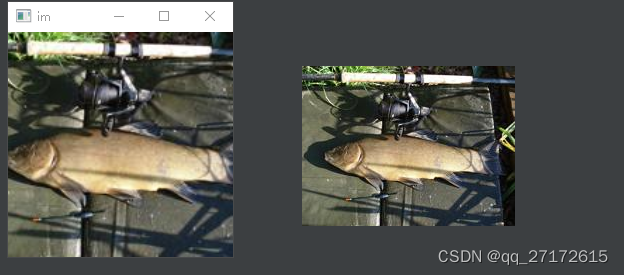
原图高是比较小的,所以没被切掉。就一句话,先剪切再resize.
ToTensor
class ToTensor:
    # YOLOv5 ToTensor class for image preprocessing, i.e. T.Compose([LetterBox(size), ToTensor()])
    def __init__(self, half=False):
        super().__init__()
        self.half = half

    def __call__(self, im):  # im = np.array HWC in BGR order
        im = np.ascontiguousarray(im.transpose((2, 0, 1))[::-1])  # HWC to CHW -> BGR to RGB -> contiguous
        im = torch.from_numpy(im)  # to torch
        im = im.half() if self.half else im.float()  # uint8 to fp16/32
        im /= 255.0  # 0-255 to 0.0-1.0
        return im
解释:就一件事, 归一化。和是否设置半精度
Normalize
pytorch个人学习笔记(2)—Normalize()参数详解及用法_吃米的鹰的博客-CSDN博客_pytorch normalize
我的理解:数据大部分符合一个分布,但是总有那么一两个特例会乱窜,所以把那些特例抹掉,所以神经网络只关心总体的特征,关心个别。
yolo选定的参数:
IMAGENET_MEAN = 0.485, 0.456, 0.406  # RGB mean
IMAGENET_STD = 0.229, 0.224, 0.225  # RGB standard deviation
RandomResizedCrop
pytorch torchvision.transforms.RandomResizedCrop方法解读_Continue2021的博客-CSDN博客_randomresizedcrop
def forward(self, img):
"""
Args:
img (PIL Image or Tensor): Image to be cropped and resized.
Returns:
PIL Image or Tensor: Randomly cropped and resized image.
"""
i, j, h, w = self.get_params(img, self.scale, self.ratio)
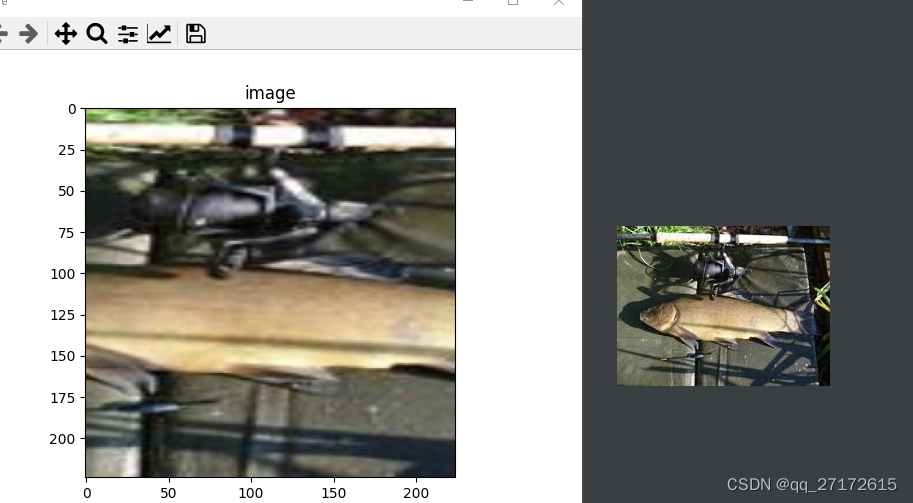
return F.resized_crop(img, i, j, h, w, self.size, self.interpolation, antialias=self.antialias)torch麻烦就是,底层代码都是c++写的,所以看不见怎么实现的,还有一个麻烦的就是必须要plt格式的,yolo用的是 albumentations,不需要进行格式转换,但是我安装了几次都装不上。从效果来说,还是一个剪切, 一个resize。多了一个随机。
水平翻转
np.fliplr(im)

T.RandomHorizontalFlip

def fliplr(m):


    m = asanyarray(m)
    if m.ndim < 2:
        raise ValueError("Input must be >= 2-d.")
    return m[:, ::-1]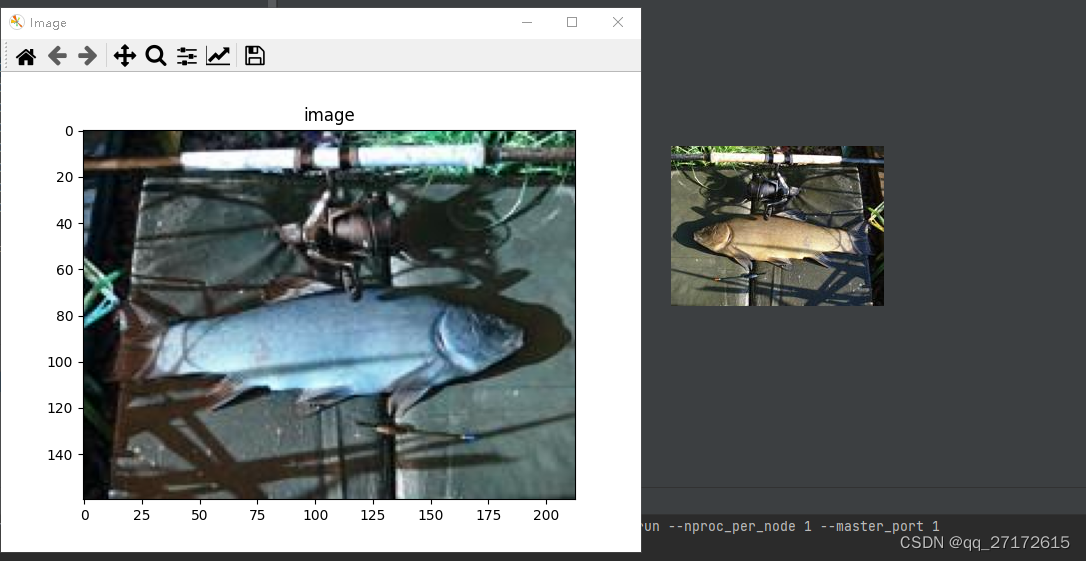
np.fliplr(im) 的效果,颜色发生了变化,俺也不知道是为什么,第二个方法没试,包安装不起。
::-1作用如图

但是颜色为啥会变呢。搞不懂。
垂直翻转
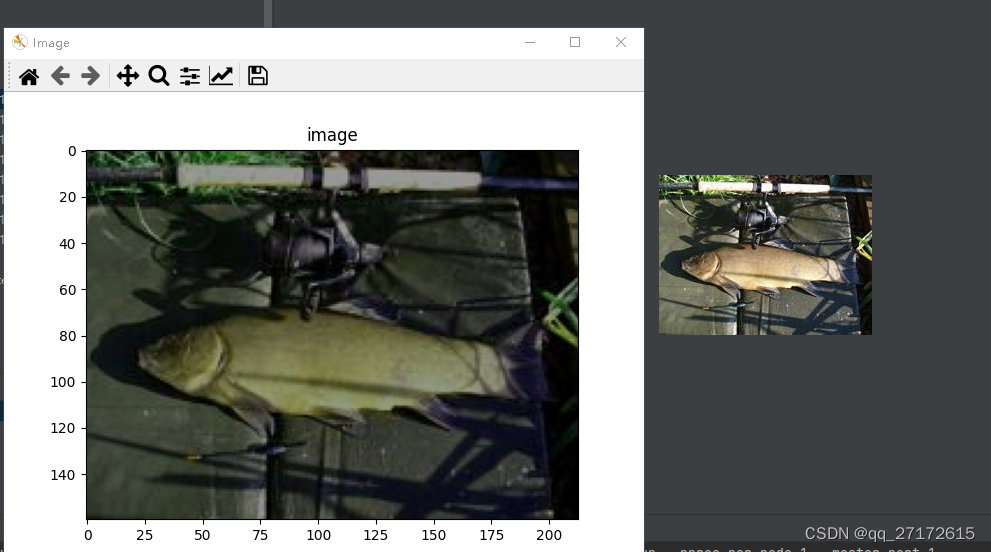
np.flipud(im)
T.RandomVerticalFlip

def flipud(m):
    m = asanyarray(m)
    if m.ndim < 1:
        raise ValueError("Input must be >= 1-d.")
    return m[::-1, ...]
ColorJitter
T.Compose(
            [T.ColorJitter(brightness=0.5, contrast=0.1, saturation=0.1, hue=0.1)])
brightness:亮度
contrast:对比度
saturation:饱和度
hue:色相
都设置0.4要好点
图像旋转
        R = cv2.getRotationMatrix2D(angle=45, center=(100, 100), scale=1)
        sample = cv2.warpAffine(im, R, (im.shape[0], im.shape[1]))
angle: 旋转角度
center: 旋转中心,
scale:缩放比例

透视变化:
        points1 = np.float32([[50, 0], [150, 0], [0, 200], [200, 200]])
        points2 = np.float32([[0, 0], [200, 0], [0, 200], [200, 200]])
        M = cv2.getPerspectiveTransform(points1, points2)
        sample = cv2.warpPerspective(im, M, dsize=(224, 224), borderValue=(114, 114, 114))
OpenCV图像处理--warpPerspective透视变换_C君莫笑的博客-CSDN博客
points1 原图选取的四个坐标 points2需要变化的坐标
灰度变换
 T.Compose([T.Grayscale(3)])


 Returns:
        PIL Image: Grayscale version of the input.

        - If ``num_output_channels == 1`` : returned image is single channel
        - If ``num_output_channels == 3`` : returned image is 3 channel with r == g == b

    """

    def __init__(self, num_output_channels=1):
        super().__init__()
        _log_api_usage_once(self)
        self.num_output_channels = num_output_channels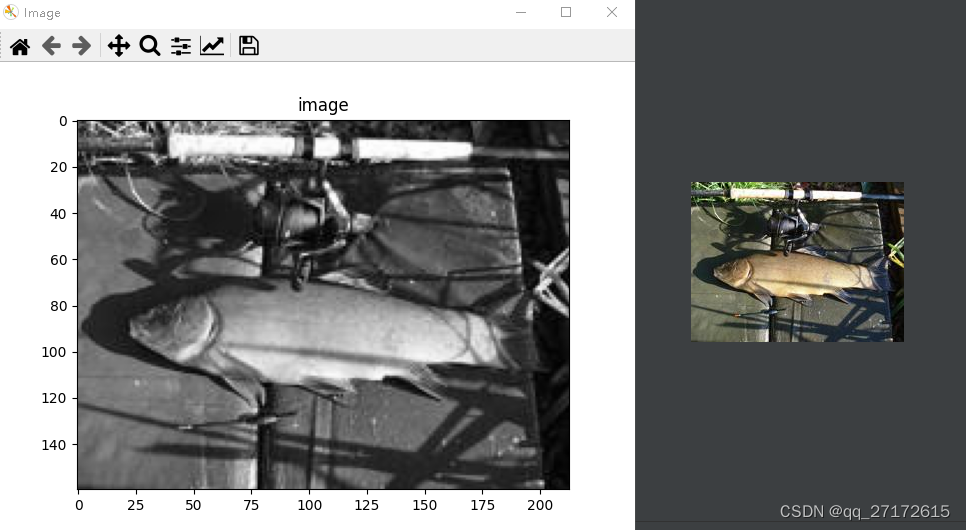
高斯模糊
T.Compose(
            [T.GaussianBlur(kernel_size=(3, 3))])

HSV变化
def augment_hsv(im, hgain=0.5, sgain=0.5, vgain=0.5):
    # HSV color-space augmentation
    if hgain or sgain or vgain:
        r = np.random.uniform(-1, 1, 3) * [hgain, sgain, vgain] + 1  # random gains
        hue, sat, val = cv2.split(cv2.cvtColor(im, cv2.COLOR_BGR2HSV))
        dtype = im.dtype  # uint8

        x = np.arange(0, 256, dtype=r.dtype)
        lut_hue = ((x * r[0]) % 180).astype(dtype)
        lut_sat = np.clip(x * r[1], 0, 255).astype(dtype)
        lut_val = np.clip(x * r[2], 0, 255).astype(dtype)

        im_hsv = cv2.merge((cv2.LUT(hue, lut_hue), cv2.LUT(sat, lut_sat), cv2.LUT(val, lut_val)))
        cv2.cvtColor(im_hsv, cv2.COLOR_HSV2BGR, dst=im)  # no return needed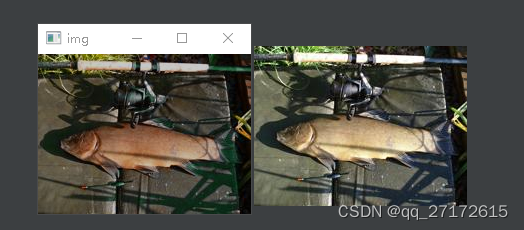
总结:
np.ascontiguousarray
np.ascontiguousarray()详解 - 九叶草 - 博客园
yolo中最后都要调用这个,为了性能更快。PLT显示的图像都有问题,不知道是什么原因,只有最后一张图片是用opencv显


 44万+
44万+


 被折叠的 条评论
为什么被折叠?
被折叠的 条评论
为什么被折叠?
 到【灌水乐园】发言


