


Step by step: https://linuxconfig.org/remote-desktop-sharing-on-ubuntu-20-04-focal-fossa
The following tutorial will explain how to setup client/server remote desktop sharing on Ubuntu 20.04 Focal Fossa.
In this tutorial you will learn:
- How to enable desktop screen sharing
- How to how to install remote desktop client
- How to configure your firewall to allow desktop sharing access
- How to connect to a remote desktop
Software Requirements and Conventions Used
| Category | Requirements, Conventions or Software Version Used |
|---|---|
| System | Installed or upgraded Ubuntu 20.04 Focal Fossa |
| Software | GNOME desktop, remmina |
| Other | Privileged access to your Linux system as root or via the sudo command. |
| Conventions | # – requires given linux commands to be executed with root privileges either directly as a root user or by use of sudo command$ – requires given linux commands to be executed as a regular non-privileged user |
Remote desktop sharing on Ubuntu 20.04 step by step instructions
-
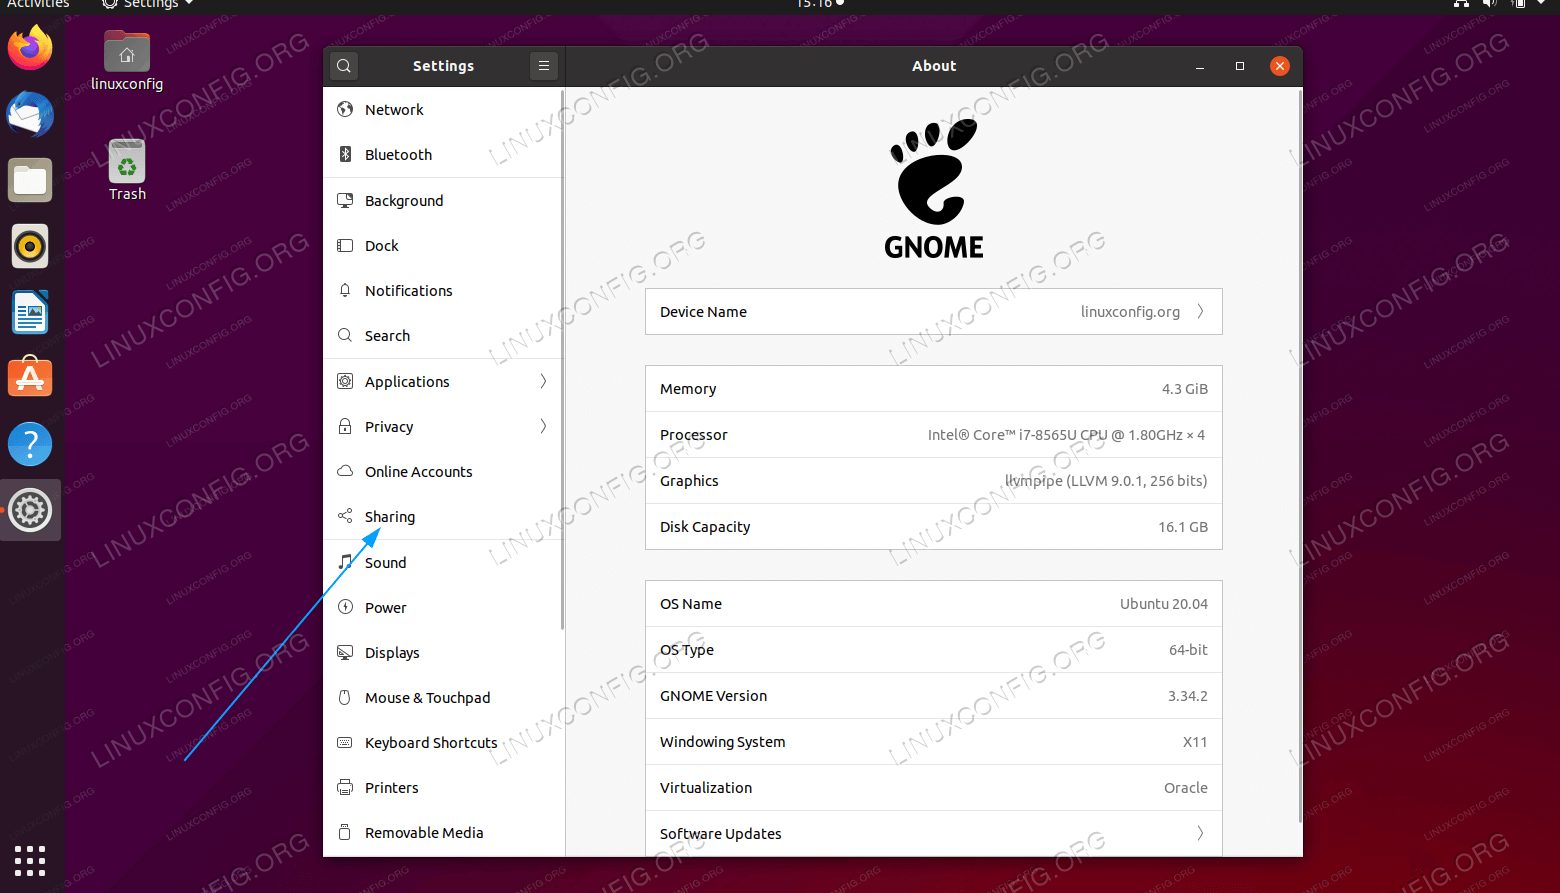
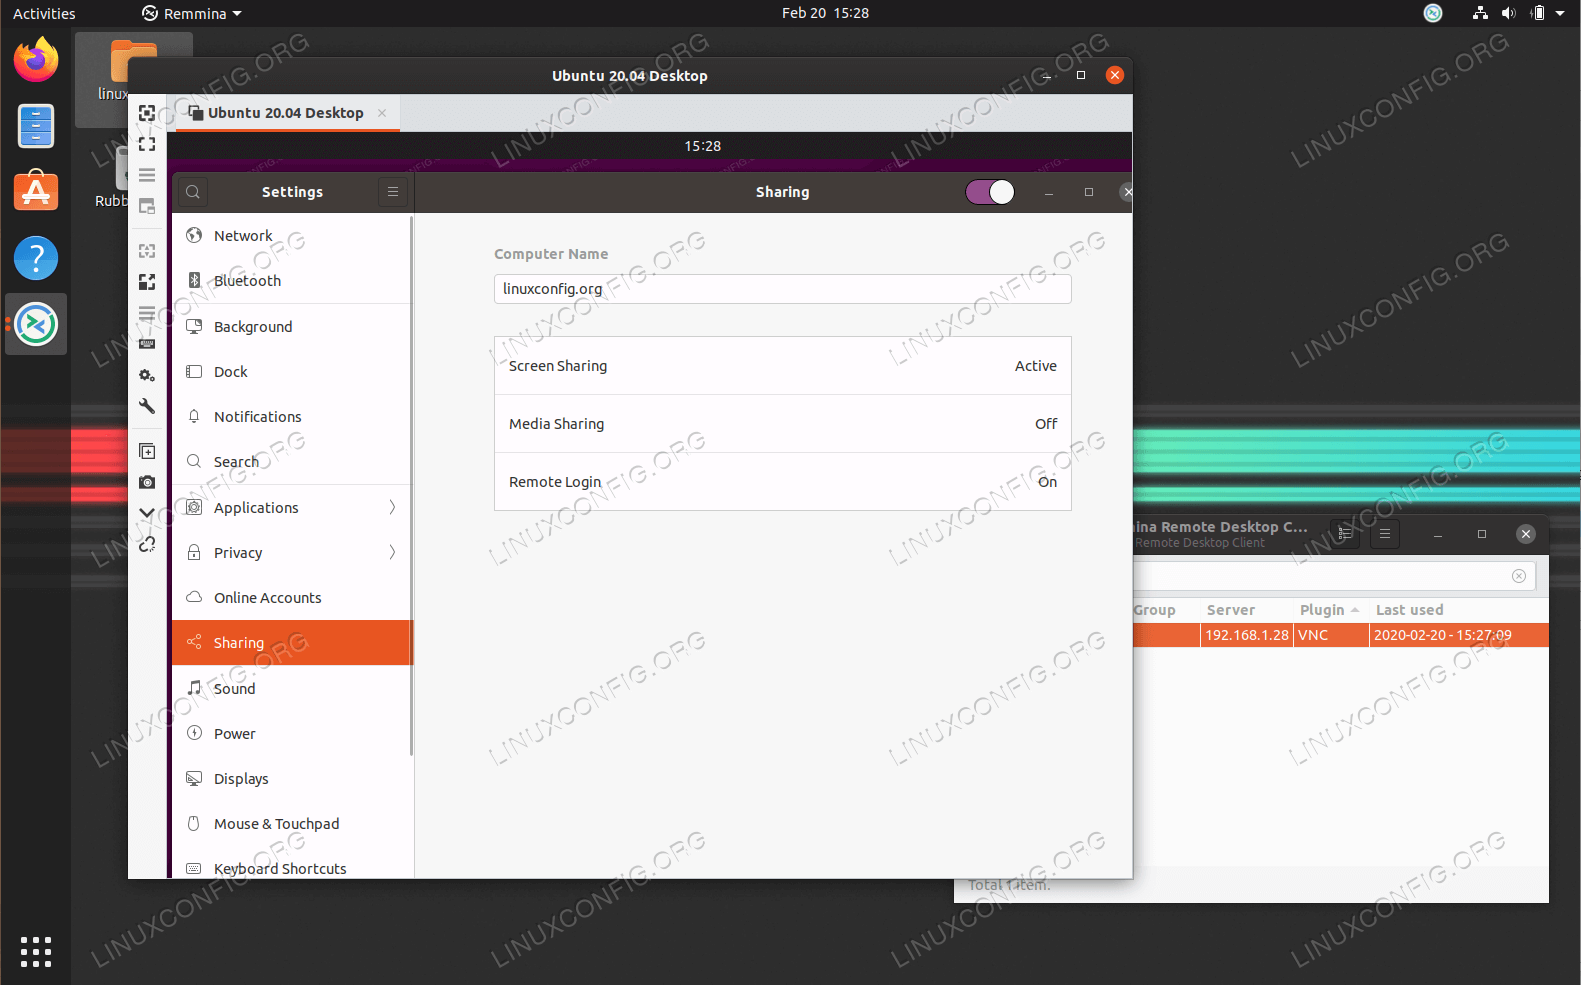
Navigate to
Settingsand click on theSharingmenu -
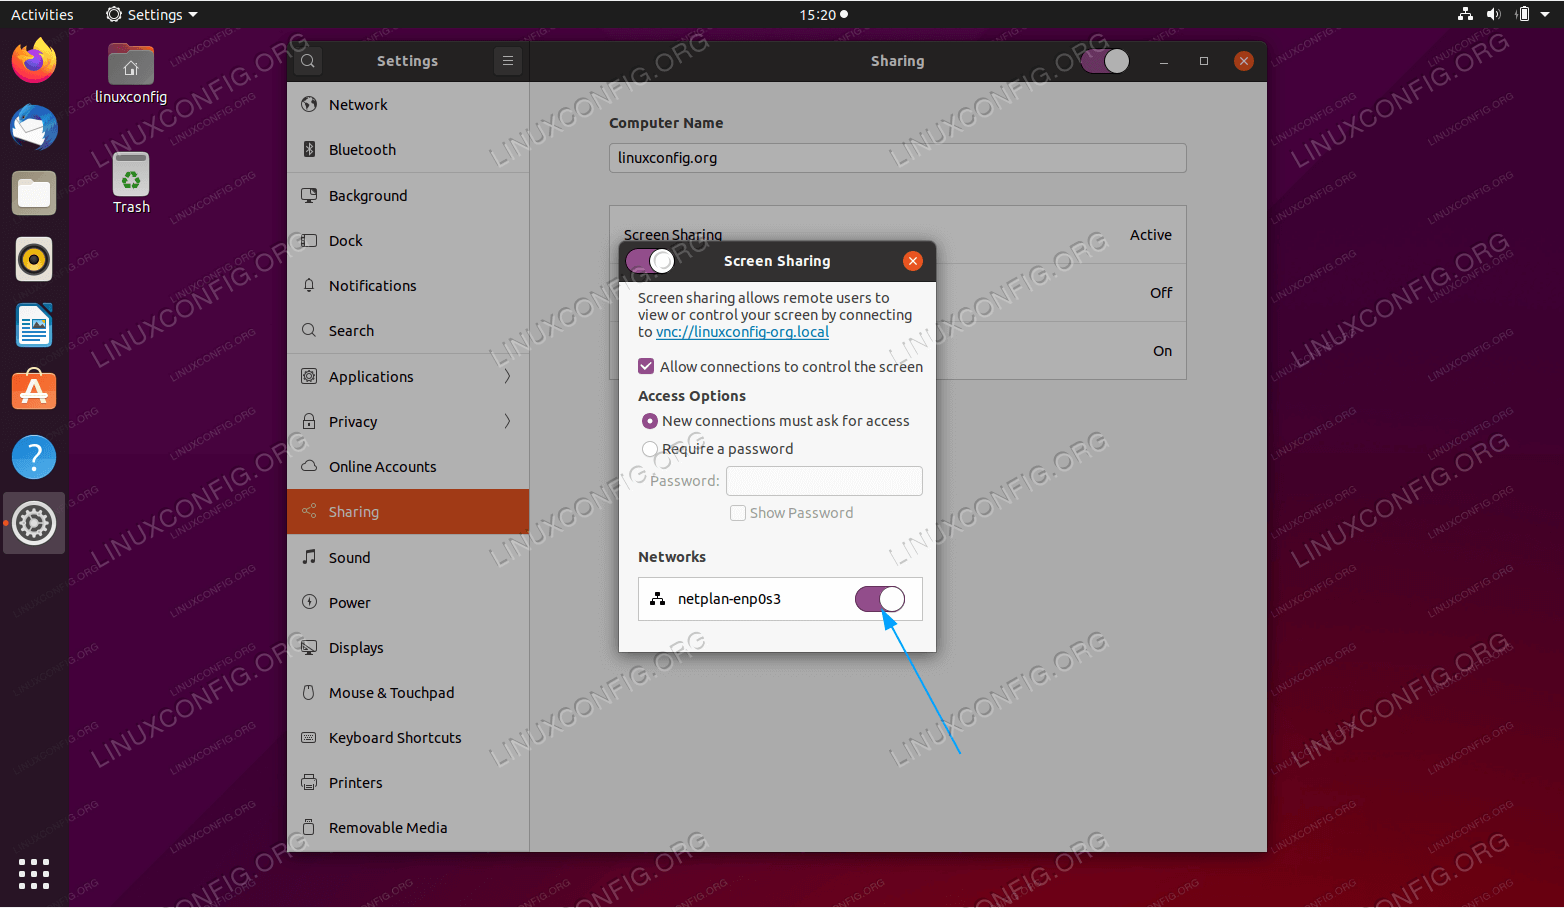
From here click on the
Screen Sharing. Turn on theNetworkswitch of the network interface you wish to share your screen on. This will effectively enable the screen sharing of your Ubuntu 20.04 Desktop.
Access Options: Recommand to choose Require password. - Create a new firewall rules to allow port
5900for an incoming connections:$ sudo ufw allow from any to any port 5900 proto tcp Rule added Rule added (v6)
- Head over to your client desktop from which you wish to access the remove desktop you enabled in the previous steps. Install remote desktop client
remmina:$ sudo apt install remmina
-
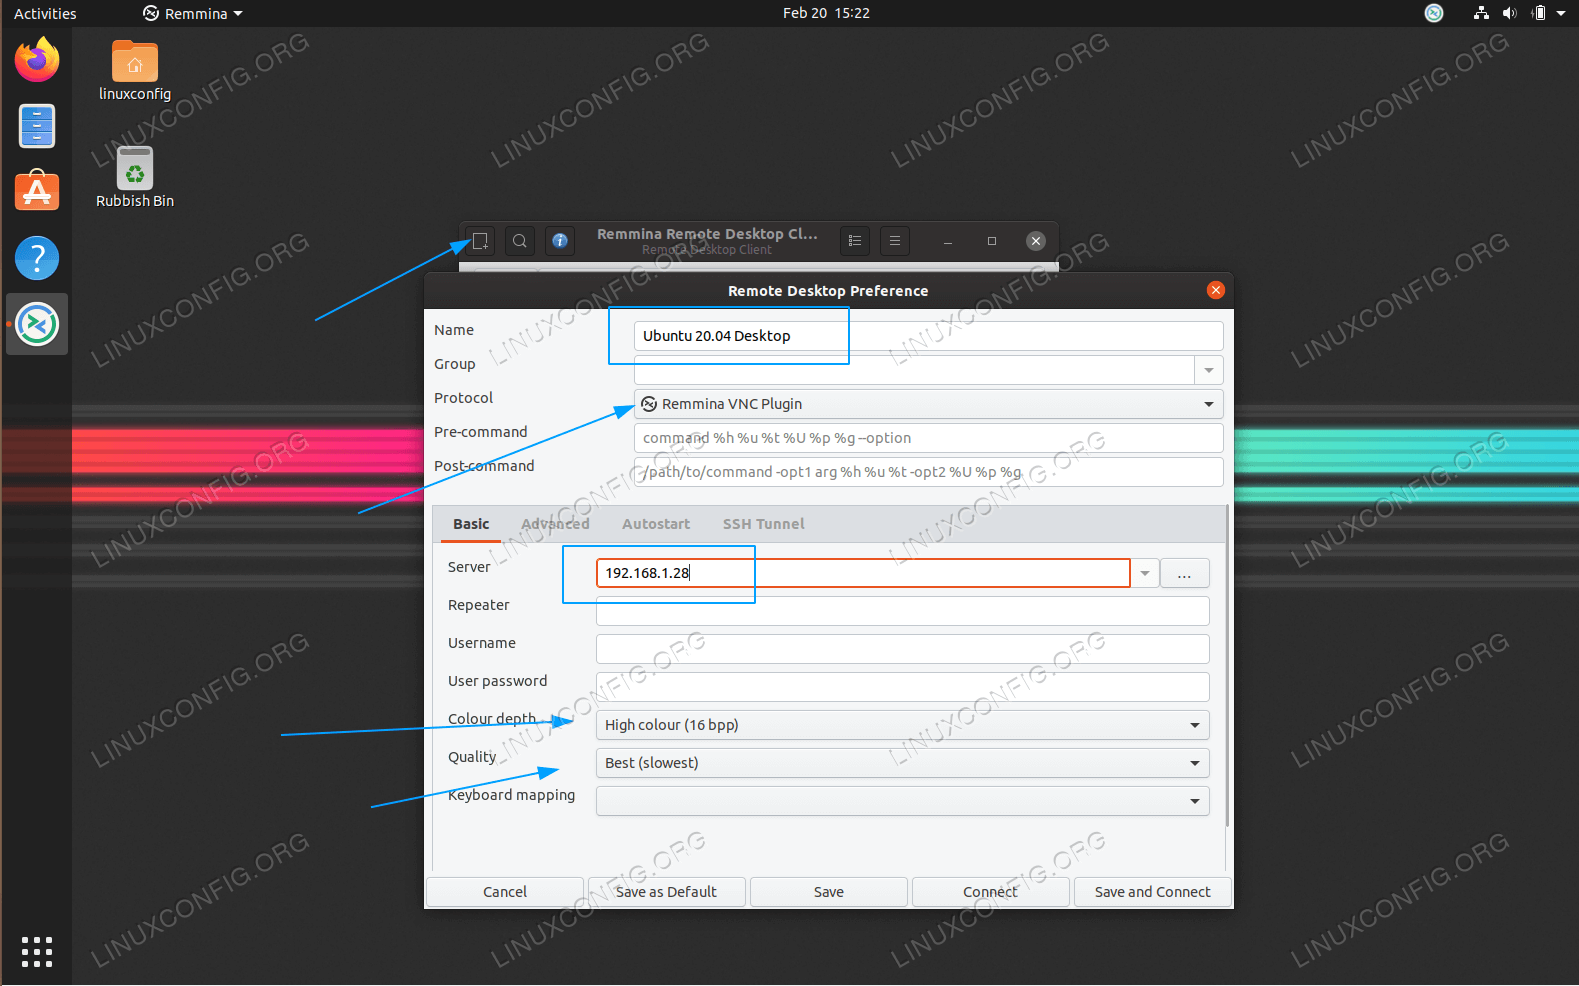
Start the Remmina client. Create a new connection, insert any arbitrary name for your remote desktop connection. Select the
VNCprotocol, insertServerinformation such as the Remote Desktop’s IP address or hostname and setQualityorColor depthand hitSavebutton. -

Connectto the remote desktop share. -
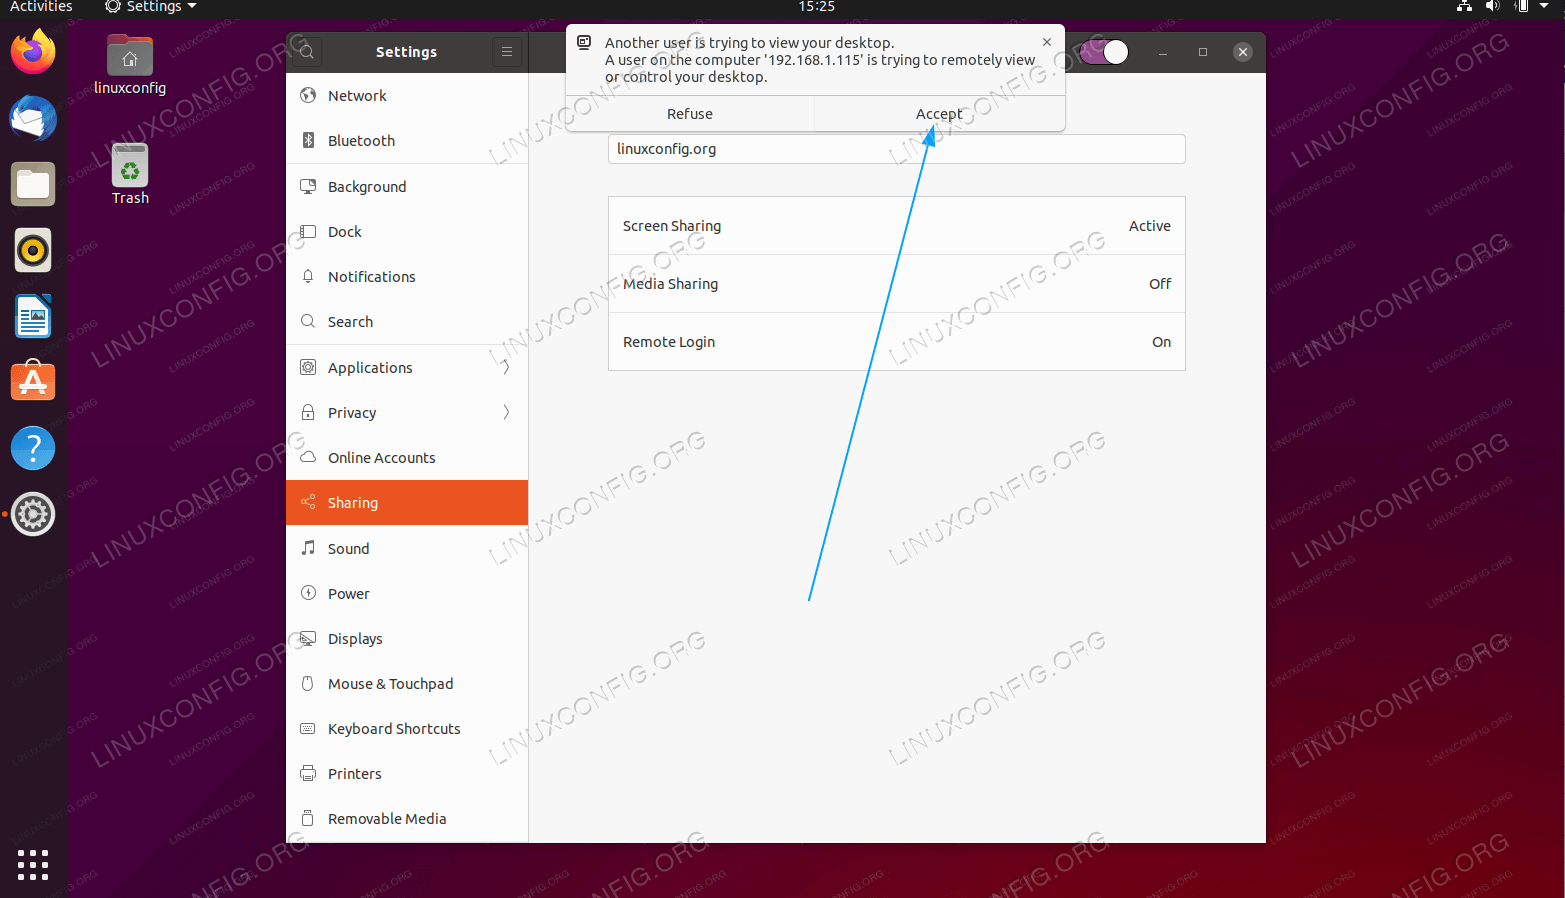
Once you make an attempt to connect to your remote desktop the pop-up message will appear to
Acceptthe connection. -

All done. You should now be able to access the remote desktop client.


 1万+
1万+

 被折叠的 条评论
为什么被折叠?
被折叠的 条评论
为什么被折叠?
 到【灌水乐园】发言


