


一.创建名字为tensorflow的虚拟环境
conda create -n tensorflow python=3.7
我命名为tensorflow,python版本的3.7,numpy版本为1.16
(正常情况下下载的tensorflow是2.2以上的版本)
【注】安装1.14版本的tensorflow,csdn参考在此.
二.导入tensorflow库,并下载准备cifar数据
1.新建一个py文件
2.在py文件最前面加上Copyright
#@title Licensed under the Apache License, Version 2.0 (the "License");
# you may not use this file except in compliance with the License.
# You may obtain a copy of the License at
#
# https://www.apache.org/licenses/LICENSE-2.0
#
# Unless required by applicable law or agreed to in writing, software
# distributed under the License is distributed on an "AS IS" BASIS,
# WITHOUT WARRANTIES OR CONDITIONS OF ANY KIND, either express or implied.
# See the License for the specific language governing permissions and
# limitations under the License.
3.导入tensorflow库,keras,matplotlib
import tensorflow as tf

from tensorflow.keras import datasets, layers, models
import matplotlib.pyplot as plt
4.下载并准备cifar10数据集
(train_images, train_labels), (test_images, test_labels) = datasets.cifar10.load_data()

# Normalize pixel values to be between 0 and 1
train_images, test_images = train_images / 255.0, test_images / 255.0
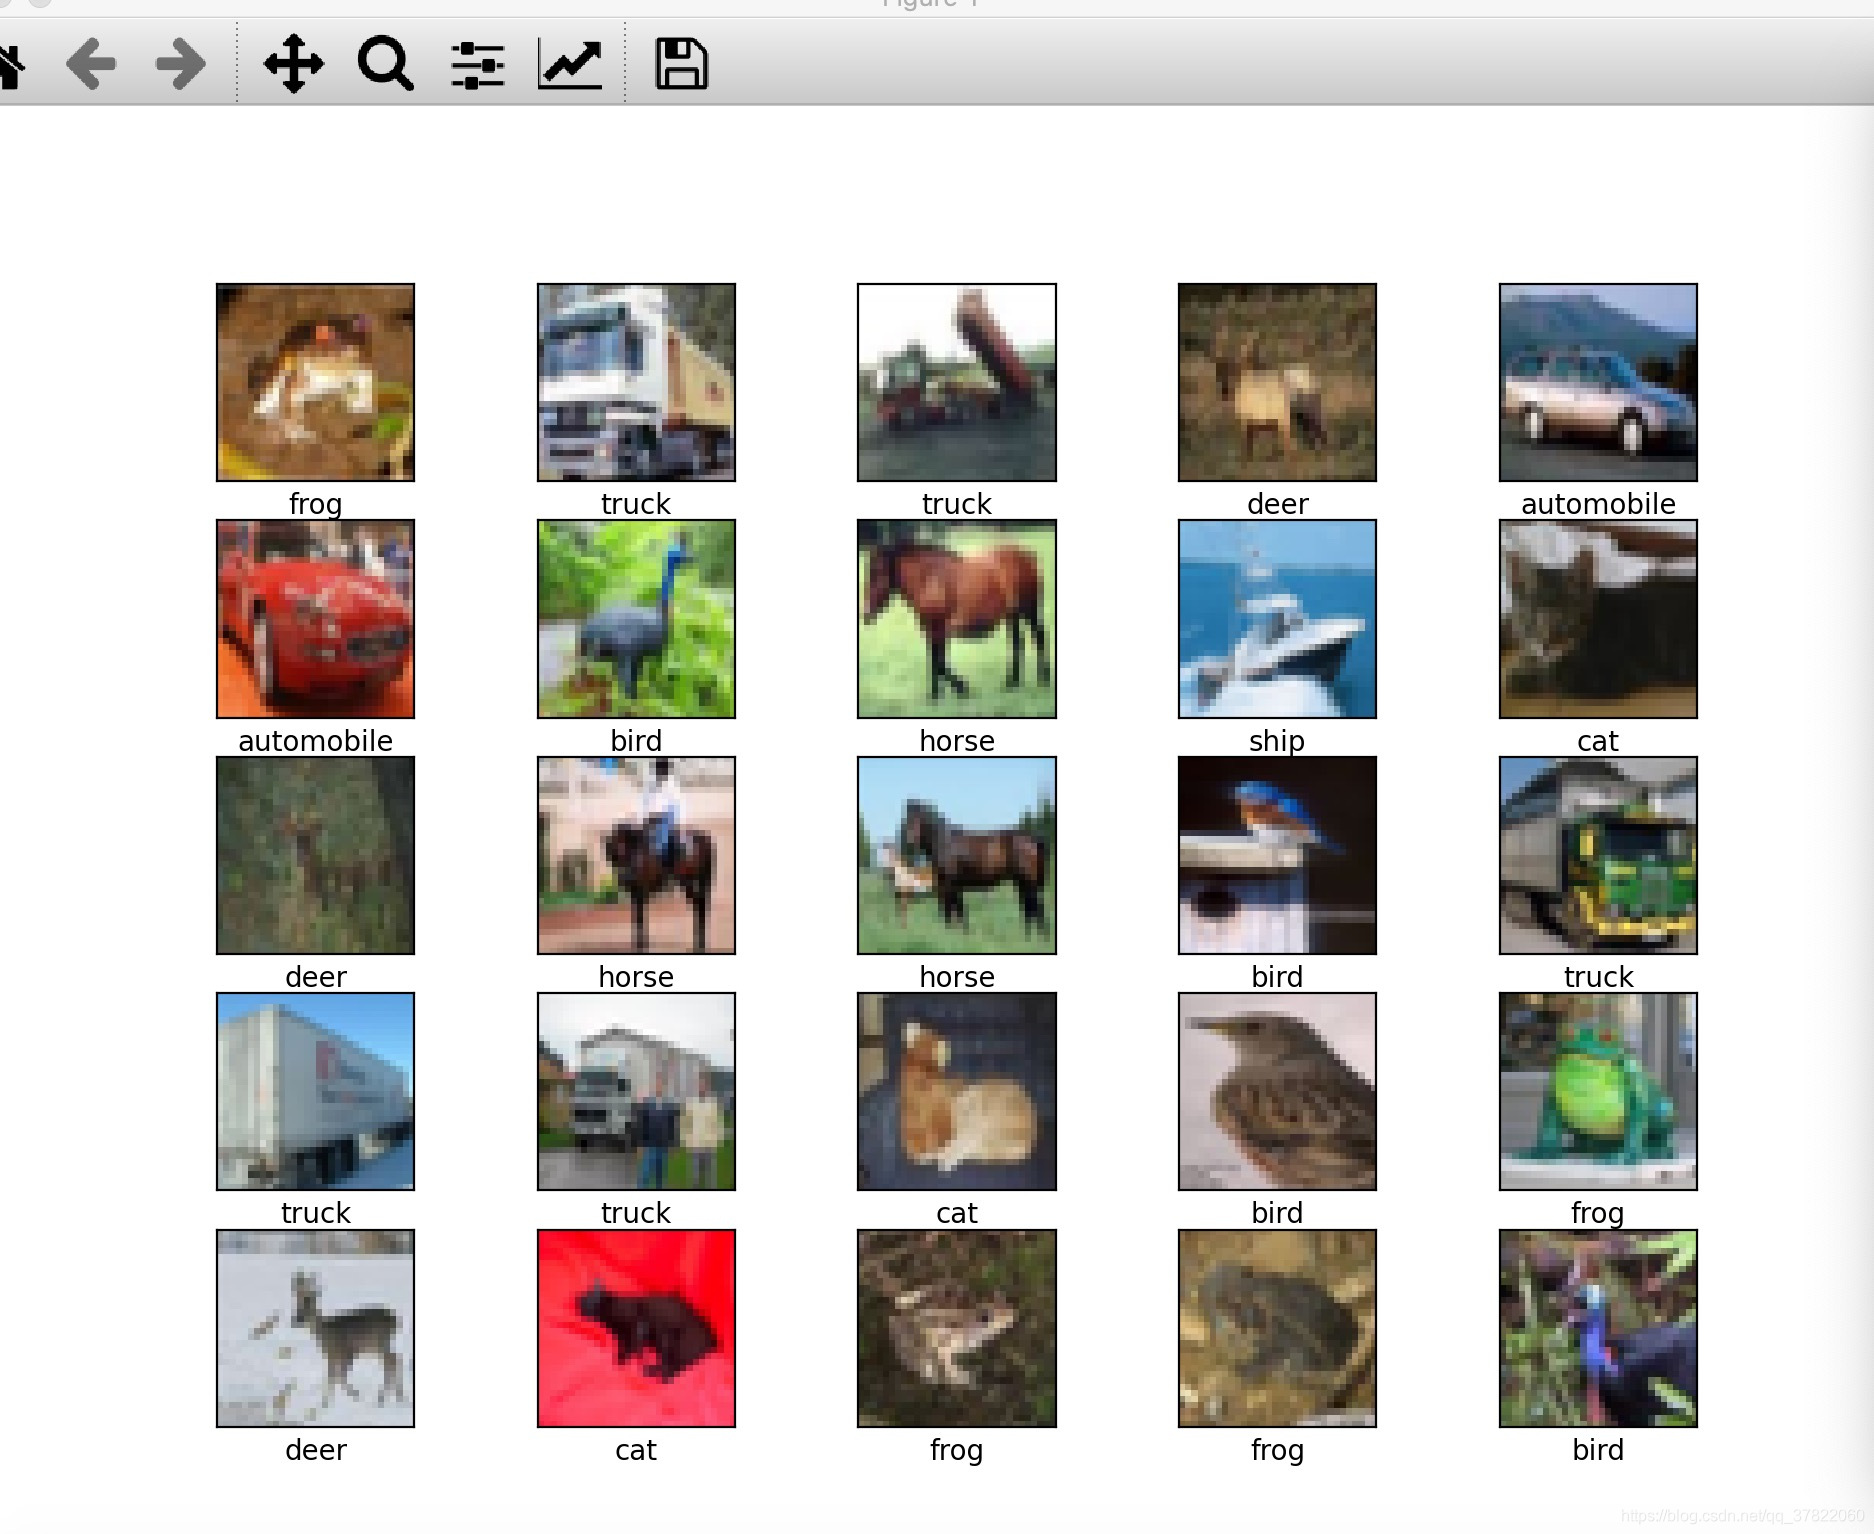
三.可视化前25张图片,验证数据集
class_names = ['airplane', 'automobile', 'bird', 'cat', 'deer',
               'dog', 'frog', 'horse', 'ship', 'truck']

plt.figure(figsize=(10,10))
for i in range(25):
    plt.subplot(5,5,i+1)
    plt.xticks([])
    plt.yticks([])
    plt.grid(False)
    plt.imshow(train_images[i], cmap=plt.cm.binary)
    # The CIFAR labels happen to be arrays,
    # which is why you need the extra index
    plt.xlabel(class_names[train_labels[i][0]])
plt.show()
四.创建卷积基
model = models.Sequential()
model.add(layers.Conv2D(32, (3, 3), activation='relu', input_shape=(32, 32, 3)))
model.add(layers.MaxPooling2D((2, 2)))
model.add(layers.Conv2D(64, (3, 3), activation='relu'))
model.add(layers.MaxPooling2D((2, 2)))
model.add(layers.Conv2D(64, (3, 3), activation='relu'))
查看模型结构的信息
model.summary()
四.创建全连接层
model.add(layers.Flatten())
model.add(layers.Dense(64, activation='relu'))
model.add(layers.Dense(10))
查看整个模型结构
model.summary()
四.训练模型
model.compile(optimizer='adam',
              loss=tf.keras.losses.SparseCategoricalCrossentropy(from_logits=True),
              metrics=['accuracy'])

history = model.fit(train_images, train_labels, epochs=10,
                    validation_data=(test_images, test_labels))
五.测试模型并可视化
plt.plot(history.history['accuracy'], label='accuracy')
plt.plot(history.history['val_accuracy'], label = 'val_accuracy')
plt.xlabel('Epoch')
plt.ylabel('Accuracy')
plt.ylim([0.5, 1])
plt.legend(loc='lower right')

test_loss, test_acc = model.evaluate(test_images,  test_labels, verbose=2)

结果

五.保存模型数据,重加载模型
保存keras模型
model.save( '/Users/liuyi/Desktop/cifar10/cifar10_data/my_test_model.ckpt')
重新实例化模型
#keras.models.load_model(filepath)
#or h5结构
from keras.models import load_model

model.save('my_model.h5')  # creates a HDF5 file 'my_model.h5'
del model  # deletes the existing model

# returns a compiled model
# identical to the previous one
model = load_model('my_model.h5')
五.对单张图片进行预测
i=3
class_names = ['airplane', 'automobile', 'bird', 'cat', 'deer','dog', 'frog', 'horse', 'ship', 'truck']
from keras.preprocessing import image
img = test_images[i]
x = image.img_to_array(img)
x = np.expand_dims(x, axis=0)
images = np.vstack([x])
classes = model.predict(images, batch_size=32)
print(classes)
y_test_pred = np.argmax(classes, axis=1)
print(y_test_pred,class_names[y_test_pred[0]])
对test_images[3]进行预测的结果:


 1986
1986


 被折叠的 条评论
为什么被折叠?
被折叠的 条评论
为什么被折叠?
 到【灌水乐园】发言


