虽然是基于Tinyrenderer开始的项目,但是写了两章发现我自己就可以做了hh,就不顺着他的思路来了,所以也改了名字。
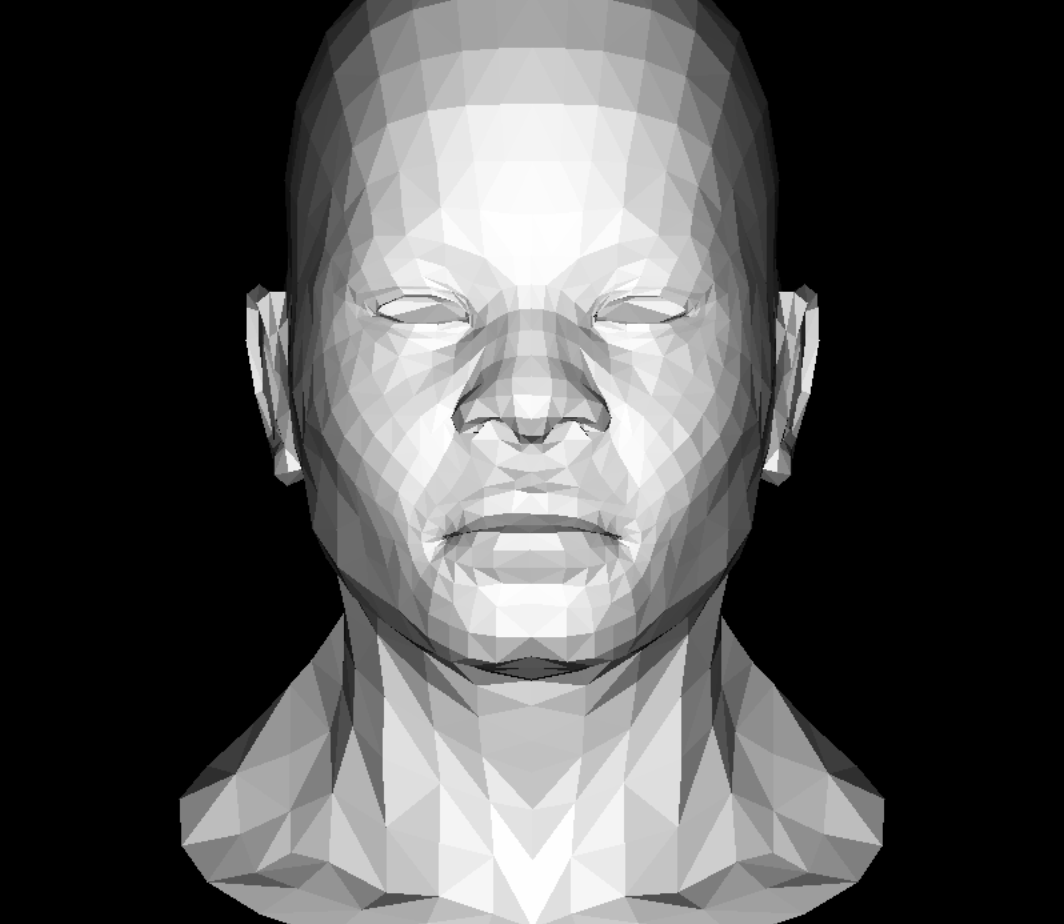
上一节实现了深度测试,正确显示了人头模型,但是这个模型只有面片构成,并没有颜色,所以这次的任务是要引入纹理贴图。

为此,我们需要更新model载入模型的文件,获取模型包括颜色的信息;
#ifndef __MODEL_H__
#define __MODEL_H__

#include <vector>
#include "geometry.h"
#include "tgaimage.h"

class Model {
private:
    std::vector<Vec3f> verts_; // 存放所有的顶点坐标
    std::vector<std::vector<Vec3i> > faces_; // vertex/normal/texcoord的索引
    std::vector<Vec2f> uv_;//存放所有的纹理坐标
    TGAImage diffusemap_;//存放读取的贴图
    void load_texture(std::string filename, const char *suffix, TGAImage &img);
public:
    Model(const char *filename);
    ~Model();
    int nverts(); //顶点总数
    int nfaces(); // 面数
    Vec3f vert(int i); //获取索引为i的顶点
    Vec2i uv(int iface, int nvert);//获取面数为iface,面中第nvert个的uv
    TGAColor diffuse(Vec2i uv); //从漫反射贴图中取出uv对应的颜色
    std::vector<int> face(int idx); //根据面索引取出所有顶点坐标
};

#endif //__MODEL_H__
以上model类定义如下:
#include <fstream>
#include <sstream>
#include <vector>
#include "model.h"

Model::Model(const char *filename) : verts_(), faces_(), norms_(), uv_() {
    std::ifstream in;
    in.open (filename, std::ifstream::in);
    if (in.fail()) return;
    std::string line;
    while (!in.eof()) {
        std::getline(in, line);
        std::istringstream iss(line.c_str());
        char trash;
        if (!line.compare(0, 2, "v ")) {
            iss >> trash;
            Vec3f v;
            for (int i=0;i<3;i++) iss >> v[i];
            verts_.push_back(v);
        } else if (!line.compare(0, 3, "vn ")) {
            iss >> trash >> trash;
            Vec3f n;
            for (int i=0;i<3;i++) iss >> n[i];
            norms_.push_back(n);
        } else if (!line.compare(0, 3, "vt ")) {
            iss >> trash >> trash;
            Vec2f uv;
            for (int i=0;i<2;i++) iss >> uv[i];
            uv_.push_back(uv);
        }  else if (!line.compare(0, 2, "f ")) {
            std::vector<Vec3i> f;
            Vec3i tmp;
            iss >> trash;
            while (iss >> tmp[0] >> trash >> tmp[1] >> trash >> tmp[2]) {
                for (int i=0; i<3; i++) tmp[i]--; // in wavefront obj all indices start at 1, not zero
                f.push_back(tmp);
            }
            faces_.push_back(f);
        }
    }
    std::cerr << "# v# " << verts_.size() << " f# "  << faces_.size() << " vt# " << uv_.size() << " vn# " << norms_.size() << std::endl;
    load_texture(filename, "_diffuse.tga", diffusemap_);
}

Model::~Model() {
}

int Model::nverts() {
    return (int)verts_.size();
}

int Model::nfaces() {
    return (int)faces_.size();
}

std::vector<int> Model::face(int idx) {
    std::vector<int> face;
    for (int i=0; i<(int)faces_[idx].size(); i++) face.push_back(faces_[idx][i][0]);
    return face;
}

Vec3f Model::vert(int i) {
    return verts_[i];
}

void Model::load_texture(std::string filename, const char *suffix, TGAImage &img) {
    std::string texfile(filename);
    size_t dot = texfile.find_last_of(".");
    if (dot!=std::string::npos) {
        texfile = texfile.substr(0,dot) + std::string(suffix);
        std::cerr << "texture file " << texfile << " loading " << (img.read_tga_file(texfile.c_str()) ? "ok" : "failed") << std::endl;
        img.flip_vertically();
    }
}

TGAColor Model::diffuse(Vec2i uv) {
    return diffusemap_.get(uv.x, uv.y);
}

Vec2i Model::uv(int iface, int nvert) {
    int idx = faces_[iface][nvert][1];
    return Vec2i(uv_[idx].x*diffusemap_.get_width(), uv_[idx].y*diffusemap_.get_height());
    //return Vec2i(1, 1);
}
有了模型之后,我们应该想着把贴图映射到模型上去。
这里有个问题,我们的各项属性都是存在顶点上的,那么我们怎么计算每个光栅化后的片元当中的颜色属性呢?记得我们上一节判断点是否在三角形内的时候,会得到一个重心坐标,我们可以用这个重心坐标去计算片元纹理值;
当我们把坐标转换到屏幕坐标之后,我们将三角形的三个坐标传入barycentric()函数中求得重心坐标:
Vec3f barycentric(Vec3i* pts, Vec2i P) {
    Vec3i v1 = Vec3i(pts[1].x - pts[0].x, pts[2].x - pts[0].x, pts[0].x - P.x);
    Vec3i v2 = Vec3i(pts[1].y - pts[0].y, pts[2].y - pts[0].y, pts[0].y - P.y);
    Vec3i v = cross(v1, v2);
    if (std::abs(v.z) < 1) return Vec3f(-1, 1, 1);
    return Vec3f(1.0f - (v.x + v.y) / (float)v.z, v.x / (float)v.z, v.y / (float)v.z);
}
得到重心坐标后,同深度插值方法一样进行插值,并利用插值的uv采样得到片元颜色:
int depth = baryc.x * pts[0].z + baryc.y * pts[1].z + baryc.z * pts[2].z;
Vec2i pixeluv;
pixeluv = uvs[0] * baryc.x + uvs[1] * baryc.y + uvs[2] * baryc.z;
if (depth > zBuffer[i + j * width - 1]) {
    auto pixColor = model.diffuse(pixeluv);
    image.set(i, j, pixColor);
    zBuffer[i + j * width - 1] = depth;
}
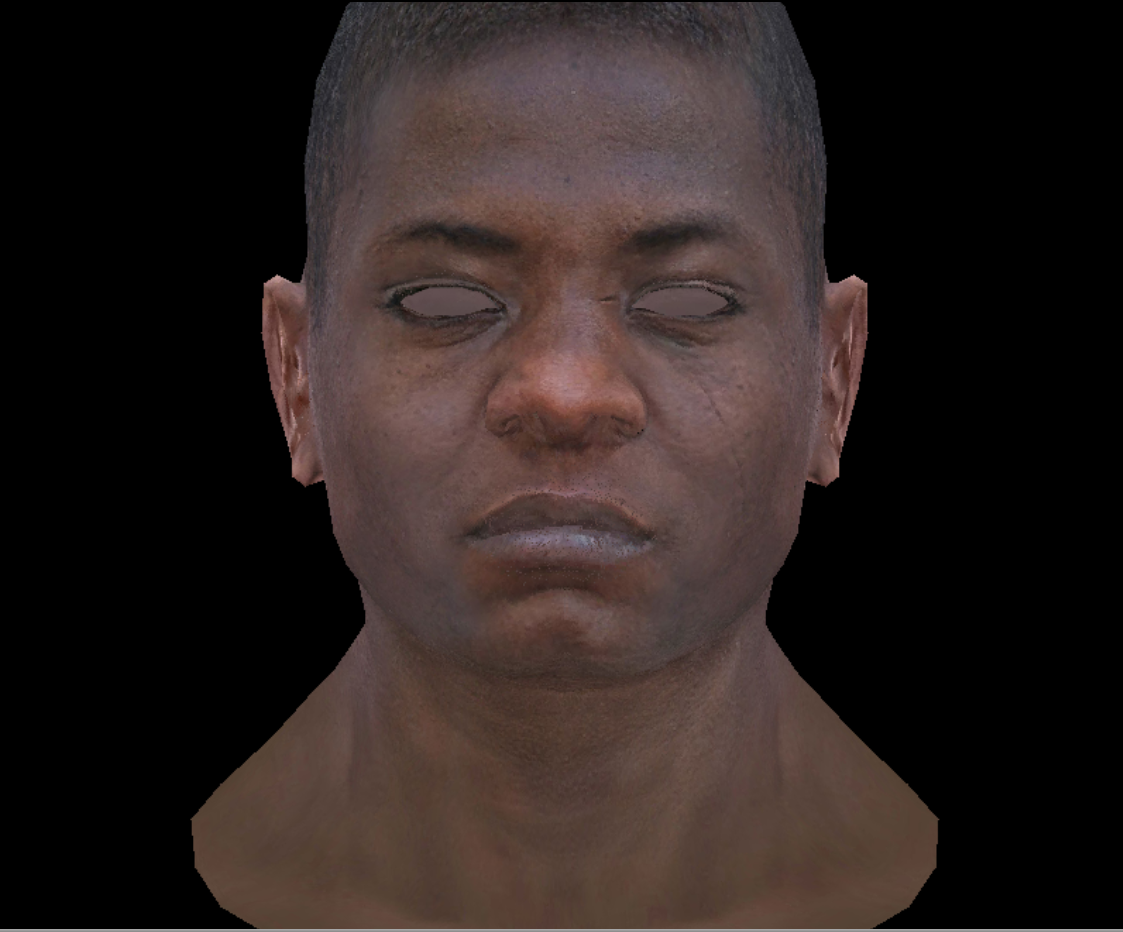
然后运行:

现在能看出这是个黑哥们儿了。


 1573
1573

 被折叠的 条评论
为什么被折叠?


