


1、首先安装必要的开发工具
1.1通过访问https://developer.harmonyos.com/cn/develop/deveco-studio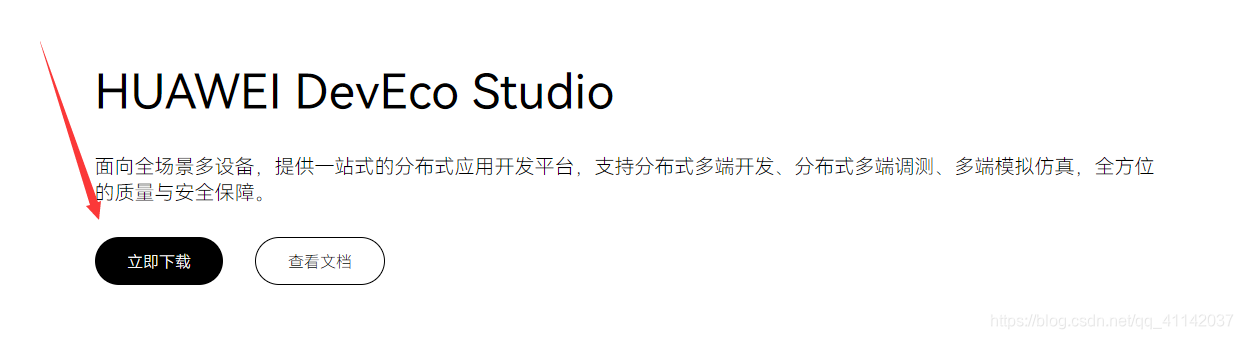
1.2安装软件

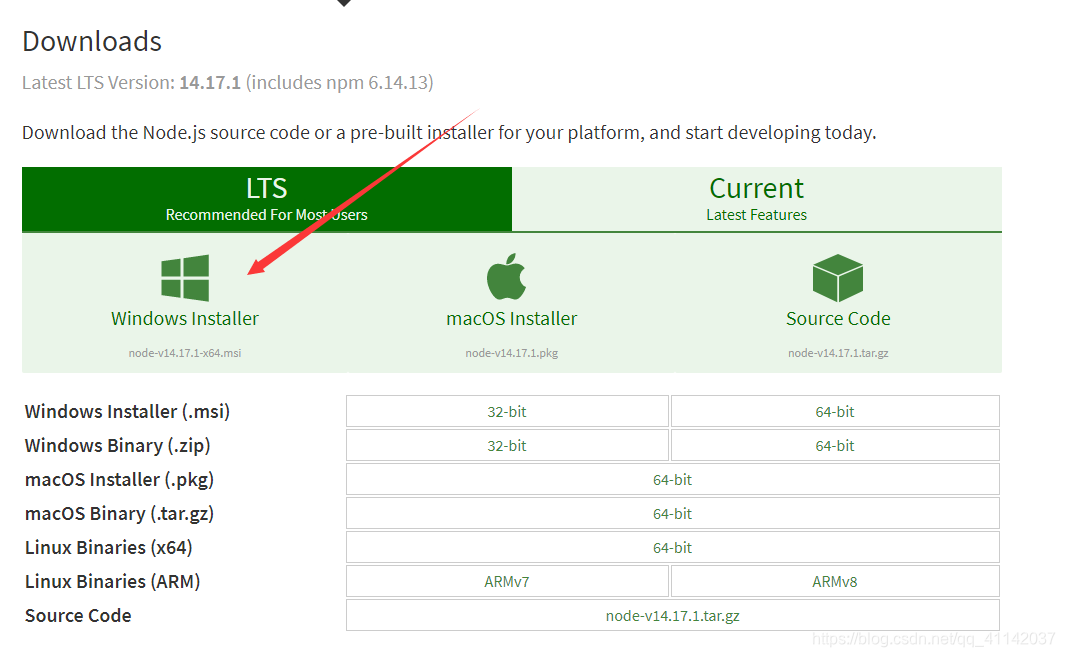
1.3通过访问https://nodejs.org/en/download/
(注:安装Node.js按自己系统安装)
1.4安装HarmonyOS SDK

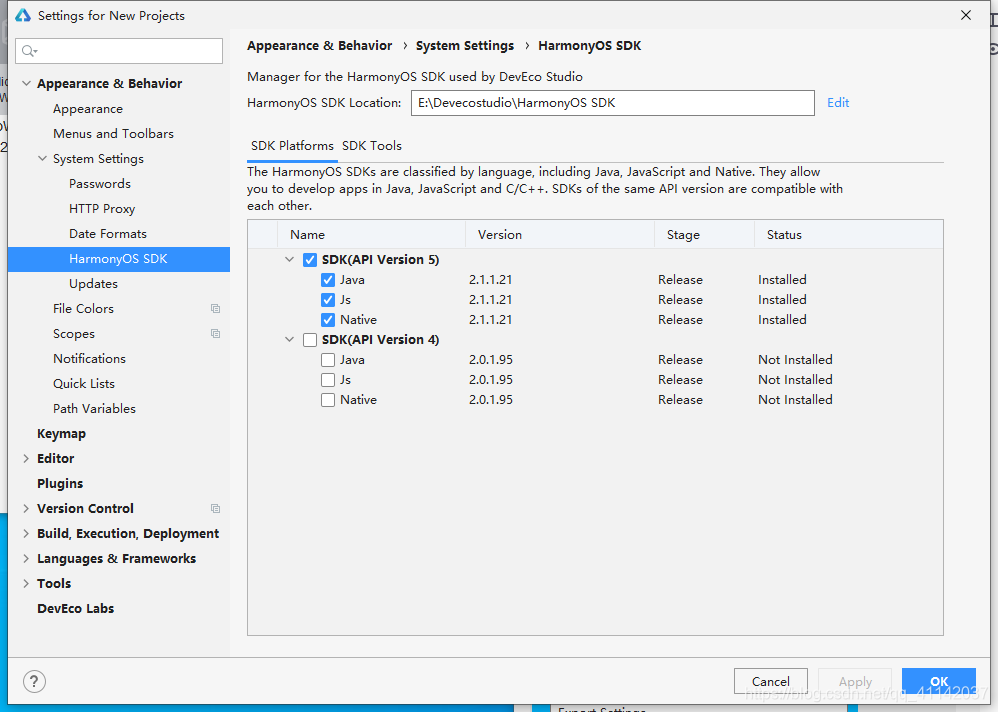
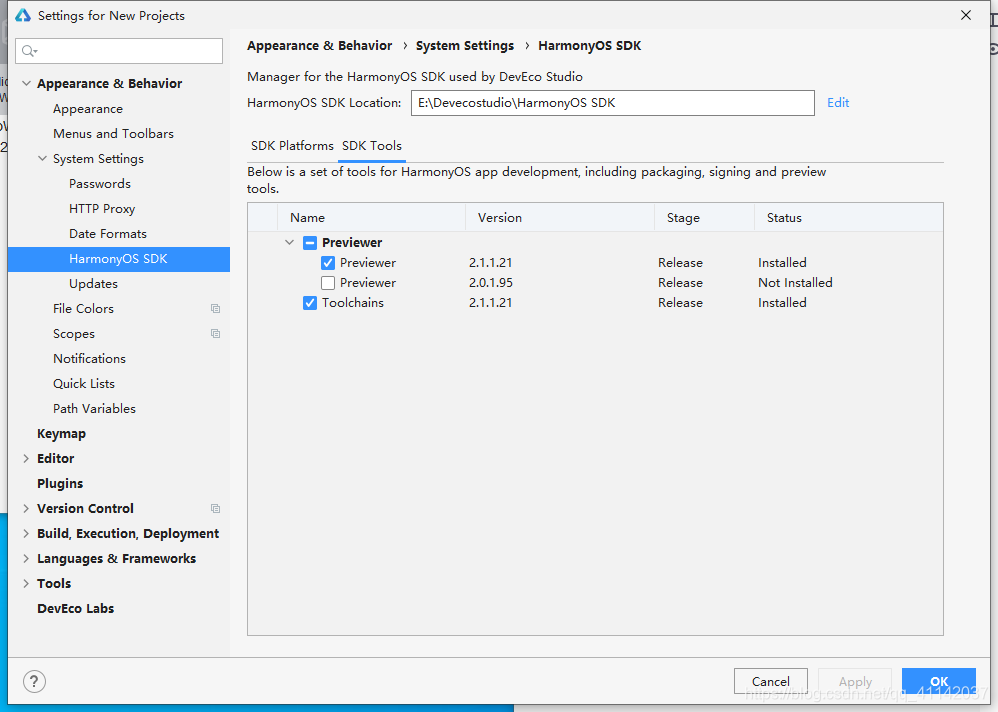
把上述都勾选中进行安装。
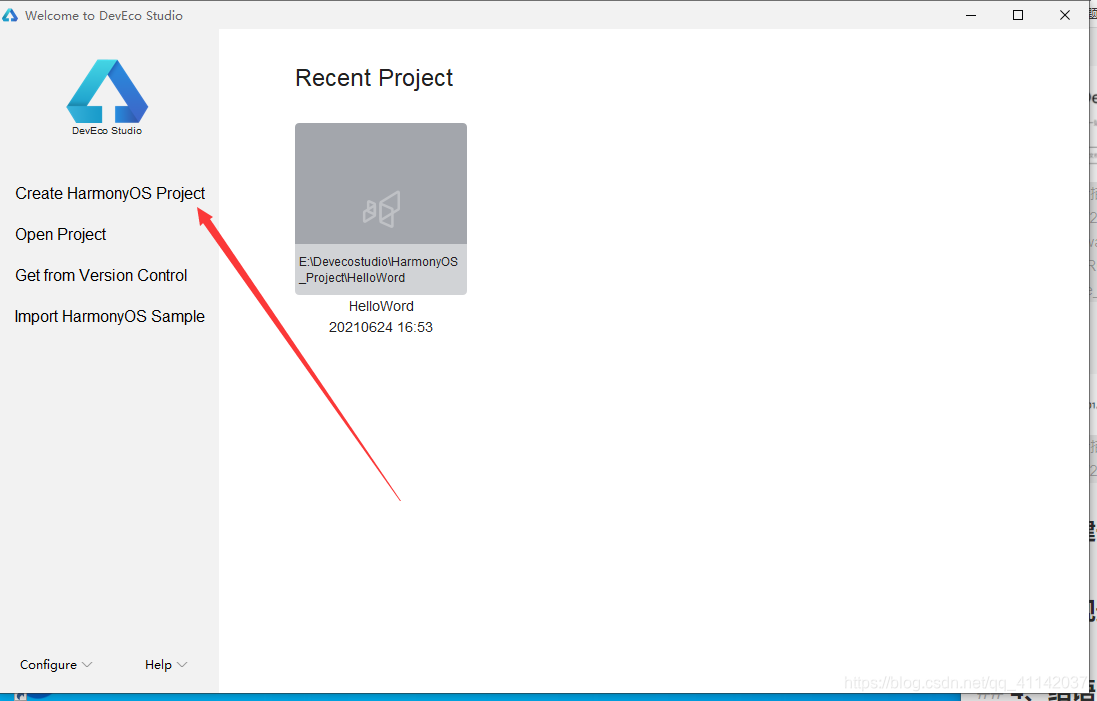
2、创建一个HarmonyOS项目
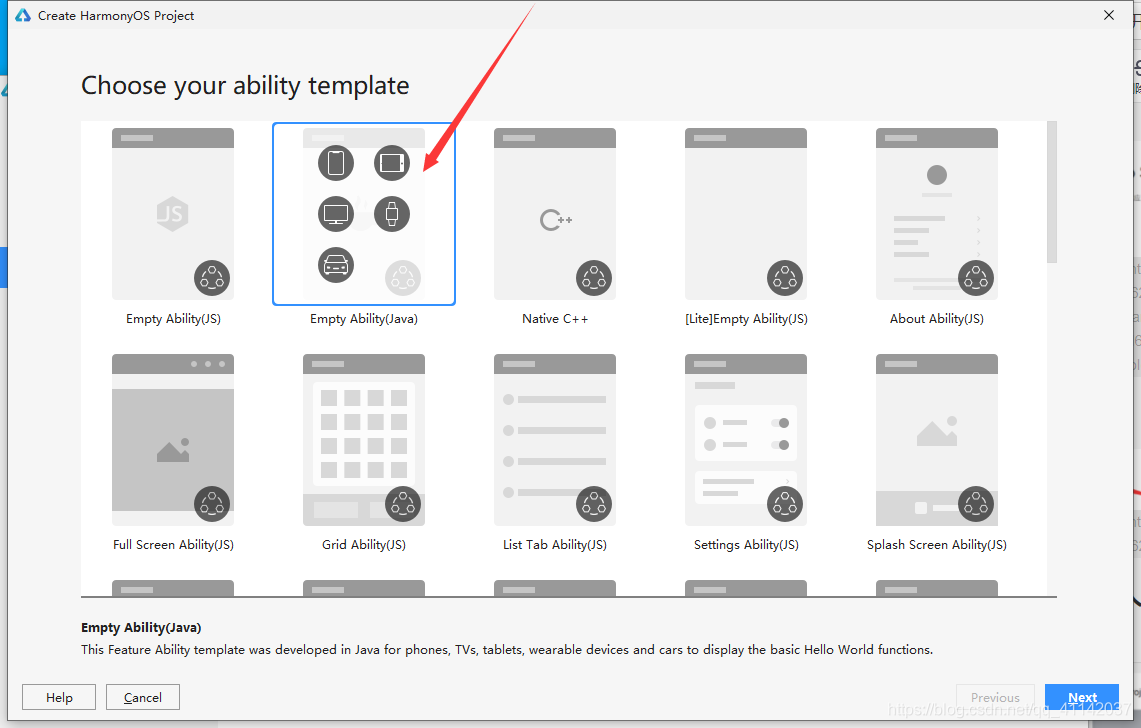
选择EmptyAbility(选择框中的内容是,支持的设备)
下一步
3、实现最基础的页面跳转
3.1首先进入目录下的entry/src/main/resources/base/layout/下的ability_main.xml文件
<?xml version="1.0" encoding="utf-8"?>
<DirectionalLayout
    xmlns:ohos="http://schemas.huawei.com/res/ohos"
    ohos:height="match_parent"
    ohos:width="match_parent"
    ohos:alignment="center"
    ohos:orientation="vertical">

    <Text
        ohos:id="$+id:text_helloworld"
        ohos:height="match_content"
        ohos:width="match_content"
        ohos:background_element="$graphic:background_ability_main"
        ohos:layout_alignment="horizontal_center"
        ohos:text="$string:mainability_HelloWorld"
        ohos:text_size="40vp"
        />
    <Button
        ohos:id="$+id:button1"
        ohos:height="match_parent"
        ohos:width="match_parent"
        ohos:layout_alignment="horizontal_center"
        ohos:text="跳转按钮"
        ohos:text_size="50vp"></Button>

</DirectionalLayout>
3.2然后去目录entry/src/main/java/com.example.helloword/slice/下的MainAbilitySlice文件:
package com.example.helloword.slice;

import com.example.helloword.ResourceTable;
import ohos.aafwk.ability.AbilitySlice;
import ohos.aafwk.content.Intent;
import ohos.agp.components.Button;
import ohos.agp.components.Component;
import ohos.agp.components.Text;

public class MainAbilitySlice extends AbilitySlice {
    @Override
    public void onStart(Intent intent) {
        super.onStart(intent);
        super.setUIContent(ResourceTable.Layout_ability_main);
        Text text = (Text) findComponentById(ResourceTable.Id_text_helloworld);
        Button button = (Button) findComponentById(ResourceTable.Id_button1);/*注释:在找组件的过程中,系统会自己加上ID_,后面的
        部分为自己取的名字*/
        button.setClickedListener(listener->present(new SecondAbilitySlice(),new Intent()));
    }

    @Override
    public void onActive() {
        super.onActive();
    }

    @Override
    public void onForeground(Intent intent) {
        super.onForeground(intent);
    }
}
3.3创建一个Slice在目录entry/src/main/java/com.example.helloword/slice/下新建一个java class取名为SecondAbilitySlice
SecondAbilitySlice文件为:
package com.example.helloword.slice;

import ohos.aafwk.ability.AbilitySlice;
import ohos.aafwk.content.Intent;
import ohos.agp.colors.RgbColor;
import ohos.agp.components.DependentLayout;
import ohos.agp.components.Text;
import ohos.agp.components.element.ShapeElement;
import ohos.agp.utils.Color;

public class SecondAbilitySlice extends AbilitySlice {
    @Override
    protected void onStart(Intent intent) {
        super.onStart(intent);
        // 声明布局
        DependentLayout myLayout = new DependentLayout(this);

        // 设置布局宽高
        myLayout.setWidth(DependentLayout.LayoutConfig.MATCH_PARENT);
        myLayout.setHeight(DependentLayout.LayoutConfig.MATCH_PARENT);

        // 设置布局背景为白色
        ShapeElement background = new ShapeElement();
        background.setRgbColor(new RgbColor(255, 255, 255));
        myLayout.setBackground(background);

        // 创建一个文本
        Text text = new Text(this);
        text.setText("Hi there");
        text.setWidth(DependentLayout.LayoutConfig.MATCH_PARENT);
        text.setTextSize(100);
        text.setTextColor(Color.BLACK);

        // 设置文本的布局
        DependentLayout.LayoutConfig textConfig = new DependentLayout.LayoutConfig(DependentLayout.LayoutConfig.MATCH_CONTENT, DependentLayout.LayoutConfig.MATCH_CONTENT);
        textConfig.addRule(DependentLayout.LayoutConfig.CENTER_IN_PARENT);
        text.setLayoutConfig(textConfig);
        myLayout.addComponent(text);
        super.setUIContent(myLayout);
    }
}
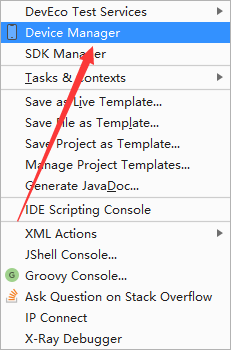
3.4创建一个虚拟机
此处需要登陆,需要拥有开发者账号
选择手机(phone)
运行那个小三角 就好了
就好了
4、结语
好的开始是成功的一大步!


 1万+
1万+


 被折叠的 条评论
为什么被折叠?
被折叠的 条评论
为什么被折叠?
 到【灌水乐园】发言


