


XGBoost安装及简单入门
XGBoost支持多种操作系统,如Windows, Linux, MacOS等,并支持多种语言版本,如Python, R, Scale, Java等。XGBoost的安装方式一般有两种,一种是直接通过pip安装(适合用于Python),另外一种是通过源码编译安装
1、通过pip安装
通过pip安装Python包既简单又方便,只需执行如下的命令:
pip install -i https://pypi.tuna.tsinghua.edu.cn/simple xgboost
使用清华的镜像来进行下载,可以快速安装,在安装完成后,可以在Python中直接引用XGBoost包,代码如下:
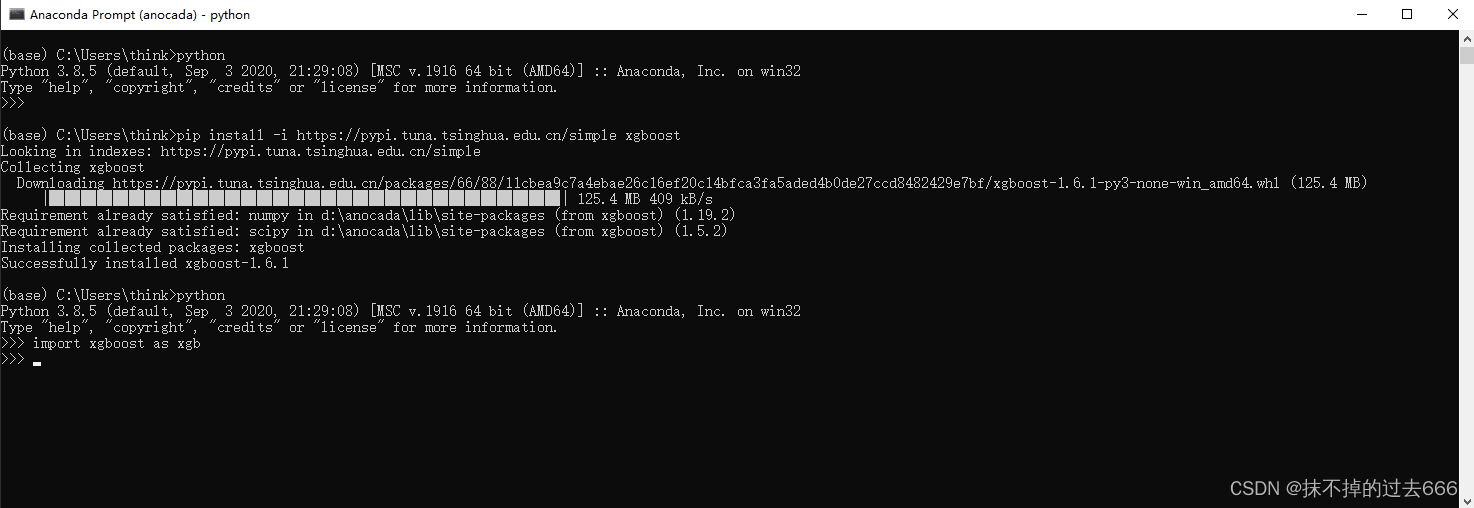
import xgboost as xgb
通过pip安装的是PyPI(Python Package Index)中已经预编译好的XGBoost包,目前提供了Linux 64位和Windows 64位两种。
2、通过源码编译安装
虽然通过pip安装XGBoost比较方便,但是这种方法只适用于Python环境下,并且其安装的XGBoost版本可能不是最新的版本。如果我们想要在其他语言环境下或者想要安装最新的XGBoost版本,则可直接通过编译源码安装。源码编译安装XGBoost主要分为两个步骤
(1)通过C++代码构建共享库(Linux/OSX中为libxgboost.so, Windows中为xgboost.dll)
(2)安装相应的语言包
XGBoost的初使用:
在这里我们使用一个经典的数据集来训练XGBoost,鸢尾花数据集,在训练集上进行测试,并在测试集上测试得到在测试集上的准确率
其简单的代码如下所示:
import xgboost as xgb
from sklearn.datasets import load_iris
from sklearn.model_selection import train_test_split
iris = load_iris()
X,y = iris.data,iris.target
X_train, X_test, y_train, y_test = train_test_split(X, y, test_size=0.2, random_state=1234565) # 数据集分割
from sklearn.metrics import accuracy_score # 准确率
#定义模型的训练参数
params = {
'booster': 'gbtree',
'objective': 'multi:softmax',
'num_class': 3,
'gamma': 0.1,
'max_depth': 6,
'lambda': 2,
'subsample': 0.7,
'colsample_bytree': 0.75,
'min_child_weight': 3,
'silent': 0,
'eta': 0.1,
'seed': 1,
'nthread': 4,
}
dtrain = xgb.DMatrix(X_train, y_train)
#训练的轮数
num_round = 5
model = xgb.train(params, dtrain, num_round)
dtest = xgb.DMatrix(X_test)
y_pred = model.predict(dtest)
accuracy = accuracy_score(y_test,y_pred)
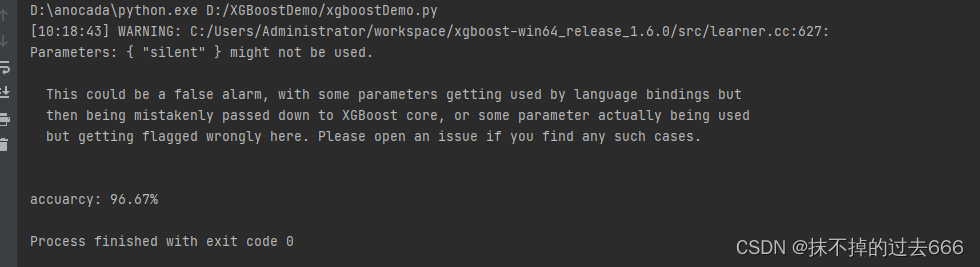
print("accuarcy: %.2f%%" % (accuracy*100.0))
在测试集上,可以得到96.67%的准确率


 777
777

 被折叠的 条评论
为什么被折叠?
被折叠的 条评论
为什么被折叠?
 到【灌水乐园】发言


