


这两天想实现yolov5的tensort加速,小白一枚,领悟甚浅,只能记录一下,防止遗忘了。
先记录一下yolov7:
yolov7的OpenCV、ONNXRuntime部署
分享一下大佬的开源作品yolov7的OpenCV、ONNXRuntime部署
大佬不但实现了yolov7的OpenCV、ONNXRuntime部署,并且无私的贡献了转换的模型,非常感谢。
ONNXRuntime部署
基于gpu运行,速度相当快,可以做到实时。
运行步骤:下载模型文件放到yolov7-opencv-onnxrun-cpp-py-main目录下
cd yolov7-opencv-onnxrun-cpp-py-main
mikdir simples #放入几张图片和视频
#运行
python onnxruntime/main.py --imgpath simples/1.jpg --modelpath models/yolov7-tiny_384x640.onnx
结果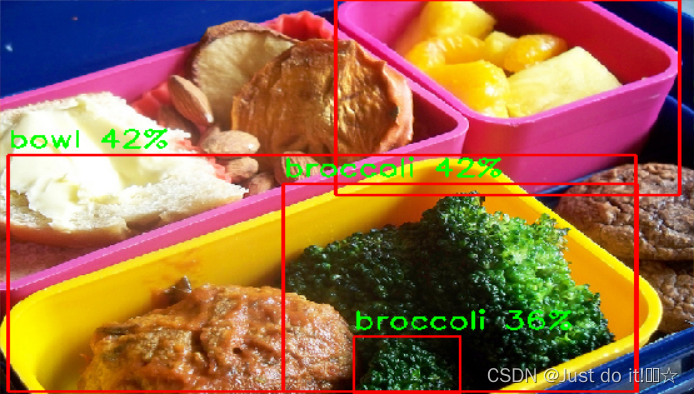
增加视频流推理
在源代码基础上加上了对视频流的推理和针对某一类的推理,代码如下:
VID_FORMATS = ['asf', 'avi', 'gif', 'm4v', 'mkv', 'mov', 'mp4', 'mpeg', 'mpg', 'wmv']  # include video suffixes
imgpath = args.imgpath
    print(imgpath.split('.')[-1])
    if imgpath.split('.')[-1] in VID_FORMATS:
        cap =cv2.VideoCapture(imgpath)
        while True:
            success, srcimg = cap.read()
            srcimg = imutils.resize(srcimg, width=640)
            t1 = time.time()
            boxes, scores, class_ids = yolov7_detector.detect(srcimg)
            print(time.time() - t1)
            # Draw detections
            dstimg = yolov7_detector.draw_detections(srcimg, boxes, scores, class_ids)
            print(time.time() - t1)
            winName = 'Deep learning object detection in OpenCV'
            cv2.namedWindow(winName, 0)
            cv2.imshow(winName, dstimg)

            cv2.waitKey(1)
        cv2.destroyAllWindows()
    else:
        srcimg = cv2.imread(args.imgpath)
        # Detect Objects
        t1 = time.time()
        boxes, scores, class_ids = yolov7_detector.detect(srcimg)
        print(time.time() - t1)
        # Draw detections
        dstimg = yolov7_detector.draw_detections(srcimg, boxes, scores, class_ids)
        print(time.time() - t1)
        winName = 'Deep learning object detection in OpenCV'
        cv2.namedWindow(winName, 0)
        cv2.imshow(winName, dstimg)
        cv2.waitKey(0)
        cv2.destroyAllWindows()
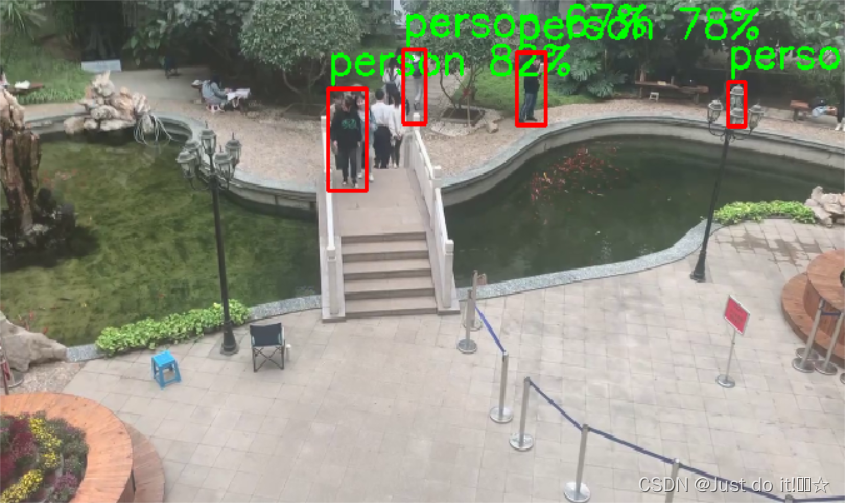
修改输入源的读取方式,增加对mp4的输入支持,增加指定类的检测在代码的
 def draw_detections(self, image, boxes, scores, class_ids):
        for box, score, class_id in zip(boxes, scores, class_ids):
            x1, y1, x2, y2 = box.astype(int)

            # Draw rectangle
            #id对应的coconame文件的类别排序,指定识别行人
			if class_id==0:
	            cv2.rectangle(image, (x1, y1), (x2, y2), (0, 0, 255), thickness=2)

	            label = self.class_names[class_id]
	            label = f'{label} {int(score * 100)}%'
	            labelSize, baseLine = cv2.getTextSize(label, cv2.FONT_HERSHEY_SIMPLEX, 0.5, 1)
	            # top = max(y1, labelSize[1])
	            # cv.rectangle(frame, (left, top - round(1.5 * labelSize[1])), (left + round(1.5 * labelSize[0]), top + baseLine), (255,255,255), cv.FILLED)
	            cv2.putText(image, label, (x1, y1 - 10), cv2.FONT_HERSHEY_SIMPLEX, 1, (0, 255, 0), thickness=2)
        return image
结果如下
运行速度对比
均采用yolov7-tiny_384x640.onnx模型
opencv-cpu inference time:1.04 s
ONNXRuntime-gpu inference time:0.17 s


 565
565


 被折叠的 条评论
为什么被折叠?
被折叠的 条评论
为什么被折叠?
 到【灌水乐园】发言


