


基于Keras搭建CNN、TextCNN文本分类模型
import keras as ks
import tensorflow as tf

print(ks.__version__)
print(tf.__version__)
2.3.1
2.0.0
python3.6
或者
2.0.6
1.3.0
python3.6
一、CNN
1.1 数据读取分词
导入相应的库
import os
import time
import pickle
import pandas as pd
import numpy as np
from sklearn import metrics
import matplotlib.pyplot as plt
import seaborn as sns
import tensorflow as tf
from sklearn.preprocessing import LabelEncoder,OneHotEncoder
from keras.models import Model
from keras.layers import LSTM, Activation, Dense, Dropout, Input, Embedding
from keras.layers import Convolution1D, MaxPool1D, Flatten
from keras.preprocessing.text import Tokenizer
from keras.preprocessing import sequence
from keras.callbacks import EarlyStopping
from keras.models import load_model
from keras.models import Sequential

## 解决中文显示问题
plt.rcParams['font.sans-serif'] = ['KaiTi']  #指定默认字体 SimHei黑体
plt.rcParams['axes.unicode_minus'] = False   #解决保存图像是负号'
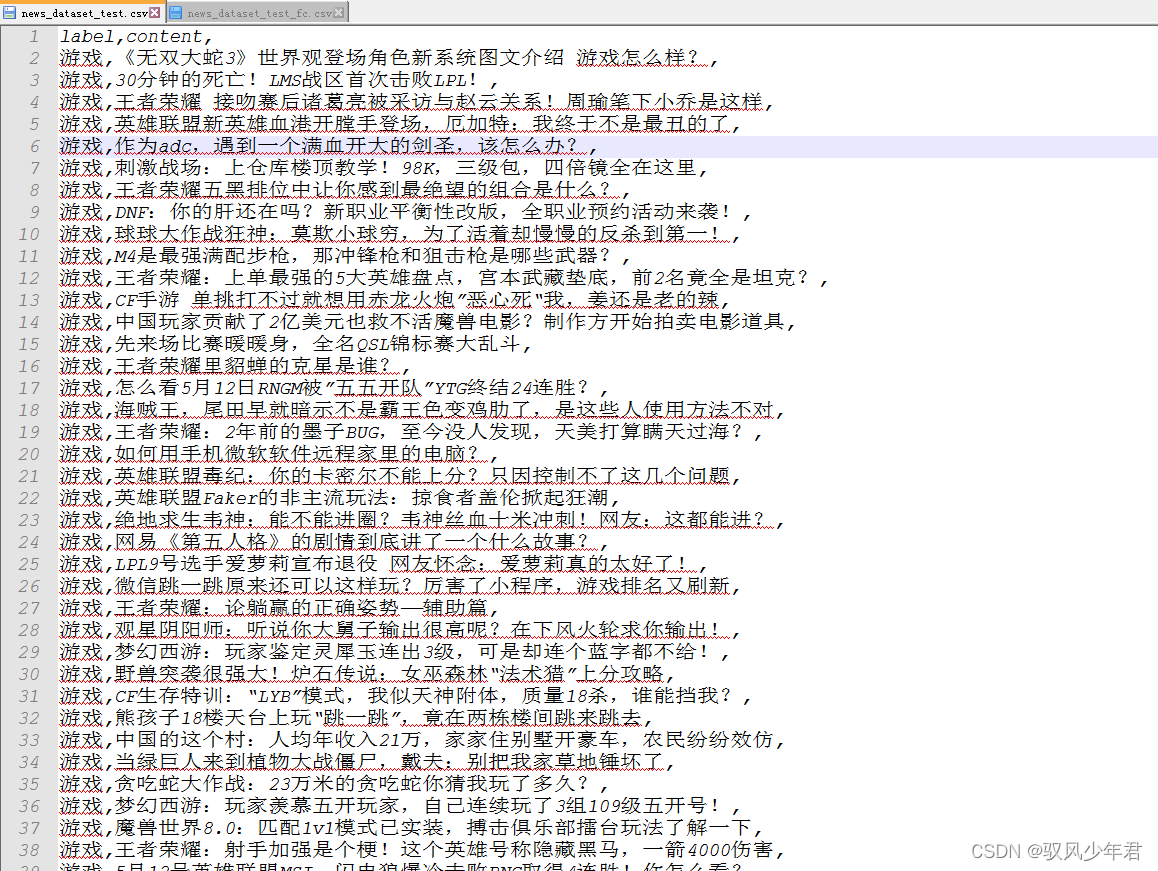
本次主要用的是新闻数据集,分为验证集、训练集、测试集
news_dataset_train.csv
news_dataset_test.csv
news_dataset_val.csv
其中label表示类别标签,content是文本内容
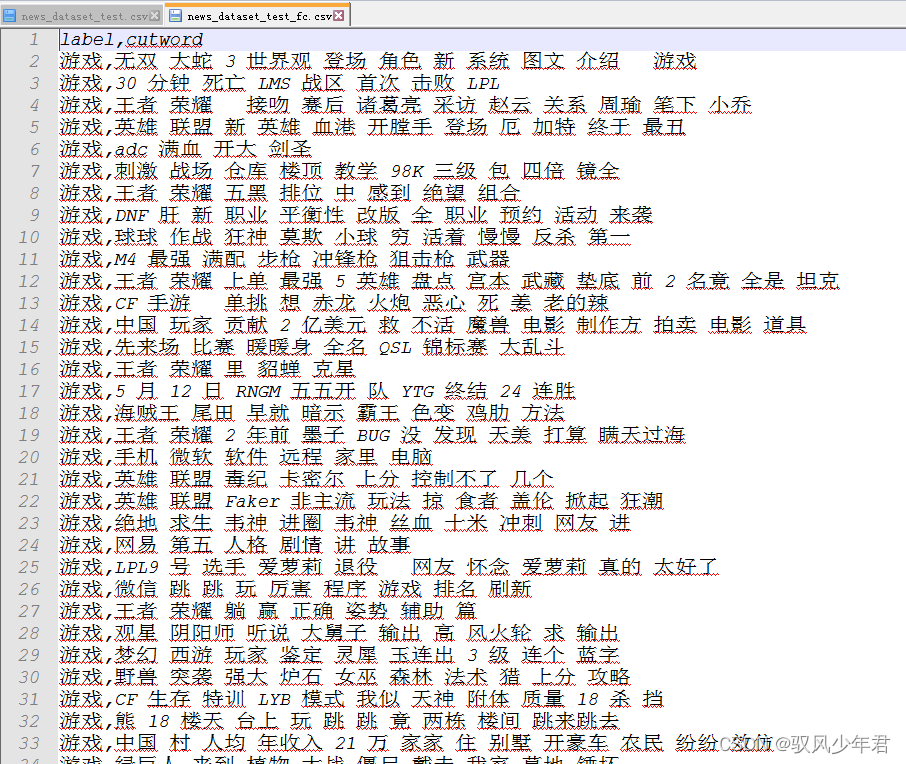
首先是对数据集进行分词处理
定义分词词典和停用词词典
借助jieba分词处理
# -*- coding:utf-8 -*-
# By:Eastmount CSDN 2021-03-19
import csv
import pandas as pd
import numpy as np
import jieba
import jieba.analyse

#添加自定义词典和停用词典
jieba.load_userdict("user_dict.txt")
stop_list = pd.read_csv('stop_words.txt',
                        engine='python',
                        encoding='utf-8',
                        delimiter="\n",
                        names=['t'])['t'].tolist()

#-----------------------------------------------------------------------
#Jieba分词函数
def txt_cut(juzi):
    return [w for w in jieba.lcut(juzi) if w not in stop_list]

#-----------------------------------------------------------------------
#中文分词读取文件
def fenci(filename,result):
    #写入分词结果
    fw = open(result, "w", newline = '',encoding = 'gb18030')
    writer = csv.writer(fw)
    writer.writerow(['label','cutword'])

    #使用csv.DictReader读取文件中的信息
    labels = []
    contents = []
    with open(filename, "r", encoding="UTF-8") as f:
        reader = csv.DictReader(f)
        for row in reader:
            #数据元素获取
            labels.append(row['label'])
            content = row['content']
            #中文分词
            seglist = txt_cut(content)
            #空格拼接
            output = ' '.join(list(seglist))
            contents.append(output)

            #文件写入
            tlist = []
            tlist.append(row['label'])
            tlist.append(output)
            writer.writerow(tlist)
    print(labels[:5])
    print(contents[:5])
    fw.close()

#-----------------------------------------------------------------------
#主函数
if __name__ == '__main__':
    fenci("news_dataset_train.csv", "news_dataset_train_fc.csv")
    fenci("news_dataset_test.csv", "news_dataset_test_fc.csv")
    fenci("news_dataset_val.csv", "news_dataset_val_fc.csv")
完成分词并且保存在本地
1.2、数据编码
读取分词后的数据,其中调用GPU的代码,如果是CPU训练就注释掉这部分代码
## GPU处理 读者如果是CPU注释该部分代码即可
## 指定每个GPU进程中使用显存的上限 0.9表示可以使用GPU 90%的资源进行训练
# os.environ["CUDA_DEVICES_ORDER"] = "PCI_BUS_IS"
# os.environ["CUDA_VISIBLE_DEVICES"] = "0"
# gpu_options = tf.GPUOptions(per_process_gpu_memory_fraction=0.8)
# sess = tf.Session(config=tf.ConfigProto(gpu_options=gpu_options))

#----------------------------第一步 数据读取----------------------------
## 读取测数据集
train_df = pd.read_csv("news_dataset_train_fc.csv")
val_df = pd.read_csv("news_dataset_val_fc.csv")
test_df = pd.read_csv("news_dataset_test_fc.csv")
需要将标签转话为相应的one-hot编码
#--------------------------第二步 OneHotEncoder()编码--------------------
## 对数据集的标签数据进行编码
train_y = train_df.label
val_y = val_df.label
test_y = test_df.label
print("Label:")
print(train_y[:10])

le = LabelEncoder()
train_y = le.fit_transform(train_y).reshape(-1,1)
val_y = le.transform(val_y).reshape(-1,1)
test_y = le.transform(test_y).reshape(-1,1)
print("LabelEncoder")
print(train_y[:10])
print(len(train_y))

## 对数据集的标签数据进行one-hot编码
ohe = OneHotEncoder()
train_y = ohe.fit_transform(train_y).toarray()
val_y = ohe.transform(val_y).toarray()
test_y = ohe.transform(test_y).toarray()
print("OneHotEncoder:")
print(train_y[:10])
Label:
0 文化
1 文化
2 游戏
3 游戏
4 游戏
5 游戏
6 游戏
7 游戏
8 游戏
9 游戏
Name: label, dtype: object
LabelEncoder
[[1]
[1]
[2]
[2]
[2]
[2]
[2]
[2]
[2]
[2]]
40000
OneHotEncoder:
[[0. 1. 0. 0.]
[0. 1. 0. 0.]
[0. 0. 1. 0.]
[0. 0. 1. 0.]
[0. 0. 1. 0.]
[0. 0. 1. 0.]
[0. 0. 1. 0.]
[0. 0. 1. 0.]
[0. 0. 1. 0.]
[0. 0. 1. 0.]]
1.3 数据序列标准化
这里设定最大词语数为6000,只是估计。
#-----------------------第三步 使用Tokenizer对词组进行编码--------------------
max_words = 6000
max_len = 600
tok = Tokenizer(num_words=max_words)  #最大词语数为6000
print(train_df.cutword[:5])
print(type(train_df.cutword))

## 防止语料中存在数字str处理
train_content = [str(a) for a in train_df.cutword.tolist()]
val_content = [str(a) for a in val_df.cutword.tolist()]
test_content = [str(a) for a in test_df.cutword.tolist()]

tok.fit_on_texts(train_content)
print(tok)


#当创建Tokenizer对象后 使用fit_on_texts()函数识别每个词
#tok.fit_on_texts(train_df.cutword)

## 保存训练好的Tokenizer和导入

with open('tok.pickle', 'wb') as handle: #saving
    pickle.dump(tok, handle, protocol=pickle.HIGHEST_PROTOCOL)
with open('tok.pickle', 'rb') as handle: #loading
    tok = pickle.load(handle)

## 使用word_index属性查看每个词对应的编码
## 使用word_counts属性查看每个词对应的频数
for ii,iterm in enumerate(tok.word_index.items()):
    if ii < 10:
        print(iterm)
    else:
        break
print("===================")
for ii,iterm in enumerate(tok.word_counts.items()):
    if ii < 10:
        print(iterm)
    else:
        break
0 上句 浊水 三江 一夜 雨 接句
1 看待 曹德旺 说 一百对 夫妻 中 一对 幸福 这句 话
2 绝地 求生 蓝洞 反 外挂 措施 效果显著 外挂 制作者 跑 路 游戏 体验 提升
3 uzi 多久 职业赛
4 炉石 听说 3 重点 玩家 15 分钟 战胜 哈加 莎
Name: cutword, dtype: object
<class ‘pandas.core.series.Series’>
<keras_preprocessing.text.Tokenizer object at 0x00000000180040B8>
(‘上联’, 1)
(‘下联’, 2)
(‘王者’, 3)
(‘5’, 4)
(‘中国’, 5)
(‘荣耀’, 6)
(‘游戏’, 7)
(‘年’, 8)
(‘中’, 9)
(‘火箭’, 10)
===================
(‘上句’, 41)
(‘浊水’, 6)
(‘三江’, 6)
(‘一夜’, 114)
(‘雨’, 51)
(‘接句’, 28)
(‘看待’, 408)
(‘曹德旺’, 4)
(‘说’, 582)
(‘一百对’, 2)
## 使用sequence.pad_sequences()将每个序列调整为相同的长度
## 对每个词编码之后,每句新闻中的每个词就可以用对应的编码表示,即每条新闻可以转变成一个向量了
train_seq = tok.texts_to_sequences(train_content)
val_seq = tok.texts_to_sequences(val_content)
test_seq = tok.texts_to_sequences(test_content)

## 将每个序列调整为相同的长度
train_seq_mat = sequence.pad_sequences(train_seq,maxlen=max_len)
val_seq_mat = sequence.pad_sequences(val_seq,maxlen=max_len)
test_seq_mat = sequence.pad_sequences(test_seq,maxlen=max_len)
print("数据转换序列")
print(train_seq_mat.shape)
print(val_seq_mat.shape)
print(test_seq_mat.shape)
print(train_seq_mat[:2])
数据转换序列
(40000, 600)
(20000, 600)
(20000, 600)
[[ 0 0 0 … 340 914 1831]
[ 0 0 0 … 1099 1079 261]]
1.4 构建模型
构建模型CNN
#-------------------------------第五步 建立CNN模型--------------------------
## 类别为4个
num_labels = 4
inputs = Input(name='inputs',shape=[max_len], dtype='float64')
## 词嵌入使用预训练的词向量
layer = Embedding(max_words+1, 128, input_length=max_len, trainable=False)(inputs)
## 卷积层和池化层(词窗大小为3 128核)
cnn = Convolution1D(128, 3, padding='same', strides = 1, activation='relu')(layer)
cnn = MaxPool1D(pool_size=4)(cnn)
## Dropout防止过拟合
flat = Flatten()(cnn)
drop = Dropout(0.3)(flat)
## 全连接层
main_output = Dense(num_labels, activation='softmax')(drop)
model = Model(inputs=inputs, outputs=main_output)

## 优化函数 评价指标
model.summary()
model.compile(loss="categorical_crossentropy",
              optimizer='adam',      # RMSprop()
              metrics=["accuracy"])
Model: "model_1"
_________________________________________________________________
Layer (type)                 Output Shape              Param #
=================================================================
inputs (InputLayer)          (None, 600)               0
_________________________________________________________________
embedding_1 (Embedding)      (None, 600, 128)          768128
_________________________________________________________________
conv1d_1 (Conv1D)            (None, 600, 128)          49280
_________________________________________________________________
max_pooling1d_1 (MaxPooling1 (None, 150, 128)          0
_________________________________________________________________
flatten_1 (Flatten)          (None, 19200)             0
_________________________________________________________________
dropout_1 (Dropout)          (None, 19200)             0
_________________________________________________________________
dense_1 (Dense)              (None, 4)                 76804
=================================================================
Total params: 894,212
Trainable params: 126,084
Non-trainable params: 768,128
模型训练
Train on 40000 samples, validate on 20000 samples
Epoch 1/10
40000/40000 [==============================] - 104s 3ms/step - loss: 1.1956 - accuracy: 0.4650 - val_loss: 1.0241 - val_accuracy: 0.5863
Epoch 2/10
40000/40000 [==============================] - 102s 3ms/step - loss: 0.8930 - accuracy: 0.6486 - val_loss: 0.8343 - val_accuracy: 0.6673
Epoch 3/10
40000/40000 [==============================] - 102s 3ms/step - loss: 0.7425 - accuracy: 0.7139 - val_loss: 0.7317 - val_accuracy: 0.7194
Epoch 4/10
40000/40000 [==============================] - 102s 3ms/step - loss: 0.6506 - accuracy: 0.7581 - val_loss: 0.6691 - val_accuracy: 0.7494
Epoch 5/10
40000/40000 [==============================] - 102s 3ms/step - loss: 0.5841 - accuracy: 0.7857 - val_loss: 0.6058 - val_accuracy: 0.7782
Epoch 6/10
40000/40000 [==============================] - 102s 3ms/step - loss: 0.5280 - accuracy: 0.8104 - val_loss: 0.5614 - val_accuracy: 0.7982
Epoch 7/10
40000/40000 [==============================] - 102s 3ms/step - loss: 0.4794 - accuracy: 0.8331 - val_loss: 0.5255 - val_accuracy: 0.8110
Epoch 8/10
40000/40000 [==============================] - 103s 3ms/step - loss: 0.4385 - accuracy: 0.8494 - val_loss: 0.4996 - val_accuracy: 0.8231
Epoch 9/10
40000/40000 [==============================] - 102s 3ms/step - loss: 0.4061 - accuracy: 0.8619 - val_loss: 0.4695 - val_accuracy: 0.8352
Epoch 10/10
40000/40000 [==============================] - 102s 3ms/step - loss: 0.3779 - accuracy: 0.8726 - val_loss: 0.4512 - val_accuracy: 0.8447
Time used: 1023.3579204715987
{'val_loss': [1.0241217069625854, 0.8343434274196625, 0.7317186400532723, 0.6690544269293547, 0.605815926387906, 0.5614460670560598, 0.5255443984776735, 0.4996463134005666, 0.4695004817791283, 0.4511947701014578], 'val_accuracy': [0.5863000154495239, 0.6673499941825867, 0.7193999886512756, 0.7494000196456909, 0.7781999707221985, 0.7981500029563904, 0.8109999895095825, 0.8230500221252441, 0.8352000117301941, 0.8447499871253967], 'loss': [1.1956111777305602, 0.8929718391418457, 0.7424691090583802, 0.650568816947937, 0.5841183731079101, 0.5279826829910278, 0.47936840572357176, 0.43851765065193177, 0.40605846848487853, 0.37788517842292785], 'accuracy': [0.465, 0.64865, 0.71385, 0.758125, 0.785675, 0.81035, 0.833075, 0.84945, 0.86195, 0.872575]}
1.5 模型验证
#-------------------------------第六步 模型训练和预测--------------------------
## 先设置为train训练 再设置为test测试
# flag = "train"
flag = "train"

star = time.clock()
if flag == "train":
    print("模型训练")
    ## 模型训练 当val-loss不再提升时停止训练 0.0001
    model_fit = model.fit(train_seq_mat, train_y, batch_size=128, epochs=10,
                          validation_data=(val_seq_mat,val_y),
                          callbacks=[EarlyStopping(monitor='val_loss',min_delta=0.0001)]
                         )
    ## 保存模型
    model.save('cnn_my_model.h5')


    #删除模型
    del model  # deletes the existing model


    ## 计算时间
    elapsed = (time.clock() - start)
    print("Time used:", elapsed)
    print(model_fit.history)

else:
    print("模型预测")
    ## 导入已经训练好的模型
    model = load_model('cnn_my_model.h5')
    ## 对测试集进行预测
    test_pre = model.predict(test_seq_mat)
    ## 评价预测效果,计算混淆矩阵
    confm = metrics.confusion_matrix(np.argmax(test_y,axis=1),np.argmax(test_pre,axis=1))
    print(confm)

    ## 混淆矩阵可视化
    Labname = ["体育", "文化", "财经", "游戏"]
    print(metrics.classification_report(np.argmax(test_y,axis=1),np.argmax(test_pre,axis=1)))
    plt.figure(figsize=(8,8))
    sns.heatmap(confm.T, square=True, annot=True,
                fmt='d', cbar=False, linewidths=.6,
                cmap="YlGnBu")
    plt.xlabel('True label',size = 14)
    plt.ylabel('Predicted label', size = 14)
    plt.xticks(np.arange(4)+0.5, Labname, size = 12)
    plt.yticks(np.arange(4)+0.5, Labname, size = 12)
    plt.savefig('result.png')
    plt.show()
二、TextCNN文本分类
2.1模型构建
导入相应的包
import os
import time
import pickle
import pandas as pd
import numpy as np
from sklearn import metrics
import matplotlib.pyplot as plt
import seaborn as sns
import tensorflow as tf
from sklearn.preprocessing import LabelEncoder,OneHotEncoder
from keras.models import Model
from keras.layers import LSTM, Activation, Dense, Dropout, Input, Embedding
from keras.layers import Convolution1D, MaxPool1D, Flatten
from keras.preprocessing.text import Tokenizer
from keras.preprocessing import sequence
from keras.callbacks import EarlyStopping
from keras.models import load_model
from keras.models import Sequential
from keras.layers.merge import concatenate
只要将模型构建部分换成TextCNN就行
#-------------------------------第五步 建立TextCNN模型--------------------------
## 类别为4个
num_labels = 4
inputs = Input(name='inputs',shape=[max_len], dtype='float64')
## 词嵌入使用预训练的词向量
layer = Embedding(max_words+1, 256, input_length=max_len, trainable=False)(inputs)
## 词窗大小分别为3,4,5
cnn1 = Convolution1D(256, 3, padding='same', strides = 1, activation='relu')(layer)
cnn1 = MaxPool1D(pool_size=4)(cnn1)
cnn2 = Convolution1D(256, 4, padding='same', strides = 1, activation='relu')(layer)
cnn2 = MaxPool1D(pool_size=4)(cnn2)
cnn3 = Convolution1D(256, 5, padding='same', strides = 1, activation='relu')(layer)
cnn3 = MaxPool1D(pool_size=4)(cnn3)

# 合并三个模型的输出向量
cnn = concatenate([cnn1,cnn2,cnn3], axis=-1)
flat = Flatten()(cnn)
drop = Dropout(0.2)(flat)
main_output = Dense(num_labels, activation='softmax')(drop)
model = Model(inputs=inputs, outputs=main_output)
model.summary()
model.compile(loss="categorical_crossentropy",
              optimizer='adam',      # RMSprop()
              metrics=["accuracy"])
2.2 模型训练验证
#-------------------------------第六步 模型训练和预测--------------------------
## 先设置为train训练 再设置为test测试
flag = "train"
start = time.clock()

if flag == "train":
    print("模型训练")
    ## 模型训练 当val-loss不再提升时停止训练 0.0001
    model_fit = model.fit(train_seq_mat,
                          train_y,
                          batch_size=128,
                          epochs=10,
                          validation_data=(val_seq_mat,val_y),
                          callbacks=[EarlyStopping(monitor='val_loss',min_delta=0.0001)]
                         )
    model.save('TextCNN_my_model.h5')
    del model
    elapsed = (time.clock() - start)
    print("Time used:", elapsed)
    print(model_fit.history)

else:
    print("模型预测")
    ## 导入已经训练好的模型
    model = load_model('TextCNN_my_model.h5')
    ## 对测试集进行预测
    test_pre = model.predict(test_seq_mat)
    ## 评价预测效果,计算混淆矩阵
    confm = metrics.confusion_matrix(np.argmax(test_y,axis=1),np.argmax(test_pre,axis=1))
    print(confm)

    ## 混淆矩阵可视化
    Labname = ["体育", "文化", "财经", "游戏"]
    print(metrics.classification_report(np.argmax(test_y,axis=1),np.argmax(test_pre,axis=1)))
    plt.figure(figsize=(8,8))
    sns.heatmap(confm.T, square=True, annot=True,
                fmt='d', cbar=False, linewidths=.6,
                cmap="YlGnBu")
    plt.xlabel('True label',size = 14)
    plt.ylabel('Predicted label', size = 14)
    plt.xticks(np.arange(4)+0.5, Labname, size = 12)
    plt.yticks(np.arange(4)+0.5, Labname, size = 12)
    plt.savefig('result.png')
    plt.show()

    #----------------------------------第七 验证算法--------------------------
    ## 使用tok对验证数据集重新预处理,并使用训练好的模型进行预测
    val_seq = tok.texts_to_sequences(val_df.cutword)
    ## 将每个序列调整为相同的长度
    val_seq_mat = sequence.pad_sequences(val_seq,maxlen=max_len)
    ## 对验证集进行预测
    val_pre = model.predict(val_seq_mat)
    print(metrics.classification_report(np.argmax(val_y,axis=1),np.argmax(val_pre,axis=1)))
    elapsed = (time.clock() - start)
    print("Time used:", elapsed)
模型训练
Train on 40000 samples, validate on 20000 samples
Epoch 1/10
40000/40000 [==============================] - 161s - loss: 0.3409 - acc: 0.8871 - val_loss: 0.4239 - val_acc: 0.8548
Epoch 2/10
40000/40000 [==============================] - 161s - loss: 0.3233 - acc: 0.8943 - val_loss: 0.4177 - val_acc: 0.8530
Epoch 3/10
40000/40000 [==============================] - 159s - loss: 0.3041 - acc: 0.9008 - val_loss: 0.4067 - val_acc: 0.8586
Epoch 4/10
40000/40000 [==============================] - 159s - loss: 0.2859 - acc: 0.9075 - val_loss: 0.3982 - val_acc: 0.8606
Epoch 5/10
40000/40000 [==============================] - 159s - loss: 0.2722 - acc: 0.9114 - val_loss: 0.3858 - val_acc: 0.8688
Epoch 6/10
40000/40000 [==============================] - 159s - loss: 0.2616 - acc: 0.9149 - val_loss: 0.3821 - val_acc: 0.8680
Epoch 7/10
40000/40000 [==============================] - 159s - loss: 0.2503 - acc: 0.9198 - val_loss: 0.3841 - val_acc: 0.8663
Time used: 1208.138363153716
{'val_loss': [0.4239322899404913, 0.41774529986567793, 0.4066521678568795, 0.3981648641962558, 0.38580234008692205, 0.38210572273395954, 0.38413841654211284], 'val_acc': [0.85485, 0.853, 0.85855, 0.86055, 0.86875, 0.86805, 0.8663], 'loss': [0.3408621883392334, 0.32333908185958865, 0.30409705758094785, 0.28585535669326784, 0.2722056910514832, 0.2615799927473068, 0.2503481048583984], 'acc': [0.887075, 0.894325, 0.90075, 0.9075, 0.911375, 0.914875, 0.919825]}


 2万+
2万+


 被折叠的 条评论
为什么被折叠?
被折叠的 条评论
为什么被折叠?
 到【灌水乐园】发言


