


参考:(145条消息) OpenSfM开源软件使用小心得_Wing Ardium Leviosa的博客-CSDN博客(145条消息) 在Ubuntu系统安装配置OpenSfM软件用来实现三维重建_zfb132的博客-CSDN博客
- 在windows上配置环境出现很多问题,都说不好解决,所以在linux上配置环境,最后配置成功了。下面是配置过程及遇到的一些问题记录(有些问题解决的过程忘记记录了)。首先,下载opensfm的原始github库,由于使用git clone的方法下载不全且有点乱,所以直接下载的压缩包,OpenSfM/opensfm/src/third_party/pybind11文件夹下的内容下载不下来,要专门下载下来,然后复制到对应文件夹下。
Opensfm:Release v0.5.1 · mapillary/OpenSfM · GitHub
pybind11:https://github.com/pybind/pybind11/tree/v2.2.4
安装依赖
# 进入opensfm主目录
cd opensfm
# 再次更新子模块保证最新
git submodule update --init --recursive
# 更新源
sudo apt-get update
# 安装依赖的包
sudo apt-get install -y \
build-essential vim curl cmake git \
libatlas-base-dev libeigen3-dev \
libgoogle-glog-dev libopencv-dev libsuitesparse-dev \
python3-dev python3-numpy python3-opencv python3-pip \
python3-pyproj python3-scipy python3-yaml
# ---------编译安装ceres---------
# 创建临时目录
mkdir source && cd source
# 下载ceres v1.14并解压
curl -L http://ceres-solver.org/ceres-solver-1.14.0.tar.gz | tar xz
# 创建编译文件夹
cd ceres-solver-1.14.0 && mkdir build && cd build
# cmake
cmake .. -DCMAKE_C_FLAGS=-fPIC -DCMAKE_CXX_FLAGS=-fPIC -DBUILD_EXAMPLES=OFF -DBUILD_TESTING=OFF
# 开启48线程编译安装
sudo make -j48 install
# ----------编译安装opengv-------
# 回到source文件夹下
cd ../../
# 下载opengv
git clone https://github.com/paulinus/opengv.git
# 更新子模块保证代码最新
cd opengv && git submodule update --init --recursive
# 创建编译文件夹
mkdir build && cd build
# cmake
cmake .. -DBUILD_TESTS=OFF \
-DBUILD_PYTHON=ON \
-DPYBIND11_PYTHON_VERSION=3.6 \
-DPYTHON_INSTALL_DIR=/usr/local/lib/python3.6/dist-packages/
# 开启48线程编译安装
sudo make -j48 install
遇到的问题:
- Git clone 失败
解决:git config --global --unset https.https://github.com/laurentkneip/opengv. git
git clone https://github.com/laurentkneip/opengv.git
- 开始直接就安装依赖库,很乱不知道怎么调用,后来才知道要装到open SFM库中,cd到下载的open SFM中再执行命令。
安装requirements.txt
直接创建一个python3.6的anaconda环境,使用命令pip install -i https://pypi.tuna.tsinghua.edu.cn/simple -r requirements.txt。(开始直接使用base环境下的,出现很多pip的版本问题)。
编译open SFM:python3 setup.py build,为了更直观的看错误,直接在pycharm中运行的setup.py文件,解决完出现的问题,又在终端使用指令编译的。
遇到的问题:
- Command "python setup.py egg_info" failed with error code 1 in /tmp/pip-build-0ibfwype/numpy/
解决:pip install --upgrade pip
- Failed to find installed gflags CMake configuration, searching for gflags build directories exported with CMake
解决:安装gflags到opensfm的source文件夹下
- ‘map’ in namespace ‘std’ does not name a template type
解决:找到发生错误的位置点开,在头文件中加入 #include <map>
安装特定版本的opencv-contrib,此时可用SIFT特征提取算法
pip install -i https://pypi.tuna.tsinghua.edu.cn/simple opencv-contrib-python==3.4.2.16
2.使用:
简易运行:cd 到OpenSfM的根目录,运行bin/opensfm_run_all data/berlin,这个指令是使用data/berlin下的图片,运行一遍opensfm下的代码,包括extract_metadata、detect_features、 match_features、create_tracks、reconstruct、mesh、undistort、compute_depthmaps、 export_ply、 export_openmvs、export_visualsfm。输出在data/berlin下。
问题及解决过程:
- 在终端运行该命令时需要在激活的anaconda环境下,在OpenSfM的根目录下运行,过程中会因为缺少依赖库出现问题,使用pip或者conda安装。pip安装opencv出现错误,使用指令conda install py-opencv。
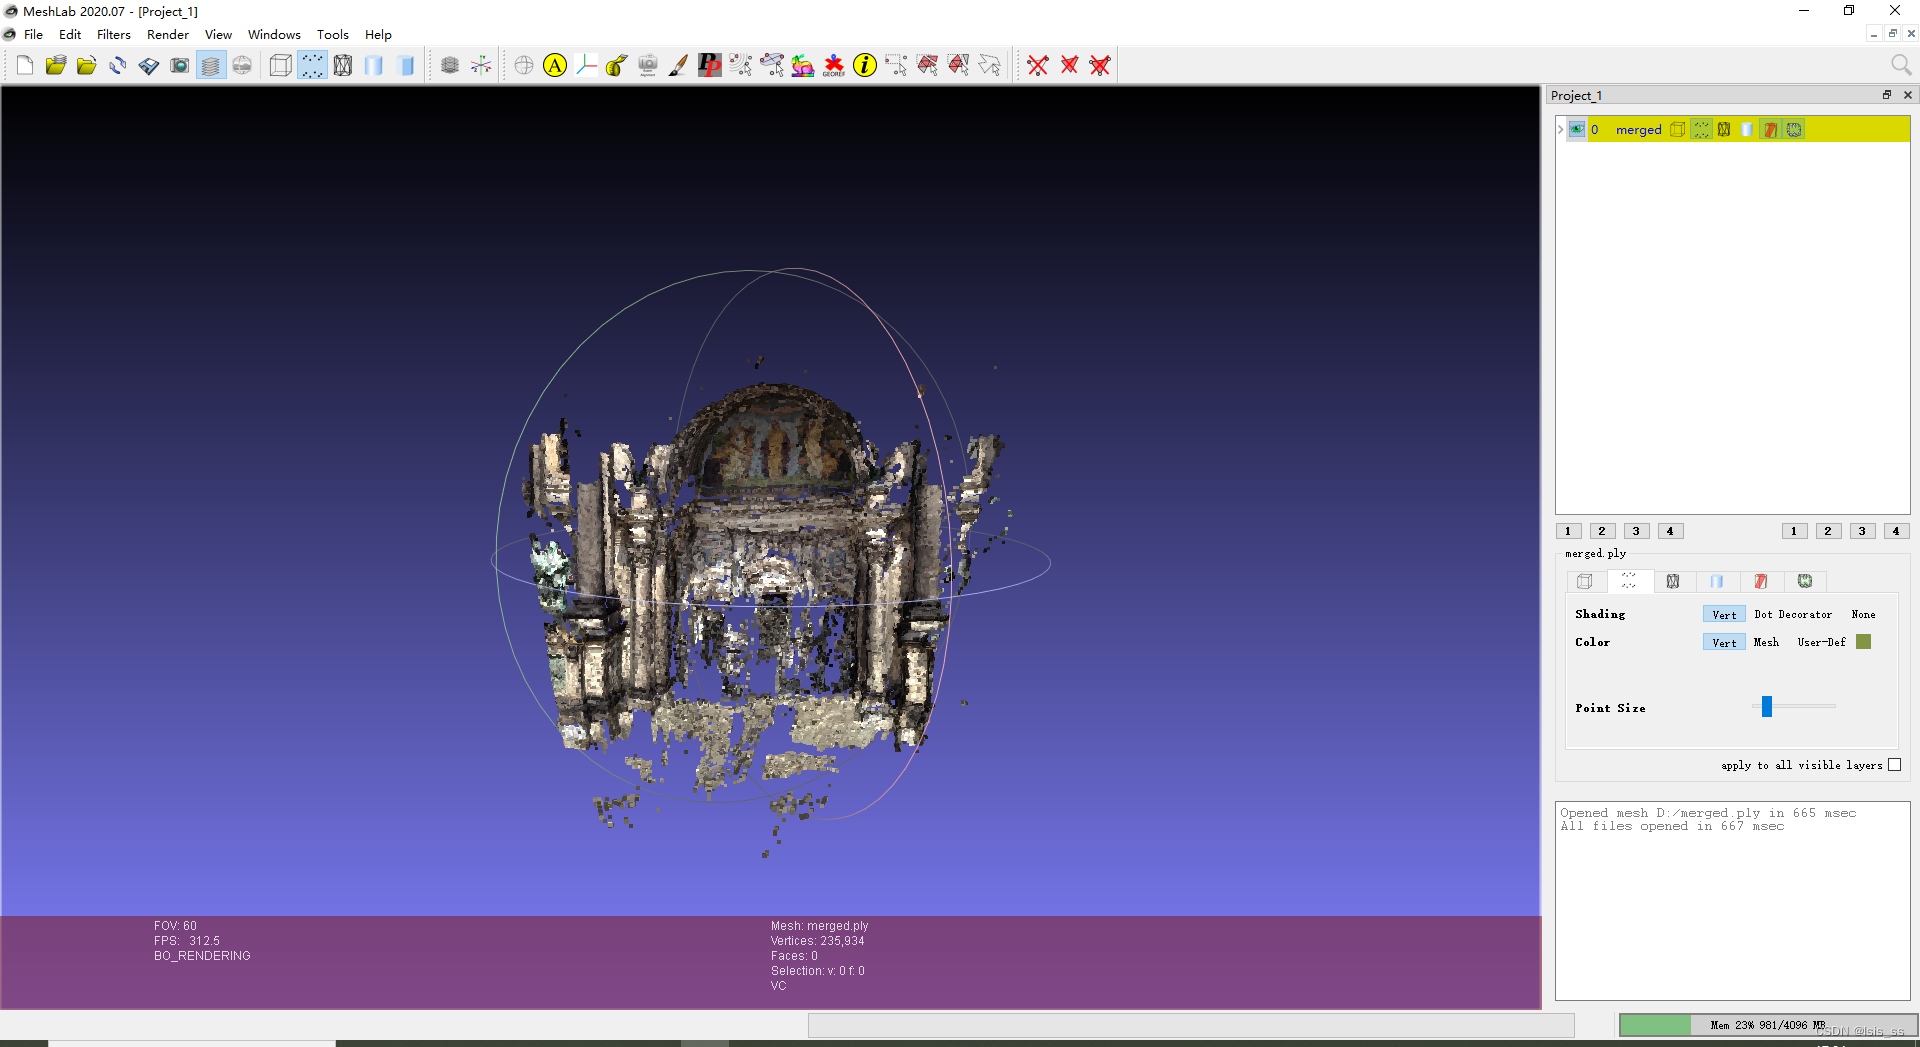
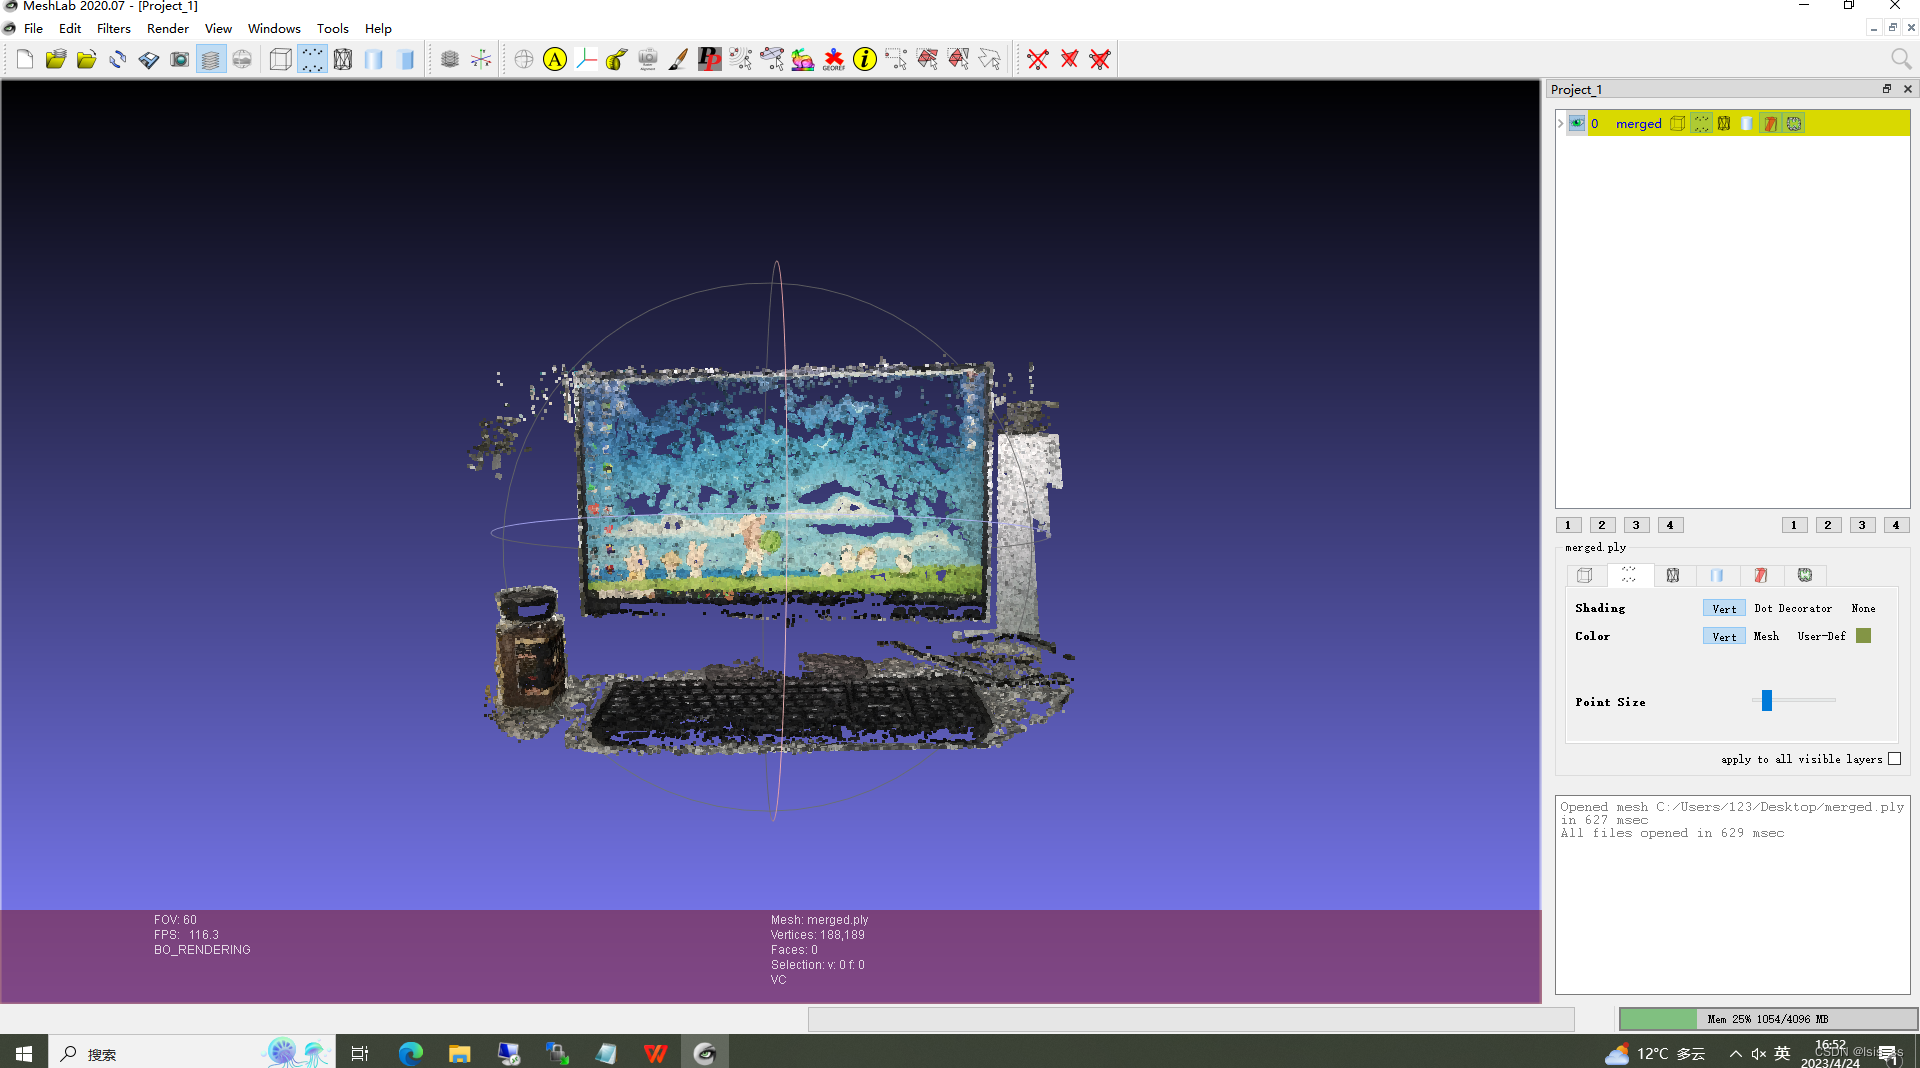
- 结果可视化:可以使用meshlab查看生成的data/berlin/unidtorted/depthmaps/merged.ply文件。在linux上mashlab一直读取不了,所以在windows完成的可视化。
- 获取密集点云:bin/opensfm undistort data/berlin
bin/opensfm compute_depthmaps data/berlin
结果:
原图:三个不同视角的图,这里不放了。结果:
reconstruction.json中含有所有重建的三维点坐标(structure),以及相机参数(motion)
制作自己的图片:
使用自己的图片运行OpenSfM,需要在根目录data文件夹下新建一个文件夹mydata,再新建mydata/images文件夹,将自己的图放进mydata/images。然后把示例berlin文件夹下的config.yaml文件复制一份到mydata中,最后下命令(同简易运行中的命令)运行。config.yaml文件里面的参数可根据自己的需要修改。如果需要提高OpenSfM的运行速度,且输入数据是连续的视频的帧(large linear dataset),可以尝试在config.yaml文件中加上以下两句话:local_bundle_radius: 1 # Max image graph distance for images to be included in local bundle adjustment
bundle_interval: 9999999 # Bundle after adding 'bundle_interval' cameras
输入图片(共五张,这里不放了):重建结果:
存在问题:在项目的文件夹(如mytest)中创建一个camera_models_overrides.json文件,在其中存放已知的相机内存。这样在camera_models_overrides.json提供的内参就会override默认的camera_models.json文件,可以初始化相机内参,但是我这里一直有错,所以就把这一步忽略了,后续再想办法解决这个问题。


 被折叠的 条评论
为什么被折叠?
被折叠的 条评论
为什么被折叠?
 到【灌水乐园】发言


