


Redis安装
上传安装包
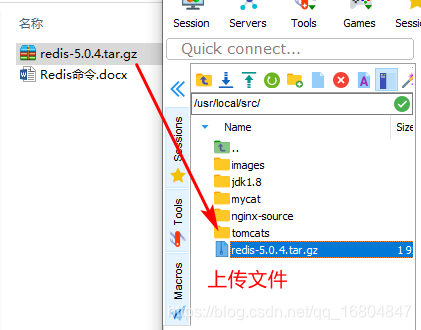
解压redis
说明: tar -xvf redis-5.0.4.tar.gz 解压完成之后删除安装包/ 修改文件名称
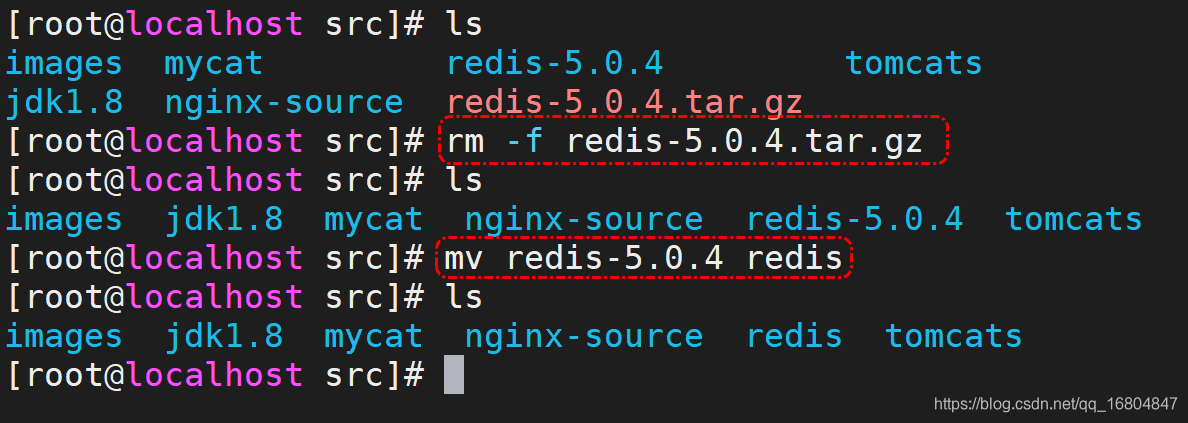
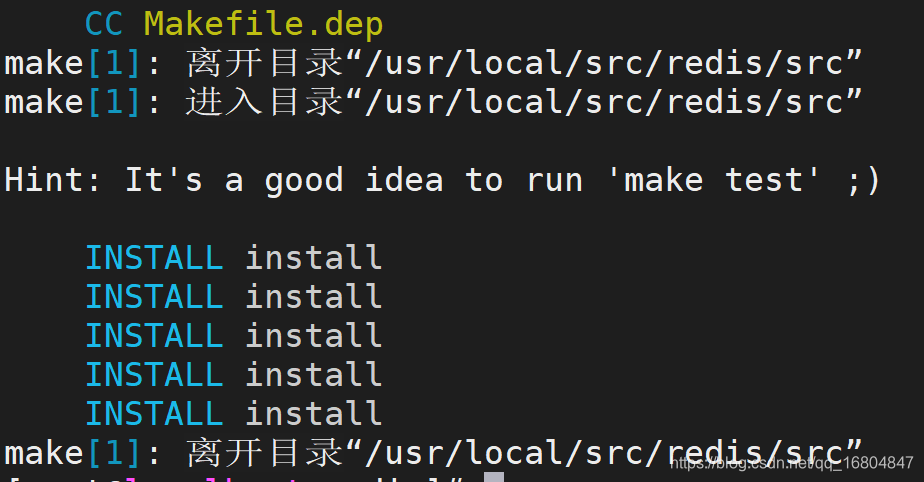
安装redis
说明: 在redis根目录中执行如下命令
命令: 1. make
2.make install
进制换算
1k => 1000 bytes
1kb => 1024 bytes
1m => 1000000 bytes
1mb => 10241024 bytes
1g => 1000000000 bytes
1gb => 10241024*1024 bytes
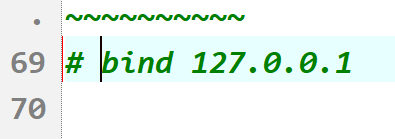
修改Redis配置文件
1).修改IP绑定
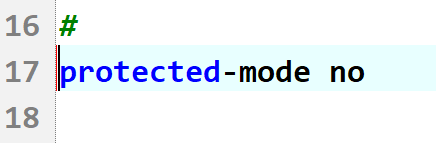
2).关闭保护模式
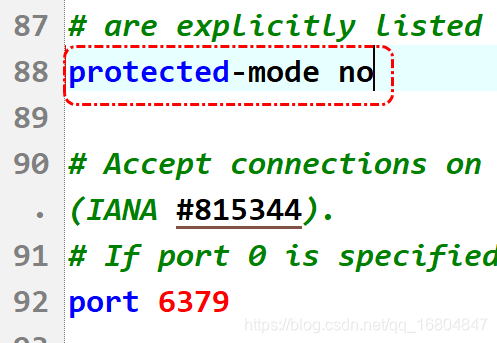
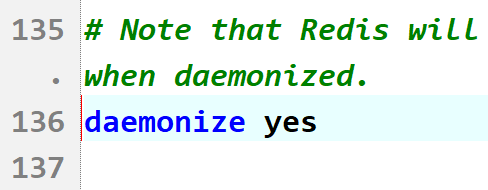
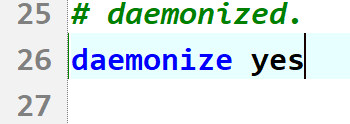
3).开启后端运行
服务器命令
- 启动redis redis-server redis.conf
- 进入客户端 redis-cli -p 6379 exit 退出|quit|ctrl+c
- 关闭redis redis-cli -p 6379 shutdown
Redis入门案例
导入jar包
		<!--spring整合redis -->
        <dependency>
            <groupId>redis.clients</groupId>
            <artifactId>jedis</artifactId>
        </dependency>
        <dependency>
            <groupId>org.springframework.data</groupId>
            <artifactId>spring-data-redis</artifactId>
        </dependency>
客户端操作String类型
package com.jt.test;

import org.junit.jupiter.api.Test;
import org.springframework.boot.test.context.SpringBootTest;
import redis.clients.jedis.Jedis;
import redis.clients.jedis.params.SetParams;

//@SpringBootTest //目的:动态获取spring容器中的数据
public class TestRedis {

    /**
     * 主要目的测试程序远程操作Redis是否有效
     * 配置redis服务:
     *      1.redis需要关闭IP绑定模式
     *      2.redis关闭保护模式
     *      3.redis最好开启后端运行
     *
     * 完成redis客户端操作
     */
    @Test
    public void test01() throws InterruptedException {
        //1.测试链接
        Jedis jedis = new Jedis("192.168.126.129",6379);
        jedis.set("a", "动态获取redis中的数据");
        System.out.println(jedis.get("a"));

        //2.测试数据是否存在
        if(jedis.exists("a")){
            jedis.set("a", "修改数据");
        }else{
            jedis.set("a", "新增数据");
        }

        //3.删除redis
        jedis.del("a");

        //4.清空所有的数据
        jedis.flushDB();
        jedis.flushAll();

        //5.为数据添加超时时间
        jedis.set("b", "设定超时时间");
        jedis.expire("b", 10);
        Thread.sleep(2000);
        System.out.println(jedis.ttl("b"));
    }

    //原子性
    @Test
    public void test02(){
        Jedis jedis = new Jedis("192.168.126.129", 6379);
        jedis.set("c", "测试redis");
        //需求1: 如果数据不存在时,才会为数据赋值.
        jedis.setnx("d","测试setnx方法");
        System.out.println(jedis.get("d"));

        //需求2: 需要为数据添加超时时间,同时满足原子性的要求
                //jedis.set("s", "为数据添加超时时间");
                //有时程序中断了,下列的方法将不会执行.
                //jedis.expire("s", 20);
                //System.out.println(jedis.ttl("s"));
        //为数据添加超时时间
        jedis.setex("s", 20, "为数据添加超时111");
        System.out.println("获取超时时间:"+jedis.ttl("s"));
    }

    /**
     *  需求: 如果数据存在才修改,并且为数据添加超时时间,满足原子性要求
     *  SetParams:
     *          XX: 数据存在时赋值.
     *          NX: 数据不存在时赋值
     *          EX: 添加超时时间单位秒
     *          PX: 添加超时时间单位毫秒
     */
    @Test
    public void test03(){
        Jedis jedis = new Jedis("192.168.126.129", 6379);
        jedis.flushAll();
        SetParams setParams = new SetParams();
        setParams.xx().ex(20);
        jedis.set("a", "测试方法",setParams);
        System.out.println(jedis.get("a"));
    }
}
入门案例测试
@Test
    public void testList(){
        Jedis jedis = new Jedis("192.168.126.129",6379);
        jedis.lpush("list", "1","2","3");
        System.out.println(jedis.rpop("list")); //队列
    }
关于事务控制
 //弱事务控制
    @Test
    public void testTx(){
        Jedis jedis = new Jedis("192.168.126.129",6379);
        Transaction transaction = jedis.multi();  //开启事务
        try {
            transaction.set("k", "k");
            transaction.set("c", "c");
            transaction.exec();
        }catch (Exception e){
            e.printStackTrace();
            transaction.discard();
        }
    }
SpringBoot整合Redis
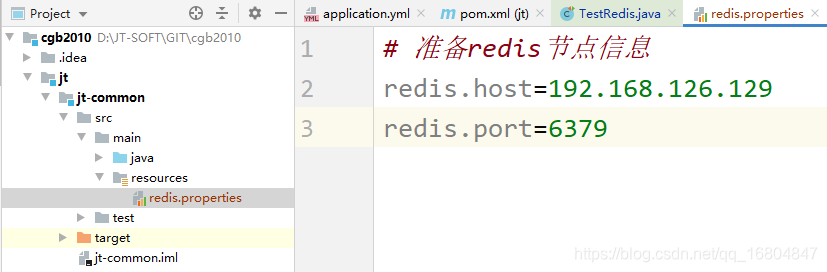
编辑pro配置文件
说明:由于redis是公共的第三方,所以将配置放到jt-common中即可
编辑配置类
说明: 需要在jt-common中添加redis的配置类
package com.jt.config;

import org.springframework.beans.factory.annotation.Value;
import org.springframework.context.annotation.Bean;
import org.springframework.context.annotation.Configuration;
import org.springframework.context.annotation.PropertySource;
import redis.clients.jedis.Jedis;

@Configuration  //表示一个配置类  一般会与@Bean的注解联用
@PropertySource("classpath:/redis.properties") //导入配置文件
public class RedisConfig {

    @Value("${redis.host}")
    private String host;
    @Value("${redis.port}")
    private Integer port;

    @Bean   //将方法的返回值结果,交给spring容器进行管理.
    public Jedis jedis(){

        return new Jedis(host, port);
    }

}
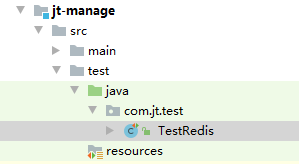
测试redis案例
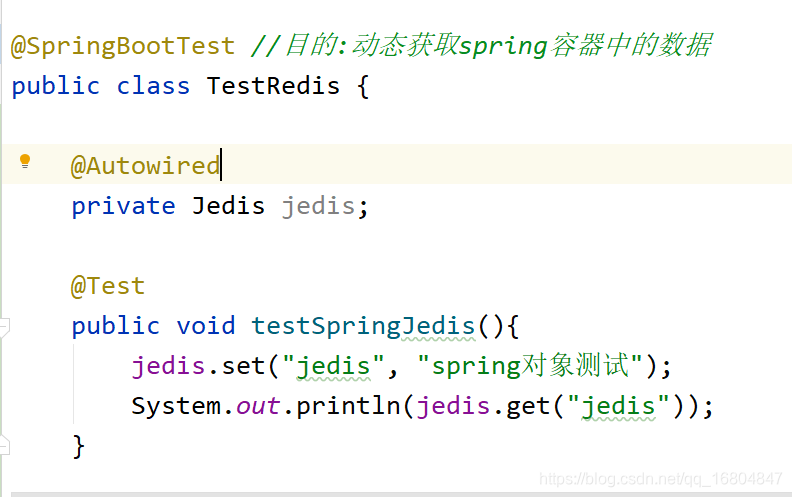
Redis分片机制
业务需求
说明: 单台redis存储的数据容量有限的. 如果需要存储海量的缓存数据,则使用单台redis肯定不能满足要求.为了满足数据扩容的需求.则可以采用分片的机制实现.
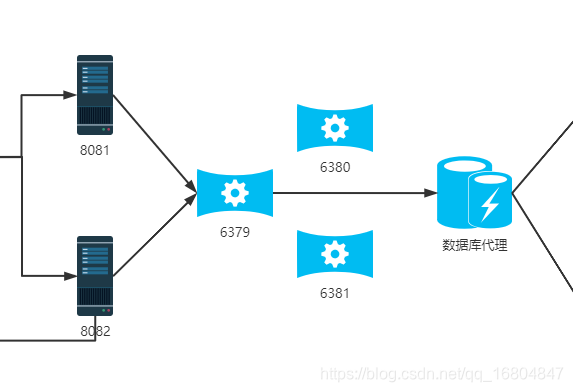
Redis分片机制实现
搭建策略
分别准备3台redis 6379/6380/6381
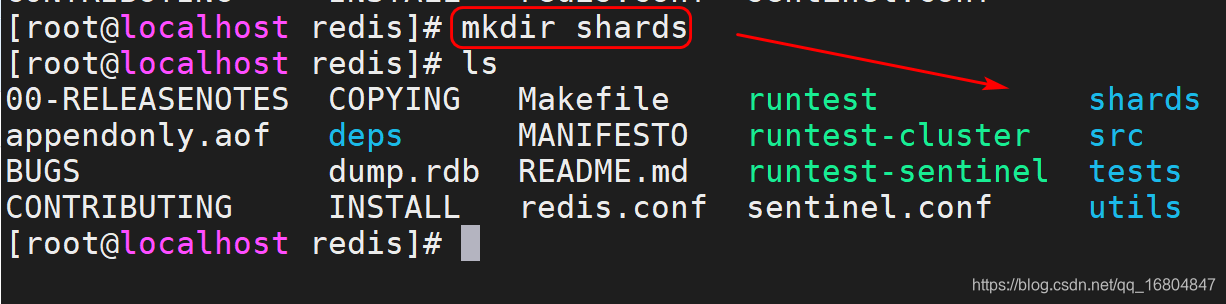
准备文件目录
复制配置文件
说明: 将redis的配置文件放到shards目录中.
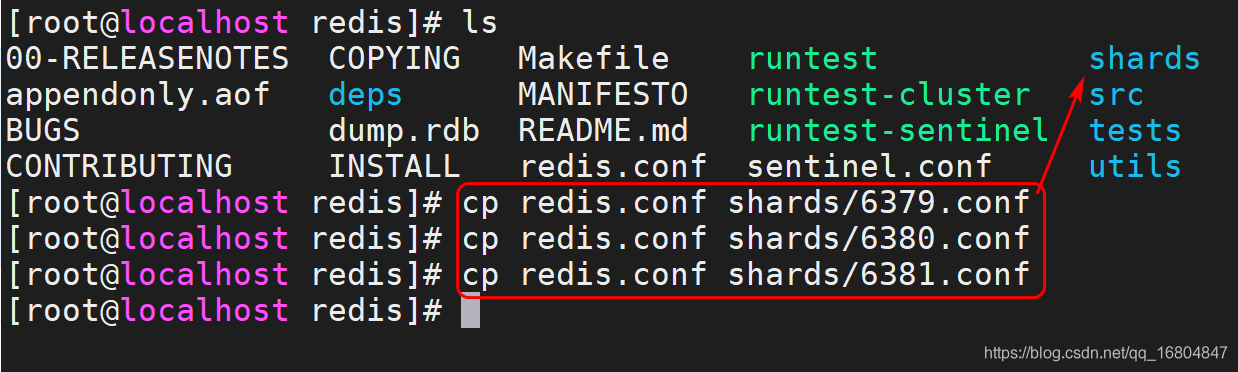
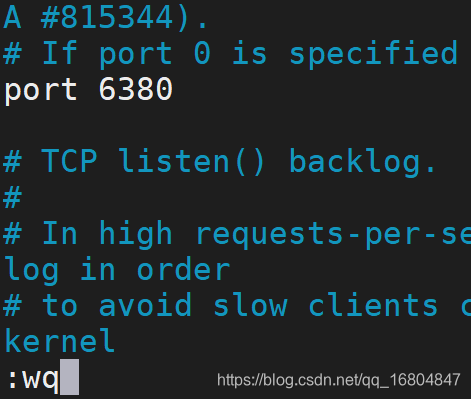
修改配置文件端口号 依次修改6380/6381
启动3台redis:
redis-server 6379.conf
redis-server 6380.conf
redis-server 6381.conf
校验服务器:

Redis分片入门案例
package com.jt.test;

import org.junit.jupiter.api.Test;
import redis.clients.jedis.JedisShardInfo;
import redis.clients.jedis.ShardedJedis;

import java.util.ArrayList;
import java.util.List;

public class TestRedisShards {

    @Test
    public void testShards(){
        List<JedisShardInfo> shards = new ArrayList<>();
        shards.add(new JedisShardInfo("192.168.126.129",6379));
        shards.add(new JedisShardInfo("192.168.126.129",6380));
        shards.add(new JedisShardInfo("192.168.126.129",6381));
        ShardedJedis shardedJedis = new ShardedJedis(shards);
        //3台redis当做1台使用  内存容量扩大3倍.  79/80/81???
        shardedJedis.set("shards", "redis分片测试");
        System.out.println(shardedJedis.get("shards"));
    }
}
Redis哨兵机制
Redis分片存在问题
说明:Redis分片机制,虽然可以实现Redis Redis内存扩容,但是redis 节点并没有实现高可用.如果节点宕机,则整合redis分片将不可使用.
Redis主从结构搭建
规定: 6379主机 /6380/6381 从机
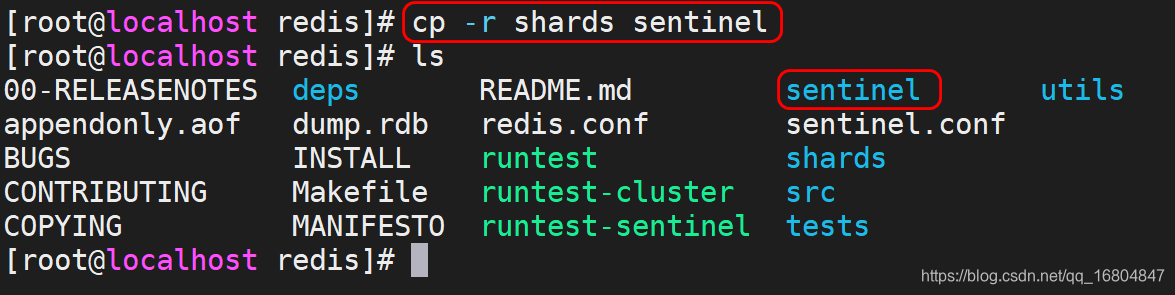
复制文件目录
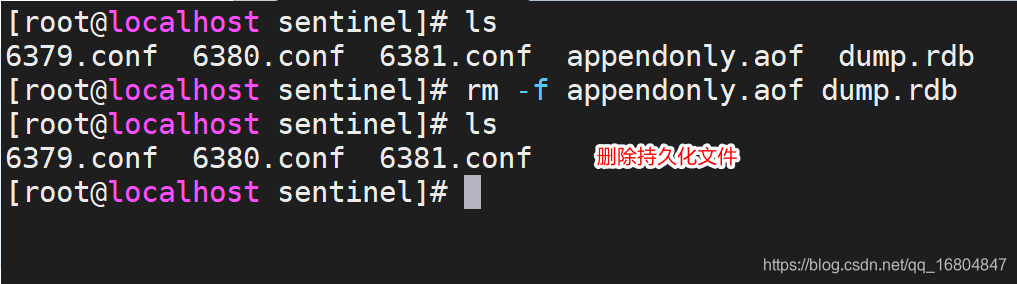
删除持久化文件
启动3台Redis服务器
redis-server 6379.conf
redis-server 6380.conf
redis-server 6381.conf

实现redis主从挂载
命令1.: slaveof host port
命令说明: 在从机中执行上述命令 挂载的是主机的地址.
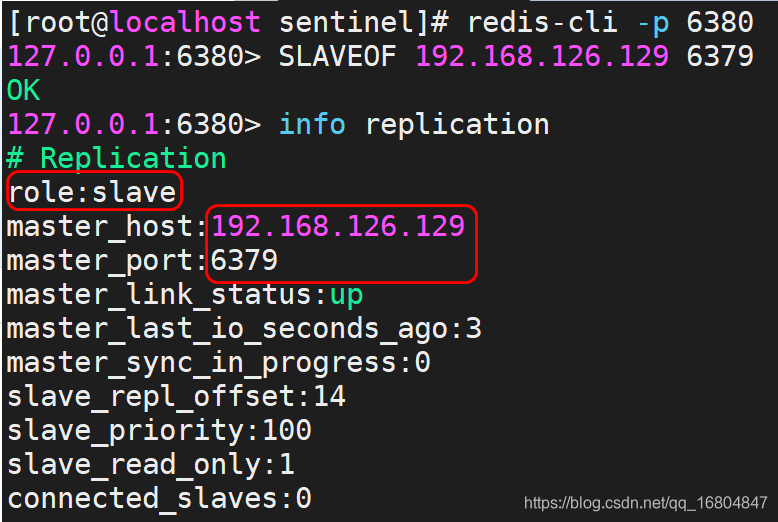
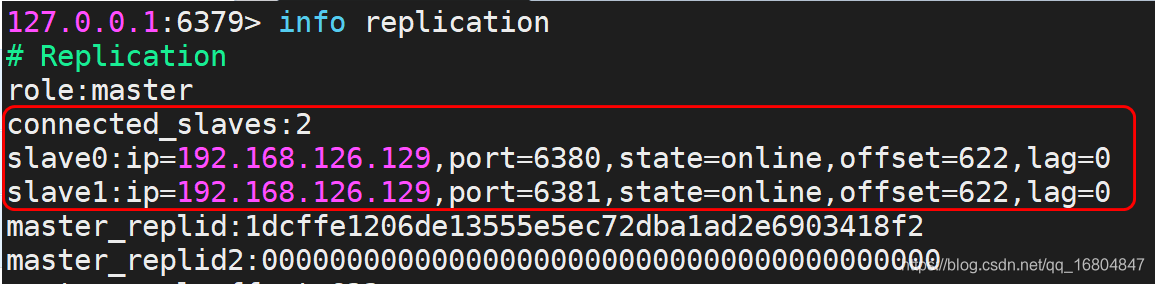
命令2: info replication
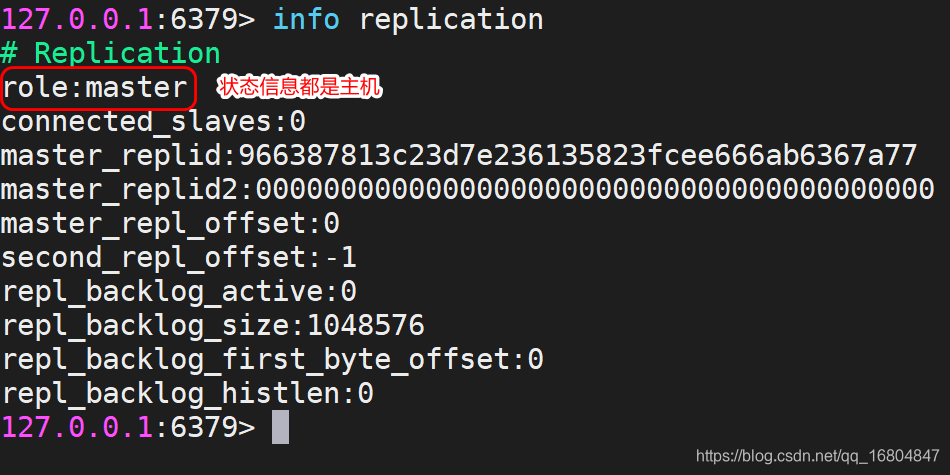
主从结构关系:
编辑哨兵配置文件
1).复制哨兵的配置文件

关闭保护模式
开启后端运行
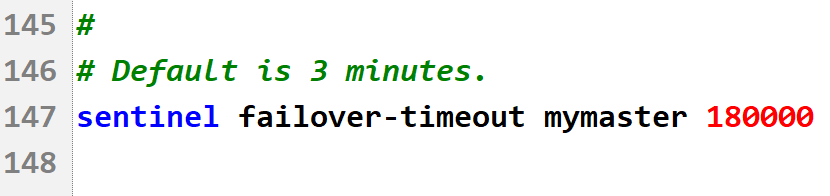
设定哨兵的投票数

修改选举的超时时间

修改哨兵的状态
哨兵测试
哨兵命令: redis-sentinel sentinel.conf
检查redis服务:

redis高可用测试:
1.关闭redis主机6379
2.等待10秒 检查6380/6381到底谁是主机.
3.重启6379服务器,检查是否充当了新主机的从
哨兵的入门案例
@Test
    public void test01(){
        //定义哨兵的集合信息
        Set<String> sentinels = new HashSet<>();
        sentinels.add("192.168.126.129:26379");
        //定义链接池信息
        JedisPoolConfig poolConfig = new JedisPoolConfig();
        poolConfig.setMaxTotal(200);    //链接池 最多200个链接
        poolConfig.setMaxIdle(20);      //最大空闲链接数20
        poolConfig.setMinIdle(10);      //最小空闲链接数10
        JedisSentinelPool pool = new JedisSentinelPool("mymaster",sentinels,poolConfig);
        //动态获取jedis链接
        Jedis jedis = pool.getResource();
        jedis.set("abc", "redis赋值操作");
        System.out.println(jedis.get("abc"));
        jedis.close();
    }
关于redis集群搭建问题说明
注意事项:
1.启动6个redis节点
2.保证redis节点中的数据都是null的
3.根据报错提示 排查问题. 检查IP地址 检查防火墙…
1). 关闭所有的Redis服务器
sh stop.sh
2).检查redis配置文件

3).删除多余文件

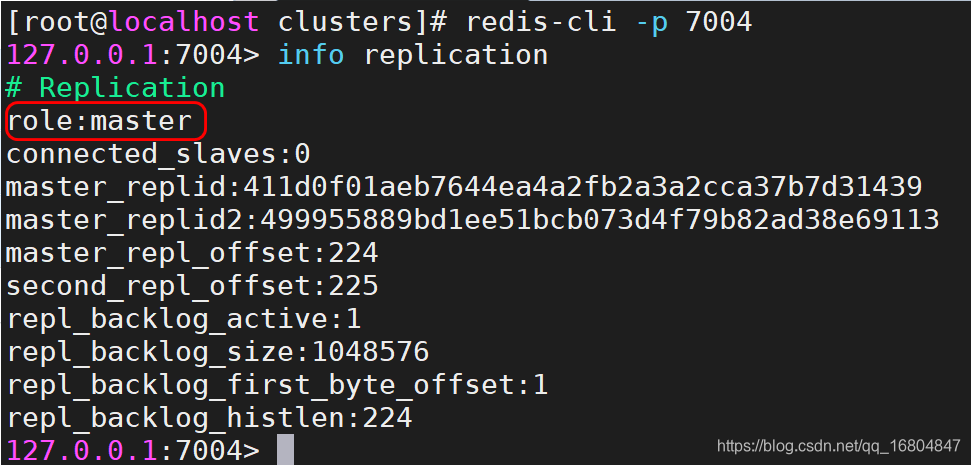
关于Redis集群高可用测试
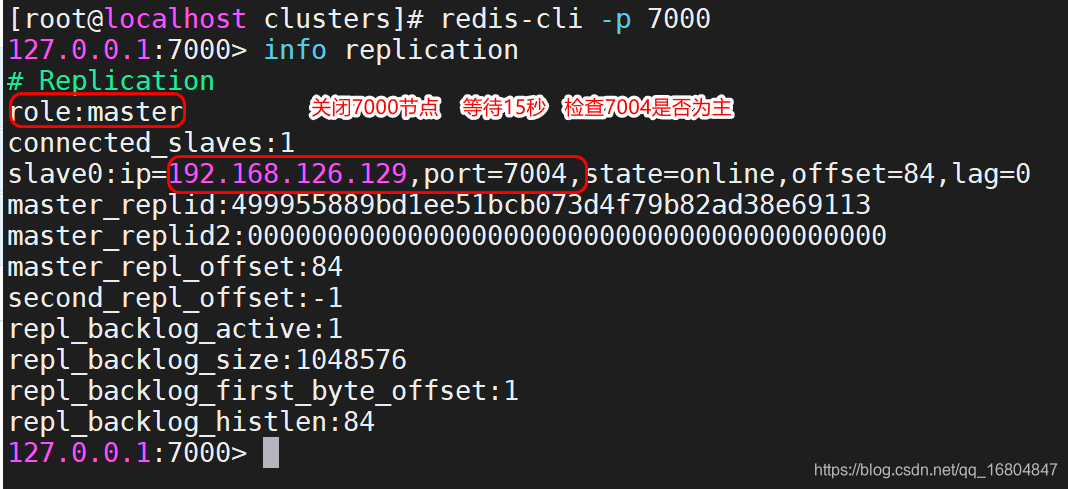
1).关闭7000节点
redis-cli -p 7000 shutdown
2).检查主从状态
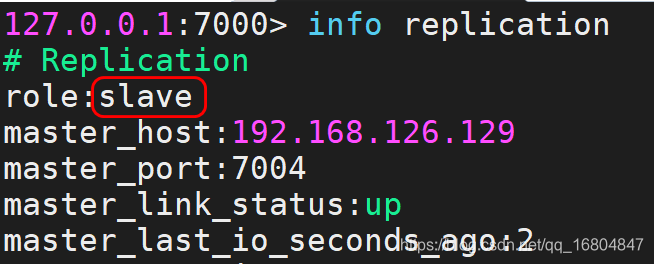
3).重启7000 检查状态
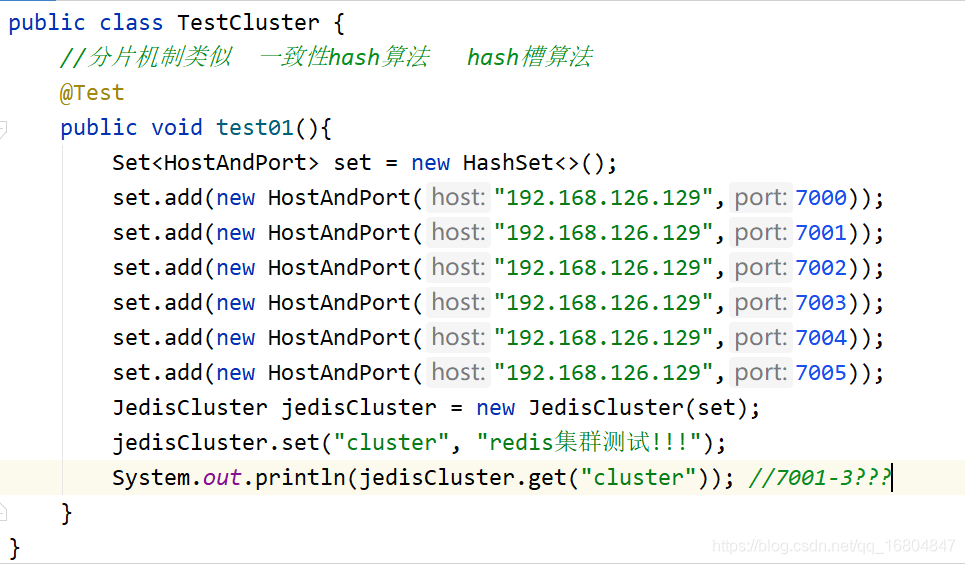
集群测试入门案例
SpringBoot整合Redis集群
编辑pro配置文件
#配置redis集群
redis.nodes=192.168.126.129:7000,192.168.126.129:7001,192.168.126.129:7002,192.168.126.129:7003,192.168.126.129:7004,192.168.126.129:7005
编辑配置类
@Configuration  //标识我是一个配置类   一般与@Bean注解联用
@PropertySource("classpath:/properties/redis.properties")
public class RedisConfig {

    @Value("${redis.nodes}")
    private String nodes;   //node,node,node

    @Bean
    public JedisCluster jedisCluster(){
        Set<HostAndPort> nodesSet = new HashSet<>();
        String[] nodeArray = nodes.split(",");
        for (String node : nodeArray){  //host:port
            String host = node.split(":")[0];
            int port = Integer.parseInt(node.split(":")[1]);
            HostAndPort hostAndPort = new HostAndPort(host, port);
            nodesSet.add(hostAndPort);
        }
        JedisPoolConfig config = new JedisPoolConfig();
        config.setMaxTotal(1000);
        config.setMaxIdle(60);
        config.setMinIdle(20);
        return new JedisCluster(nodesSet,config);
    }
}


 3415
3415


 被折叠的 条评论
为什么被折叠?
被折叠的 条评论
为什么被折叠?
 到【灌水乐园】发言


