


一.使用设备
CUAV V5 nano
PX4源码固件1.14.3
USB转串口模块
串口选择UART 7
Ubuntu18.04
QGC v3.5.4
串口助手
二.任务
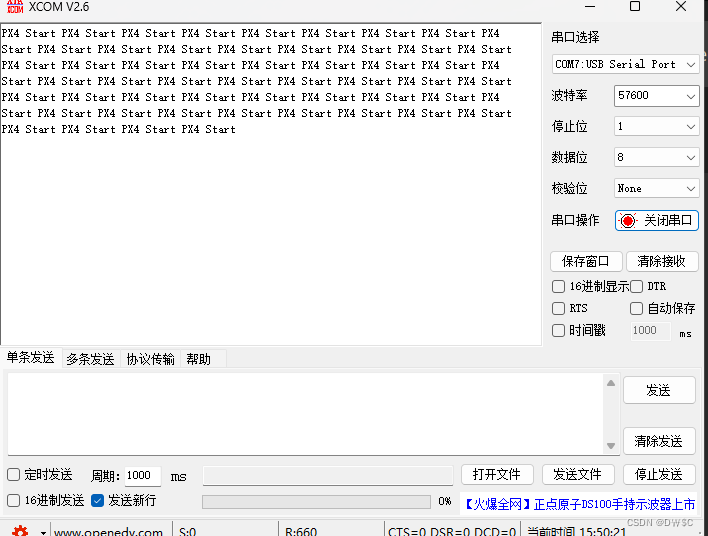
使用飞控debug口(串口)连接电脑,电脑通过串口助手(windows下)查看打印信息 “PX4 Start”
三.代码编写
1.新建一个文件夹在这个目录下,例:px4_simple_app
PX4-Autopilot>>src>>examples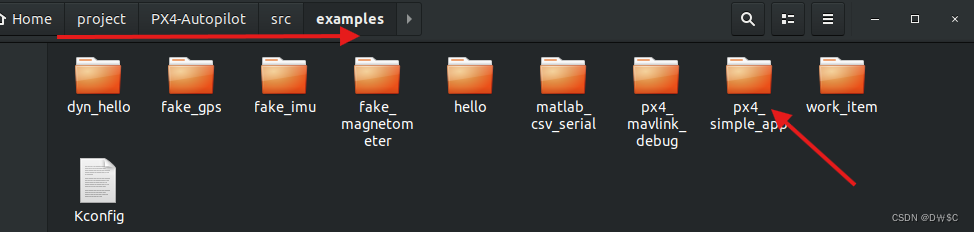
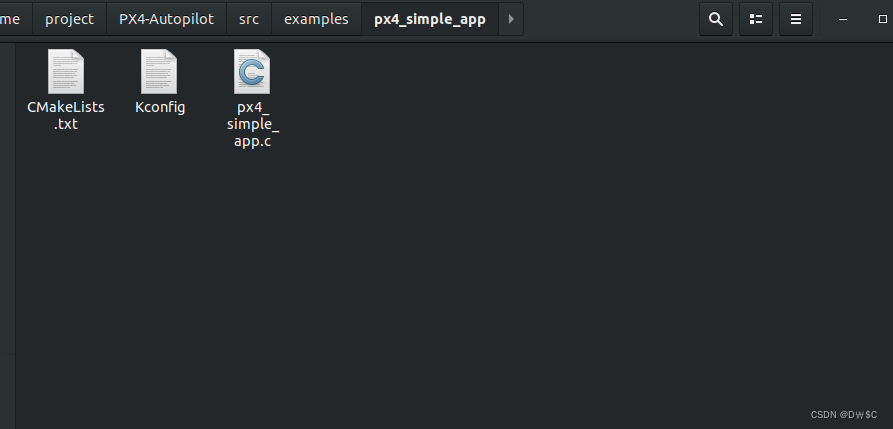
2.建立三个文件如下(ps:可拷贝其他文件夹下的同样文件复制过来,改内容即可):
 3.CMakeLists.txt内容如下:
px4_add_module(
	MODULE examples__px4_simple_app
	MAIN px4_simple_app
	SRCS
		px4_simple_app.c
	DEPENDS
	)
4.kconfig内容如下:
menuconfig EXAMPLES_PX4_SIMPLE_APP
	bool "px4_simple_app"
	default n
	---help---
		Enable support for px4_simple_app
5.px4_simple_app.c内容如下:
#include <stdio.h>
#include <termios.h>
#include <unistd.h>
#include <stdlib.h>
#include <string.h>
#include <stdbool.h>
#include <errno.h>
#include <drivers/drv_hrt.h>
#include <systemlib/err.h>
#include <fcntl.h>
#include <systemlib/mavlink_log.h>
#include <px4_platform_common/px4_config.h>
#include <px4_platform_common/tasks.h>
#include <px4_platform_common/posix.h>
#include <unistd.h>
#include <stdio.h>
#include <poll.h>
#include <string.h>
#include <math.h>
static bool thread_should_exit = false; /**< px4_uorb_subs exit flag */
static bool thread_running = false; /**< px4_uorb_subs status flag */
static int px4_simple_app_task; /**< Handle of px4_uorb_subs task / thread */
static int uart_init(char * uart_name);
static int set_uart_baudrate(const int fd, unsigned int baud);
/**
* daemon management function.
*/
__EXPORT int px4_simple_app_main(int argc, char *argv[]);
/**
* Mainloop of daemon.
*/
int px4_simple_app_thread_main(int argc, char *argv[]);
/**
* Print the correct usage.
*/
static void usage(const char *reason);
static void usage(const char *reason)
{
if (reason) {
warnx("%s\n", reason);
}
warnx("usage: px4_uorb_adver {start|stop|status} [-p <additional params>]\n\n");
}
int set_uart_baudrate(const int fd, unsigned int baud)
{
int speed;
switch (baud) {
case 9600: speed = B9600; break;
case 19200: speed = B19200; break;
case 38400: speed = B38400; break;
case 57600: speed = B57600; break;
case 115200: speed = B115200; break;
default:
warnx("ERR: baudrate: %d\n", baud);
return -EINVAL;
}
struct termios uart_config;
int termios_state;
/* 以新的配置填充结构体 */
/* 设置某个选项,那么就使用"|="运算,
* 如果关闭某个选项就使用"&="和"~"运算
* */
tcgetattr(fd, &uart_config); // 获取终端参数
/* clear ONLCR flag (which appends a CR for every LF) */
uart_config.c_oflag &= ~ONLCR;// 将NL转换成CR(回车)-NL后输出。
/* 无偶校验,一个停止位 */
uart_config.c_cflag &= ~(CSTOPB | PARENB);// CSTOPB 使用两个停止位,PARENB 表示偶校验
/* 设置波特率 */
if ((termios_state = cfsetispeed(&uart_config, speed)) < 0) {
warnx("ERR: %d (cfsetispeed)\n", termios_state);
return false;
}
if ((termios_state = cfsetospeed(&uart_config, speed)) < 0) {
warnx("ERR: %d (cfsetospeed)\n", termios_state);
return false;
}
// 设置与终端相关的参数,TCSANOW 立即改变参数
if ((termios_state = tcsetattr(fd, TCSANOW, &uart_config)) < 0) {
warnx("ERR: %d (tcsetattr)\n", termios_state);
return false;
}
return true;
}
int uart_init(char * uart_name)
{
int serial_fd = open(uart_name, O_RDWR | O_NOCTTY);
/*Linux中,万物皆文件,打开串口设备和打开普通文件一样,使用的是open()系统调用*/
// 选项 O_NOCTTY 表示不能把本串口当成控制终端,否则用户的键盘输入信息将影响程序的执行
if (serial_fd < 0) {
err(1, "failed to open port: %s", uart_name);
printf("failed to open port: %s\n", uart_name);
return false;
}
printf("Open the %d\n",serial_fd);
return serial_fd;
}
/**
消息发布进程,会不断的接收自定义消息
*/
int px4_simple_app_main(int argc, char *argv[])
{
if (argc < 2) {
usage("missing command");
return 1;
}
if (!strcmp(argv[1], "start")) {
if (thread_running) {
warnx("px4_uorb_subs already running\n");
/* this is not an error */
return 0;
}
thread_should_exit = false;//定义一个守护进程
px4_simple_app_task = px4_task_spawn_cmd(" px4_simple_app",
SCHED_DEFAULT,
SCHED_PRIORITY_DEFAULT,//调度优先级
2000,//堆栈分配大小
px4_simple_app_thread_main,
(argv) ? (char *const *)&argv[2] : (char *const *)NULL);
return 0;
}
if (!strcmp(argv[1], "stop")) {
thread_should_exit = true;
return 0;
}
if (!strcmp(argv[1], "status")) {
if (thread_running) {
warnx("\trunning\n");
}
else {
warnx("\tnot started\n");
}
return 0;
}
usage("unrecognized command");
return 1;
}
int px4_simple_app_thread_main(int argc, char *argv[])
{
int i_;
int uart_read = uart_init("/dev/ttyS5");//ttys5>>uart7
if (false == uart_read)
return -1;
if (false == set_uart_baudrate(uart_read, 57600)) {
printf("[JXF]set_uart_baudrate is failed\n");
return -1;
}
printf("[JXF]uart init is successful\n");
thread_running = true;
char buffer_1[]="PX4 Start ";
i_=sizeof(buffer_1);
while (!thread_should_exit)
{
for(int i=0;i<i_;i++)
{
write(uart_read,&buffer_1[i],sizeof(buffer_1[i]));
usleep(5000);
}
printf(" px4_simple_app TX-test:running!\n");
usleep(1000000);
}
warnx("[ px4_simple_app] exiting.\n");
thread_running = false;
int fd=close(uart_read);
printf("close stauts: %d\n",fd);
return 0;
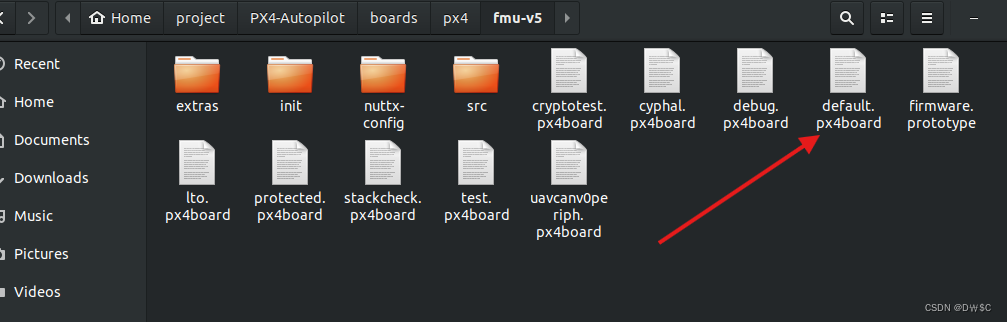
}6.还要去这个目录下注册(因为我是fmu-v5,所以选择fmu-v5文件夹,其他的同理即可)

7.找到该文件,编写
注册app
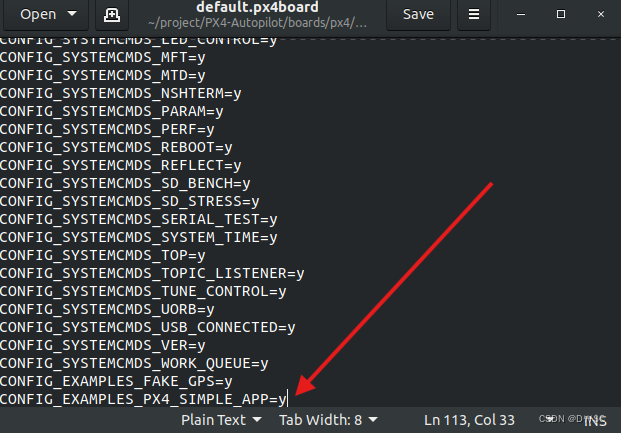
CONFIG_EXAMPLES_PX4_SIMPLE_APP=y四.功能实现
编译下载后,打开QCG:
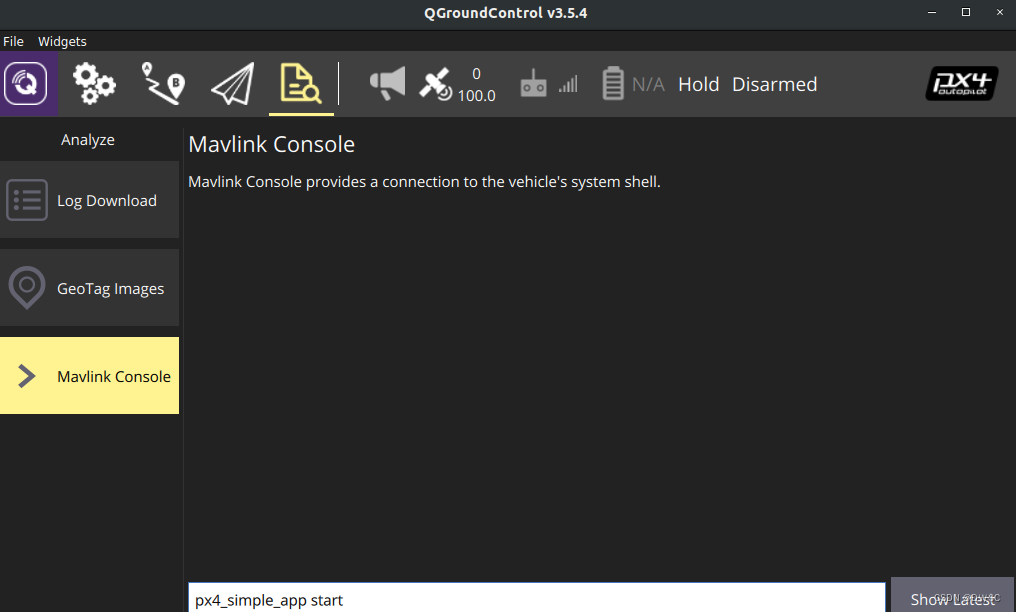
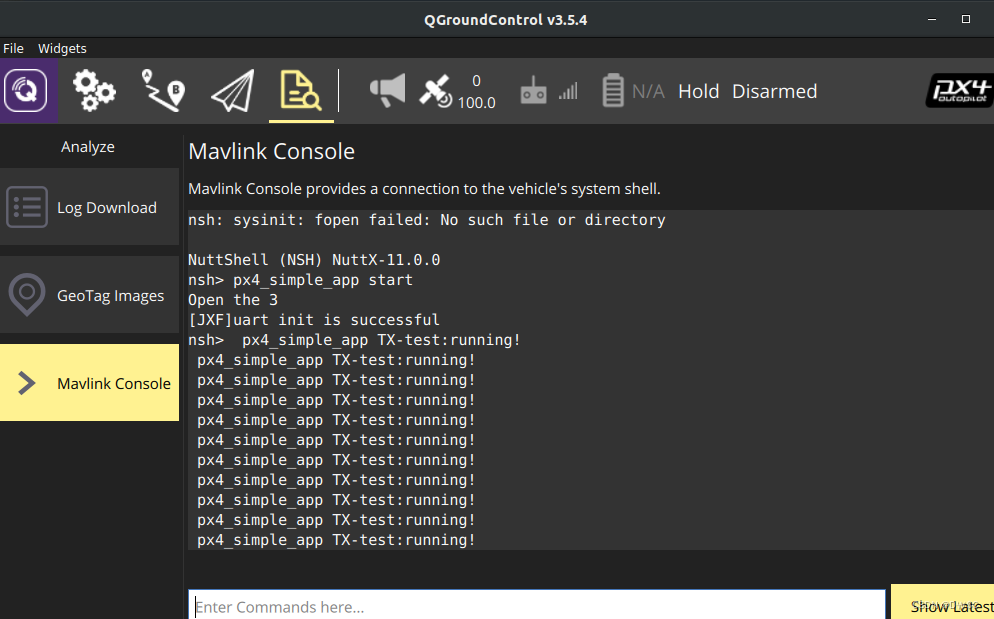
启动app后串口uart7打开,打开串口助手,选好端口(端口可能会连接到虚拟机上,串口无反应的话检查是否连接到主机上)即可收到编写好的内容。
五.参考资料
PX4-串口通讯_px4使用uart串口发送命令-CSDN博客
PX4串口驱动的三种方式:系统级操作、task/work_queue、类似PX4IO中断响应_upboard px4 ttyacm0驱动-CSDN博客【PX4-AutoPilot教程-源码】使用PX4搭建并运行第一个应用程序_px4源码教程-CSDN博客


 2985
2985

 被折叠的 条评论
为什么被折叠?
被折叠的 条评论
为什么被折叠?
 到【灌水乐园】发言


