


需要 本地使用 MCP Stdio + Cursor 调用例子 请看我另外一篇文章
### 使用 SSE 模式
MCP使用SSE加API访问的方式
### 环境
windows11 环境:
cursor 版本: 0.48.7
python == 3.10.16
fastmcp==0.4.1
uvicorn==0.34.0
fastapi==0.115.12
starlette==0.46.1
### 文件
D:\Mcp\test\weather-sse.py
import uvicorn
from mcp.server.fastmcp import FastMCP
from fastapi import FastAPI, Response
from starlette.routing import Mount
from starlette.applications import Starlette

mcp = FastMCP("weather-sse")
api = FastAPI(
    version="1.0.0",
    title="测试服务",
    description="FastAPI 测试服务器"
)

@api.get("/")
async def index():
    return Response(content="welcome to index", media_type="text/plain")

@mcp.tool()
@api.get("/weather")
def get_weather(location: str="Beijing") -> str:
    """获取指定地点的天气预报。
    参数:
        location (str): 城市名,如 'Beijing'。
    返回:
        str: 天气信息。
    """
    # 模拟天气数据
    weather_info = {
        "temperature": 27,
        "condition": "晴",
        "humidity": 65,
        "wind": "东北风3-4级"
    }
    return f"{location}的天气:温度 {weather_info['temperature']}°C,{weather_info['condition']},湿度{weather_info['humidity']}%,{weather_info['wind']}"


app = Starlette(
    routes=[
        Mount('/api', app=api),
        Mount('/', app=mcp.sse_app()),
    ]
)

if __name__ == '__main__':
    # mcp.run(transport="sse")
    # uvicorn server:app --host 0.0.0.0 --port 5000
    uvicorn.run("__main__:app",host="127.0.0.1",port=5000,reload=False);
#### 终端运行
cd D:\Mcp\test
uvicorn weather-sse:app --host 0.0.0.0 --port 5000
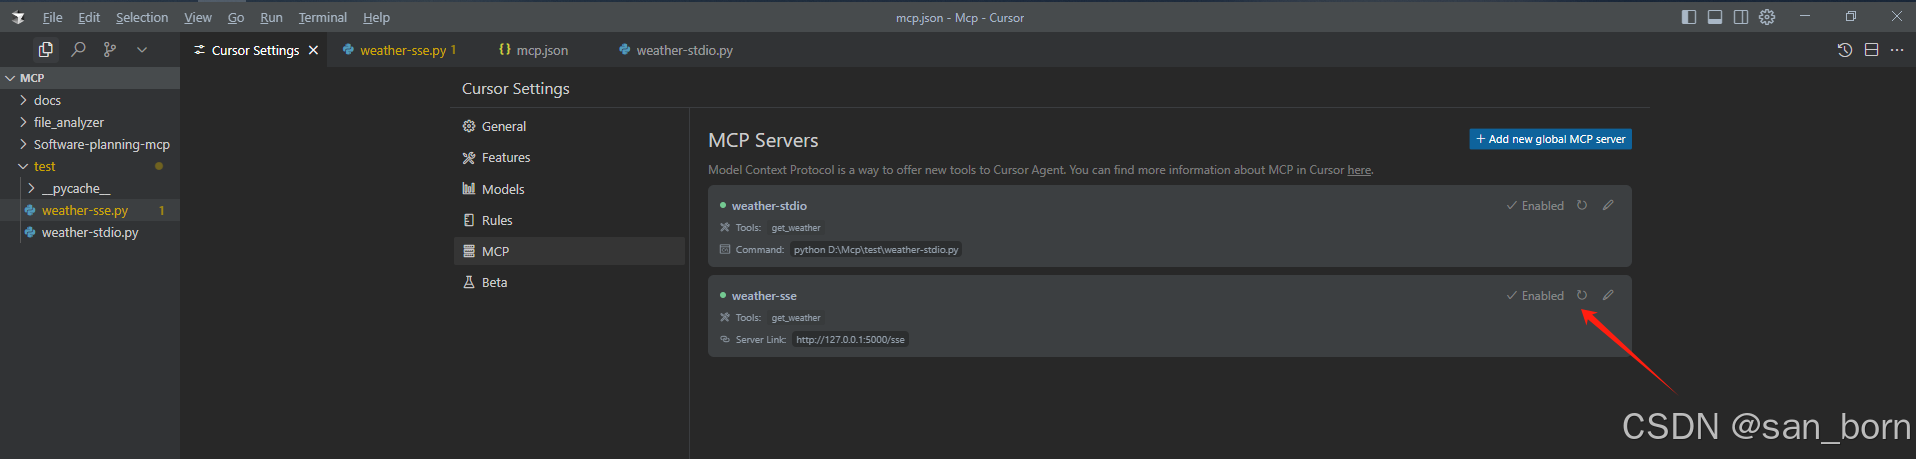
### 添加MCP 配置

输入
{
  "mcpServers": {
    "weather-stdio": {
      "command": "python",
      "args": [
          "D:\\Mcp\\test\\weather-stdio.py"
      ]
    },
    "weather-sse": {
      "url": "http://127.0.0.1:5000/sse"
    }
  }
}
添加后点击刷新,出现绿色代表服务正常
接下来是测试环节
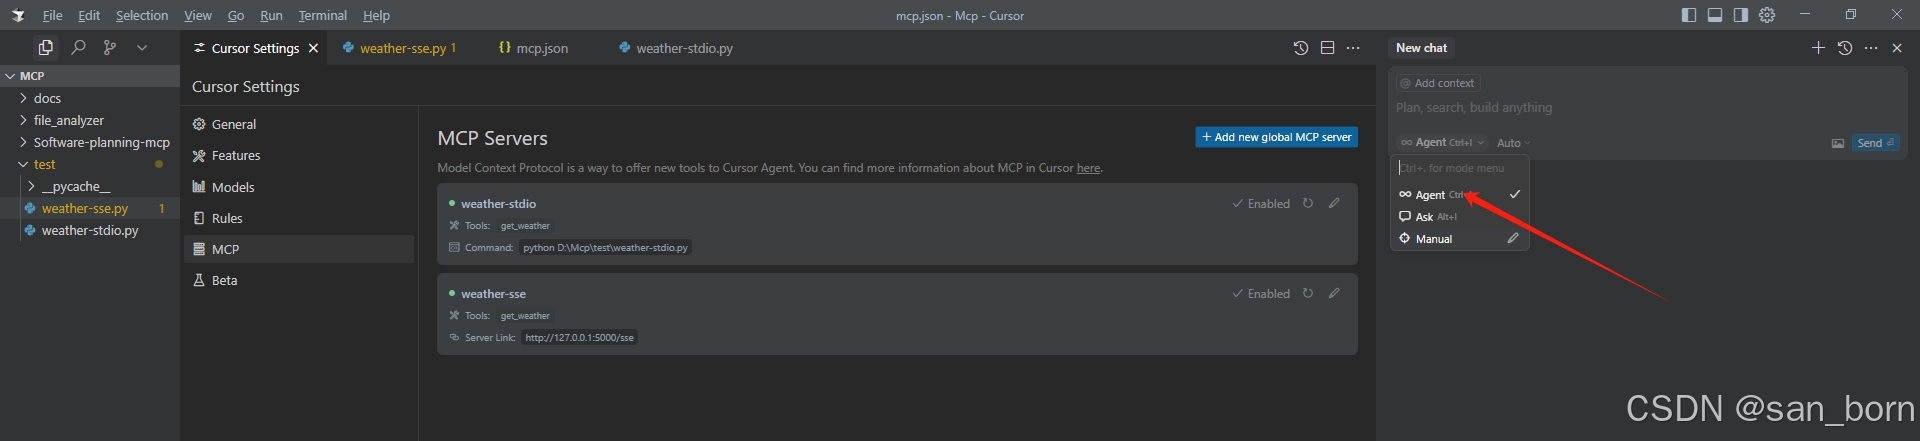
切换到Agent 模式,只有这个模式才能生效
第一次调试的时候可以输入详细一点
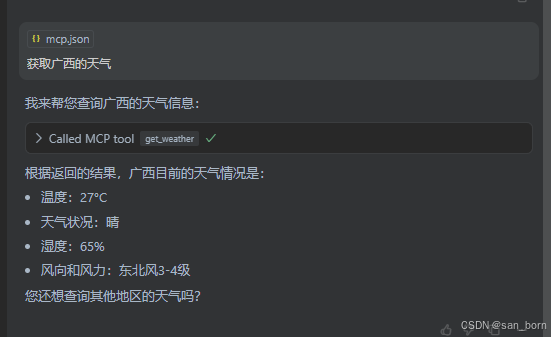
调用 MCP 服务 weather-sse 的 get_weather 获取 广东 的天气同意MCP服务执行
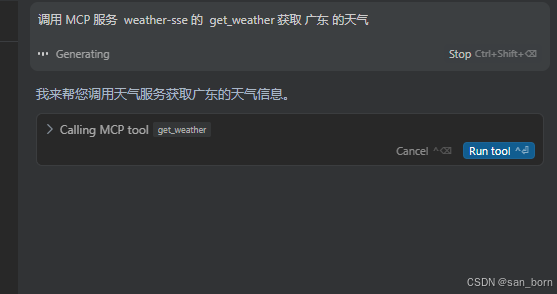
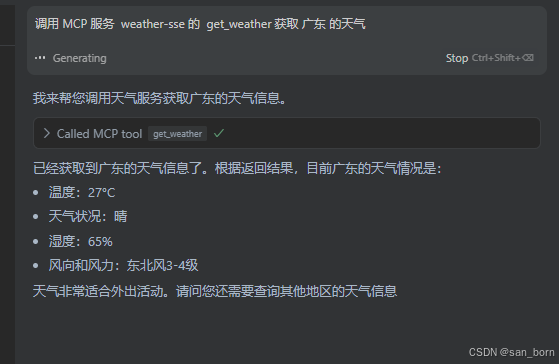
即可获取数据
也可以写简单一点
可以打开 自动运行 的权限 , 就不用每次都给权限了

也可以使用接口来访问
http://127.0.0.1:5000/api/weather
(如果对你有帮助,请给个赞再走)


 319
319

 被折叠的 条评论
为什么被折叠?
被折叠的 条评论
为什么被折叠?
 到【灌水乐园】发言


