[AppDelegate.cpp]
发现这里多了一个对脚本进行加密的方法
(1) stack->setXXTEAKeyAndSign("2dxLua", strlen("2dxLua"), "XXTEA", strlen("XXTEA"));
(2)通过config.json配置来找到lua的入口main.lua并执行,再跳转到第一个界面LoadingScene
engine->executeScriptFile(ConfigParser::getInstance()->getEntryFile().c_str());
[LoadingScene]
1. LoadingScene的构造顺序:
(1) LoadingScene:create() 被外部调用(2)在create中首先执行LoadingScene:new() ,如下定义才会生效
把自己初始化为一个 scene:
local MainMenuScene = class("MainMenuScene",function()
return cc.Scene:create()
end
)
(3)ctor()
由于使用了 cocos2dx-lua function.lua 定义的class方法,所以会默认调用子类的构造函数 ctor()
(4)在create最后调用 LoadingScene:init() 完成其他子对象的初始化
2. init() 中启用了一个调度器来执行update以更新子对象的状态
cc.Director:getInstance():getScheduler():scheduleScriptFunc(update,0.1,false)update 做了哪些事:
(1)每0.1秒 缓存一个粒子和素材
LoadingScene:cachedParticleRes()
LoadingScene:cachedTextureRes()
(2)调整进度条的位置 loadingbar:setPercent((self._totalResource-self._num)/self._totalResource*100)
(3) 如果发现已经加载完毕了就跳转
local scene = require("MainMenuScene")
cc.Director:getInstance():replaceScene(scene:create())
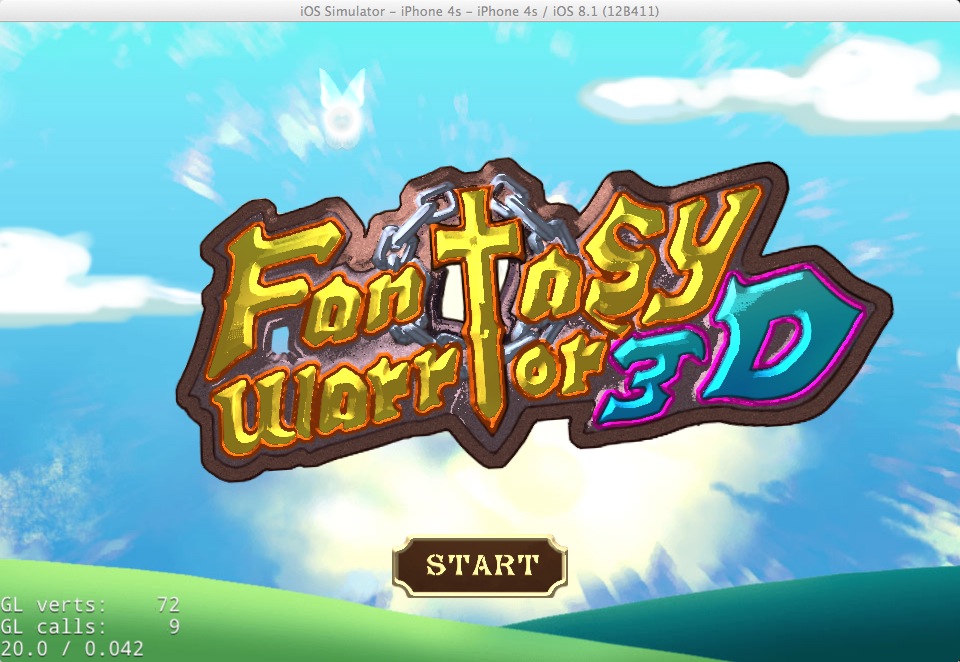
[MainMenuScene]
static void setDefaultAlphaPixelFormat(CCTexture2DPixelFormat format);
1. addCloud 添加云朵
(1) 开启一个移动云朵的调度器,频率是每秒60次self.scheduleCloudMove = cc.Director:getInstance():getScheduler():scheduleScriptFunc(cloud_move,1/60,false)
2. addlogo 来回摇摆的实现
local function logoShake()--rand_n = range * math.sin(math.rad(time*speed+offset))
local rand_x = 0.1*math.sin(math.rad(time*0.5+4356))
local rand_y = 0.1*math.sin(math.rad(time*0.37+5436))
local rand_z = 0.1*math.sin(math.rad(time*0.2+54325))
logo:setRotation3D({x=math.deg(rand_x),y=math.deg(rand_y),z=math.deg(rand_z)})
time = time+1
end
self.logoSchedule = cc.Director:getInstance():getScheduler():scheduleScriptFunc(logoShake,0,false)
其实这段代码可以看作是
local rand_x = 0.1*math.sin(math.rad(time))
local rand_y = 0.1*math.sin(math.rad(time))
local rand_z = 0.1*math.sin(math.rad(time))
通过math.rad 把time限制为360以内得一个弧度,再通过 math.sin 转换为一个区间数值[-x,x],
最后 *0.1 将摆动幅度降低,这样就实现了一个 x,y,z轴上的来回摇摆
这个里在cocosIDE里面设置数值发现边框特效突然没了,“即视”功能还是有点bug呀
3. addPointLight 长翅膀的那个家伙
(1) getLightSprite()来构造身体用到了alpha混色,以达到羽翼等部分的半透明效果self._lightSprite:setBlendFunc(gl.ONE,gl.ONE_MINUS_SRC_ALPHA)
GL_ONE:1.0
GL_ONE_MINUS_SRC_ALPHA:1.0减去源的Alpha值作为因子
参考 http://cn.cocos2d-x.org/tutorial/show?id=1739
(2)法线贴图 以实现凹凸效果
local effectNormalMapped = cc.EffectNormalMapped:create("mainmenuscene/logo_normal.png");
effectNormalMapped:setPointLight(self._pointLight)
effectNormalMapped:setKBump(50) 这个是设置凹凸值?
(3) “圆周运动” 与 拖拽
onTouchBegin 记录当前位置,并且打开移动处理函数 movePoint
onTouchEnded 关掉移动处理函数,并且调用 getBezierAction() 重新开始“圆周运动”
movePoint :
值得注意的是 使用lerp 函数来获取插值,达到一个减速和加速的移动效果。
movePoint函数: local point = cc.pLerp(lightSpritePos,self._prePosition,dt*2)


 12万+
12万+

 被折叠的 条评论
为什么被折叠?


