


1、自定义View。
package com.example.view;
import android.content.Context;
import android.graphics.Canvas;
import android.graphics.Color;
import android.graphics.Paint;
import android.util.AttributeSet;
import android.view.View;
//可以在View测量和布局完成后获取屏幕的宽度和高度。
//重写 onSizeChanged() 方法实现这一点。
//这个方法在View的尺寸发生变化时被调用,其中包括 View 第一次测量和每次布局发生变化时。
public class CustomView1 extends View {
private Paint paint;
private int screenWidth, screenHeight;
public CustomView1(Context context) {
super(context);
init();
}
public CustomView1(Context context, AttributeSet attrs) {
super(context, attrs);
init();
}
private void init() {
paint = new Paint();
paint.setColor(Color.RED);
paint.setStyle(Paint.Style.FILL);
}
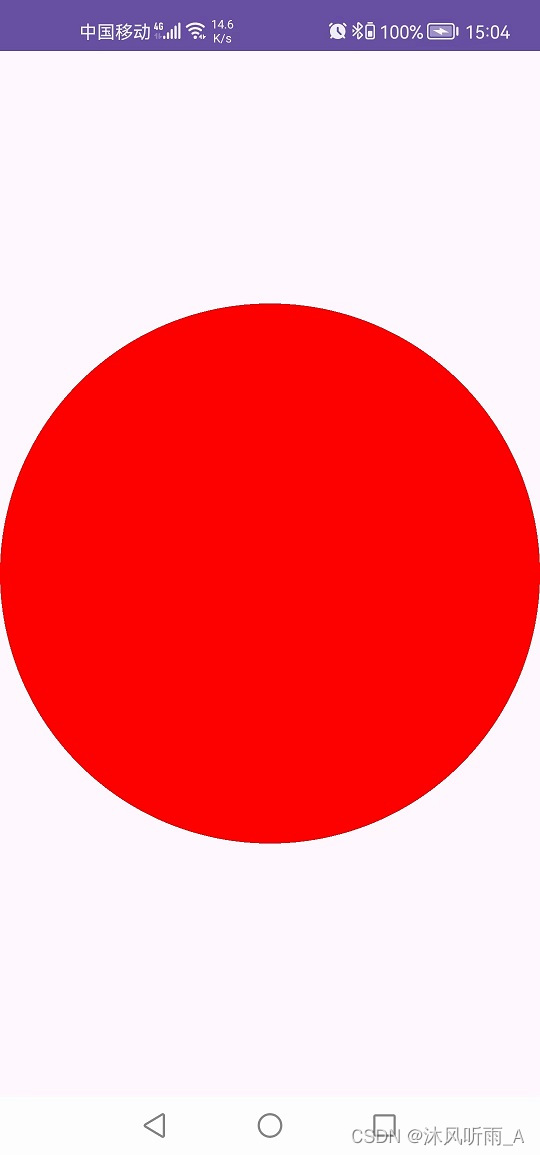
//onSizeChanged()方法获取屏幕的宽度和高度,并在 onDraw()方法中使用这些值绘制一个圆。
@Override
protected void onSizeChanged(int w, int h, int oldw, int oldh) {
super.onSizeChanged(w, h, oldw, oldh);
screenWidth = w;
screenHeight = h;
}
@Override
protected void onDraw(Canvas canvas) {
super.onDraw(canvas);
if (screenWidth > 0 && screenHeight > 0) {
canvas.drawCircle(screenWidth / 2f, screenHeight / 2f, Math.min(screenWidth, screenHeight) / 2f, paint);
}
}
}2、创建activity_main.xml文件,在xml中使用自定义View。
<?xml version="1.0" encoding="utf-8"?>
<RelativeLayout xmlns:android="http://schemas.android.com/apk/res/android"
    xmlns:app="http://schemas.android.com/apk/res-auto"
    xmlns:tools="http://schemas.android.com/tools"
    android:layout_width="match_parent"
    android:layout_height="match_parent"
    tools:context=".MainActivity">
    <!--使用 `<com.example.view.CustomView>` 标签引入自定义的 View,并设置它的宽度、高度和布局参数。-->
    <com.example.view.CustomView1
        android:layout_width="match_parent"
        android:layout_height="match_parent"
        android:layout_centerInParent="true" />

</RelativeLayout>
3、在MainActivity中,使用自定义View。
package com.example.view;
import androidx.appcompat.app.AppCompatActivity;
import android.os.Bundle;
import com.example.listview.R;
//AppCompatActivity是 Android Support 库提供的一个类,
//它使得应用程序可以在旧版本的 Android 上运行时,使用新版的 API。
public class MainActivity extends AppCompatActivity {
//`onCreate()` 方法是一个生命周期方法,在活动被创建时调用。
// 在这个方法中,首先调用了父类的 `onCreate()` 方法,以确保执行了父类的初始化操作,
// 然后通过 `setContentView()` 方法将活动的布局设置为 `activity_main.xml` 文件中定义的布局。
    @Override
    protected void onCreate(Bundle savedInstanceState) {
        super.onCreate(savedInstanceState);
       // setContentView()方法的参数是一个布局资源的引用,指定了当前活动所使用的布局。
        setContentView(R.layout.activity_main);

    }
}
4、运行结果如下:
5、使用自定义View做屏幕适配。
package com.example.myview;
import android.content.Context;
import android.graphics.Canvas;
import android.graphics.Color;
import android.graphics.Paint;
import android.view.View;
//自定义View可以根据屏幕的宽高来动态设置UI元素的大小和位置,实现屏幕适配。
//当应用在不同分辨率和尺寸的设备上运行时,UI元素会根据屏幕大小自动进行调整,从而适配不同的屏幕。
//使用自定义View.控制UI元素的大小和位置。
public class CustomView2 extends View {
// 构造方法
public CustomView2(Context context) {
super(context);
}
// 重写onDraw方法,在该方法中绘制UI元素
@Override
protected void onDraw(Canvas canvas) {
super.onDraw(canvas);
// 获取屏幕宽高
int screenWidth = getResources().getDisplayMetrics().widthPixels;
int screenHeight = getResources().getDisplayMetrics().heightPixels;
// 设置UI元素的大小和位置
int viewWidth = screenWidth / 2; // 设置View宽度为屏幕宽度的一半
int viewHeight = screenHeight / 4; // 设置View高度为屏幕高度的四分之一
int posX = screenWidth / 4; // 设置View水平位置为屏幕宽度的四分之一
int posY = screenHeight / 8; // 设置View垂直位置为屏幕高度的八分之一
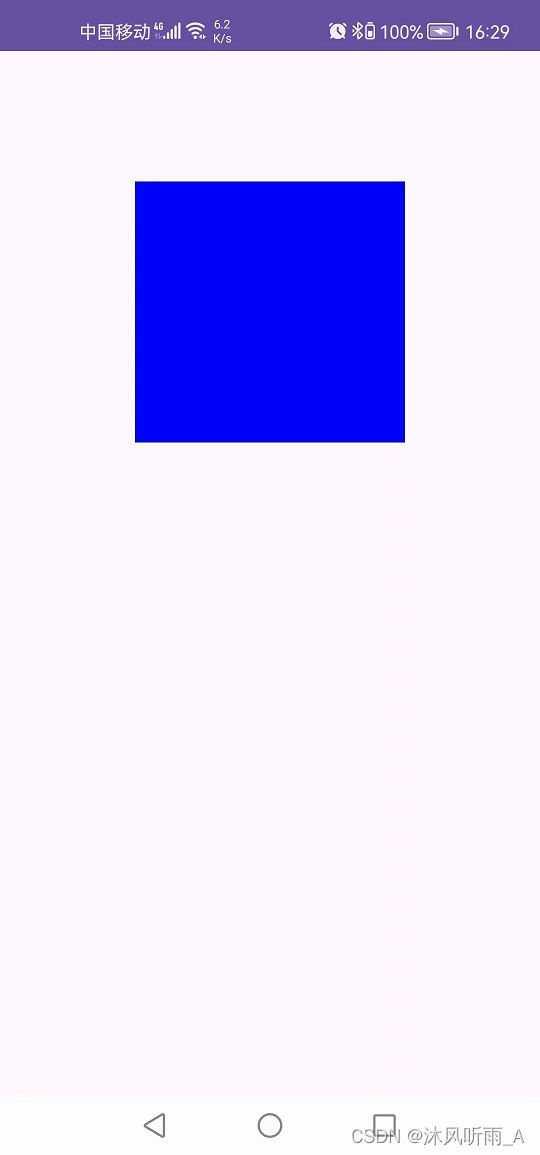
// 绘制一个矩形
Paint paint = new Paint();
paint.setColor(Color.BLUE);
canvas.drawRect(posX, posY, posX + viewWidth, posY + viewHeight, paint);
}
}6、在MainActivity中调用自定义View。
package com.example.myview;
import androidx.appcompat.app.AppCompatActivity;
import android.os.Bundle;
//AppCompatActivity是 Android Support 库提供的一个类,
//它使得应用程序可以在旧版本的 Android 上运行时,使用新版的 API。
public class MainActivity extends AppCompatActivity {
//onCreate()方法是一个生命周期方法,在活动被创建时调用。
// 在这个方法中,首先调用了父类的 onCreate()方法,以确保执行了父类的初始化操作,
// 然后通过 setContentView() 方法将活动的布局设置为 activity_main.xml文件中定义的布局。
    @Override
    protected void onCreate(Bundle savedInstanceState) {
        super.onCreate(savedInstanceState);
        // 创建自定义View实例
         CustomView2 customView2 = new CustomView2(this);
        // 将自定义View添加到布局中
         setContentView(customView2);
    }
}
7、运行结果如下:


 261
261


 被折叠的 条评论
为什么被折叠?
被折叠的 条评论
为什么被折叠?
 到【灌水乐园】发言


