


发送到谷歌邮箱的邮件在哪找
Have you ever needed to send an email out to a group of people and wanted to personalize the greeting for each person? Oh, and you didn’t want to have to individually send out the same email over and over?
您是否曾经需要向一群人发送电子邮件并想为每个人个性化问候? 哦,您不想一遍又一遍地单独发送同一封电子邮件吗?
Yeah, me too. I think a lot of people have found themselves copying the same email over and over and sending it out to a long list of recipients.
我也是。 我认为很多人发现自己一遍又一遍地复制同一封电子邮件,并将其发送给一长串收件人。
Thankfully, there is a solution.
值得庆幸的是,有一个解决方案。
Google has made it undeniably easy for users like you and me to jump into their tools and create custom functionality. One of my favorite tools to build on is Google Sheets.
Google无疑使您和我这样的用户轻松进入他们的工具并创建自定义功能。 我最喜欢的构建工具之一是Google表格。
If you’re familiar at all with Google Sheets (Google’s version of a spreadsheet app), you know that it’s already pretty powerful out of the box. But with a little magic (aka Apps Script), you can take the tool’s inherent functionality even further.
如果您完全熟悉Google表格(Google的电子表格应用程序的版本),则知道它已经非常强大。 但是,有了一点魔术(又名Apps脚本 ),您就可以进一步利用该工具的固有功能。
创建并设置您的Google表格 (Create and Set Up Your Google Sheet)
With Google’s Apps Script, we can quickly and easily connect Google Sheets to Gmail. Let’s start by creating a new spreadsheet. We’ll keep it simple for this example and add these five column headers to our sheet:
借助Google的Apps脚本,我们可以快速轻松地将Google表格连接到Gmail。 让我们从创建一个新的电子表格开始。 对于本示例,我们将使其保持简单,并将这五个列标题添加到工作表中:
- Name 名称
- Email 电子邮件
- Subject 学科
- Message 信息
- Status 状态
Your sheet should look something like this:
您的工作表应如下所示:
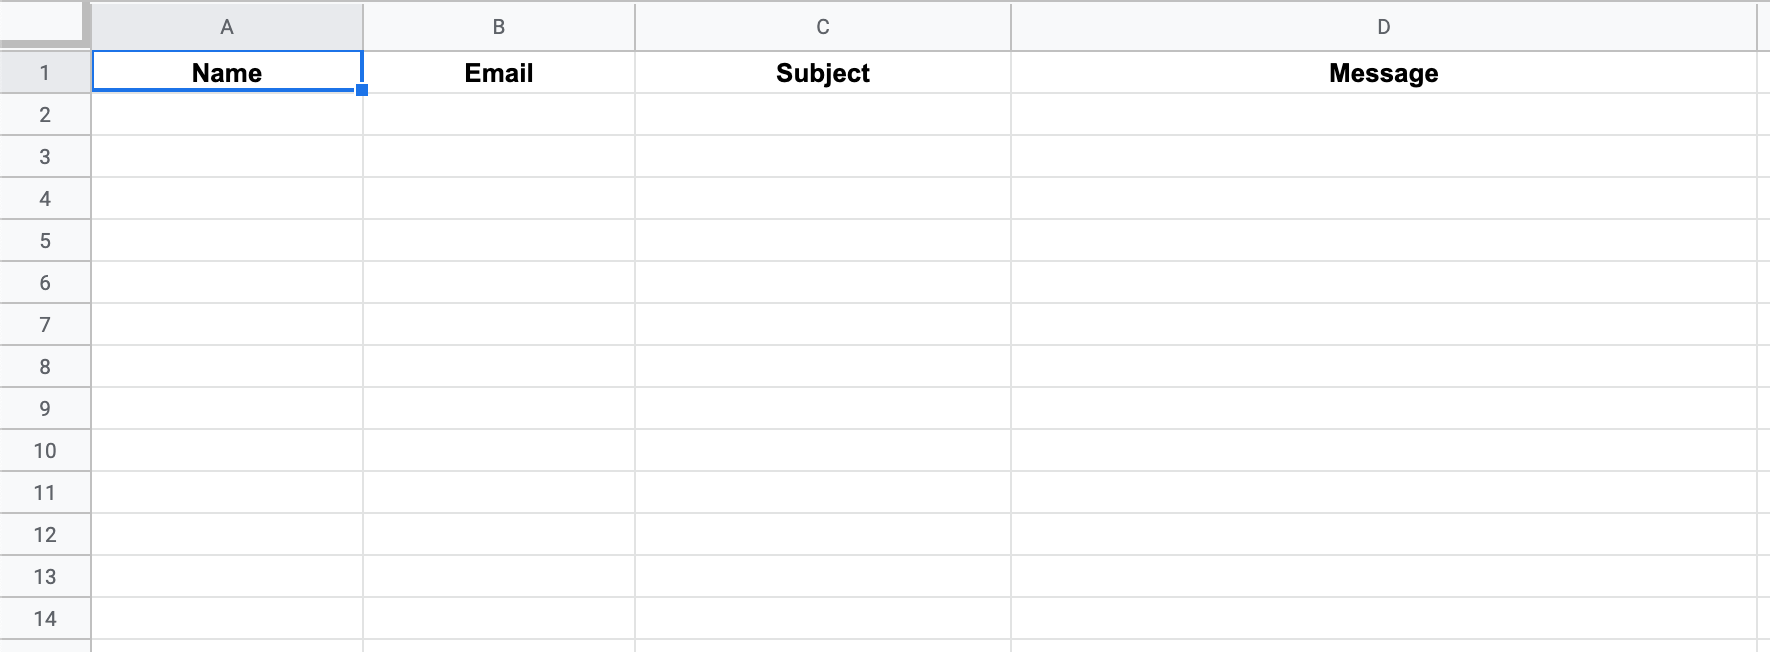
Normally at this point, we would go ahead and add in the people we would like to email. But to get you started, go ahead and add your own name and email, and then fill out the subject and message.
通常,在这一点上,我们会继续添加我们要发送电子邮件的人员。 但是要开始使用,请继续并添加您自己的姓名和电子邮件,然后填写主题和消息。
创建您的应用脚本文件 (Create Your Apps Script File)
Now you’re ready to set up some of that magic we talked about earlier.
现在您已经准备好设置我们之前讨论的一些魔术。
Navigate to the top of your sheet and select Tools → Script editor:
导航到工作表顶部,然后选择工具→脚本编辑器:

This will open a new tab for you. Go ahead and give that file a name and hit the save button.
这将为您打开一个新标签。 继续给该文件命名,然后点击保存按钮。
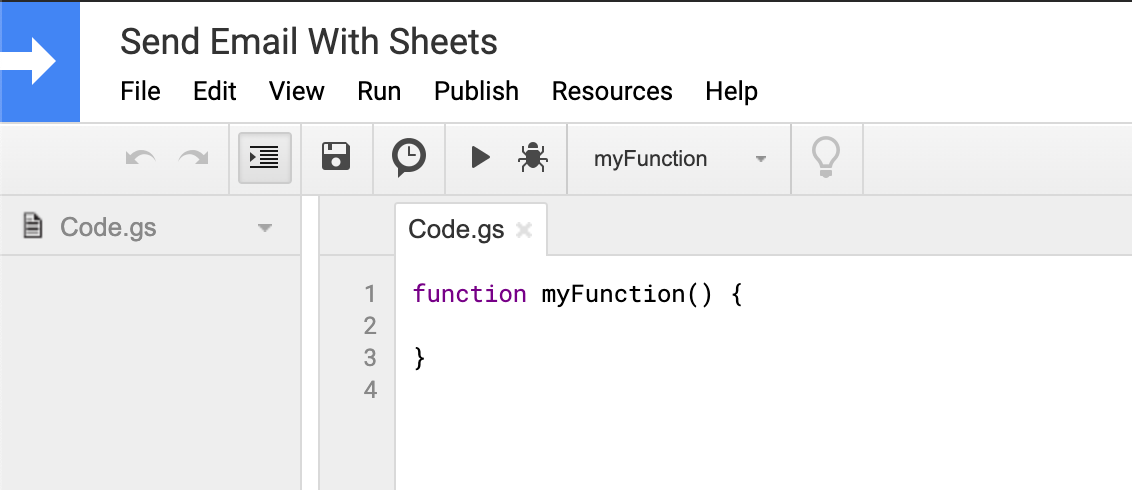
You’ll notice that Google has already set us up with a nice function block to work with. We’ll use this to write the function that will allow us to send emails through Google Sheets.
您会注意到,谷歌已经为我们设置了一个不错的功能块。 我们将使用它来编写函数,该函数将使我们能够通过Google表格发送电子邮件。
Note: Before we jump in, let’s talk through what our script will do → 1. Connect to our sheet and establish the range of our data, 2. Loop through each email/contact and send an email to each, and 3. Update the status of each email/contact to “Sent” when an email is sent.
注意:在我们进入之前,让我们先讨论一下脚本的功能→1.连接到工作表并建立数据范围,2.遍历每封电子邮件/联系人并向每封电子邮件发送电子邮件,并3.更新发送电子邮件时,每个电子邮件/联系人的状态为“已发送”。
第1步 (STEP 1)
The first thing we need to do is create a few variables to connect our sheet and hold the data we will use in our emails. You can add the following into your function block:
我们需要做的第一件事是创建一些变量以连接工作表并保存将在电子邮件中使用的数据。 您可以将以下内容添加到功能块中:
// Connect your script to your sheet
var sheet = SpreadsheetApp.getActiveSheet();// First row of data to process (start your count at 1)
var startRow = 2;// Gets the last row of data
var lr = sheet.getLastRow();

// Fetch the range of cells A3:B(lr)
var dataRange = sheet.getRange(startRow, 1, lr-1, 5);

// Fetch values for each row in the Range
var data = dataRange.getValues();
I’ve left some comments so you can see what we’re storing in each variable. If your sheet is set up like mine (reference the image above), you shouldn’t need to change any of the code. At this point, our function is able to connect to our sheet and grab the data that we’ll need to send out emails.
我留下了一些评论,以便您可以看到我们在每个变量中存储的内容。 如果您的工作表像我的一样设置(请参考上图),则无需更改任何代码。 此时,我们的功能可以连接到工作表并获取发送电子邮件所需的数据。
步骤2和3 (STEPS 2 and 3)
Our next step is to set up a loop that will iterate through our contacts and send out emails!
我们的下一步是建立一个循环,循环访问我们的联系人并发送电子邮件!
Copy this code and paste it inside of your function below the data variable that we created in Step 1:
复制此代码并将其粘贴到我们在步骤1中创建的data变量下方的函数内:
For each row of data in your sheet, this for loop:
对于工作表中的每一行数据,此for循环:
- Fetches the data we stored in our variables. 获取我们存储在变量中的数据。
- Validates that the address is actually an email. 验证该地址实际上是一封电子邮件。
- Sends a personalized email. 发送个性化电子邮件。
Updates the status to Sent.
将状态更新为已发送。
It’s that easy!
就这么简单!
Now that you’ve got everything set up, your function should look like this:
现在您已完成所有设置,您的函数应如下所示:
这仅仅是开始 (This Is Just the Beginning)
You could take this in so many directions. I encourage you to check out Google’s documentation on Apps Script for Spreadsheet and Gmail.
您可以沿许多方向进行操作。 我鼓励您查看有关电子表格和Gmail的 Apps脚本的Google文档。
Here are some cool feature ideas for you to explore:
以下是一些很棒的功能构想供您探索:
- Custom greeting 自定义问候语
- Custom signature 自定义签名
- File attachments 文件附件
- Templates (using your Gmail drafts or canned responses) 模板(使用您的Gmail草稿或罐头回复)
- Track bounced emails 跟踪退回的电子邮件
Get creative and let me know what you come up with!
发挥创意,让我知道您的想法!
发送到谷歌邮箱的邮件在哪找


 14
14

 被折叠的 条评论
为什么被折叠?
被折叠的 条评论
为什么被折叠?
 到【灌水乐园】发言


