


愿你出走半生,归来仍是少年!
三维场景中常用的地表模型包含倾斜摄影,通过CC处理出来的倾斜摄影是一个通过文件夹进行分块的,然后通过元数据记录了其空间位置信息(原点)。
本文通过解析metadata.xml文件后进行多块情况的批量加载。
1.倾斜数据解读
一般来说包含一个data文件夹和一个metadata.xml文件。
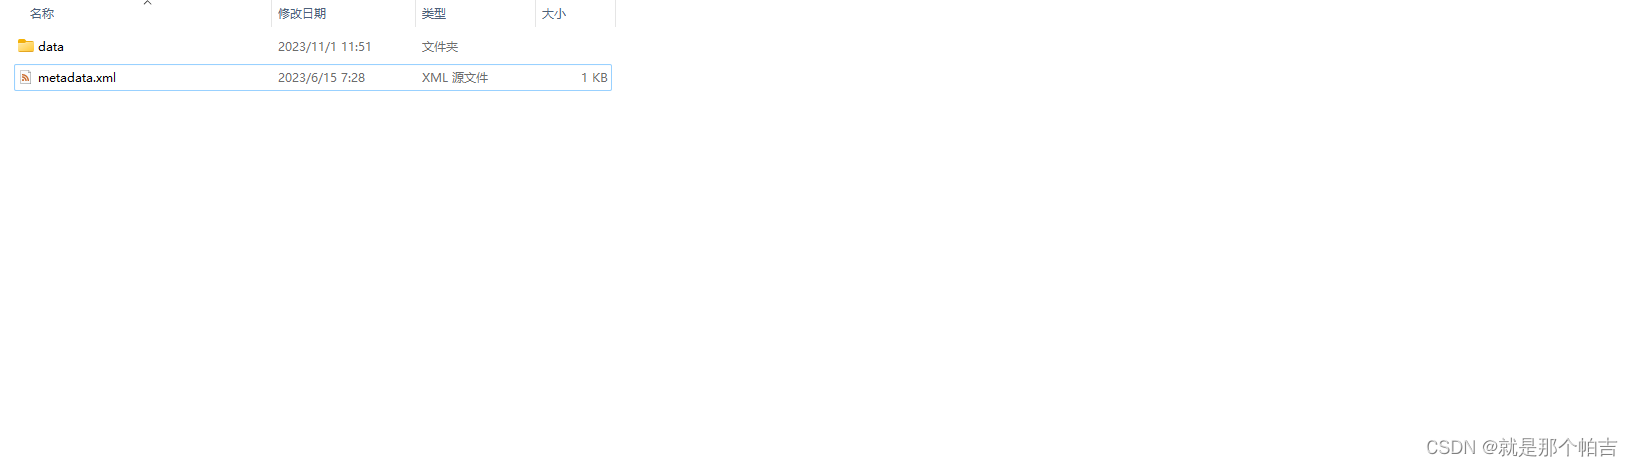
在metadata.xml中包含了坐标系定义以及原点信息。
<?xml version="1.0" encoding="utf-8"?>
<ModelMetadata version="1">
	<!--Spatial Reference System-->
	<SRS>EPSG:4523</SRS>
	<!--Origin in Spatial Reference System-->
	<SRSOrigin>35413650,3392689,0</SRSOrigin>
	<Texture>
		<ColorSource>Visible</ColorSource>
	</Texture>
</ModelMetadata>
其中SRS节点代表坐标系,SRSOrigin代表原点。通过tinyxml2库可进行解析获取坐标。
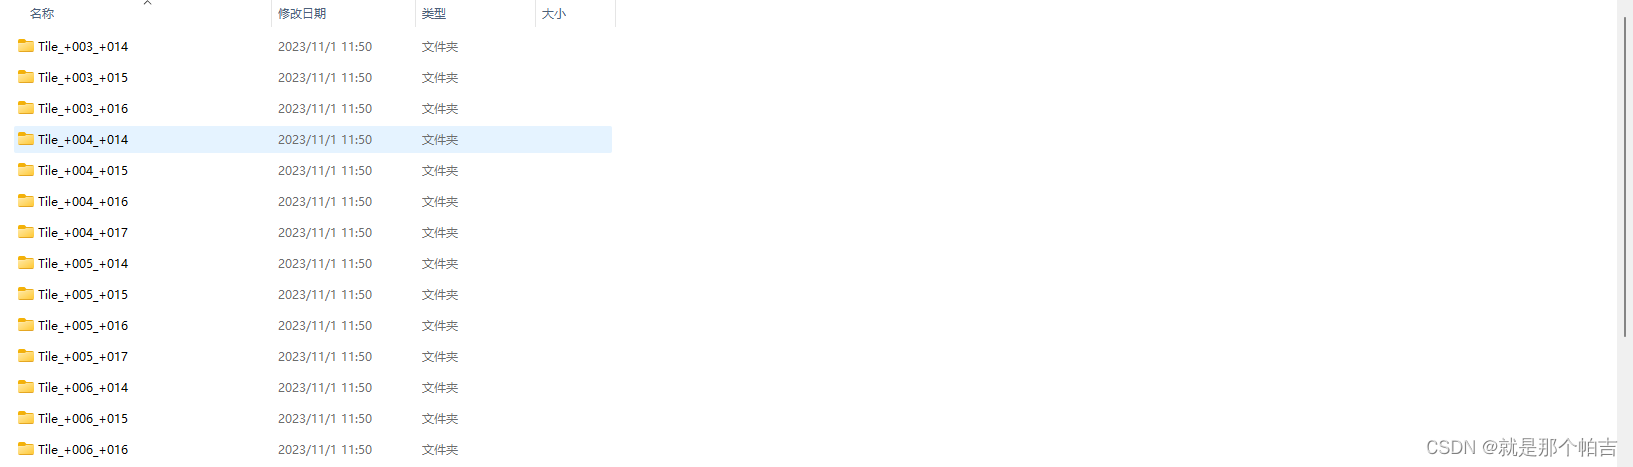
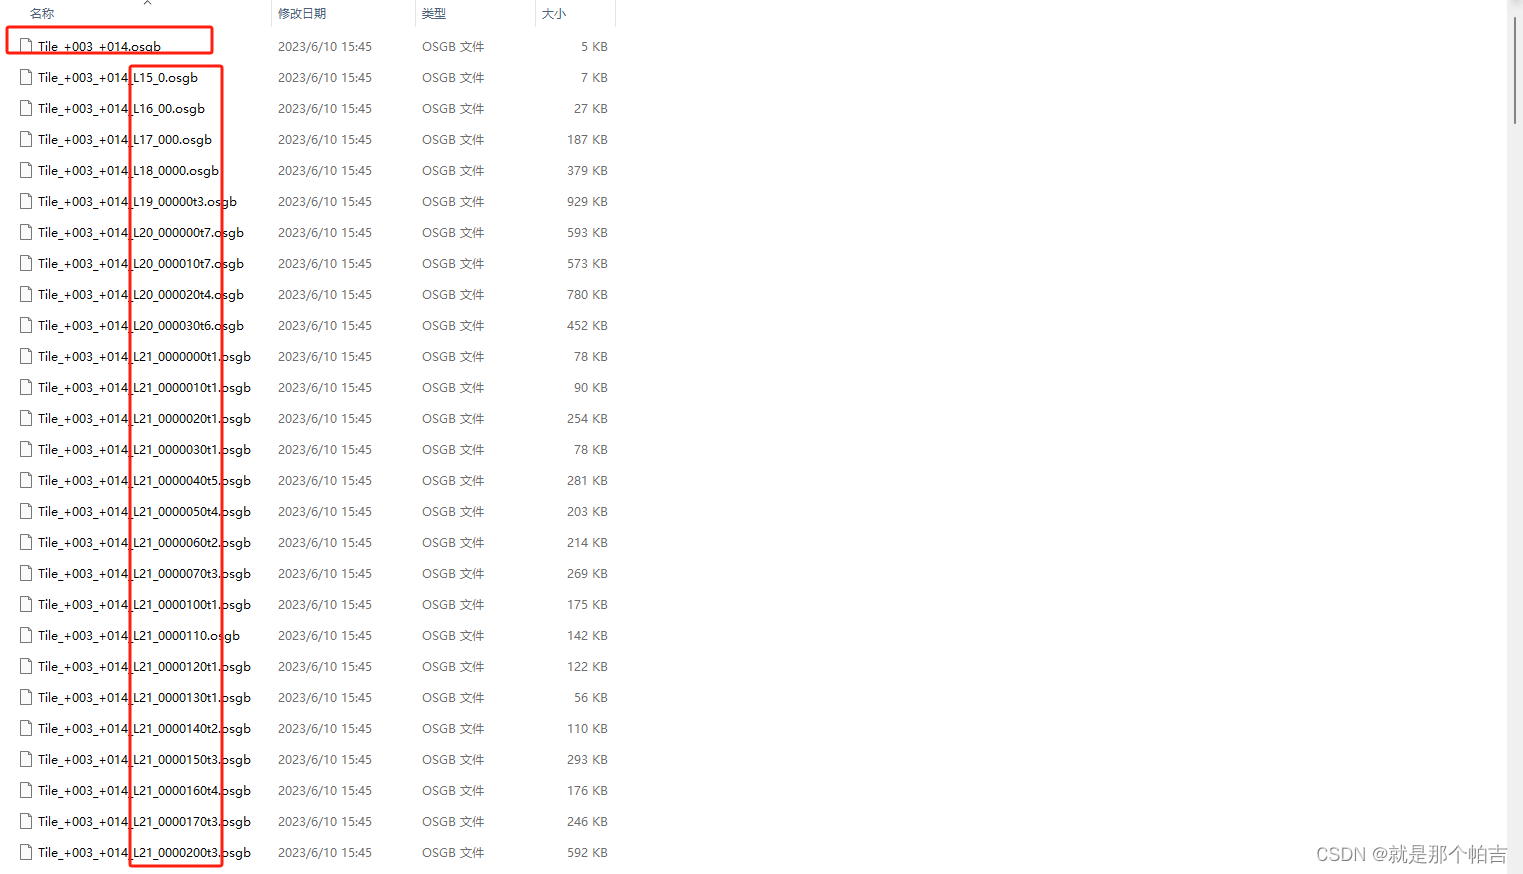
在data文件夹中包含若干子文件夹,都是一块一块的倾斜数据。每个文件夹中有一个和文件夹同名的osgb文件,它是最顶级的节点。然后其他的是不同层级下的节点。
2.代码
2.1.Metadata.xml解析
通过tinyxml2库进行xml解析,并将对应的数据转换为我们需要的osg对象。
通过xml中的Srs我们构建出了osgEarth::SpatialReference对象作为原始数据的坐标参照。
通过xml中的SRSOriginin我们构建出了osgEarth::GeoPoint作为模型位置。
string parentDicPath = FileUtility::getParentDic(dataFolderPath);

string  metaPath = parentDicPath + "/metadata.xml";

if (FileUtility::exist(metaPath))
{
tinyxml2::XMLDocument doc;

tinyxml2::XMLError error = doc.LoadFile(metaPath.c_str());

if (error != tinyxml2::XML_SUCCESS) {


	throw  "读取 xml 失败";

	return NULL;
}

auto xmlRoot = doc.RootElement();

auto srsElement = xmlRoot->FirstChildElement("SRS");

string srsValue = srsElement->GetText();

boost::to_upper(srsValue);

boost::replace_all(srsValue, "EPSG:", "");

int srsId = std::stoi(srsValue);

osgEarth::SpatialReference* srs = Cv::SrsSource::getSrs(srsId);

auto srsOriginElement = xmlRoot->FirstChildElement("SRSOrigin");

string srsOriginValue = srsOriginElement->GetText();

std::vector<std::string> xyz;

boost::split(xyz, srsOriginValue, boost::is_any_of(","), boost::token_compress_on);

double x = std::stod(xyz[0]);

double y = std::stod(xyz[1]);

double z = std::stod(xyz[2]);

osgEarth::GeoPoint position(srs, x, y, 30);

auto pos4326 = position.transform(SpatialReference::get("wgs84"));
}
2.2.ModelLayer创建
通过遍历data文件夹下的子文件夹,将osgb文件一个一个的加载进来。
需要注意的是,我们建立的ModelLayer不是用过SetURL方法加载的模型数据,而是通过了SetNode方法区加载的一个GeoTransform节点。通过这个节点区包含了所以的子节点。同时通过了osgEarth::Registry::shaderGenerator().run(node)增加了着色渲染器。
同时给modelLayer添加了位置方便定位使用。
auto childOsgbFolders = FileUtility::getChildFolders(std::filesystem::path(dataFolderPath));


osg::ref_ptr<osgEarth::GeoTransform> xform = new osgEarth::GeoTransform();

for (size_t i = 0; i < childOsgbFolders.size(); i++)
{
	auto folder = childOsgbFolders[i];


	auto osgbPath = folder.string() + "/" + folder.filename().string() + ".osgb";

	bool exist = FileUtility::exist(osgbPath);


	auto node = osgDB::readNodeFile(osgbPath);


	osgEarth::Registry::shaderGenerator().run(node);

	xform->addChild(node);


}

xform->setPosition(pos4326);


ref_ptr<osgEarth::ModelLayer> modelLayer = new osgEarth::ModelLayer();


modelLayer->setLocation(pos4326);

modelLayer->setNode(xform);

modelLayer->setName("倾斜摄影");
2.3.加载
通过map的addlayer将图层加载进入地球进行了。
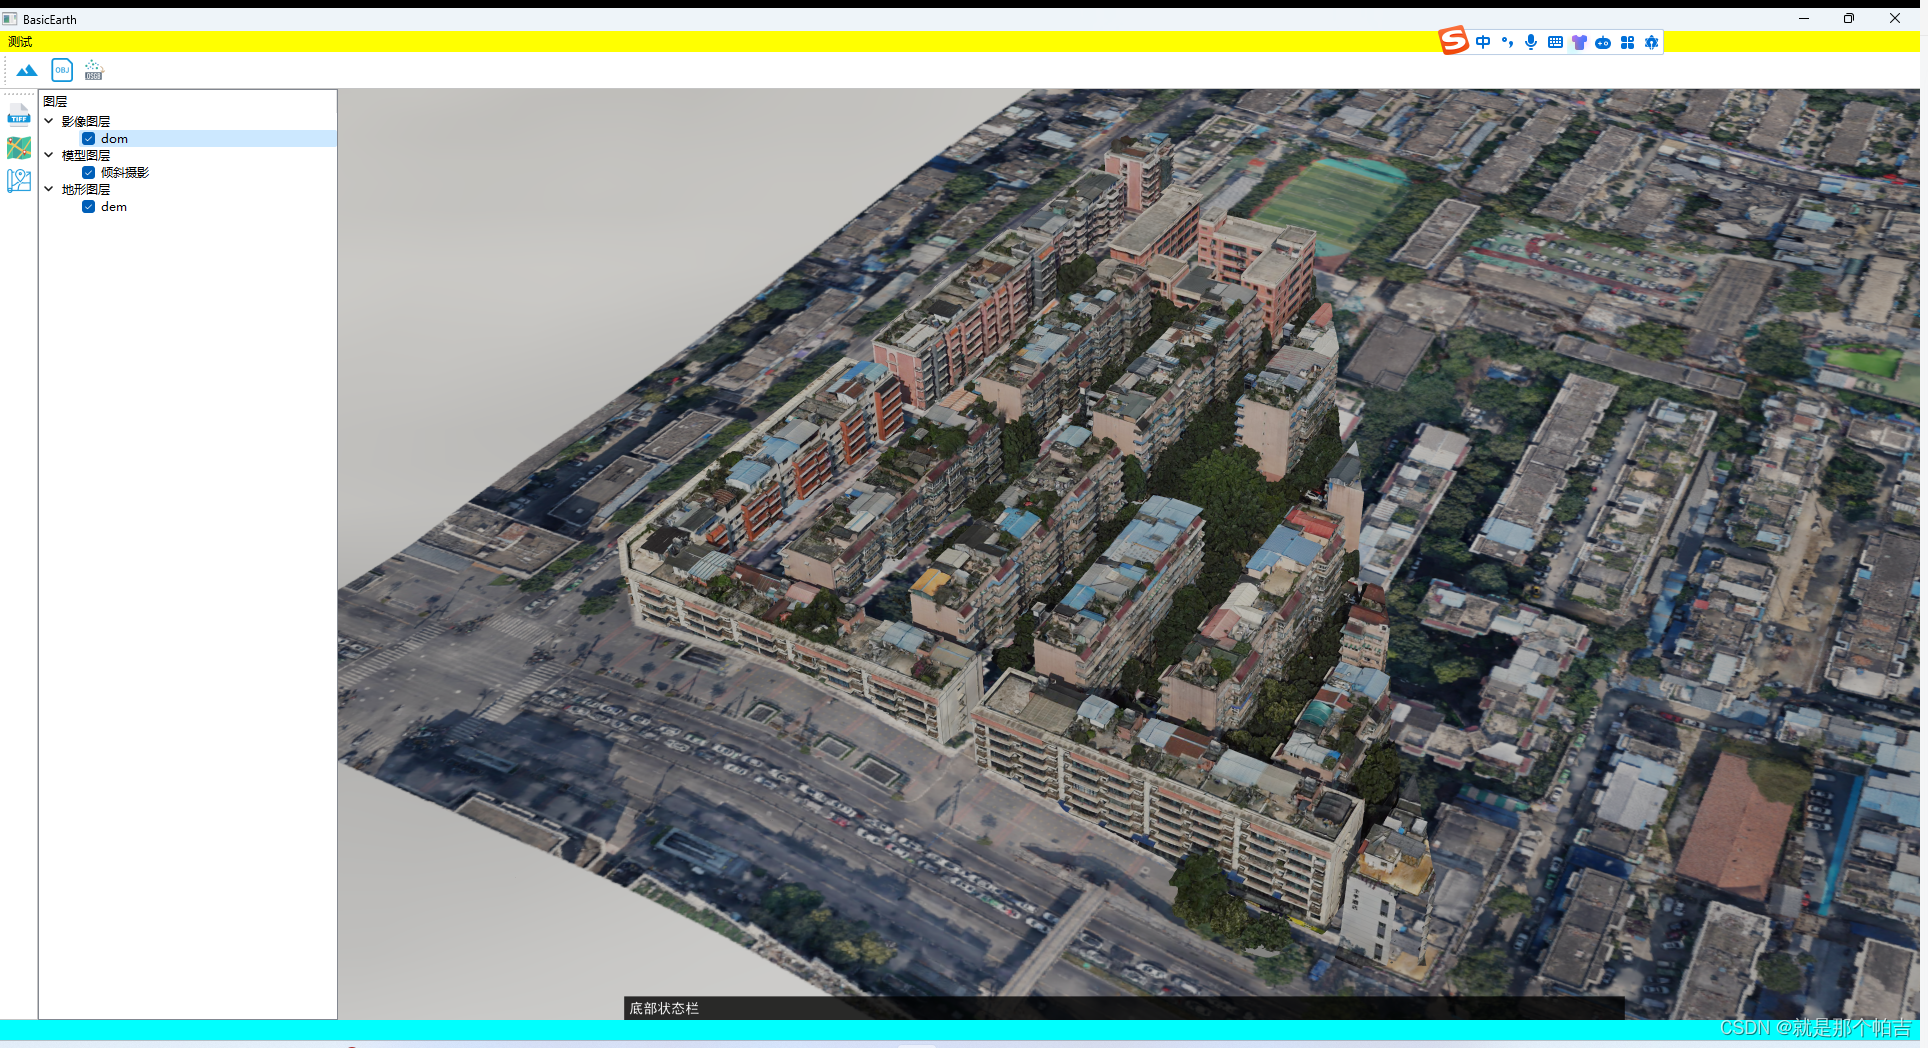
3.效果


 877
877


 被折叠的 条评论
为什么被折叠?
被折叠的 条评论
为什么被折叠?
 到【灌水乐园】发言


