


目录
0 背景
系统平台:
- Ubuntu 18.04,ROS系统
计算资源:
- 一个i5 CPU
计算量:
- 4个摄像头需要开展目标检测,每个摄像头每秒10帧以上。
技术路线:
- 常规的yolo4-tiny或yolo5s速度都还不够,调研发现一个Nanodet超轻量目标检测算法,在coco数据集上其mAP和yolo4-tiny相当,但是其速度提升了300%!
nanodet目标检测算法的性能如下:
| Model | Resolution | COCO mAP | Latency(ARM 4 Threads) | FLOPS | Params | Model Size |
|---|---|---|---|---|---|---|
| NanoDet-m | 320*320 | 20.6 | 10.23ms | 0.72G | 0.95M | 1.8MB(FP16) | 980KB(INT8) |
| NanoDet-m | 416*416 | 23.5 | 16.44ms | 1.2G | 0.95M | 1.8MB(FP16) | 980KB(INT8) |
| NanoDet-m-1.5x | 320*320 | 23.5 | 13.53ms | 1.44G | 2.08M | 3.9MB(FP16) | 2MB(INT8) |
| NanoDet-m-1.5x | 416*416 | 26.8 | 21.53ms | 2.42G | 2.08M | 3.9MB(FP16) | 2MB(INT8) |
| NanoDet-g | 416*416 | 22.9 | Not Designed For ARM | 4.2G | 3.81M | 7.7MB(FP16) | 3.6MB(INT8) |
| YoloV3-Tiny | 416*416 | 16.6 | 37.6ms | 5.62G | 8.86M | 33.7MB |
| YoloV4-Tiny | 416*416 | 21.7 | 32.81ms | 6.96G | 6.06M | 23.0MB |
本人的实测效果:
笔记本 i7(8th) ,模型NanoDet-m 320*320
- pytorch版单帧图像推理:0.05秒左右。
- openvino单帧推理速度:0.006秒左右(for 100次的平均值),提升近10倍,约166~200帧/s。
- openvino推理4750帧1920*1080的avi视频,带bbox绘制和可视化输出,约70秒跑完,能实现约每秒70帧速度!
接下来讲一讲怎么在ROS里部署openvino版nanodet:
1 环境搭建
建议安装OpenVINO 2021.4 LTS 版本(2020.4版在onnx转IR时,代码会遇到问题)。
安装方法:《ubuntu + oepncv + PCL + realsenseSDK + ROS + OpenVino开发环境搭建》
2 先熟悉OpenVINO版nanodet的流程
建议先在nanodet的GitHub官网去下载源码,并按照里面的教程尝试跑通openvino版nanodet的整个流程。
3 在ROS里部署openvino版nanodet的流程
流程参考:ROS系统中从零开始部署YoloV4目标检测算法(3种方式)
友情提醒:openvino安装时会自动在自身路径内嵌入安装一个最新版OpenCV,需要修改ROS系统中cv_bridge模块的OpenCV路径为openvino安装位置里面那个OpenCV路径,具体原因这里就不说了。
4 源码
我创建的package程序结构如下:
- ①main.cpp(自己的程序,改造于nanodet中main.cpp)
- ②nanodet_openvino.h(nanodet项目中源码)
- ③nanodet_openvino.cpp(nanodet项目中源码)
- ④CMakeLists.txt
- ⑤package.xml
4.1 main.cpp内容
#include <ros/ros.h>
#include <cv_bridge/cv_bridge.h>

#include "nanodet_openvino.h"

#include <opencv2/highgui/highgui.hpp>


using namespace std;


#include "std_msgs/Int8.h"
#include "std_msgs/String.h"

ros::Publisher pub;

auto detector = NanoDet("/home/ym/dream2021/xidiji/catkin_ym/src/nanodet_pkg/2nanodet.xml");


struct object_rect {
    int x;
    int y;
    int width;
    int height;
};

int resize_uniform(cv::Mat& src, cv::Mat& dst, cv::Size dst_size, object_rect& effect_area)
{
    int w = src.cols;
    int h = src.rows;
    int dst_w = dst_size.width;
    int dst_h = dst_size.height;
    //std::cout << "src: (" << h << ", " << w << ")" << std::endl;
    dst = cv::Mat(cv::Size(dst_w, dst_h), CV_8UC3, cv::Scalar(0));

    float ratio_src = w * 1.0 / h;
    float ratio_dst = dst_w * 1.0 / dst_h;

    int tmp_w = 0;
    int tmp_h = 0;
    if (ratio_src > ratio_dst) {
        tmp_w = dst_w;
        tmp_h = floor((dst_w * 1.0 / w) * h);
    }
    else if (ratio_src < ratio_dst) {
        tmp_h = dst_h;
        tmp_w = floor((dst_h * 1.0 / h) * w);
    }
    else {
        cv::resize(src, dst, dst_size);
        effect_area.x = 0;
        effect_area.y = 0;
        effect_area.width = dst_w;
        effect_area.height = dst_h;
        return 0;
    }

    //std::cout << "tmp: (" << tmp_h << ", " << tmp_w << ")" << std::endl;
    cv::Mat tmp;
    cv::resize(src, tmp, cv::Size(tmp_w, tmp_h));

    if (tmp_w != dst_w) {
        int index_w = floor((dst_w - tmp_w) / 2.0);
        //std::cout << "index_w: " << index_w << std::endl;
        for (int i = 0; i < dst_h; i++) {
            memcpy(dst.data + i * dst_w * 3 + index_w * 3, tmp.data + i * tmp_w * 3, tmp_w * 3);
        }
        effect_area.x = index_w;
        effect_area.y = 0;
        effect_area.width = tmp_w;
        effect_area.height = tmp_h;
    }
    else if (tmp_h != dst_h) {
        int index_h = floor((dst_h - tmp_h) / 2.0);
        //std::cout << "index_h: " << index_h << std::endl;
        memcpy(dst.data + index_h * dst_w * 3, tmp.data, tmp_w * tmp_h * 3);
        effect_area.x = 0;
        effect_area.y = index_h;
        effect_area.width = tmp_w;
        effect_area.height = tmp_h;
    }
    else {
        printf("error\n");
    }
    //cv::imshow("dst", dst);
    //cv::waitKey(0);
    return 0;
}

const int color_list[80][3] =
{
    //{255 ,255 ,255}, //bg
    {216 , 82 , 24},
    {236 ,176 , 31},
    {125 , 46 ,141},
    {118 ,171 , 47},
    { 76 ,189 ,237},
    {238 , 19 , 46},
    { 76 , 76 , 76},
    {153 ,153 ,153},
    {255 ,  0 ,  0},
    {255 ,127 ,  0},
    {190 ,190 ,  0},
    {  0 ,255 ,  0},
    {  0 ,  0 ,255},
    {170 ,  0 ,255},
    { 84 , 84 ,  0},
    { 84 ,170 ,  0},
    { 84 ,255 ,  0},
    {170 , 84 ,  0},
    {170 ,170 ,  0},
    {170 ,255 ,  0},
    {255 , 84 ,  0},
    {255 ,170 ,  0},
    {255 ,255 ,  0},
    {  0 , 84 ,127},
    {  0 ,170 ,127},
    {  0 ,255 ,127},
    { 84 ,  0 ,127},
    { 84 , 84 ,127},
    { 84 ,170 ,127},
    { 84 ,255 ,127},
    {170 ,  0 ,127},
    {170 , 84 ,127},
    {170 ,170 ,127},
    {170 ,255 ,127},
    {255 ,  0 ,127},
    {255 , 84 ,127},
    {255 ,170 ,127},
    {255 ,255 ,127},
    {  0 , 84 ,255},
    {  0 ,170 ,255},
    {  0 ,255 ,255},
    { 84 ,  0 ,255},
    { 84 , 84 ,255},
    { 84 ,170 ,255},
    { 84 ,255 ,255},
    {170 ,  0 ,255},
    {170 , 84 ,255},
    {170 ,170 ,255},
    {170 ,255 ,255},
    {255 ,  0 ,255},
    {255 , 84 ,255},
    {255 ,170 ,255},
    { 42 ,  0 ,  0},
    { 84 ,  0 ,  0},
    {127 ,  0 ,  0},
    {170 ,  0 ,  0},
    {212 ,  0 ,  0},
    {255 ,  0 ,  0},
    {  0 , 42 ,  0},
    {  0 , 84 ,  0},
    {  0 ,127 ,  0},
    {  0 ,170 ,  0},
    {  0 ,212 ,  0},
    {  0 ,255 ,  0},
    {  0 ,  0 , 42},
    {  0 ,  0 , 84},
    {  0 ,  0 ,127},
    {  0 ,  0 ,170},
    {  0 ,  0 ,212},
    {  0 ,  0 ,255},
    {  0 ,  0 ,  0},
    { 36 , 36 , 36},
    { 72 , 72 , 72},
    {109 ,109 ,109},
    {145 ,145 ,145},
    {182 ,182 ,182},
    {218 ,218 ,218},
    {  0 ,113 ,188},
    { 80 ,182 ,188},
    {127 ,127 ,  0},
};

void draw_bboxes(const cv::Mat& bgr, const std::vector<BoxInfo>& bboxes, object_rect effect_roi)
{
    static const char* class_names[] = { "person", "bicycle", "car", "motorcycle", "airplane", "bus",
                                        "train", "truck", "boat", "traffic light", "fire hydrant",
                                        "stop sign", "parking meter", "bench", "bird", "cat", "dog",
                                        "horse", "sheep", "cow", "elephant", "bear", "zebra", "giraffe",
                                        "backpack", "umbrella", "handbag", "tie", "suitcase", "frisbee",
                                        "skis", "snowboard", "sports ball", "kite", "baseball bat",
                                        "baseball glove", "skateboard", "surfboard", "tennis racket",
                                        "bottle", "wine glass", "cup", "fork", "knife", "spoon", "bowl",
                                        "banana", "apple", "sandwich", "orange", "broccoli", "carrot",
                                        "hot dog", "pizza", "donut", "cake", "chair", "couch",
                                        "potted plant", "bed", "dining table", "toilet", "tv", "laptop",
                                        "mouse", "remote", "keyboard", "cell phone", "microwave", "oven",
                                        "toaster", "sink", "refrigerator", "book", "clock", "vase",
                                        "scissors", "teddy bear", "hair drier", "toothbrush"
    };

    cv::Mat image = bgr.clone();
    int src_w = image.cols;
    int src_h = image.rows;
    int dst_w = effect_roi.width;
    int dst_h = effect_roi.height;
    float width_ratio = (float)src_w / (float)dst_w;
    float height_ratio = (float)src_h / (float)dst_h;


    for (size_t i = 0; i < bboxes.size(); i++)
    {
        const BoxInfo& bbox = bboxes[i];
        cv::Scalar color = cv::Scalar(color_list[bbox.label][0], color_list[bbox.label][1], color_list[bbox.label][2]);
        //fprintf(stderr, "%d = %.5f at %.2f %.2f %.2f %.2f\n", bbox.label, bbox.score,
        //    bbox.x1, bbox.y1, bbox.x2, bbox.y2);

        cv::rectangle(image, cv::Rect(cv::Point((bbox.x1 - effect_roi.x) * width_ratio, (bbox.y1 - effect_roi.y) * height_ratio),
                                      cv::Point((bbox.x2 - effect_roi.x) * width_ratio, (bbox.y2 - effect_roi.y) * height_ratio)), color);

        char text[256];
        sprintf(text, "%s %.1f%%", class_names[bbox.label], bbox.score * 100);

        int baseLine = 0;
        cv::Size label_size = cv::getTextSize(text, cv::FONT_HERSHEY_SIMPLEX, 0.4, 1, &baseLine);

        int x = (bbox.x1 - effect_roi.x) * width_ratio;
        int y = (bbox.y1 - effect_roi.y) * height_ratio - label_size.height - baseLine;
        if (y < 0)
            y = 0;
        if (x + label_size.width > image.cols)
            x = image.cols - label_size.width;

        cv::rectangle(image, cv::Rect(cv::Point(x, y), cv::Size(label_size.width, label_size.height + baseLine)),
            color, -1);

        cv::putText(image, text, cv::Point(x, y + label_size.height),
            cv::FONT_HERSHEY_SIMPLEX, 0.4, cv::Scalar(255, 255, 255));
    }

    cv::imshow("image", image);
}


void imageCallback(const sensor_msgs::ImageConstPtr &msg)
{
    cv::Mat img;
    cv_bridge::CvImageConstPtr cv_ptr;
    cv_ptr = cv_bridge::toCvShare(msg, "bgr8");
    img = cv_ptr->image;


    object_rect effect_roi;
    cv::Mat resized_img;
    resize_uniform(img, resized_img, cv::Size(320, 320), effect_roi);
    auto results = detector.detect(resized_img, 0.4, 0.5);
    draw_bboxes(img, results, effect_roi);
    cv::waitKey(10);
}


int main(int argc, char **argv)
{
    //创建node第一步需要用到的函数
    ros::init(argc, argv, "nanodet_m"); //第3个参数为本节点名,

    //ros::NodeHandle : 和topic、service、param等交互的公共接口
    //创建ros::NodeHandle对象,也就是节点的句柄,它可以用来创建Publisher、Subscriber以及做其他事情。
    //句柄(Handle)这个概念可以理解为一个“把手”,你握住了门把手,就可以很容易把整扇门拉开,而不必关心门是
    //什么样子。NodeHandle就是对节点资源的描述,有了它你就可以操作这个节点了,比如为程序提供服务、监听某个topic上的消息、访问和修改param等等。
    ros::NodeHandle nd; //实例化句柄,初始化node


    // Create a ROS subscriber for the input point cloud
    //ros::Subscriber sub = nd.subscribe("/camera1/depth/color/points", 1, pclCloudCallback);
    ros::Subscriber sub = nd.subscribe("/camera/color/image_raw", 1, imageCallback);

    std::cout << "sub:" << sub << std::endl;

    // Create a ROS publisher for the output point cloud
    pub = nd.advertise<std_msgs::String>("nanodet_out", 1);

    ros::spin();

    return 0;
}
4.2 CMakeLists.txt
cmake_minimum_required(VERSION 3.0.2)
project(nanodet_pkg)

# Compile as C++11, supported in ROS Kinetic and newer
add_compile_options(-std=c++11)

## Find catkin macros and libraries
## if COMPONENTS list like find_package(catkin REQUIRED COMPONENTS xyz)
## is used, also find other catkin packages
find_package(catkin REQUIRED COMPONENTS
  roscpp
  rospy
  std_msgs
  cv_bridge
)

find_package(InferenceEngine REQUIRED)
find_package(ngraph REQUIRED)


catkin_package(
#  INCLUDE_DIRS include
#  LIBRARIES julei_pkg
#  CATKIN_DEPENDS roscpp rospy std_msgs
#  DEPENDS system_lib
)

include_directories(
# include
  ${catkin_INCLUDE_DIRS}
)


add_executable(nanodet main.cpp nanodet_openvino.cpp)


target_link_libraries(
    nanodet
    ${InferenceEngine_LIBRARIES}
    ${NGRAPH_LIBRARIES}
    ${catkin_LIBRARIES}
)
4.3 我的cv_bridge模块修改的内容
具体修改位置和方法见第3章。
......
if(NOT "/opt/intel/openvino_2021/opencv/include;/opt/intel/openvino_2021/opencv/include/opencv2" STREQUAL " ")
  set(cv_bridge_INCLUDE_DIRS "")
  set(_include_dirs "/opt/intel/openvino_2021/opencv/include;/opt/intel/openvino_2021/opencv/include/opencv2")

......

set(libraries "cv_bridge;/opt/intel/openvino_2021/opencv/lib/libopencv_core.so.4.5.3;/opt/intel/openvino_2021/opencv/lib/libopencv_imgproc.so.4.5.3;/opt/intel/openvino_2021/opencv/lib/libopencv_imgcodecs.so.4.5.3;/opt/intel/openvino_2021/opencv/lib/libopencv_calib3d.so.4.5.3;/opt/intel/openvino_2021/opencv/lib/libopencv_highgui.so.4.5.3")

......
4.4 我的~/.bashrc中内容
#这一段是openvino安装后需要写入的。
source /opt/intel/openvino_2021/bin/setupvars.sh
source /opt/intel/openvino_2021/opencv/setupvars.sh
source /home/ym/dream2021/xidiji/catkin_ym/devel/setup.bash
5 效果图
测试方法:
- 第1步:启动realsense相机
- 新建一个终端,输入:roslaunch realsense2_camera rs_camera.launch
- 第2步:运行nanodet程序
- 再新建一个终端,输入:rosrun nanodet_pkg nanodet
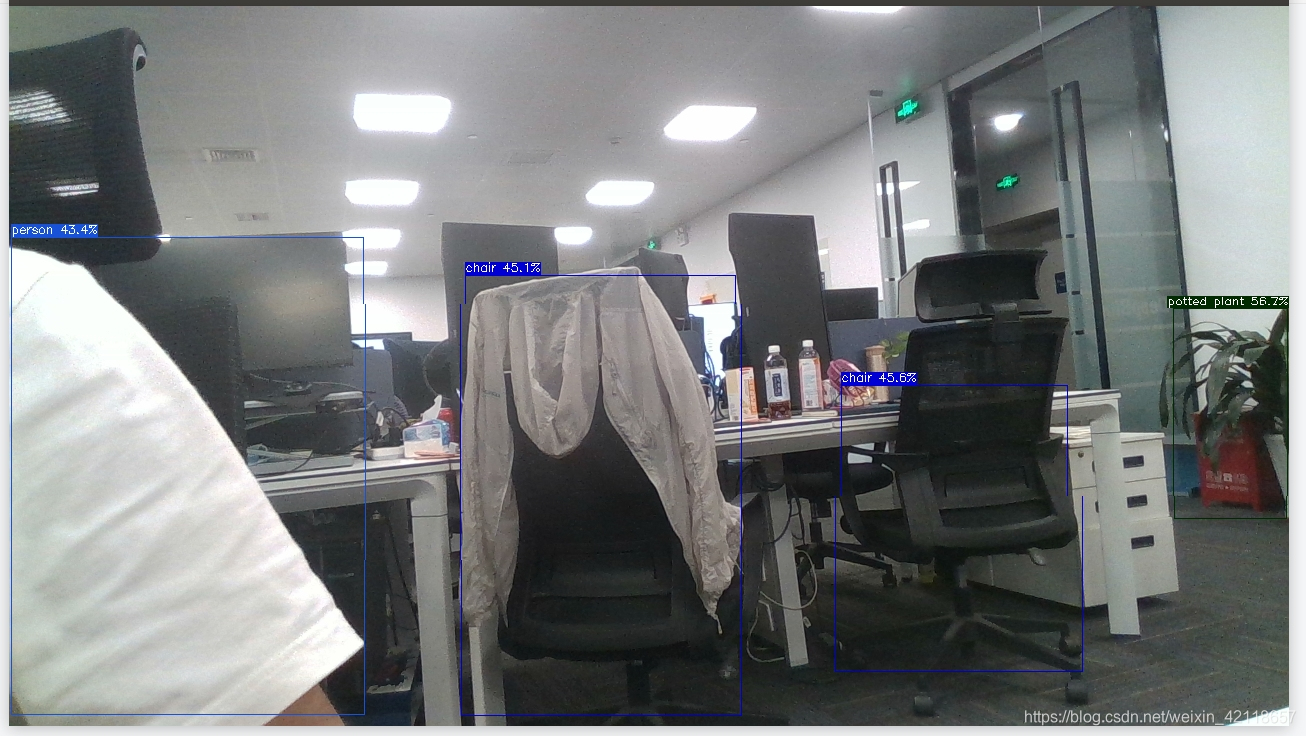
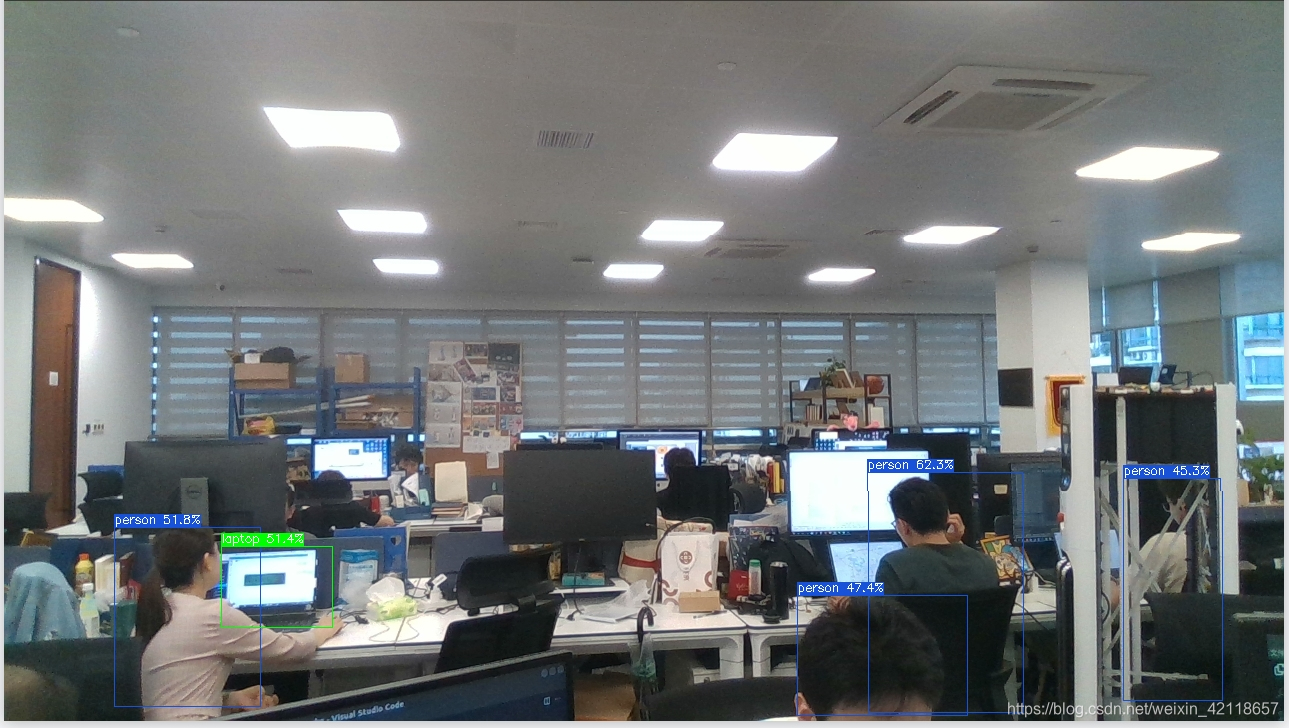
然后,就能看到一个实时检测窗口出现,效果如下:


 被折叠的 条评论
为什么被折叠?
被折叠的 条评论
为什么被折叠?
 到【灌水乐园】发言


