


文章目录
EasyDate官网
本文以团队线上协同标注RoboMaster装甲板为例子
一、管理员部分
管理员负责建立数据集、建立标注团队、发布标注任务,管理员同时也可以是标注员
1.建立数据集
-
进入EasyDate官网,选择新建数据集
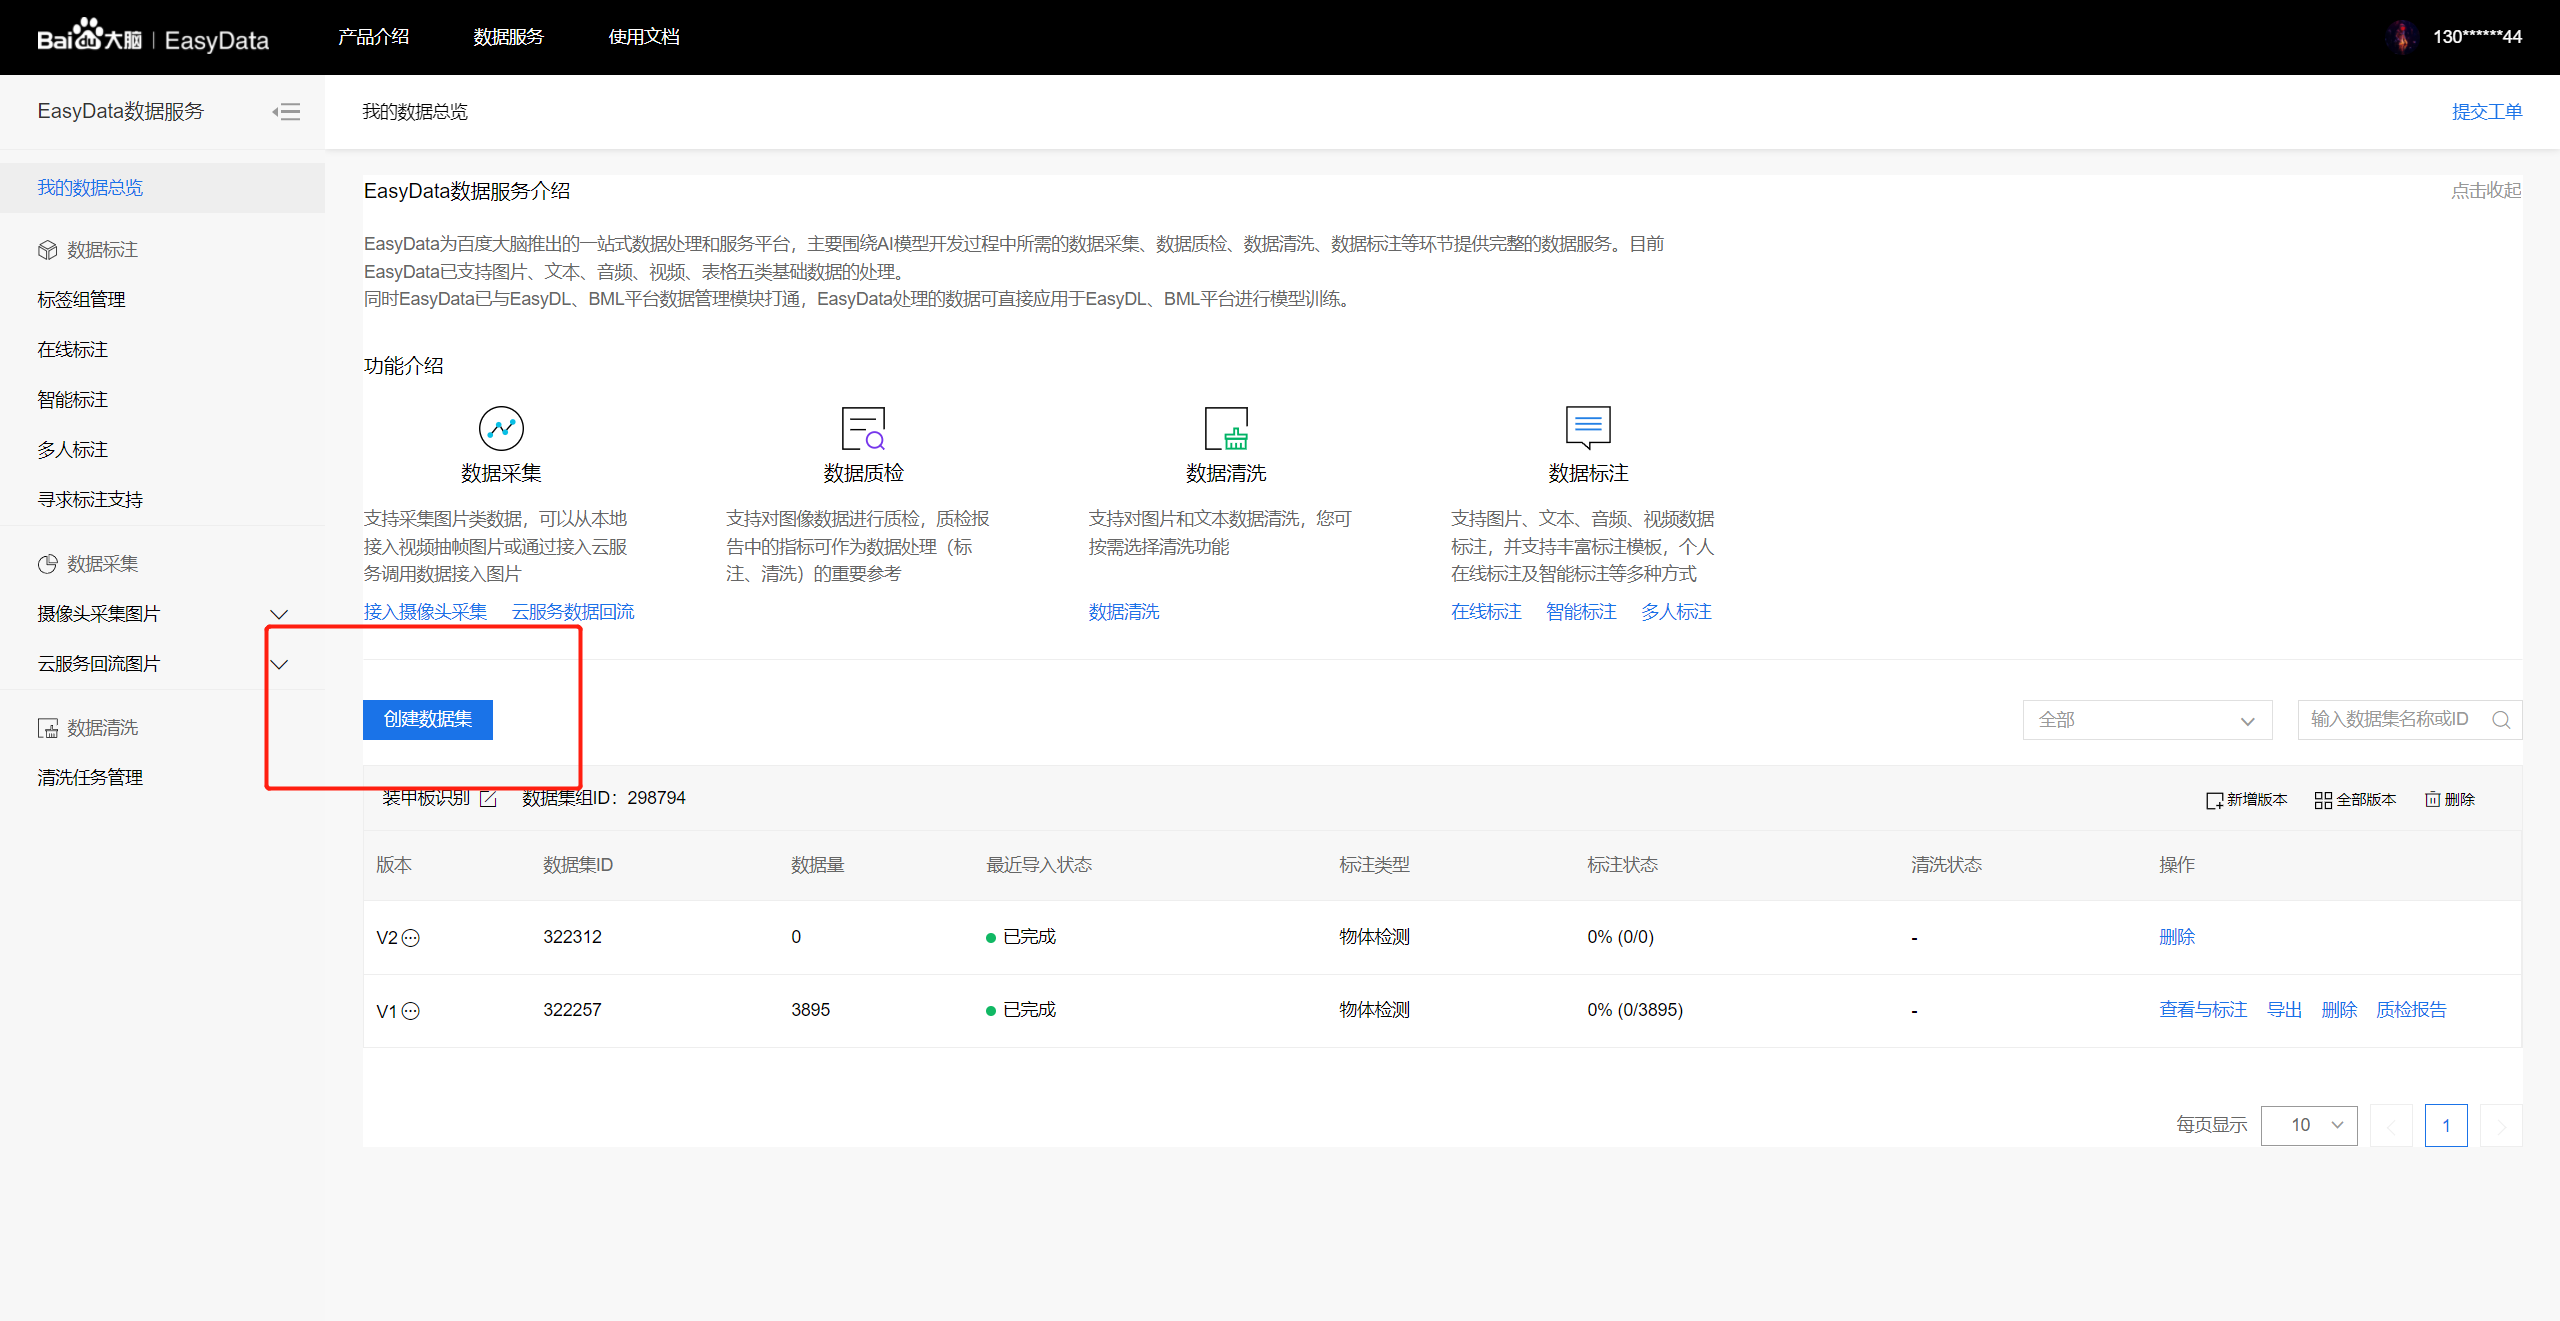
-
选择数据类型和标注类型,填写数据集名称
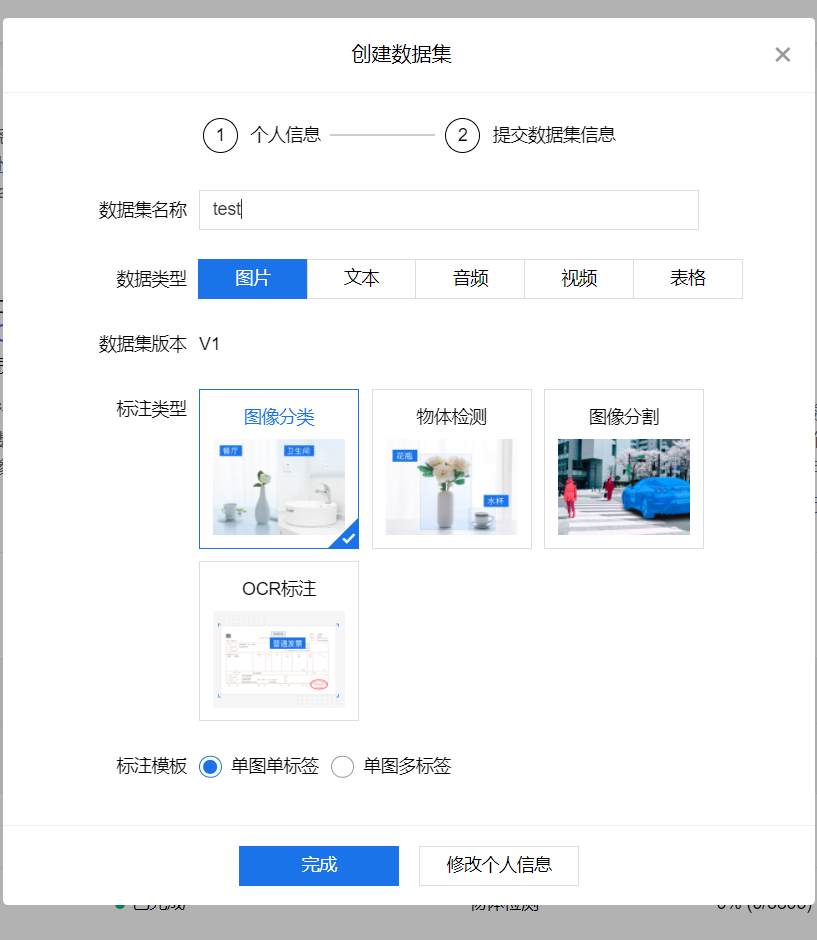
-
建立完成,导入数据

-
支持多种导入方式
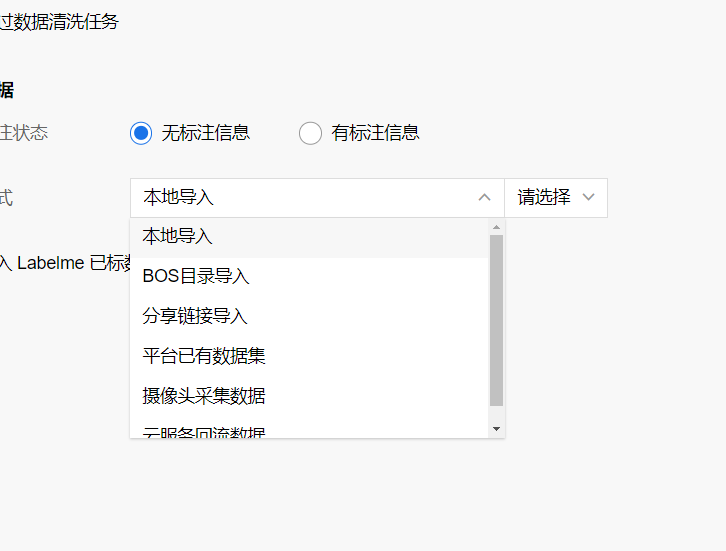
推荐使用华为OBS共享导入,本地导入会经常失败 -
导入成功

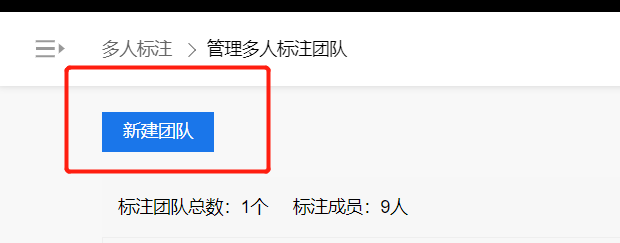
2.建立标注团队
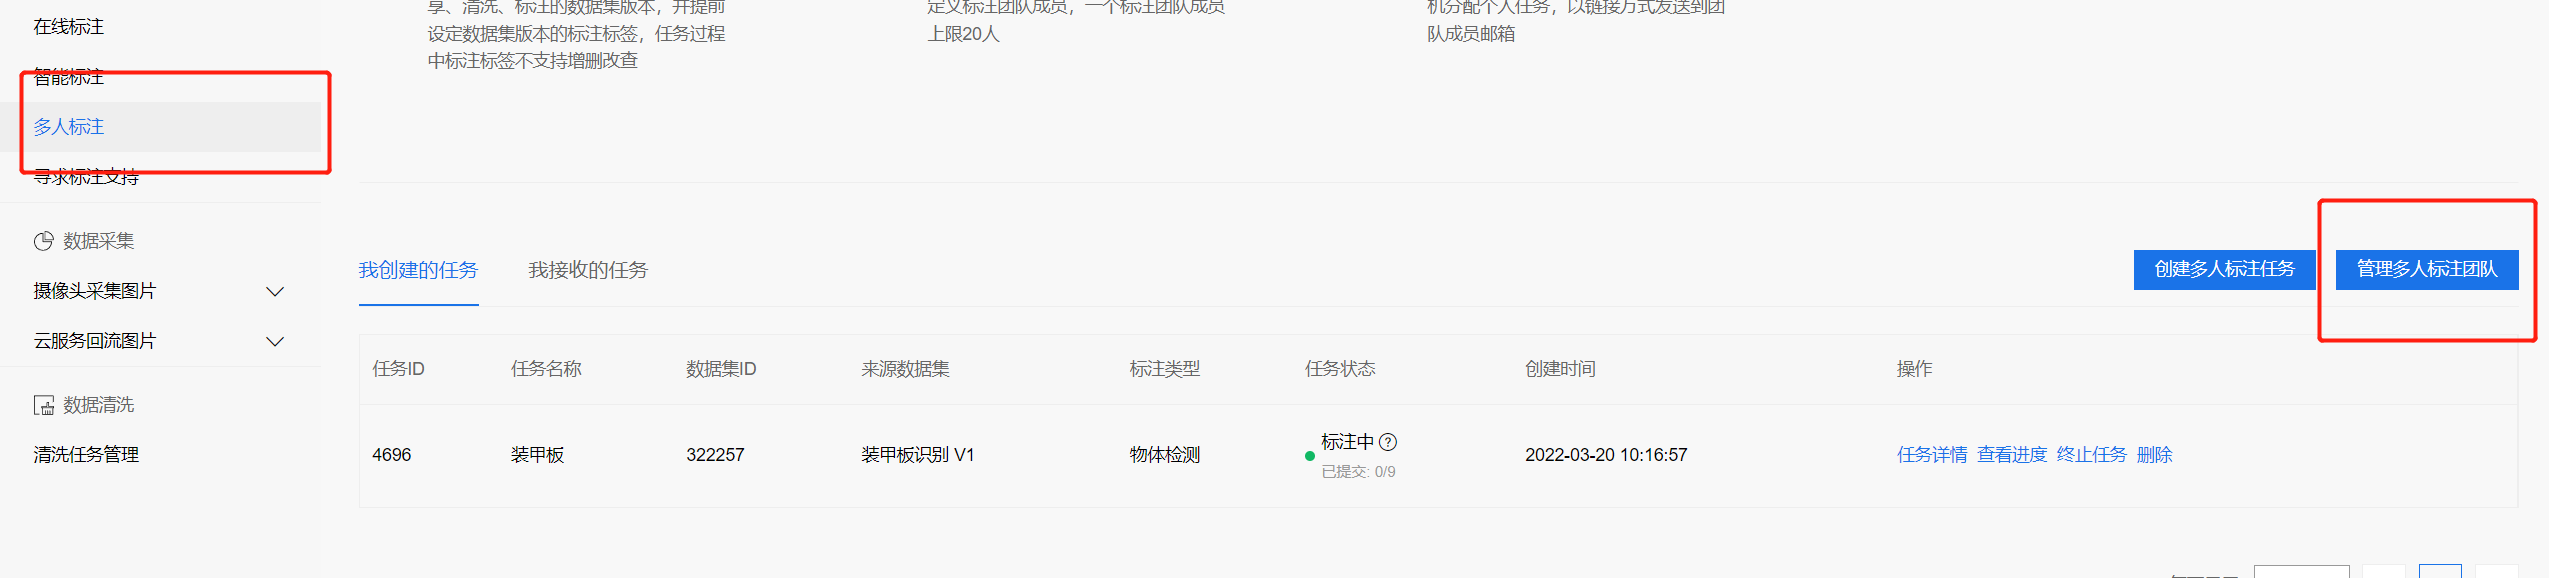
- 多人标注==>管理多人标注团队
- 新建团队
确定名称和成员,邮箱务必填写正确,发布任务后成员邮箱会收到标注邀请信息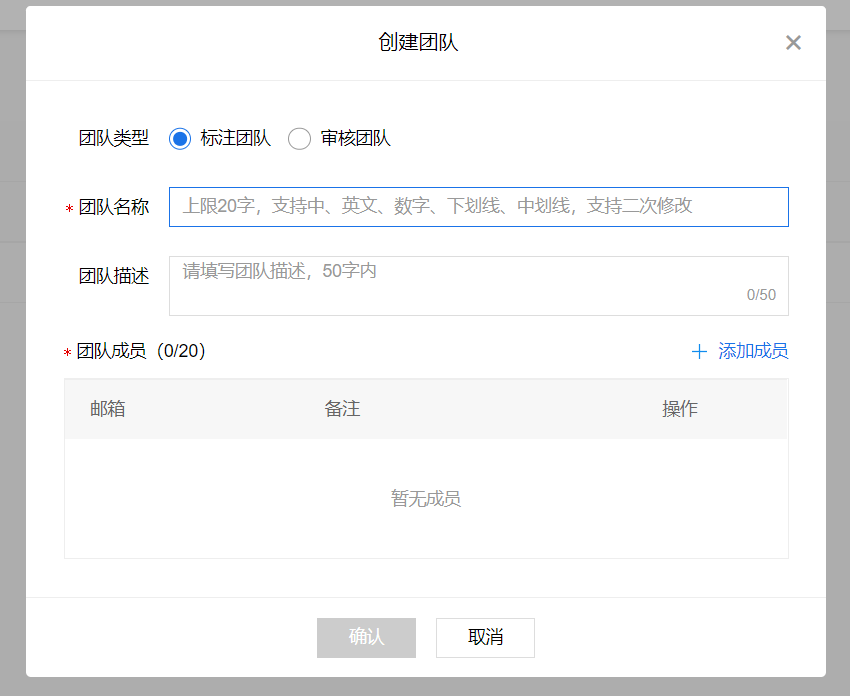 3.
3.
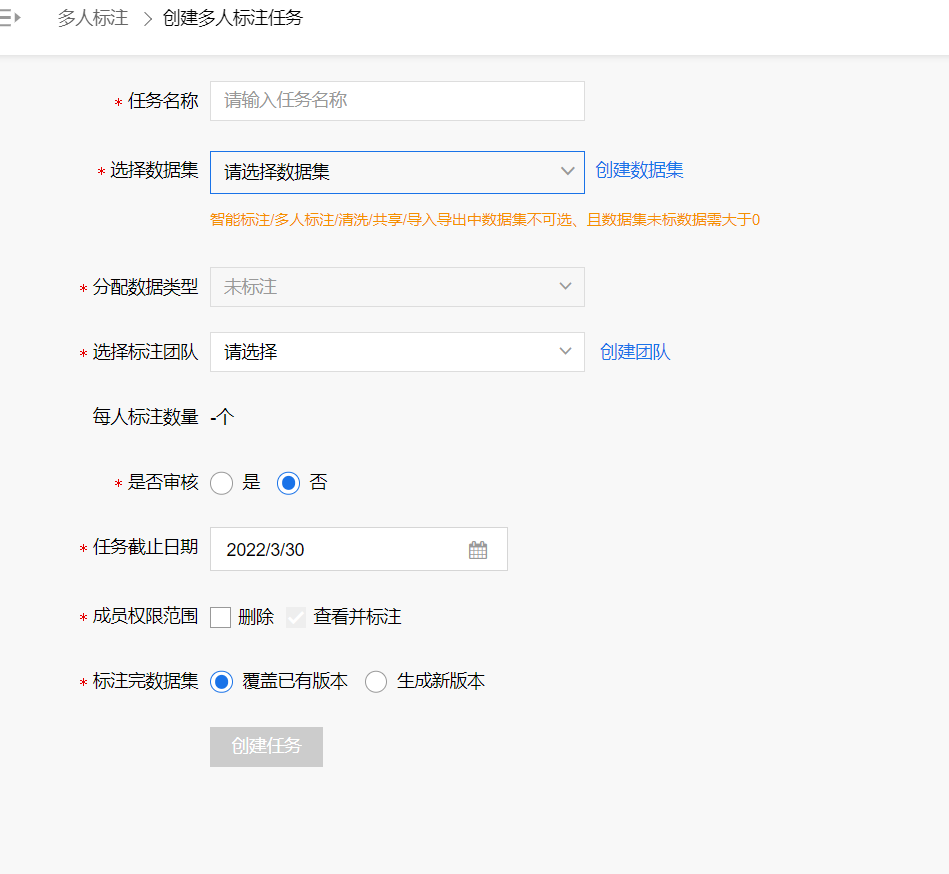
3.发布标注任务
-
创建多人标注任务

-
确定好数据集和标注团队等
-
发布成功

4.(补充)数据扩增
1.标注前扩增
提供python代码,标注前扩增使用,每张图片可以扩增17倍
github仓库,欢迎star
Dataset_amplification
import cv2
import numpy as np
import os.path
import copy

# 椒盐噪声
def SaltAndPepper(src, percetage):
    SP_NoiseImg = src.copy()
    SP_NoiseNum = int(percetage * src.shape[0] * src.shape[1])
    for i in range(SP_NoiseNum):
        randR = np.random.randint(0, src.shape[0] - 1)
        randG = np.random.randint(0, src.shape[1] - 1)
        randB = np.random.randint(0, 3)
        if np.random.randint(0, 1) == 0:
            SP_NoiseImg[randR, randG, randB] = 0
        else:
            SP_NoiseImg[randR, randG, randB] = 255
    return SP_NoiseImg

# 高斯噪声
def addGaussianNoise(image, percetage):
    G_Noiseimg = image.copy()
    w = image.shape[1]
    h = image.shape[0]
    G_NoiseNum = int(percetage * image.shape[0] * image.shape[1])
    for i in range(G_NoiseNum):
        temp_x = np.random.randint(0, h)
        temp_y = np.random.randint(0, w)
        G_Noiseimg[temp_x][temp_y][np.random.randint(3)] = np.random.randn(1)[0]
    return G_Noiseimg

# 昏暗
def darker(image, percetage=0.9):
    image_copy = image.copy()
    w = image.shape[1]
    h = image.shape[0]
    # get darker
    for xi in range(0, w):
        for xj in range(0, h):
            image_copy[xj, xi, 0] = int(image[xj, xi, 0] * percetage)
            image_copy[xj, xi, 1] = int(image[xj, xi, 1] * percetage)
            image_copy[xj, xi, 2] = int(image[xj, xi, 2] * percetage)
    return image_copy

# 亮度
def brighter(image, percetage=1.5):
    image_copy = image.copy()
    w = image.shape[1]
    h = image.shape[0]
    # get brighter
    for xi in range(0, w):
        for xj in range(0, h):
            image_copy[xj, xi, 0] = np.clip(int(image[xj, xi, 0] * percetage), a_max=255, a_min=0)
            image_copy[xj, xi, 1] = np.clip(int(image[xj, xi, 1] * percetage), a_max=255, a_min=0)
            image_copy[xj, xi, 2] = np.clip(int(image[xj, xi, 2] * percetage), a_max=255, a_min=0)
    return image_copy

# 旋转
def rotate(image, angle, center=None, scale=1.0):
    (h, w) = image.shape[:2]
    # If no rotation center is specified, the center of the image is set as the rotation center
    if center is None:
        center = (w / 2, h / 2)
    m = cv2.getRotationMatrix2D(center, angle, scale)
    rotated = cv2.warpAffine(image, m, (w, h))
    return rotated

# 翻转
def flip(image):
    flipped_image = np.fliplr(image)
    return flipped_image

# 更改为自己图片文件夹路径,扩增后数据集会输入到同个文件夹下
file_dir = r'C:/Users/Quinton/Desktop/sentry/'
for img_name in os.listdir(file_dir):
    img_path = file_dir + img_name
    img = cv2.imread(img_path)
    rotated_90 = rotate(img, 90)
    cv2.imwrite(file_dir + img_name[0:-4] + '_r90.jpg', rotated_90)
    rotated_180 = rotate(img, 180)
    cv2.imwrite(file_dir + img_name[0:-4] + '_r180.jpg', rotated_180)

for img_name in os.listdir(file_dir):
    img_path = file_dir + img_name
    img = cv2.imread(img_path)
    # 镜像
    flipped_img = flip(img)
    cv2.imwrite(file_dir + img_name[0:-4] + '_fli.jpg', flipped_img)

    # 增加噪声
    img_gauss = addGaussianNoise(img, 0.3)
    cv2.imwrite(file_dir + img_name[0:-4] + '_noise.jpg', img_gauss)

    # 变亮、变暗
    img_darker = darker(img)
    cv2.imwrite(file_dir + img_name[0:-4] + '_darker.jpg', img_darker)
    img_brighter = brighter(img)
    cv2.imwrite(file_dir + img_name[0:-4] + '_brighter.jpg', img_brighter)

    # cv2.GaussianBlur(图像,卷积核,标准差)
    blur = cv2.GaussianBlur(img, (7, 7), 1.5)
    cv2.imwrite(file_dir + img_name[0:-4] + '_blur.jpg', blur)
2.标注后扩增
可以使用此仓库代码,标注格式为xml
Dataset-Augment
二、标注员部分
1.进入标注
团队中标注员会收到邮件,管理员务必填写正确邮箱
1.进入邮箱,点击查看

2.启动标注
2.标注注意
以标注装甲板为例,提出标注注意事项
1.标注标签格式
按照如下格式进行标注

例如:红方英雄1号装甲板,标注的标签是8
蓝方哨兵机器人,就是选择0号标签

一定要注意红方的标注,极易出现错误!!!
2.快捷选项
方向键右键可下一张图片

并且会自动保存标注

3.暂停标注
不要点击提交任务,达咩

可以直接关闭网页,再次从邮箱邀请进入选择继续标注

4.注意框的大小
标注时,框不要太大也不要太小,尽量匹配装甲板


 2361
2361


 被折叠的 条评论
为什么被折叠?
被折叠的 条评论
为什么被折叠?
 到【灌水乐园】发言


