


 本文介绍了如何通过深度学习生成分割mask,并进行二值化、取反操作。接着详细阐述了如何从mask中提取图像,包括生成透明和黑色背景的版本。最后,文章比较了使用opencv和pillow抠图的效果,并提供了差异比较的代码,以验证提取的准确性。
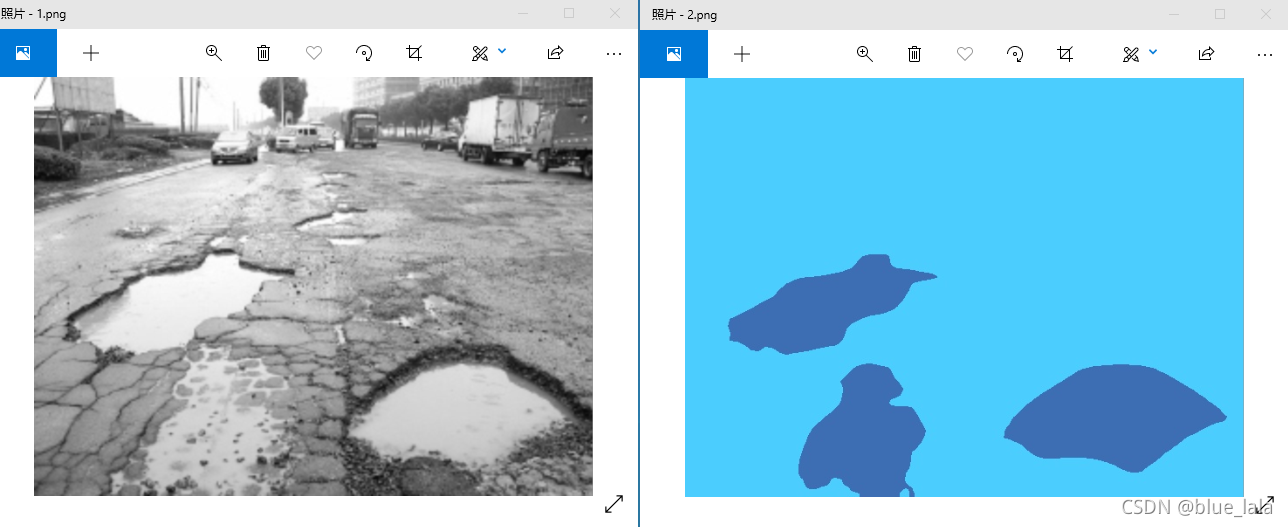
1.生成分割后的mask
原图和mask如下:
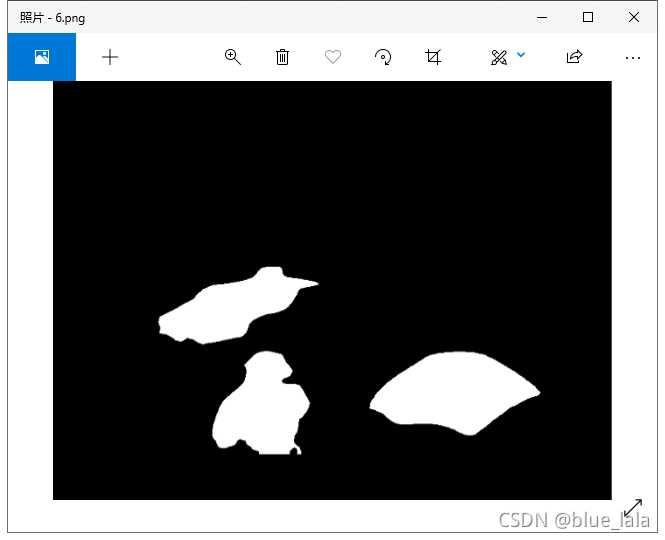
2.mask二值化
from PIL import Image
import matplotlib.pyplot as plt
import numpy as np


# 获取图片
def getimg():
    return Image.open("2.png")


def showimg(img, isgray=False):
    plt.axis("off")
    if isgray == True:
        plt.imshow(img, cmap='gray')
    else:
        plt.imshow(img)
    plt.show()

im5 = getimg()
im5 = np.array(im5.convert('L'))
im5 = np.where(im5[...,:] < 165, 0, 255) #根据设置的阈值来进行黑白分类
showimg(Image.fromarray(im5), True)
生成如图:
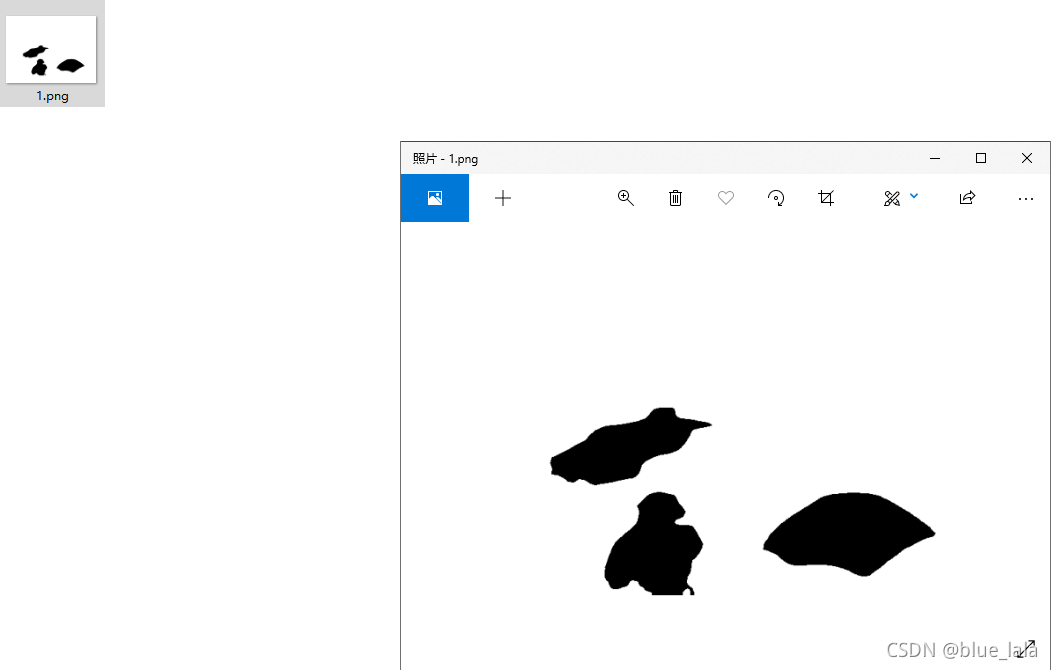
3. mask二值化后取反
import os
from PIL import Image
import numpy as np

def resize(imgPath, savePath):
    files = os.listdir(imgPath)
    files.sort()
    print('****************')
    print('input :', imgPath)
    print('start...')
    for file in files:
        fileType = os.path.splitext(file)
        if fileType[1] == '.png':
            new_png = Image.open(imgPath + '/' + file)  # 打开图片
            # new_png = new_png.resize((20, 20),Image.ANTIALIAS) #改变图片大小
            matrix = 255 - np.asarray(new_png)  # 图像转矩阵 并反色
            new_png = Image.fromarray(matrix)  # 矩阵转图像
            new_png.save(savePath + '/' + file)  # 保存图片
    print('down!')
    print('****************')

if __name__ == '__main__':
    # 待处理图片地址
    dataPath = 'G:\\666\\2\\'
    # 保存图片的地址
    savePath = 'G:\\666\\2\\'
    resize(dataPath, savePath)
如图:
4.把mask分割后的图像提取出来
import os
import cv2
import numpy as np
#im1 原图  im2 mask图(背景是黑色,前景是白色)
im1_path = 'G:/666/1/'
im2_path = 'G:/666/2/'

num = len(os.listdir(im1_path))
for i in range(num):

    img1 = cv2.imread(os.path.join(im1_path, os.listdir(im1_path)[i]))
    img2 = cv2.imread(os.path.join(im2_path,os.listdir(im2_path)[i]), cv2.IMREAD_GRAYSCALE)
    h,w,c = img1.shape
    img3 = np.zeros((h,w,4))
    img3[:,:,0:3] = img1
    img3[:,:,3] = img2
    #这里命名随意,但是要注意使用png格式
    cv2.imwrite('G:/666/3/&#
最低0.47元/天 解锁文章


 4612
4612


 被折叠的 条评论
为什么被折叠?
被折叠的 条评论
为什么被折叠?
 到【灌水乐园】发言


