


 本文记录了在RK3588开发板上使用OV5695摄像头遇到的OpenCV警告和帧率下降问题。通过v4l2测试摄像头并查看设备参数,尝试用OpenCV和Python进行调用。尽管OpenCV能成功打开摄像头,但存在警告和帧率降低至1.7帧的问题。作者提供了测试代码和GStreamer管道设置。
RK3588使用OV5695摄像头
2023-04-21记录。
重新安装OpenCV后,能够运行了,但是还有点瑕疵:
- 1、提示警报【未解决】:
[ WARN:0] OpenCV | GStreamer warning: Cannot query video position: status=0, value=-1, duration=-1
[ WARN:0] OpenCV | GStreamer warning: GStreamer: unhandled property
- 2、摄像头会掉帧严重,从30帧掉到1.7帧【未解决】
1、测试
参考:
1、(二十一)实践出真知——opecv调取摄像头、使用gstreamer访问mipi摄像头
2、Ubuntu系统下查看摄像头参数并基于OpenCV调用
3、Ubuntu 下使用opencv打开usb 摄像头
环境:RK3588、Ubuntu20.04、Python3.8、OpenCV3.4.16
1.1、查看摄像头列表
在终端中使用命令来查看设备:
v4l2-ctl --list-devices
得到的结果为:
topeet@iTOP-RK3588:~ $ v4l2-ctl --list-devices
rk_hdmirx (fdee0000.hdmirx-controller):
        /dev/video20

rkisp-statistics (platform: rkisp):
        /dev/video18
        /dev/video19

rkcif (platform:rkcif-mipi-lvds4):
        /dev/video0
        /dev/video1
        /dev/video2
        /dev/video3
        /dev/video4
        /dev/video5
        /dev/video6
        /dev/video7
        /dev/video8
        /dev/video9
        /dev/video10

rkisp_mainpath (platform:rkisp0-vir0):
        /dev/video11
        /dev/video12
        /dev/video13
        /dev/video14
        /dev/video15
        /dev/video16
        /dev/video17
查看摄像头是哪个:
media-ctl -d /dev/media1 -e "rkisp_mainpath"

前几个video被其他媒体设备占用了,内核自动分配的
查看各相机支持的分辨率、帧率、像素格式等参数
v4l2-ctl -d /dev/video11 --list-formats-ext
得到下面的结果:
ioctl: VIDIOC_ENUM_FMT
        Type: Video Capture Multiplanar

        [0]: 'UYVY' (UYVY 4:2:2)
                Size: Stepwise 32x16 - 4672x3504 with step 8/8
        [1]: '422P' (Planar YUV 4:2:2)
                Size: Stepwise 32x16 - 4672x3504 with step 8/8
        [2]: 'NV16' (Y/CbCr 4:2:2)
                Size: Stepwise 32x16 - 4672x3504 with step 8/8
        [3]: 'NV61' (Y/CrCb 4:2:2)
                Size: Stepwise 32x16 - 4672x3504 with step 8/8
        [4]: 'YM16' (Planar YUV 4:2:2 (N-C))
                Size: Stepwise 32x16 - 4672x3504 with step 8/8
        [5]: 'NV21' (Y/CrCb 4:2:0)
                Size: Stepwise 32x16 - 4672x3504 with step 8/8
        [6]: 'NV12' (Y/CbCr 4:2:0)
                Size: Stepwise 32x16 - 4672x3504 with step 8/8
        [7]: 'NM21' (Y/CrCb 4:2:0 (N-C))
                Size: Stepwise 32x16 - 4672x3504 with step 8/8
        [8]: 'NM12' (Y/CbCr 4:2:0 (N-C))
                Size: Stepwise 32x16 - 4672x3504 with step 8/8
        [9]: 'YU12' (Planar YUV 4:2:0)
                Size: Stepwise 32x16 - 4672x3504 with step 8/8
        [10]: 'YM24' (Planar YUV 4:4:4 (N-C))
                Size: Stepwise 32x16 - 4672x3504 with step 8/8
        [11]: 'RGGB' (8-bit Bayer RGRG/GBGB)
                Size: Stepwise 32x16 - 4672x3504 with step 8/8
        [12]: 'GRBG' (8-bit Bayer GRGR/BGBG)
                Size: Stepwise 32x16 - 4672x3504 with step 8/8
        [13]: 'GBRG' (8-bit Bayer GBGB/RGRG)
                Size: Stepwise 32x16 - 4672x3504 with step 8/8
        [14]: 'BA81' (8-bit Bayer BGBG/GRGR)
                Size: Stepwise 32x16 - 4672x3504 with step 8/8
        [15]: 'RG10' (10-bit Bayer RGRG/GBGB)
                Size: Stepwise 32x16 - 4672x3504 with step 8/8
        [16]: 'BA10' (10-bit Bayer GRGR/BGBG)
                Size: Stepwise 32x16 - 4672x3504 with step 8/8
        [17]: 'GB10' (10-bit Bayer GBGB/RGRG)
                Size: Stepwise 32x16 - 4672x3504 with step 8/8
        [18]: 'BG10' (10-bit Bayer BGBG/GRGR)
                Size: Stepwise 32x16 - 4672x3504 with step 8/8
        [19]: 'RG12' (12-bit Bayer RGRG/GBGB)
                Size: Stepwise 32x16 - 4672x3504 with step 8/8
        [20]: 'BA12' (12-bit Bayer GRGR/BGBG)
                Size: Stepwise 32x16 - 4672x3504 with step 8/8
        [21]: 'GB12' (12-bit Bayer GBGB/RGRG)
                Size: Stepwise 32x16 - 4672x3504 with step 8/8
        [22]: 'BG12' (12-bit Bayer BGBG/GRGR)
                Size: Stepwise 32x16 - 4672x3504 with step 8/8
1.2、用v4l2测试摄像头
在itop开发板上,根据文档连接好摄像头,摄像头对准缺口方向连接好,默认是J1接口。
使用官方给的Ubuntu20.04镜像,在终端输入以下命令来测试摄像头是否正常:
gst-launch-1.0 v4l2src device=/dev/video11 ! \video/x-raw,format=NV12,width=800,height=1280,framerate=30/1 ! autovideosink
或者是:
gst-launch-1.0 v4l2src device=/dev/video%d ! video/x-raw,format=NV12,width=%d,height=%d,framerate=%d/1 ! appsink

2、OpenCV调用摄像头
测试代码UseOV5695.cpp文件:
#include <iostream>
#include <opencv2/opencv.hpp>
int main()
{
std::cout << "Built with OpenCV " << CV_VERSION << std::endl;
// 3种打开方式,3选一
// 只有方式1能够正确打开摄像头
// 打开方式1:
cv::VideoCapture capture;
capture.open(11);
// 打开方式2:
//cv::VideoCapture capture;
//capture.open("/dev/video11", cv::CAP_V4L2);
// 打开方式3:
// cv::VideoCapture capture("/dev/video11", cv::CAP_V4L2);
// capture.open("/dev/video11", cv::CAP_V4L2);
// capture.open("/home/topeet/Documents/TOB/video/down.avi"); // 打开视频文件
bool isOpenCamera = capture.isOpened();
if (!isOpenCamera)
{
std::cout << "the 'open' funtion fails to open the OV5695" << std::endl;
return -1;
}
// capture.set(cv::CAP_PROP_FOURCC, cv::VideoWriter::fourcc('M', 'J', 'P', 'G'));
capture.set(cv::CAP_PROP_FOURCC, cv::VideoWriter::fourcc('N', 'V', '1', '2'));
// capture.set(cv::CAP_PROP_FOURCC, cv::VideoWriter::fourcc('M', 'J', 'P', 'G'));
capture.set(cv::CAP_PROP_FRAME_WIDTH, 800);
capture.set(cv::CAP_PROP_FRAME_HEIGHT, 1280);
capture.set(cv::CAP_PROP_FPS, 30);
cv::Mat frame;
while (1)
{
capture >> frame;
// capture.read(frame); // 读取视频帧
if (!frame.empty())
{
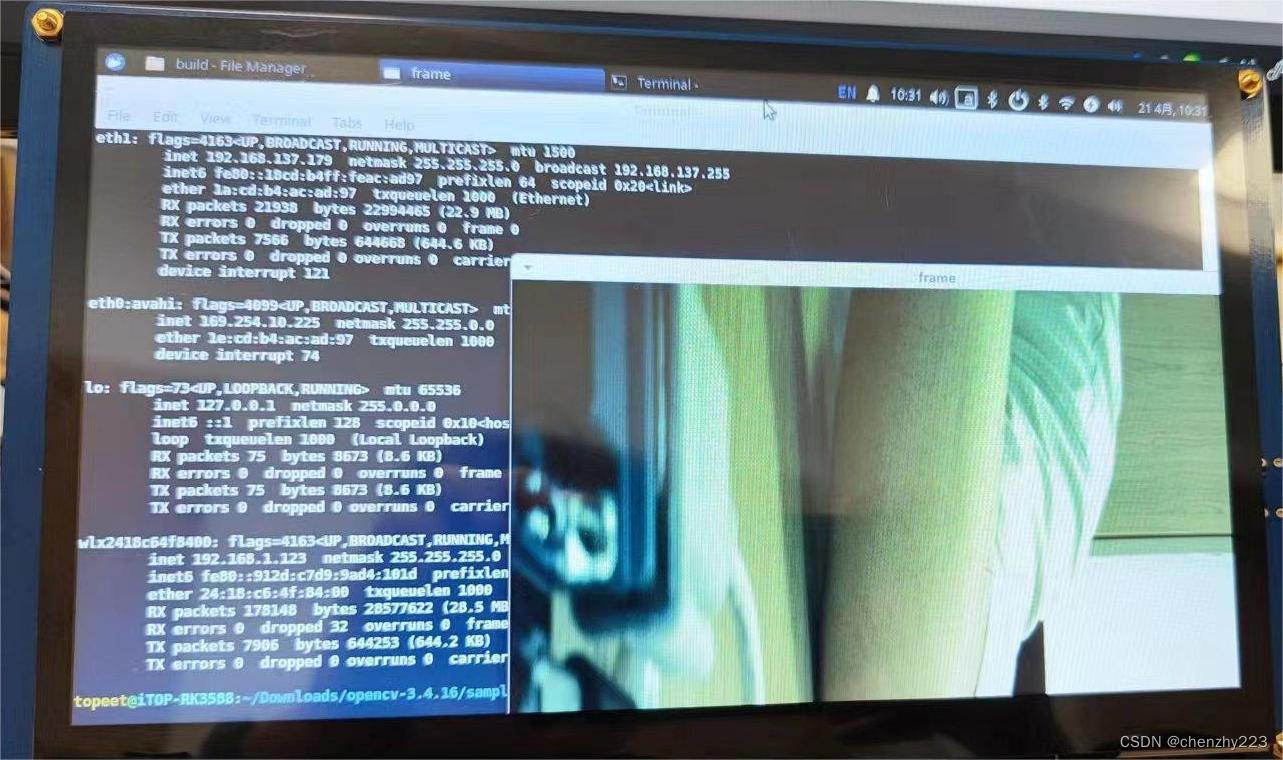
cv::imshow("frame", frame);
}
else
{
std::cout << "fail to open the OV5695! The frame is empty!!" << std::endl;
break;
}
if (cv::waitKey(1) == 27)
break;
}
return 0;
}
构建可执行文件:
g++ UseOV5695.cpp -o UseOV6595 `pkg-config --cflags --libs opencv`
构建可执行程序CMakeLists.txt文件:
cmake_minimum_required(VERSION 2.8)
project(OpenCVUseOV5695)

set(CMAKE_CXX_FLAGS "${CMAKE_CXX_FLAGS} -std=c++11")

add_executable(OpenCVUseOV5695 UseOV5695.cpp)
编译文件,得到可执行文件,在串口中运行文件,得到的结果如图:
topeet@iTOP-RK3588:~/Documents/testOV5695/OpenCVUseOV5695 $ g++ UseOV5695.cpp -o UseOV6595 `pkg-config --cflags --libs opencv`
topeet@iTOP-RK3588:~/Documents/testOV5695/OpenCVUseOV5695 $ sudo ./UseOV6595    Built with OpenCV 3.4.16
[ WARN:0] OpenCV | GStreamer warning: Cannot query video position: status=0, value=-1, duration=-1
[ WARN:0] OpenCV | GStreamer warning: GStreamer: unhandled property
3、Python调用摄像头
测试代码:
import cv2
import time
def main():
# 使用GStreamer管道从MIPI摄像头捕获视频,添加视频帧率
gst_pipeline = 'v4l2src device=/dev/video11 ! video/x-raw,format=NV12,width=640,height=480,framerate=30/1 ! appsink'
# 从GStreamer管道创建OpenCV VideoCapture对象
cap = cv2.VideoCapture(gst_pipeline, cv2.CAP_GSTREAMER)
if not cap.isOpened():
# 如果无法打开摄像头,则输出提示信息
print("无法打开摄像头")
return
time0 = time.time() # 获取开始时间
while True:
# 从摄像头捕获帧
ret, frame = cap.read()
frame = cv2.cvtColor(frame, cv2.COLOR_YUV2BGR_NV12)
# 如果捕获到帧,则显示它
if ret:
time1 = time.time() # 获取结束时间
fps = 1 / (time1 - time0) # 计算实时帧率
time0 = time1 # 更新开始时间
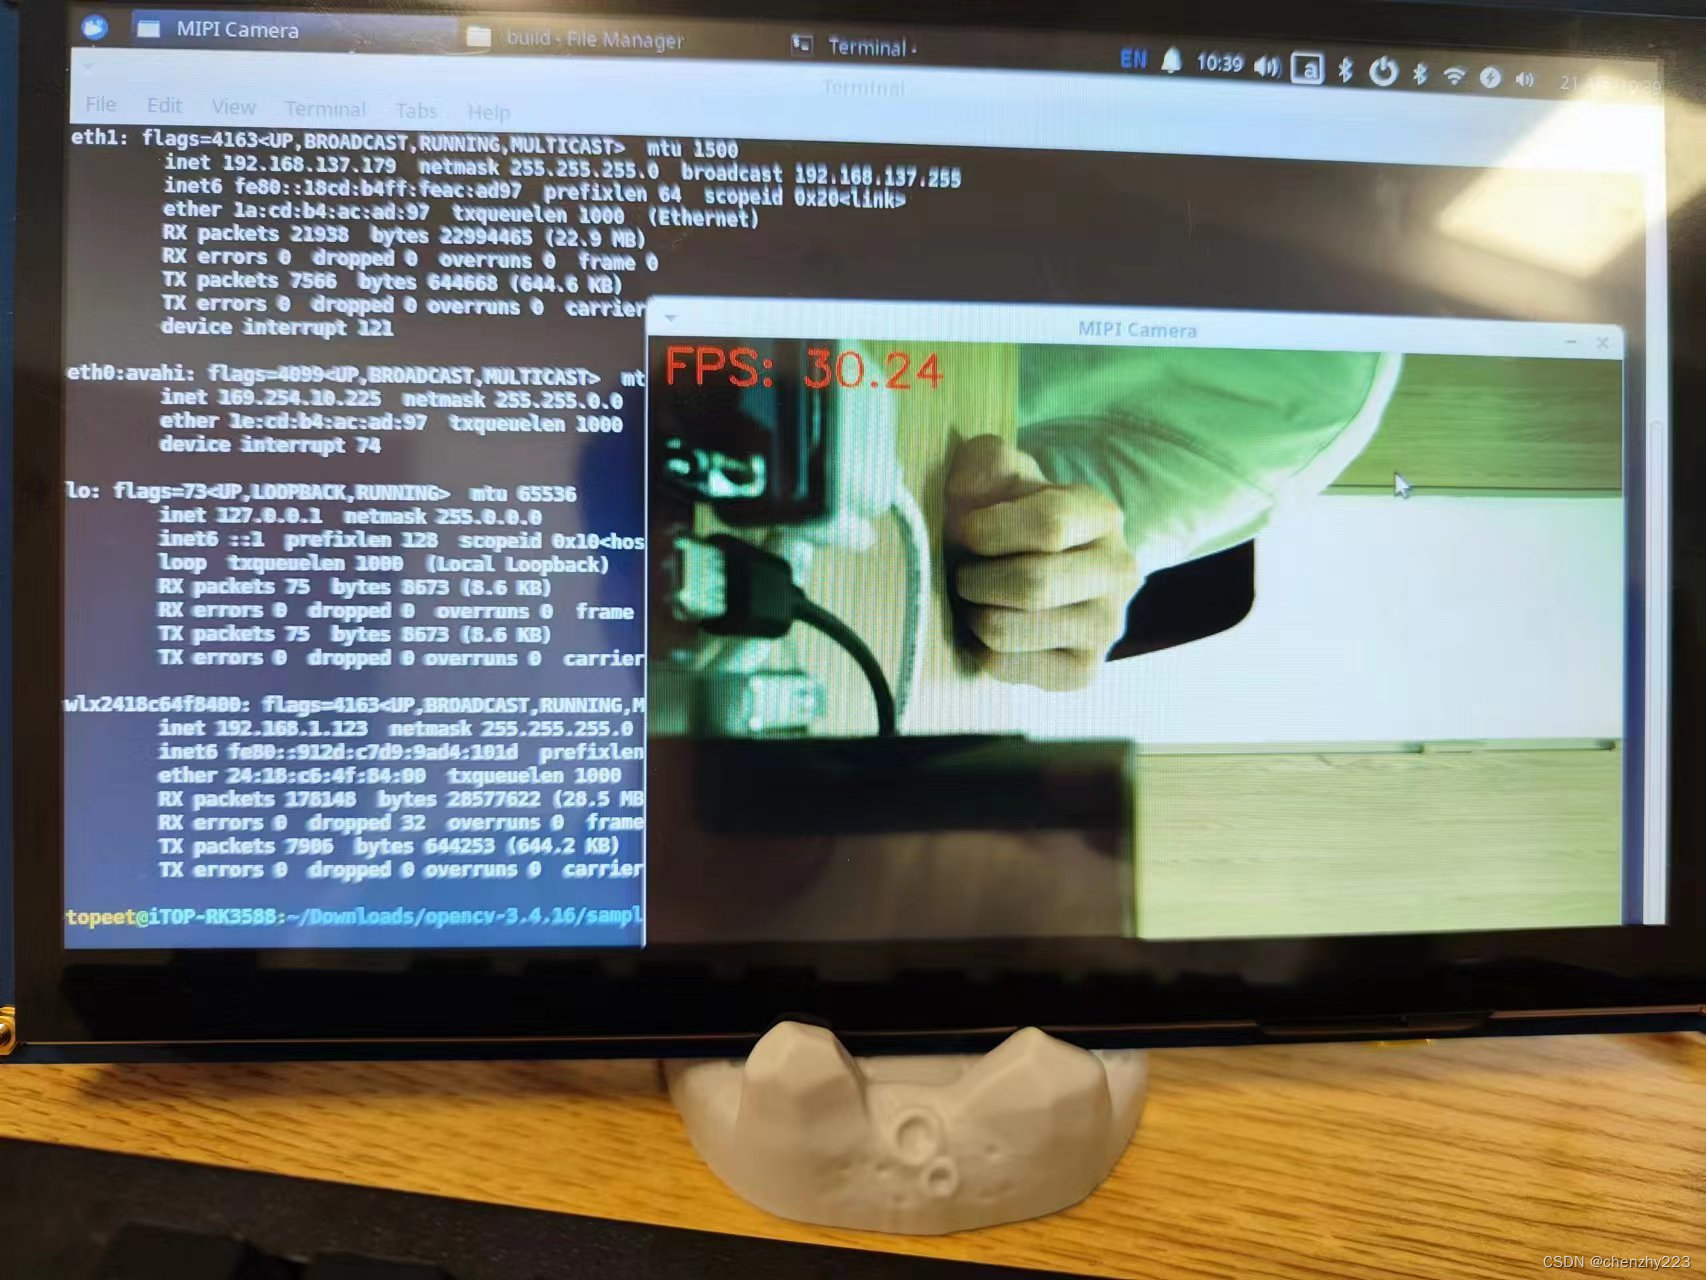
cv2.putText(frame, "FPS: {:.2f}".format(fps), (10, 30), cv2.FONT_HERSHEY_SIMPLEX, 1, (0, 0, 255), 2) # 在图像上显示帧率
cv2.imshow("MIPI Camera", frame)
# 按下'q'键退出循环
if cv2.waitKey(1) & 0xFF == ord("q"):
break
# 释放资源并关闭窗口
cap.release()
cv2.destroyAllWindows()
if __name__ == "__main__":
main()
在终端上运行:


 1326
1326

 被折叠的 条评论
为什么被折叠?
被折叠的 条评论
为什么被折叠?
 到【灌水乐园】发言


