


PIC单片机(PIC16F15323)的环境搭建
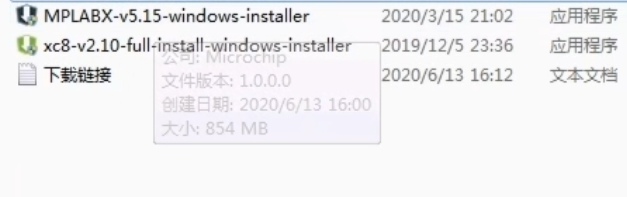
一共需要安装两个软件, MPLAB X IDE v5.50和 xc8-v2.32-full-install-windows-x64-installer
为了仿真,也可以安装proteus软件
1 MPLAB X IDE v5.50的安装
软件下载链接:
https://www.microchip.com/en-us/development-tools-tools-and-software/mplab-x-ide#tabs
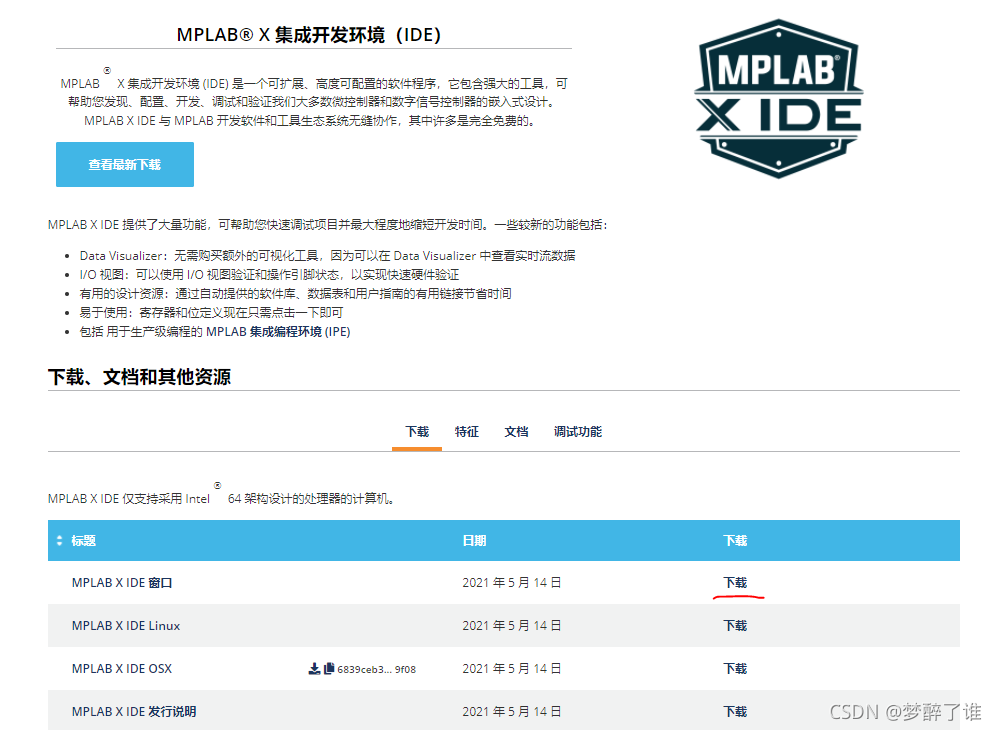
下载好软件后,一直next即可。
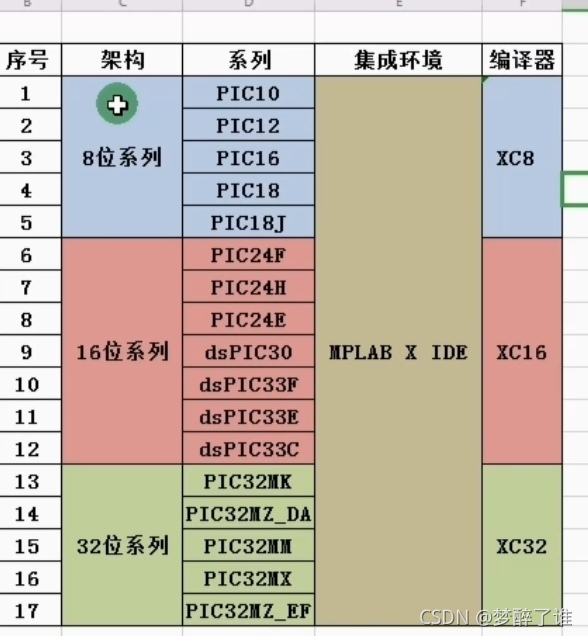
2 xc8-v2.32-full-install-windows-x64-installer的安装
因为单片机型号是PIC16F15323,所以选择XC8
软件下载链接:
https://www.microchip.com/en-us/development-tools-tools-and-software/mplab-xc-compilers
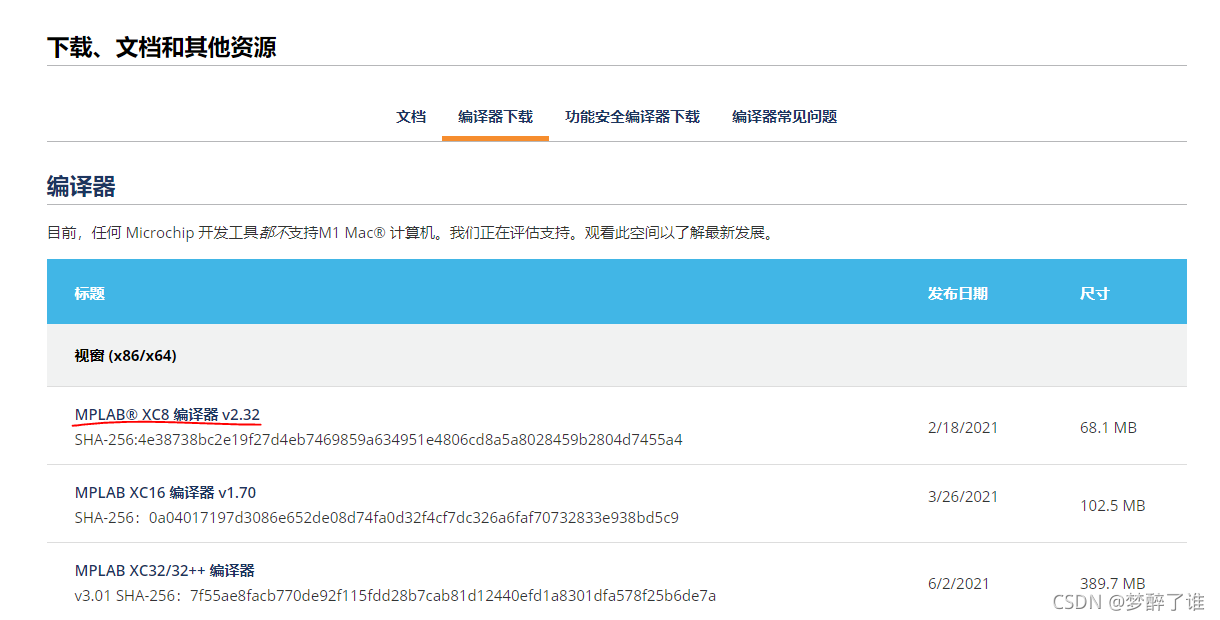
下载好软件后,一直next即可。
3 建立工程
1、双击打开MPLAB X IDE v5.50

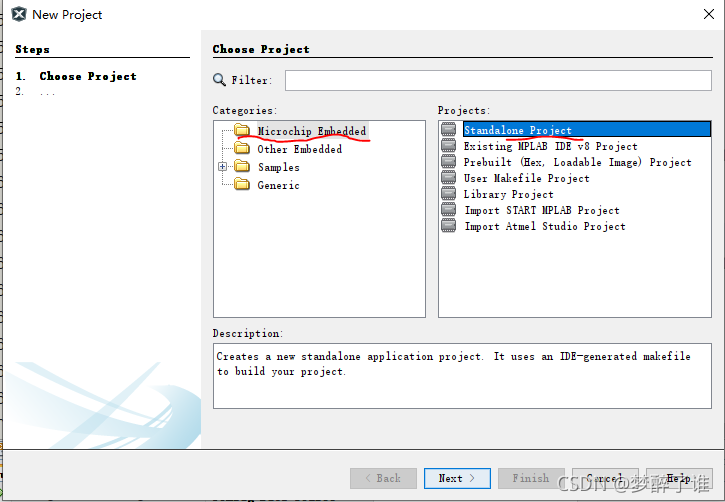
2、点击file–选择new project----选择Microchip Embedded—选择standlone project—点击next
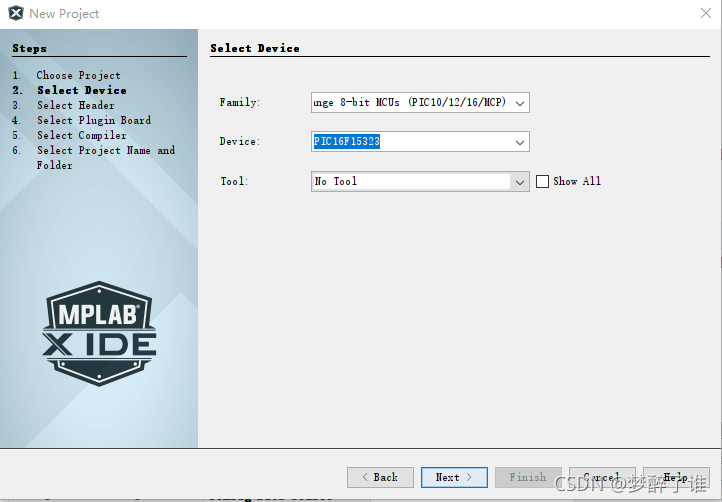
3、family选择Mid-range 8-bit MCUs;device选择PIC16F15323。点击next
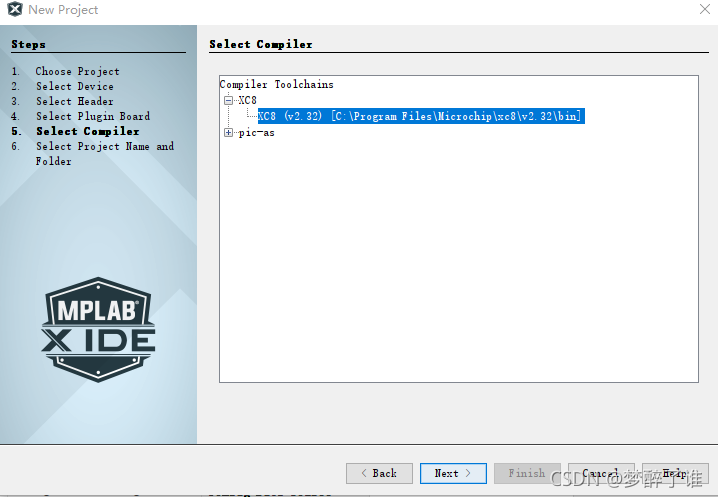
4、编译器选择XC8,如下图所示。
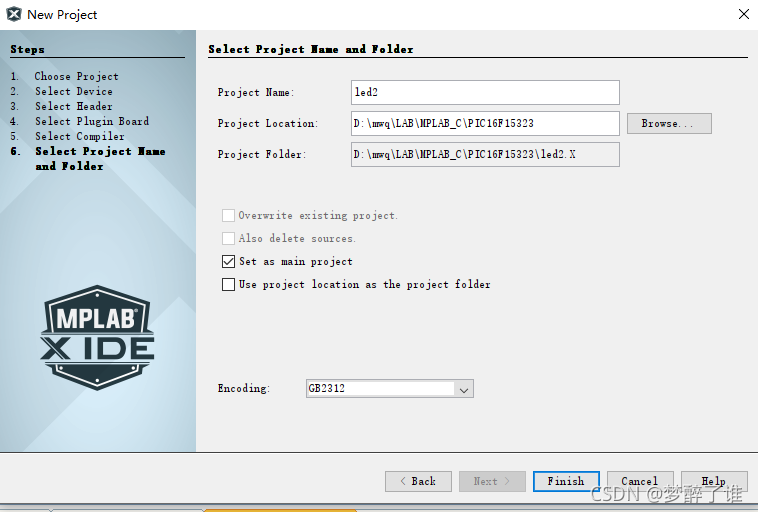
5、project name自己根据实现功能取名,这里命名为led2。--------选择合适的project location。-------Encoding选择GB2312。------点击finish。
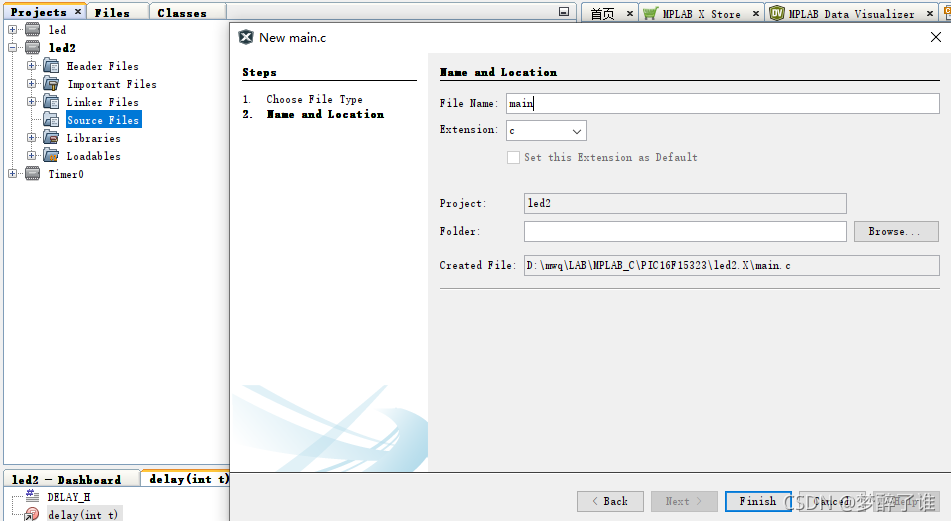
6、新建主函数,具体实现步骤为:
单击右键source files-----选择new----选择main.c----命名为main----点击finish。
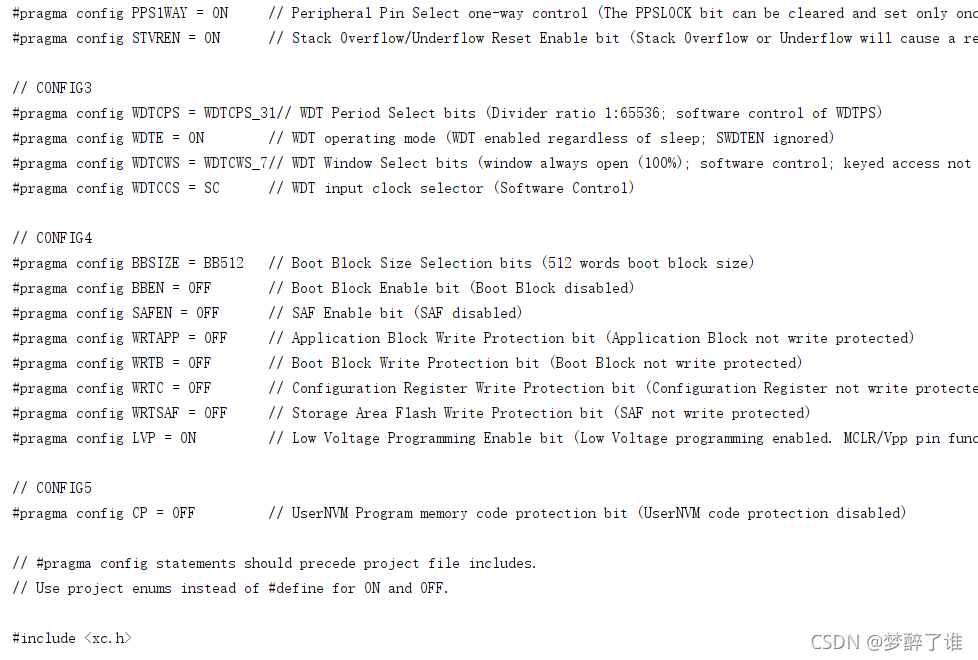
7、添加熔丝位配置。具体实现步骤为:
点击production-----点击set configuration bits----点击generate source code to output


8、复制生成的代码到main.c,如下图所示
// PIC16F15323 Configuration Bit Settings

// 'C' source line config statements

// CONFIG1
#pragma config FEXTOSC = ECH    // External Oscillator mode selection bits (EC above 8MHz; PFM set to high power)
#pragma config RSTOSC = EXT1X   // Power-up default value for COSC bits (EXTOSC operating per FEXTOSC bits)
#pragma config CLKOUTEN = OFF   // Clock Out Enable bit (CLKOUT function is disabled; i/o or oscillator function on OSC2)
#pragma config CSWEN = ON       // Clock Switch Enable bit (Writing to NOSC and NDIV is allowed)
#pragma config FCMEN = ON       // Fail-Safe Clock Monitor Enable bit (FSCM timer enabled)

// CONFIG2
#pragma config MCLRE = ON       // Master Clear Enable bit (MCLR pin is Master Clear function)
#pragma config PWRTE = OFF      // Power-up Timer Enable bit (PWRT disabled)
#pragma config LPBOREN = OFF    // Low-Power BOR enable bit (ULPBOR disabled)
#pragma config BOREN = ON       // Brown-out reset enable bits (Brown-out Reset Enabled, SBOREN bit is ignored)
#pragma config BORV = LO        // Brown-out Reset Voltage Selection (Brown-out Reset Voltage (VBOR) set to 1.9V on LF, and 2.45V on F Devices)
#pragma config ZCD = OFF        // Zero-cross detect disable (Zero-cross detect circuit is disabled at POR.)
#pragma config PPS1WAY = ON     // Peripheral Pin Select one-way control (The PPSLOCK bit can be cleared and set only once in software)
#pragma config STVREN = ON      // Stack Overflow/Underflow Reset Enable bit (Stack Overflow or Underflow will cause a reset)

// CONFIG3
#pragma config WDTCPS = WDTCPS_31// WDT Period Select bits (Divider ratio 1:65536; software control of WDTPS)
#pragma config WDTE = ON        // WDT operating mode (WDT enabled regardless of sleep; SWDTEN ignored)
#pragma config WDTCWS = WDTCWS_7// WDT Window Select bits (window always open (100%); software control; keyed access not required)
#pragma config WDTCCS = SC      // WDT input clock selector (Software Control)

// CONFIG4
#pragma config BBSIZE = BB512   // Boot Block Size Selection bits (512 words boot block size)
#pragma config BBEN = OFF       // Boot Block Enable bit (Boot Block disabled)
#pragma config SAFEN = OFF      // SAF Enable bit (SAF disabled)
#pragma config WRTAPP = OFF     // Application Block Write Protection bit (Application Block not write protected)
#pragma config WRTB = OFF       // Boot Block Write Protection bit (Boot Block not write protected)
#pragma config WRTC = OFF       // Configuration Register Write Protection bit (Configuration Register not write protected)
#pragma config WRTSAF = OFF     // Storage Area Flash Write Protection bit (SAF not write protected)
#pragma config LVP = ON         // Low Voltage Programming Enable bit (Low Voltage programming enabled. MCLR/Vpp pin function is MCLR.)

// CONFIG5
#pragma config CP = OFF         // UserNVM Program memory code protection bit (UserNVM code protection disabled)

// #pragma config statements should precede project file includes.
// Use project enums instead of #define for ON and OFF.

#include <xc.h>


void main(void) {
    return;
}
9、在main 里面添加功能代码


 1211
1211


 被折叠的 条评论
为什么被折叠?
被折叠的 条评论
为什么被折叠?
 到【灌水乐园】发言


