


1、从github中下载letter-shell源码
GitHub - NevermindZZT/letter-shell: letter shell
master分支或者Releases版本均可,没太大区别
2、程序运行流程介绍
- 串口初始化
- 中断控制器和串口中断初始化
- shell初始化
3、移植流程
3.1、新建一个application项目,模板选择empty c project,名字任取
3.2、将下载源码中的src文件夹移动到工程目录中,重命名为shell
3.3、新建main.c文件
#include "xparameters.h"		//器件参数信息
#include "xuartps.h"			//包含PS UART的函数声明
#include "xil_printf.h"			//包含print()函数
#include "xscugic.h"			//包含中断的函数声明
#include "stdio.h"				//包含printf函数的声明
#include "shell/shell_port.h"	//包含shell函数的声明

#define UART_DEVICE_ID     XPAR_PS7_UART_1_DEVICE_ID    //串口设备ID
#define INTC_DEVICE_ID     XPAR_SCUGIC_SINGLE_DEVICE_ID //中断ID
#define UART_INT_IRQ_ID    XPAR_XUARTPS_1_INTR          //串口中断ID

XScuGic Intc;              //中断控制器驱动程序实例
XUartPs Uart_Ps;           //串口驱动程序实例

int main(void)
{
   int status;

   status = uart_init(&Uart_Ps);    //串口初始化
   if (status == XST_FAILURE) {
       xil_printf("Uart Initial Failed\r\n");
       return XST_FAILURE;
   }

   uart_intr_init(&Intc, &Uart_Ps); //串口中断初始化
   userShellInit();

   while (1);
   return status;
}
我使用的是黑金的7020,所以uart设备ID和中断ID为1
3.4、编写串口初始化函数
//UART初始化函数
int uart_init(XUartPs* uart_ps)
{
	int status;
    XUartPs_Config *uart_cfg;

    uart_cfg = XUartPs_LookupConfig(UART_DEVICE_ID);
    if (NULL == uart_cfg)
       return XST_FAILURE;
    status = XUartPs_CfgInitialize(uart_ps, uart_cfg, uart_cfg->BaseAddress);
    if (status != XST_SUCCESS)
       return XST_FAILURE;

    //UART设备自检
     status = XUartPs_SelfTest(uart_ps);
    if (status != XST_SUCCESS)
       return XST_FAILURE;

    //设置工作模式:正常模式
    XUartPs_SetOperMode(uart_ps, XUARTPS_OPER_MODE_NORMAL);
    //设置波特率:115200
    XUartPs_SetBaudRate(uart_ps,115200);
    //设置RxFIFO的中断触发等级
    XUartPs_SetFifoThreshold(uart_ps, 1);

    return XST_SUCCESS;
}
重点关注XUartPs_SetBaudRate 和 XUartPs_SetFifoThreshold函数。
设置RxFIFO的中断触发等级,1为收到1个字节即触发XUARTPS_IXR_RXOVR中断,即RxFIFO接收到一个字符,设置成其他会导致shell输入不可用
3.5、编写中断控制器和串口中断初始化函数
//串口中断初始化
int uart_intr_init(XScuGic *intc, XUartPs *uart_ps)
{
	int status;
    //初始化中断控制器
    XScuGic_Config *intc_cfg;
    intc_cfg = XScuGic_LookupConfig(INTC_DEVICE_ID);
    if (NULL == intc_cfg)
        return XST_FAILURE;
    status = XScuGic_CfgInitialize(intc, intc_cfg,intc_cfg->CpuBaseAddress);
    if (status != XST_SUCCESS)
        return XST_FAILURE;

    //设置并打开中断异常处理功能
    Xil_ExceptionInit();
    Xil_ExceptionRegisterHandler(XIL_EXCEPTION_ID_INT,
            (Xil_ExceptionHandler)XScuGic_InterruptHandler,
            (void *)intc);
    Xil_ExceptionEnable();

    //为中断设置中断处理函数
    XScuGic_Connect(intc, UART_INT_IRQ_ID,
            (Xil_ExceptionHandler) uart_intr_handler,(void *) uart_ps);
    //设置UART的中断触发方式
    XUartPs_SetInterruptMask(uart_ps, XUARTPS_IXR_RXOVR);
    //使能GIC中的串口中断
    XScuGic_Enable(intc, UART_INT_IRQ_ID);
    return XST_SUCCESS;
}
重点关注XUartPs_SetInterruptMask函数,有多种触发类型,详见UG585
3.6、编写中断回调函数
//UART中断处理函数
void uart_intr_handler(void *call_back_ref)
{
	XUartPs *uart_instance_ptr = (XUartPs *) call_back_ref;
    u8 rec_data = 0 ;
    u32 isr_status ;                           //中断状态标志

    //读取中断ID寄存器,判断触发的是哪种中断
    isr_status = XUartPs_ReadReg(uart_instance_ptr->Config.BaseAddress,XUARTPS_IMR_OFFSET);
    isr_status &= XUartPs_ReadReg(uart_instance_ptr->Config.BaseAddress,XUARTPS_ISR_OFFSET);
    //判断中断标志位TxEmpty是否触发
	if((isr_status & (u32)XUARTPS_IXR_TXEMPTY))
	{
		//clear TX FIFO 中断标志
		XUartPs_WriteReg(uart_instance_ptr->Config.BaseAddress, XUARTPS_ISR_OFFSET, XUARTPS_IXR_TXEMPTY) ;
	}
	//判断中断标志位RxFIFO是否触发
    if (isr_status & (u32)XUARTPS_IXR_RXOVR){

        rec_data = XUartPs_RecvByte(XPAR_PS7_UART_1_BASEADDR);
        //清除RxFIFO 中断标志
        XUartPs_WriteReg(uart_instance_ptr->Config.BaseAddress, XUARTPS_ISR_OFFSET, XUARTPS_IXR_RXOVR);
    }

    shellHandler(&shell, rec_data);
}
一般我们只需关注XUARTPS_IXR_RXOVR中断触发,但是XUARTPS_IXR_TXEMPTY中断也是经常会被误启用,但是我们采用阻塞形式发送数据,不需要使用XUARTPS_IXR_TXEMPTY中断,因此可以直接关闭该中断。
3.7、创建shell移植文件shell_port.c/shell_port.h
#include "shell.h"
#include "xuartps.h"			//包含PS UART的函数声明

Shell shell;
extern XUartPs Uart_Ps;
char shellBuffer[512];

short userShellWrite(char *data, unsigned short len)
{
    for(unsigned short i=0; i<len; ++i)
    {
    	XUartPs_SendByte(Uart_Ps.Config.BaseAddress, *(data+i));
    }
    return len;
}

void userShellInit(void)
{
    shell.write = userShellWrite;

    shellInit(&shell, shellBuffer, 512);
}
3.8、修改lscript.ld文件,在只读段中增加letter-shell命令字段
.shell_command : {
	_shell_command_start = .;
	KEEP (*(shellCommand))
	_shell_command_end = .;
} > ps7_ddr_0参考ZYNQ 串口持续触发 TX FIFO EMPTY中断 XUARTPS_IXR_TXEMPTY_xuartps_ixr_txfull-CSDN博客
原来使用的XUartPs_Send(),默认会使能TX EMPTY中断,函数实现方便但是会导致发送完一行后程序卡死在中断中,后续改成了XUartPs_SendByte(),一次发送一个字节,问题消失
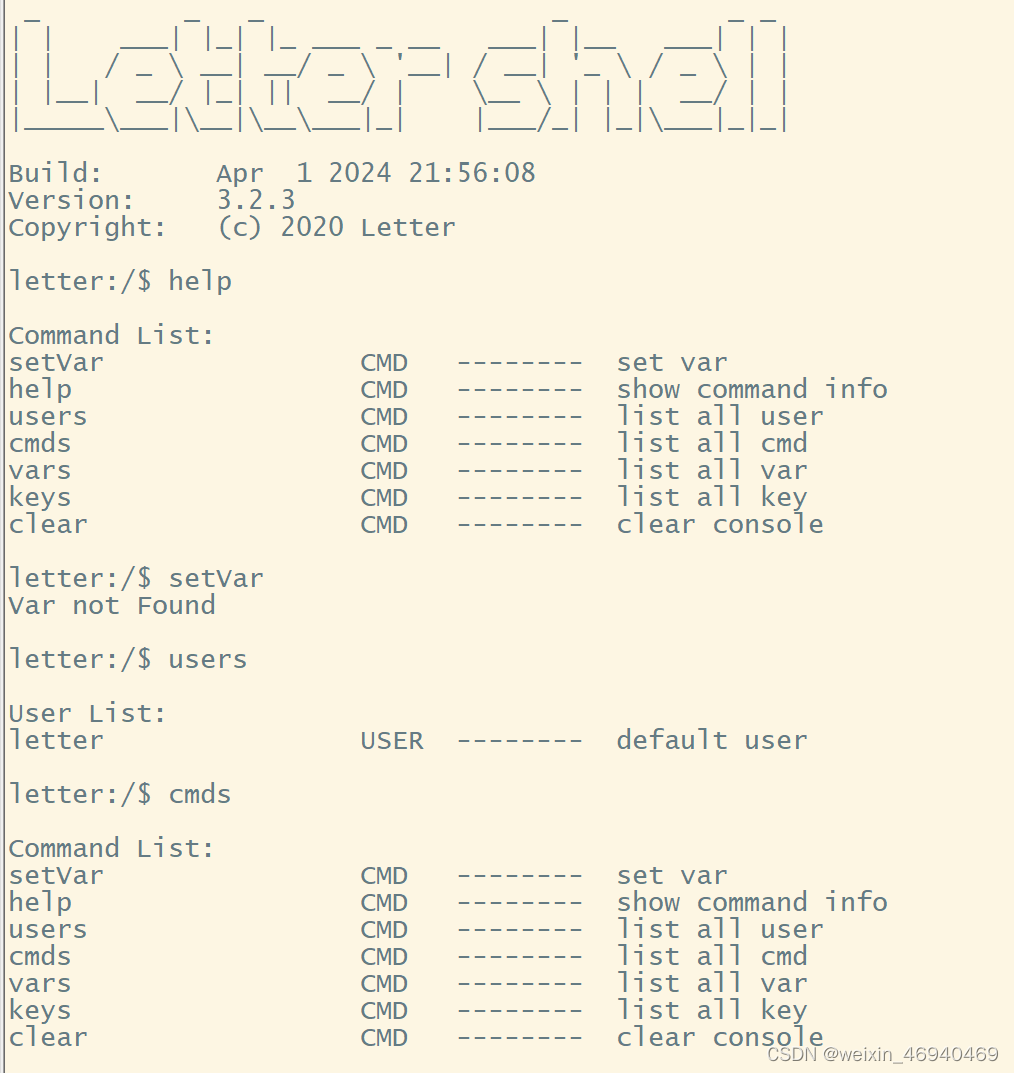
最后放一张效果图


 2394
2394


 被折叠的 条评论
为什么被折叠?
被折叠的 条评论
为什么被折叠?
 到【灌水乐园】发言


