


在实际深度学习项目中,目标检测算法检测出的目标也会作为分类网络的输入数据,利用目标检测算法的对被检测图像进行抠图,以抠出来的图来扩充分类网络的数据。本文主要讲解yolov5和mobilenetv3结合使用扩展数据样本。
1、yolov5检测框crop
yolov5脚本中自带对检测出来的物体抠图功能,为减少标注、训练等工作量,直接使用官方提供的COCO128.yaml配置文件和yolov5s.pt权重文件,以下是执行的过程。
1)配置文件COCO128.yaml
# Train/val/test sets as 1) dir: path/to/imgs, 2) file: path/to/imgs.txt, or 3) list: [path/to/imgs1, path/to/imgs2, ..]
path: ../datasets/coco128 # dataset root dir
train: images/train2017 # train images (relative to 'path') 128 images
val: images/train2017 # val images (relative to 'path') 128 images
test: # test images (optional)

# Classes
names:
  0: person
  1: bicycle
  2: car
  3: motorcycle
  4: airplane
  5: bus
  6: train
  7: truck
  8: boat
  9: traffic light
  10: fire hydrant
  ...
2)修改detect.py
新增一些交通信号灯的场景图片、视频,将其放在相应相应路径下,更改代码中的以下部分:
@smart_inference_mode()
def run(
    weights=ROOT / "yolov5s.pt",  # model path or triton URL
    source=ROOT / "classify/data/videos",  # file/dir/URL/glob/screen/0(webcam)
    data=ROOT / "data/COCO128.yaml",  # dataset.yaml path
    imgsz=(640, 640),  # inference size (height, width)
    conf_thres=0.25,  # confidence threshold
    iou_thres=0.45,  # NMS IOU threshold
    max_det=1000,  # maximum detections per image
    device="",  # cuda device, i.e. 0 or 0,1,2,3 or cpu
    view_img=False,  # show results
    save_txt=False,  # save results to *.txt
    save_csv=False,  # save results in CSV format
    save_conf=False,  # save confidences in --save-txt labels
    save_crop=False,  # save cropped prediction boxes
    nosave=False,  # do not save images/videos
    classes=None,  # filter by class: --class 0, or --class 0 2 3
    agnostic_nms=False,  # class-agnostic NMS
    augment=False,  # augmented inference
    visualize=False,  # visualize features
    update=False,  # update all models
    project=ROOT / "runs/detect",  # save results to project/name
    name="exp",  # save results to project/name
    exist_ok=False,  # existing project/name ok, do not increment
    line_thickness=3,  # bounding box thickness (pixels)
    hide_labels=False,  # hide labels
    hide_conf=False,  # hide confidences
    half=False,  # use FP16 half-precision inference
    dnn=False,  # use OpenCV DNN for ONNX inference
    vid_stride=1,  # video frame-rate stride
):
...

def parse_opt():
    """Parses command-line arguments for YOLOv5 detection, setting inference options and model configurations."""
    parser = argparse.ArgumentParser()
    parser.add_argument("--weights", nargs="+", type=str, default=ROOT / "yolov5s.pt", help="model path or triton URL")
    parser.add_argument("--source", type=str, default=ROOT / "/home/mengwen/yolov5/classify/data/videos", help="file/dir/URL/glob/screen/0(webcam)")
    parser.add_argument("--data", type=str, default=ROOT / "data/COCO128.yaml", help="(optional) dataset.yaml path")
    parser.add_argument("--imgsz", "--img", "--img-size", nargs="+", type=int, default=[640], help="inference size h,w")
    parser.add_argument("--conf-thres", type=float, default=0.25, help="confidence threshold")
    parser.add_argument("--iou-thres", type=float, default=0.45, help="NMS IoU threshold")
    parser.add_argument("--max-det", type=int, default=1000, help="maximum detections per image")
    parser.add_argument("--device", default="", help="cuda device, i.e. 0 or 0,1,2,3 or cpu")
    parser.add_argument("--view-img", action="store_true", help="show results")
    parser.add_argument("--save-txt", action="store_true", help="save results to *.txt")
    parser.add_argument("--save-csv", action="store_true", help="save results in CSV format")
    parser.add_argument("--save-conf", action="store_true", help="save confidences in --save-txt labels")
    parser.add_argument("--save-crop", action="store_true", help="save cropped prediction boxes")
    parser.add_argument("--nosave", action="store_true", help="do not save images/videos")
    parser.add_argument("--classes", nargs="+", type=int, help="filter by class: --classes 0, or --classes 0 2 3")
    parser.add_argument("--agnostic-nms", action="store_true", help="class-agnostic NMS")
    parser.add_argument("--augment", action="store_true", help="augmented inference")
    parser.add_argument("--visualize", action="store_true", help="visualize features")
    parser.add_argument("--update", action="store_true", help="update all models")
    parser.add_argument("--project", default=ROOT / "runs/detect", help="save results to project/name")
    parser.add_argument("--name", default="exp", help="save results to project/name")
    parser.add_argument("--exist-ok", action="store_true", help="existing project/name ok, do not increment")
    parser.add_argument("--line-thickness", default=3, type=int, help="bounding box thickness (pixels)")
    parser.add_argument("--hide-labels", default=False, action="store_true", help="hide labels")
    parser.add_argument("--hide-conf", default=False, action="store_true", help="hide confidences")
    parser.add_argument("--half", action="store_true", help="use FP16 half-precision inference")
    parser.add_argument("--dnn", action="store_true", help="use OpenCV DNN for ONNX inference")
    parser.add_argument("--vid-stride", type=int, default=1, help="video frame-rate stride")
    opt = parser.parse_args()
    opt.imgsz *= 2 if len(opt.imgsz) == 1 else 1  # expand
    print_args(vars(opt))
    return opt
3) crop
在对检测框进行crop时,可以根据自己的需求选择对应类别,这里以traffic_lights为例。
python detect.py --classes 9 --save-crop
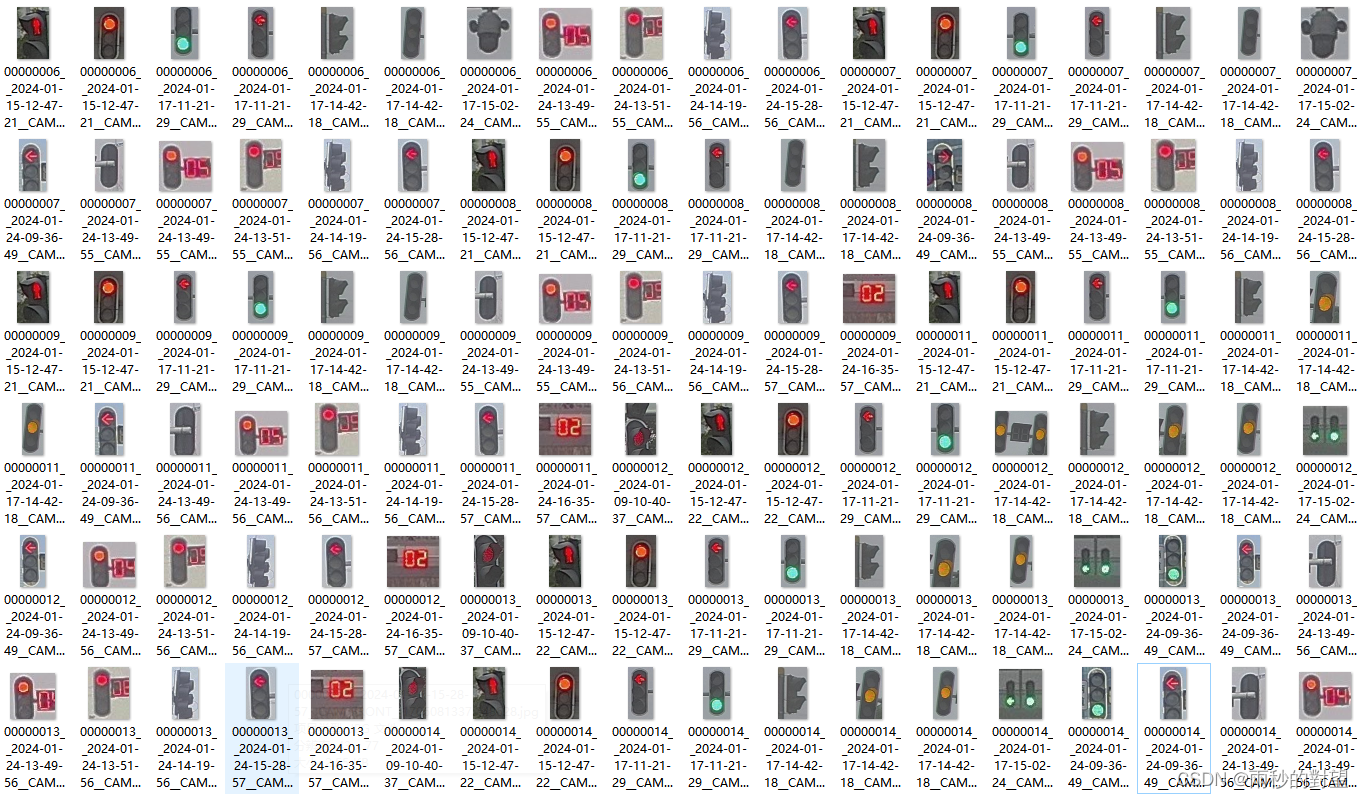 可以看到crop出来的之后交通信号灯种类多样,
2、mobilenetv3分类网络
鉴于数据样本较大,种类较多的情况,现使用原始数据集训练的onnx权重文件对图片进行识别划分。
1)原始数据集类别
将交通信号灯按照颜色、方向等属性分为33类(可根据自己需求调整)
    "0": "composite",
    "1": "green-circle",
    "2": "green-lane-signal",
    "3": "green-left",
    "4": "green-left_turn",
    "5": "green-number",
    "6": "green-others",
    "7": "green-person",
    "8": "green-right",
    "9": "green-straight",
    "10": "green-straight_left",
    "11": "green-turn",
    "12": "others",
    "13": "red-circle",
    "14": "red-left",
    "15": "red-left_turn",
    "16": "red-number",
    "17": "red-others",
    "18": "red-person",
    "19": "red-right",
    "20": "red-straight",
    "21": "red-straight_left",
    "22": "red-turn",
    "23": "red_signal_lights",
    "24": "yellow-circle",
    "25": "yellow-left",
    "26": "yellow-person",
    "27": "yellow-number",
    "28": "yellow-others",
    "29": "yellow-right",
    "30": "yellow-straight",
    "31": "yellow-straight_left",
    "32": "yellow-turn"
2)mobilenetv3算法
使用轻量级分类算法mobilenetv3对原始数据集(原始数据集可根据类别自行制作)进行训练,根据生成的onnx权重文件进行推理。
(1)onnx权重文件生成见:
mobilenetv3_small实现交通灯识别与推理
(2)分类推理
import os
from PIL import Image
import onnxruntime as ort
import numpy as np

def softmax(x):
    x = x.reshape(-1)
    e_x = np.exp(x - np.max(x))
    return e_x / e_x.sum(axis=0)

def postprocess(result):
    return softmax(np.array(result)).tolist()

class_mapping = {
        "0": "composite",
        "1": "green-circle",
        "2": "green-lane-signal",
        "3": "green-left",
        "4": "green-left_turn",
        "5": "green-number",
        "6": "green-others",
        "7": "green-person",
        "8": "green-right",
        "9": "green-straight",
        "10": "green-straight_left",
        "11": "green-turn",
        "12": "others",
        "13": "red-circle",
        "14": "red-left",
        "15": "red-left_turn",
        "16": "red-number",
        "17": "red-others",
        "18": "red-person",
        "19": "red-right",
        "20": "red-straight",
        "21": "red-straight_left",
        "22": "red-turn",
        "23": "red_signal_lights",
        "24": "yellow-circle",
        "25": "yellow-left",
        "26": "yellow-person",
        "27": "yellow-number",
        "28": "yellow-others",
        "29": "yellow-right",
        "30": "yellow-straight",
        "31": "yellow-straight_left",
        "32": "yellow-turn"
}

if __name__ == "__main__":
    onnx_model_path = "./traffic_light.onnx"
    ort_session = ort.InferenceSession(onnx_model_path)
    onnx_input_name = ort_session.get_inputs()[0].name
    onnx_outputs_names = ort_session.get_outputs()[0].name

    input_folder = 'E:/红绿灯识别/crops/crops-1/traffic light'
    output_folder = 'E:/红绿灯识别/crops/cls-crop-1'

    os.makedirs(output_folder, exist_ok=True)

    for file_name in os.listdir(input_folder):
        if file_name.endswith(('.jpg', '.jpeg', '.png')):
            img_path = os.path.join(input_folder, file_name)
            original_img = Image.open(img_path)
            original_width, original_height = original_img.size

            img = original_img.convert("RGB")
            img = img.resize((224, 224))
            img = np.asarray(img, np.float32) / 255.0
            img = img.transpose(2, 0, 1)
            img = img[np.newaxis, :, :, :]
            input_blob = np.array(img, dtype=np.float32)
            onnx_result = ort_session.run([onnx_outputs_names], input_feed={onnx_input_name: input_blob})
            res = postprocess(onnx_result)
            idx = np.argmax(res)
            predicted_class_name = class_mapping.get(str(idx), "unknown")
            probability = res[idx]

            print("Predicted class:", predicted_class_name)
            print("Probability:", probability)

            # 如果预测概率低于阈值,删除图片
            threshold = 0.5
            if predicted_class_name == "unknown" or probability < threshold:
                os.remove(img_path)
                print("Image removed due to low probability or unknown class.")
            else:
                # 保存结果图片到对应的类别文件夹
                output_class_folder = os.path.join(output_folder, predicted_class_name)
                os.makedirs(output_class_folder, exist_ok=True)
                result_image_path = os.path.join(output_class_folder, f'{file_name}')
                original_img.save(result_image_path)
3)效果
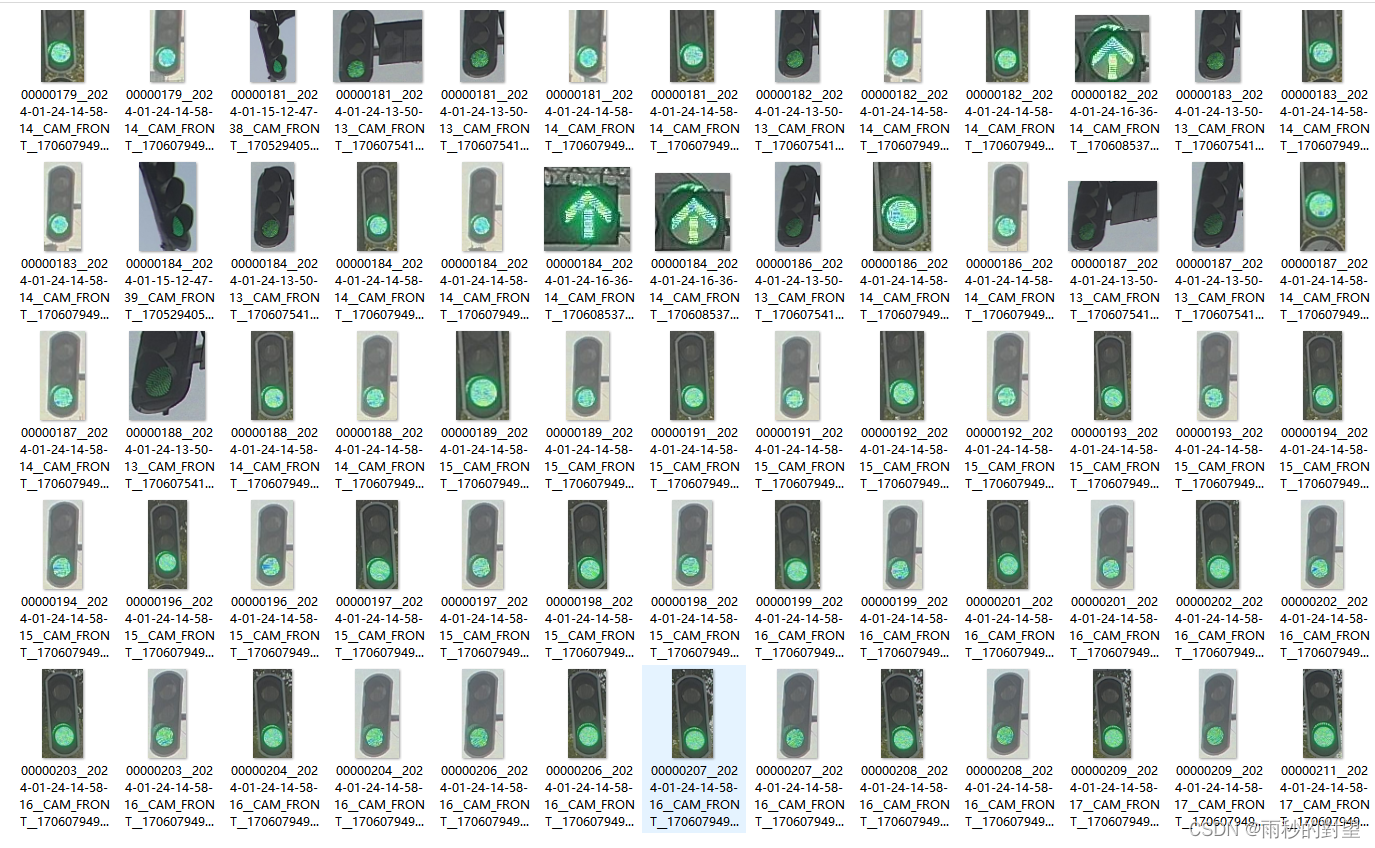
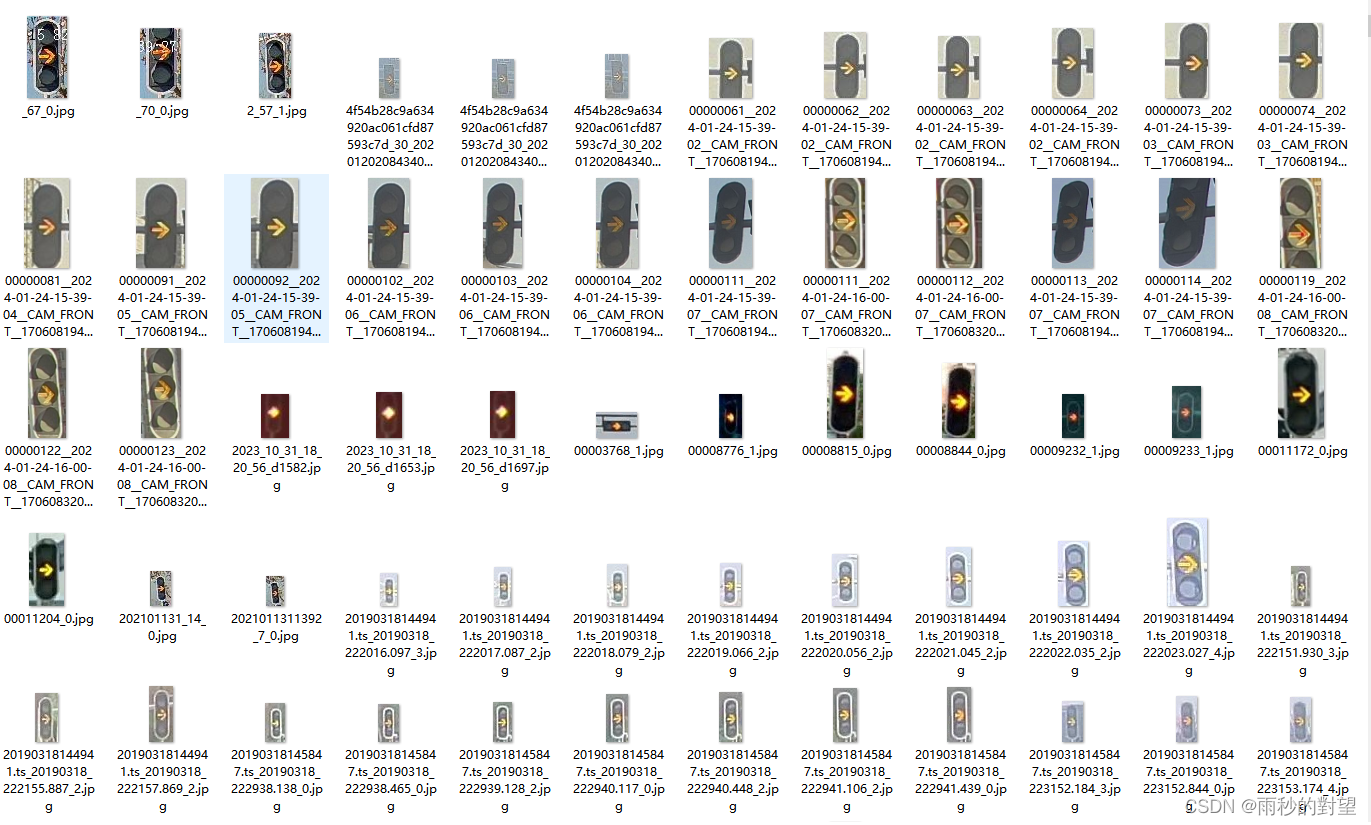
总体分类效果效果还可以,存在一些伪样本可以人为剔除,大大减少工作量,效果如下:
(1)green_circle
 (3)red_left
 (3)yellow_right


 2075
2075


 被折叠的 条评论
为什么被折叠?
被折叠的 条评论
为什么被折叠?
 到【灌水乐园】发言


