


一、代码设计
(一)主页面
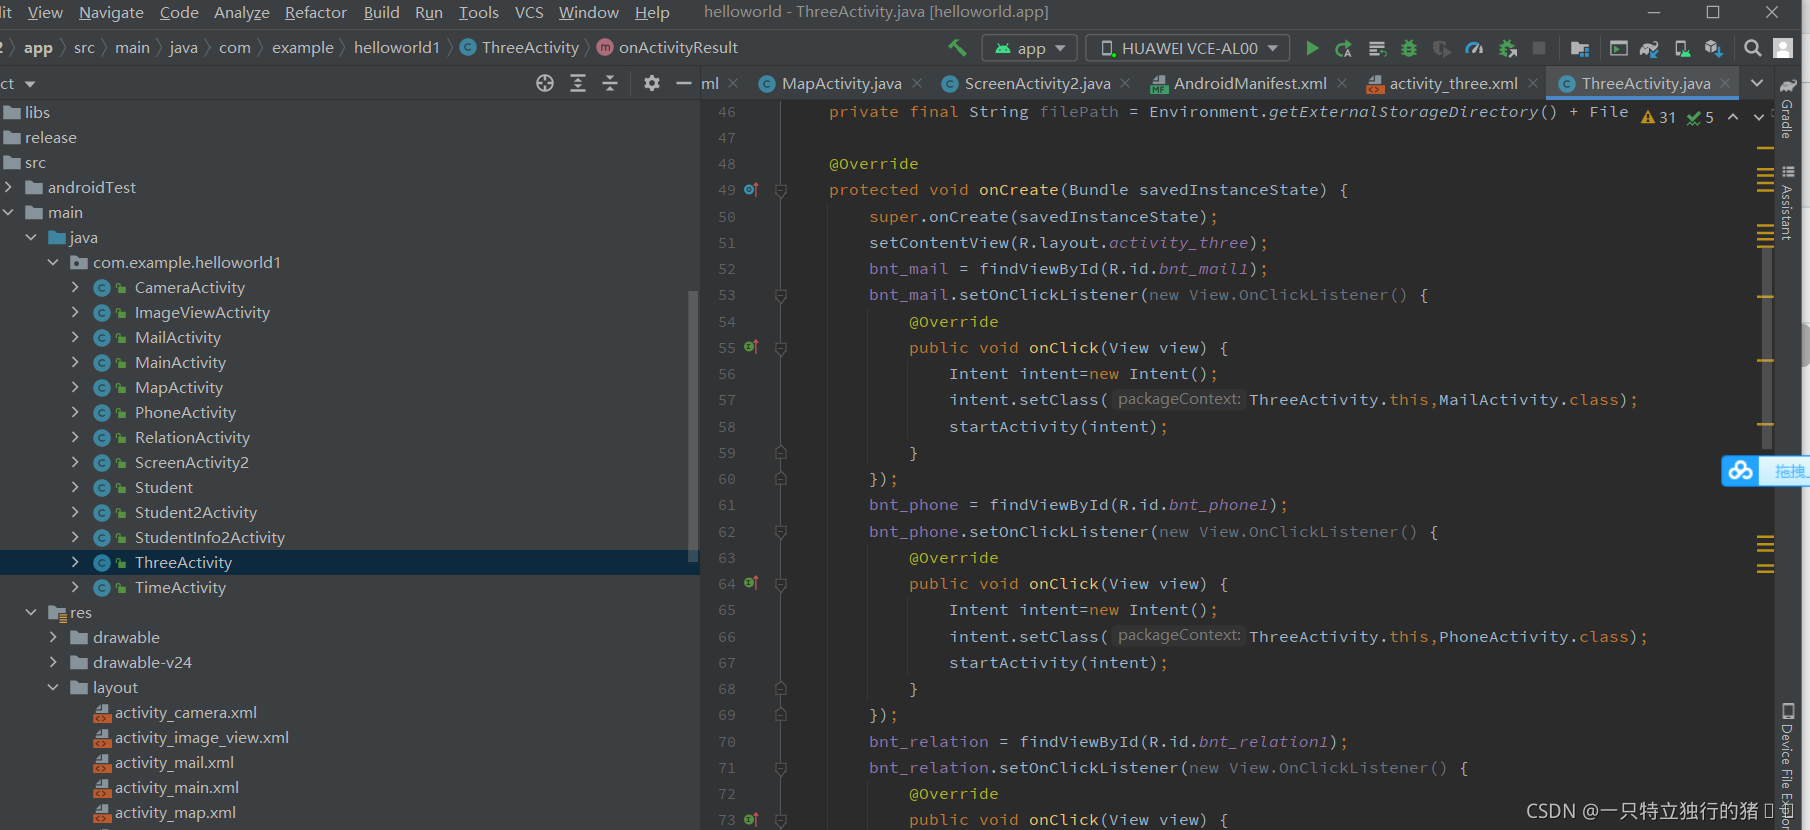
1.ThreeActivity
package com.example.helloworld1;

import androidx.annotation.NonNull;
import androidx.annotation.Nullable;
import androidx.appcompat.app.AppCompatActivity;
import androidx.core.app.ActivityCompat;
import androidx.core.content.ContextCompat;
import androidx.core.content.FileProvider;

import android.Manifest;
import android.annotation.SuppressLint;
import android.app.Activity;
import android.content.Intent;
import android.content.pm.PackageManager;
import android.graphics.Bitmap;
import android.graphics.BitmapFactory;
import android.net.Uri;
import android.os.Build;
import android.os.Bundle;
import android.os.Environment;
import android.provider.MediaStore;
import android.view.View;
import android.widget.Button;
import android.widget.EditText;
import android.widget.ImageButton;
import android.widget.ImageView;

import com.example.helloworld.R;

import java.io.File;
import java.io.FileNotFoundException;
import java.io.IOException;

public class ThreeActivity extends AppCompatActivity  {
    private ImageButton bnt_mail;
    private ImageButton bnt_phone;
    private ImageButton bnt_carmera;
    private ImageButton bnt_relation;
    EditText phonenum1;
    EditText phonenum2;
    ImageView image;

    public static final int TAKE_PHOTO = 2;//声明一个请求码,用于识别返回的结果
    private ImageView picture;
    private Uri imageUri;
    private final String filePath = Environment.getExternalStorageDirectory() + File.separator + "output_image.jpg";

    @Override
    protected void onCreate(Bundle savedInstanceState) {
        super.onCreate(savedInstanceState);
        setContentView(R.layout.activity_three);
        bnt_mail = findViewById(R.id.bnt_mail1);
        bnt_mail.setOnClickListener(new View.OnClickListener() {
            @Override
            public void onClick(View view) {
                Intent intent=new Intent();
                intent.setClass(ThreeActivity.this,MailActivity.class);
                startActivity(intent);
            }
        });
        bnt_phone = findViewById(R.id.bnt_phone1);
        bnt_phone.setOnClickListener(new View.OnClickListener() {
            @Override
            public void onClick(View view) {
                Intent intent=new Intent();
                intent.setClass(ThreeActivity.this,PhoneActivity.class);
                startActivity(intent);
            }
        });
        bnt_relation = findViewById(R.id.bnt_relation1);
        bnt_relation.setOnClickListener(new View.OnClickListener() {
            @Override
            public void onClick(View view) {
                Intent intent=new Intent();
                intent.setClass(ThreeActivity.this,RelationActivity.class);
                startActivityForResult(intent,0);
            }
        });
        bnt_relation.setOnClickListener(new View.OnClickListener() {
            @Override
            public void onClick(View view) {
                Intent intent=new Intent();
                intent.setClass(ThreeActivity.this,RelationActivity.class);
                startActivityForResult(intent,1);
            }
        });
        phonenum1 = findViewById(R.id.phoneNum);
        phonenum2 = findViewById(R.id.phoneNum);
        picture = findViewById(R.id.pictureshow);
        bnt_carmera = findViewById(R.id.carmera1);
        image=findViewById(R.id.pictureshow);
        bnt_carmera.setOnClickListener(new View.OnClickListener() {
            public void onClick(View view) {
                Intent it = new Intent();
              it.setAction(MediaStore.ACTION_IMAGE_CAPTURE);
              startActivityForResult(it,4);
            }
        });
    }

    @Override
    protected void onActivityResult(int requestCode, int resultCode, @Nullable Intent data) {
        super.onActivityResult(requestCode, resultCode, data);
        if (data == null) return;
        Bundle bundle = data.getExtras();
        if (requestCode == 0) {
            String phoneNum = bundle.getString("phonenum");
            phonenum1.setText(phoneNum);
        } else if (requestCode == 1) {
            String phoneNum = bundle.getString("phonenum");
            phonenum2.setText(phoneNum);
        }
       else if(requestCode==4)
        {
            Bitmap b=(Bitmap) bundle.get("data");
            image.setImageBitmap(b);

        }


        }


        }
2,activity_three.xml
<?xml version="1.0" encoding="utf-8"?>
<GridLayout xmlns:android="http://schemas.android.com/apk/res/android"
    xmlns:app="http://schemas.android.com/apk/res-auto"
    xmlns:tools="http://schemas.android.com/tools"
    android:layout_width="match_parent"
    android:layout_height="match_parent"
    android:paddingLeft="20dp"
    android:paddingRight="20dp"
    android:paddingBottom="20dp"
    android:paddingTop="20dp"
    android:columnCount="3"
    android:rowCount="8"
    android:orientation="horizontal"
    tools:context="com.example.helloworld1.ThreeActivity">

    <ImageButton
        android:id="@+id/bnt_mail1"
        android:layout_width="80dp"
        android:layout_height="80dp"
        android:layout_row="0"
        android:layout_rowSpan="1"
        android:layout_column="0"
        android:layout_columnSpan="1"
        android:layout_marginLeft="15dp"
        android:layout_marginRight="15dp"
        android:background="@mipmap/mail"
        android:text="短信" />

    <ImageButton
        android:id="@+id/bnt_phone1"
        android:layout_width="80dp"
        android:layout_height="80dp"
        android:layout_row="0"
        android:layout_rowSpan="1"
        android:layout_column="1"
        android:layout_columnSpan="1"
        android:layout_marginLeft="15dp"
        android:layout_marginRight="15dp"
        android:background="@mipmap/phone"
        android:text="电话" />

    <ImageButton
        android:layout_row="0"
        android:id="@+id/carmera1"
        android:layout_width="80dp"
        android:layout_height="80dp"
        android:layout_rowSpan="1"
        android:layout_columnSpan="1"
        android:layout_marginLeft="0dp"
        android:layout_marginRight="15dp"
        android:background="@mipmap/carmera"
        android:text="照相" />

    <EditText

        android:id="@+id/phoneNum"
        android:layout_row="2"
        android:layout_columnSpan="2"
        android:layout_column="0"
        android:layout_width="250dp"
        android:layout_height="50dp"
        android:hint="输入电话号码"
        android:inputType="number" />
    <ImageButton

        android:layout_row="2"
        android:layout_rowSpan="1"
        android:layout_columnSpan="1"
        android:text="联系人"
        android:layout_width="50dp"
        android:layout_height="50dp"
        android:background="@mipmap/realate"
        android:id="@+id/bnt_relation1"/>
    <ImageView
        android:layout_row="2"
        android:layout_rowSpan="4"
        android:layout_columnSpan="3"
        android:id="@+id/pictureshow"
        android:layout_width="380dp"
        android:layout_height="380dp"
        android:layout_gravity="center_horizontal"
        />

</GridLayout>
(二)联系人电话
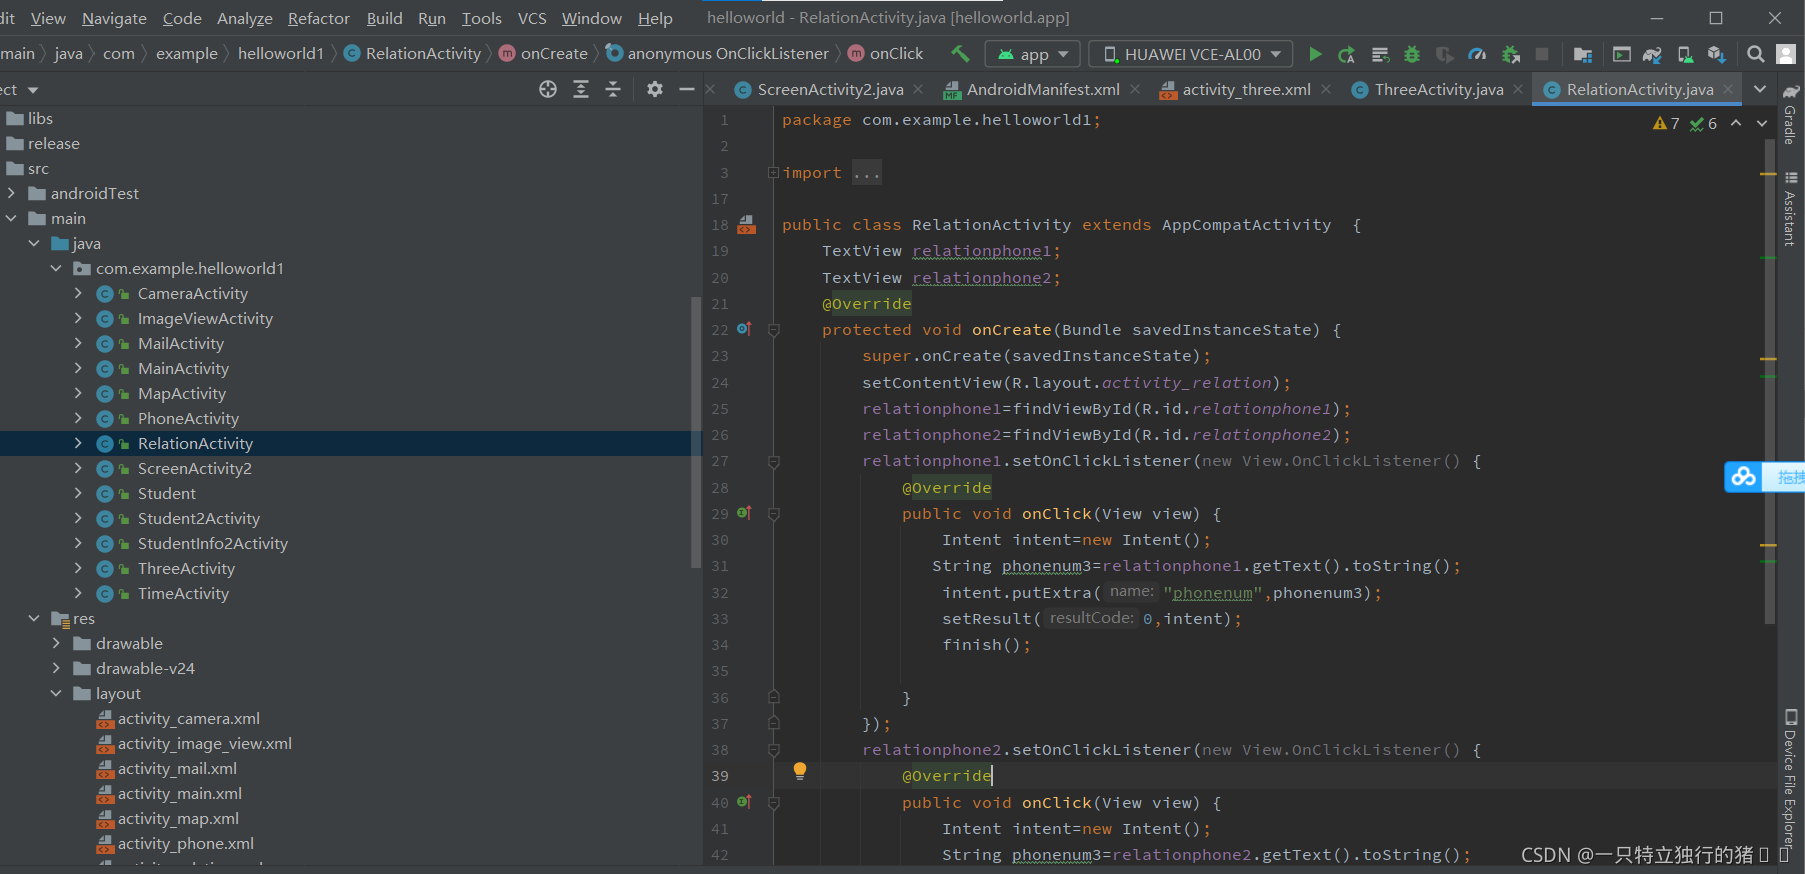
1.RelationActivity
package com.example.helloworld1;

import androidx.appcompat.app.AppCompatActivity;

import android.annotation.SuppressLint;
import android.content.Intent;
import android.os.Bundle;
import android.view.View;
import android.widget.Button;
import android.widget.EditText;
import android.widget.ImageButton;
import android.widget.TextView;

import com.example.helloworld.R;

import java.nio.charset.StandardCharsets;

public class RelationActivity extends AppCompatActivity  {
    TextView relationphone1;
    TextView relationphone2;
    @Override
    protected void onCreate(Bundle savedInstanceState) {
        super.onCreate(savedInstanceState);
        setContentView(R.layout.activity_relation);
        relationphone1=findViewById(R.id.relationphone1);
        relationphone2=findViewById(R.id.relationphone2);
        relationphone1.setOnClickListener(new View.OnClickListener() {
            @Override
            public void onClick(View view) {
                Intent intent=new Intent();
               String phonenum3=relationphone1.getText().toString();
                intent.putExtra("phonenum",phonenum3);
                setResult(0,intent);
                finish();

            }
        });
        relationphone2.setOnClickListener(new View.OnClickListener() {
            @Override
            public void onClick(View view) {
                Intent intent=new Intent();
                String phonenum3=relationphone2.getText().toString();
                intent.putExtra("phonenum",phonenum3);
                setResult(1,intent);
                finish();
            }
        });
   }}
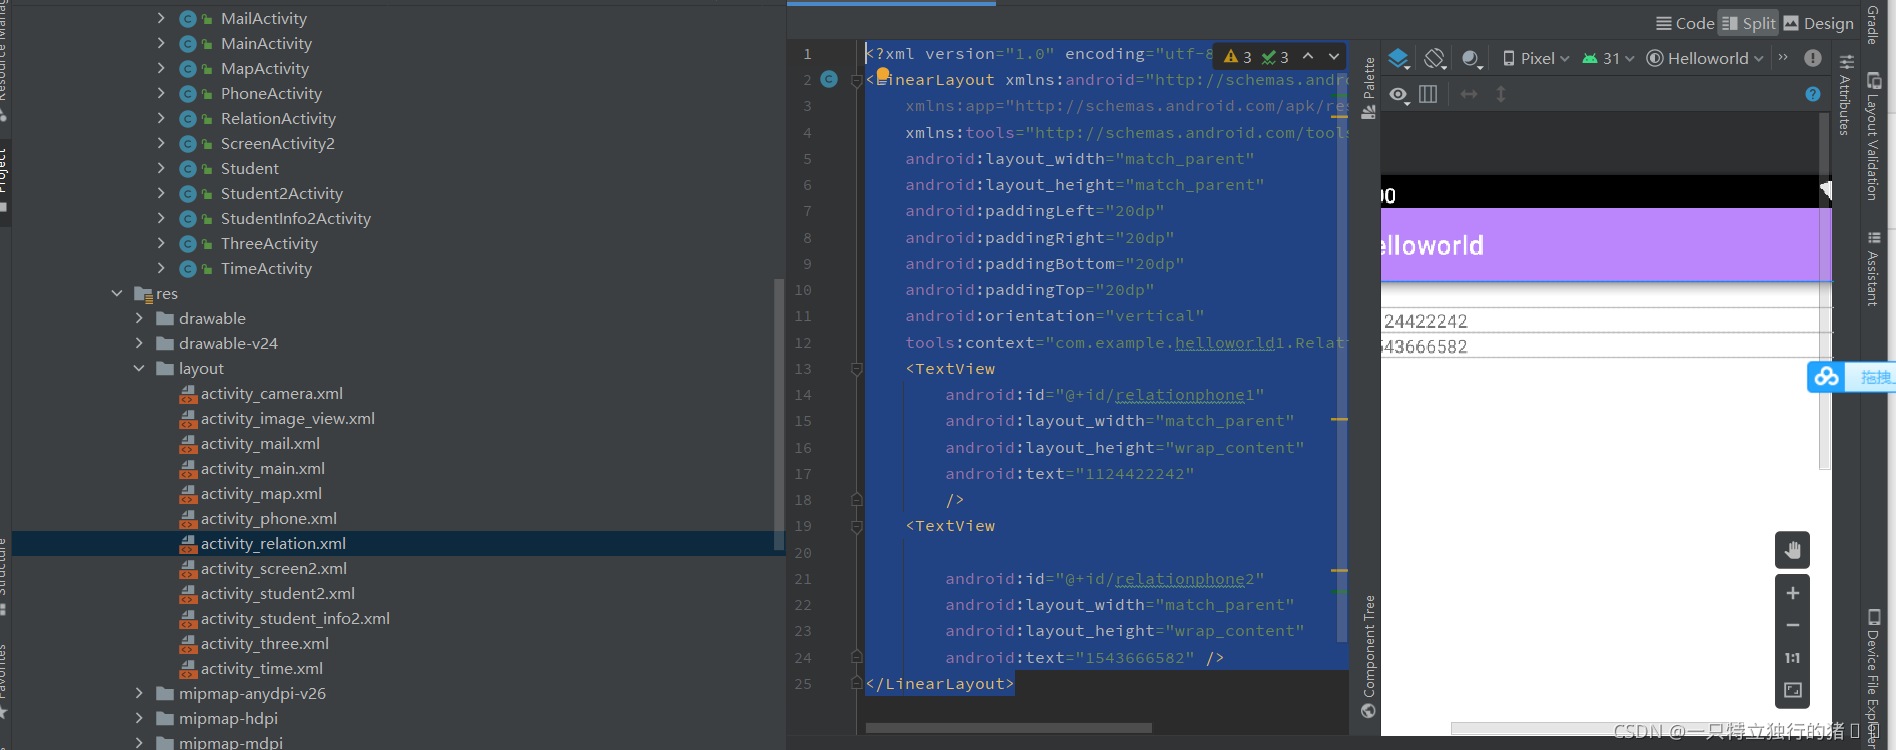
2.activity_three.xml
<?xml version="1.0" encoding="utf-8"?>
<LinearLayout xmlns:android="http://schemas.android.com/apk/res/android"
    xmlns:app="http://schemas.android.com/apk/res-auto"
    xmlns:tools="http://schemas.android.com/tools"
    android:layout_width="match_parent"
    android:layout_height="match_parent"
    android:paddingLeft="20dp"
    android:paddingRight="20dp"
    android:paddingBottom="20dp"
    android:paddingTop="20dp"
    android:orientation="vertical"
    tools:context="com.example.helloworld1.RelationActivity">
    <TextView
        android:id="@+id/relationphone1"
        android:layout_width="match_parent"
        android:layout_height="wrap_content"
        android:text="1124422242"
        />
    <TextView

        android:id="@+id/relationphone2"
        android:layout_width="match_parent"
        android:layout_height="wrap_content"
        android:text="1543666582" />
</LinearLayout>
二、演示界面
1.点击简单页面进入

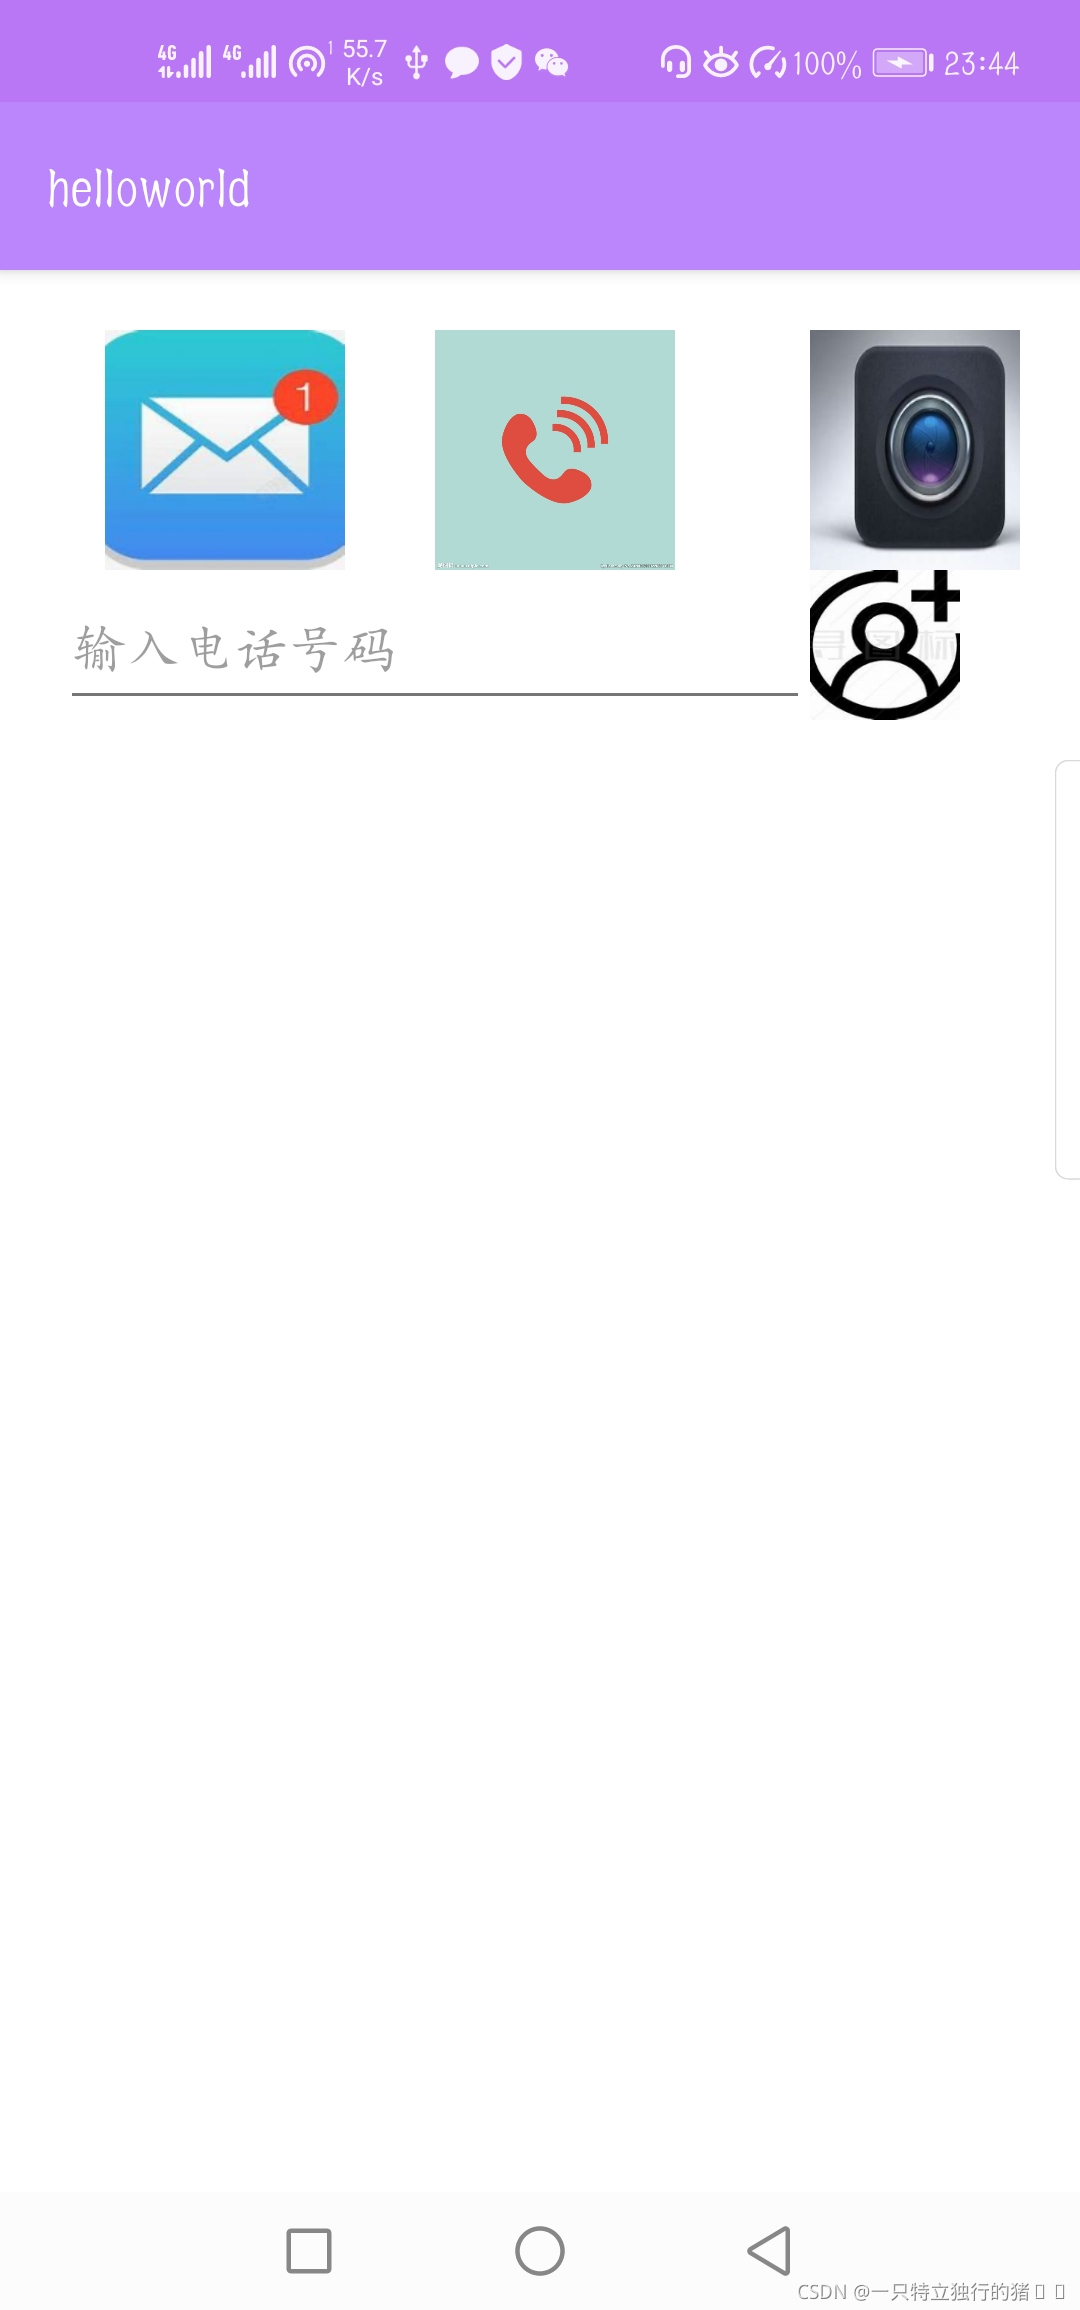
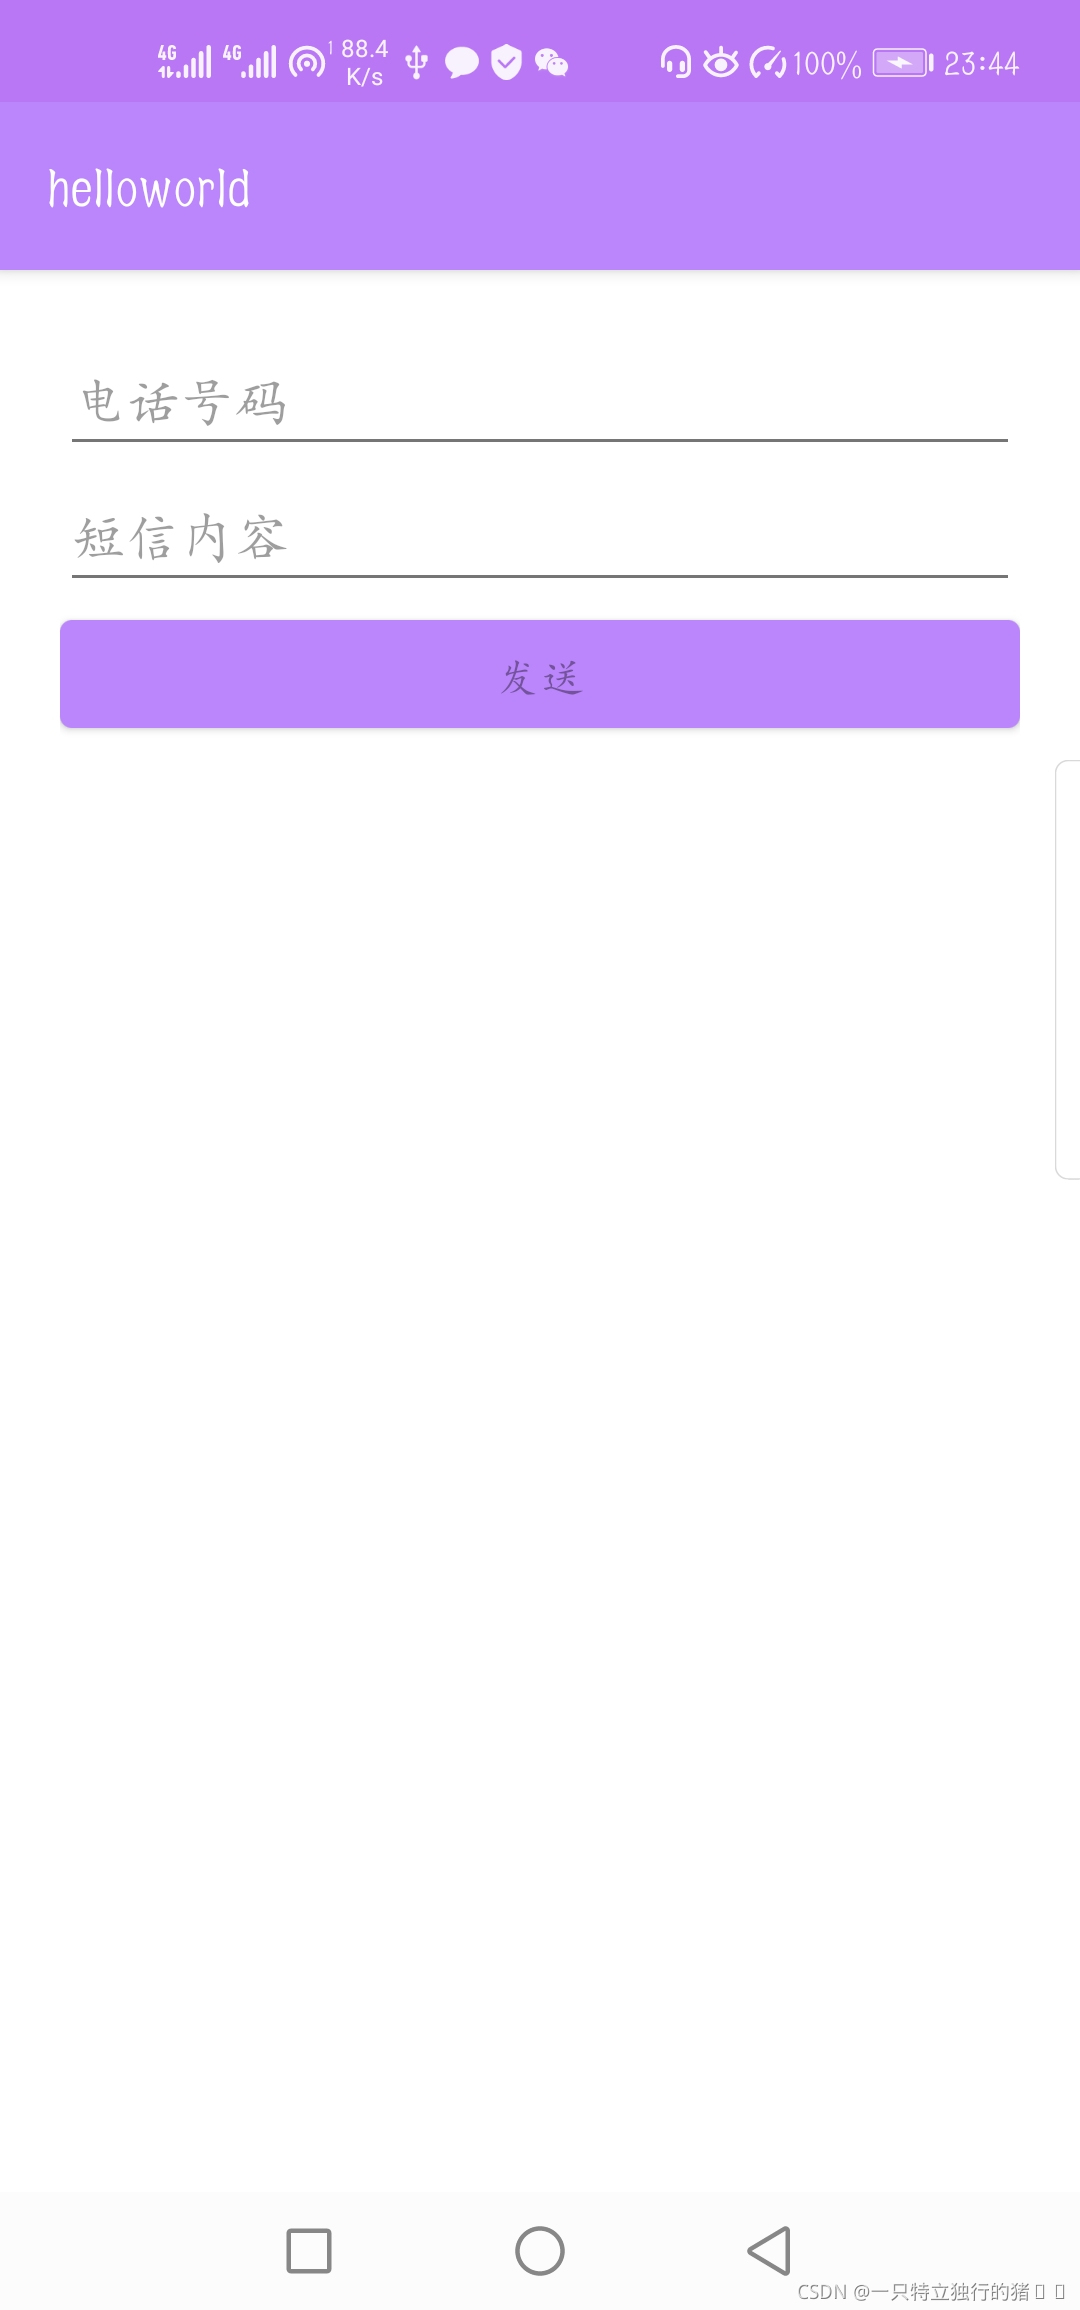
2.点击短信图标跳转
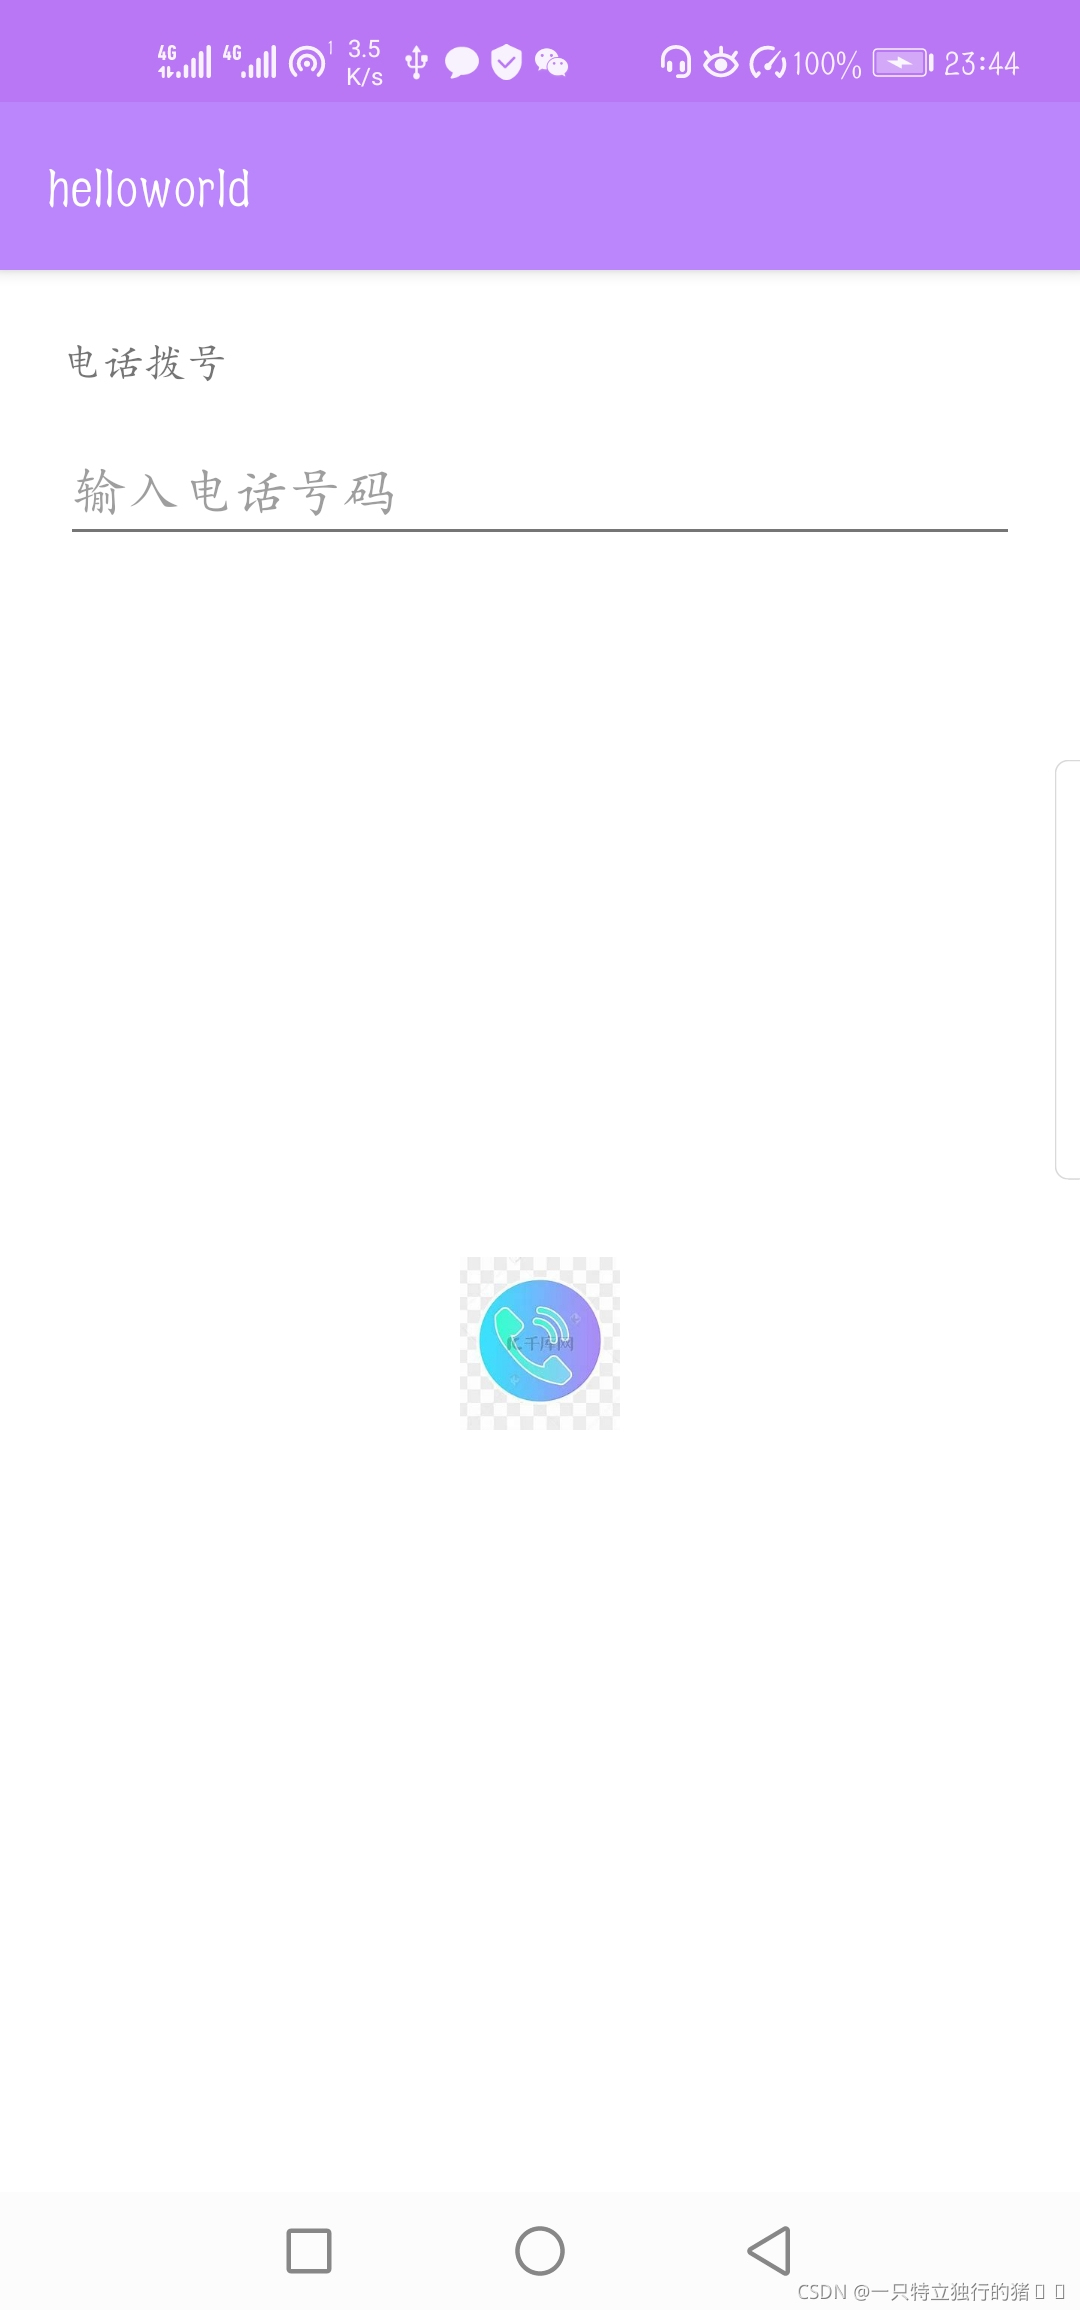
3.点击电话图标跳转
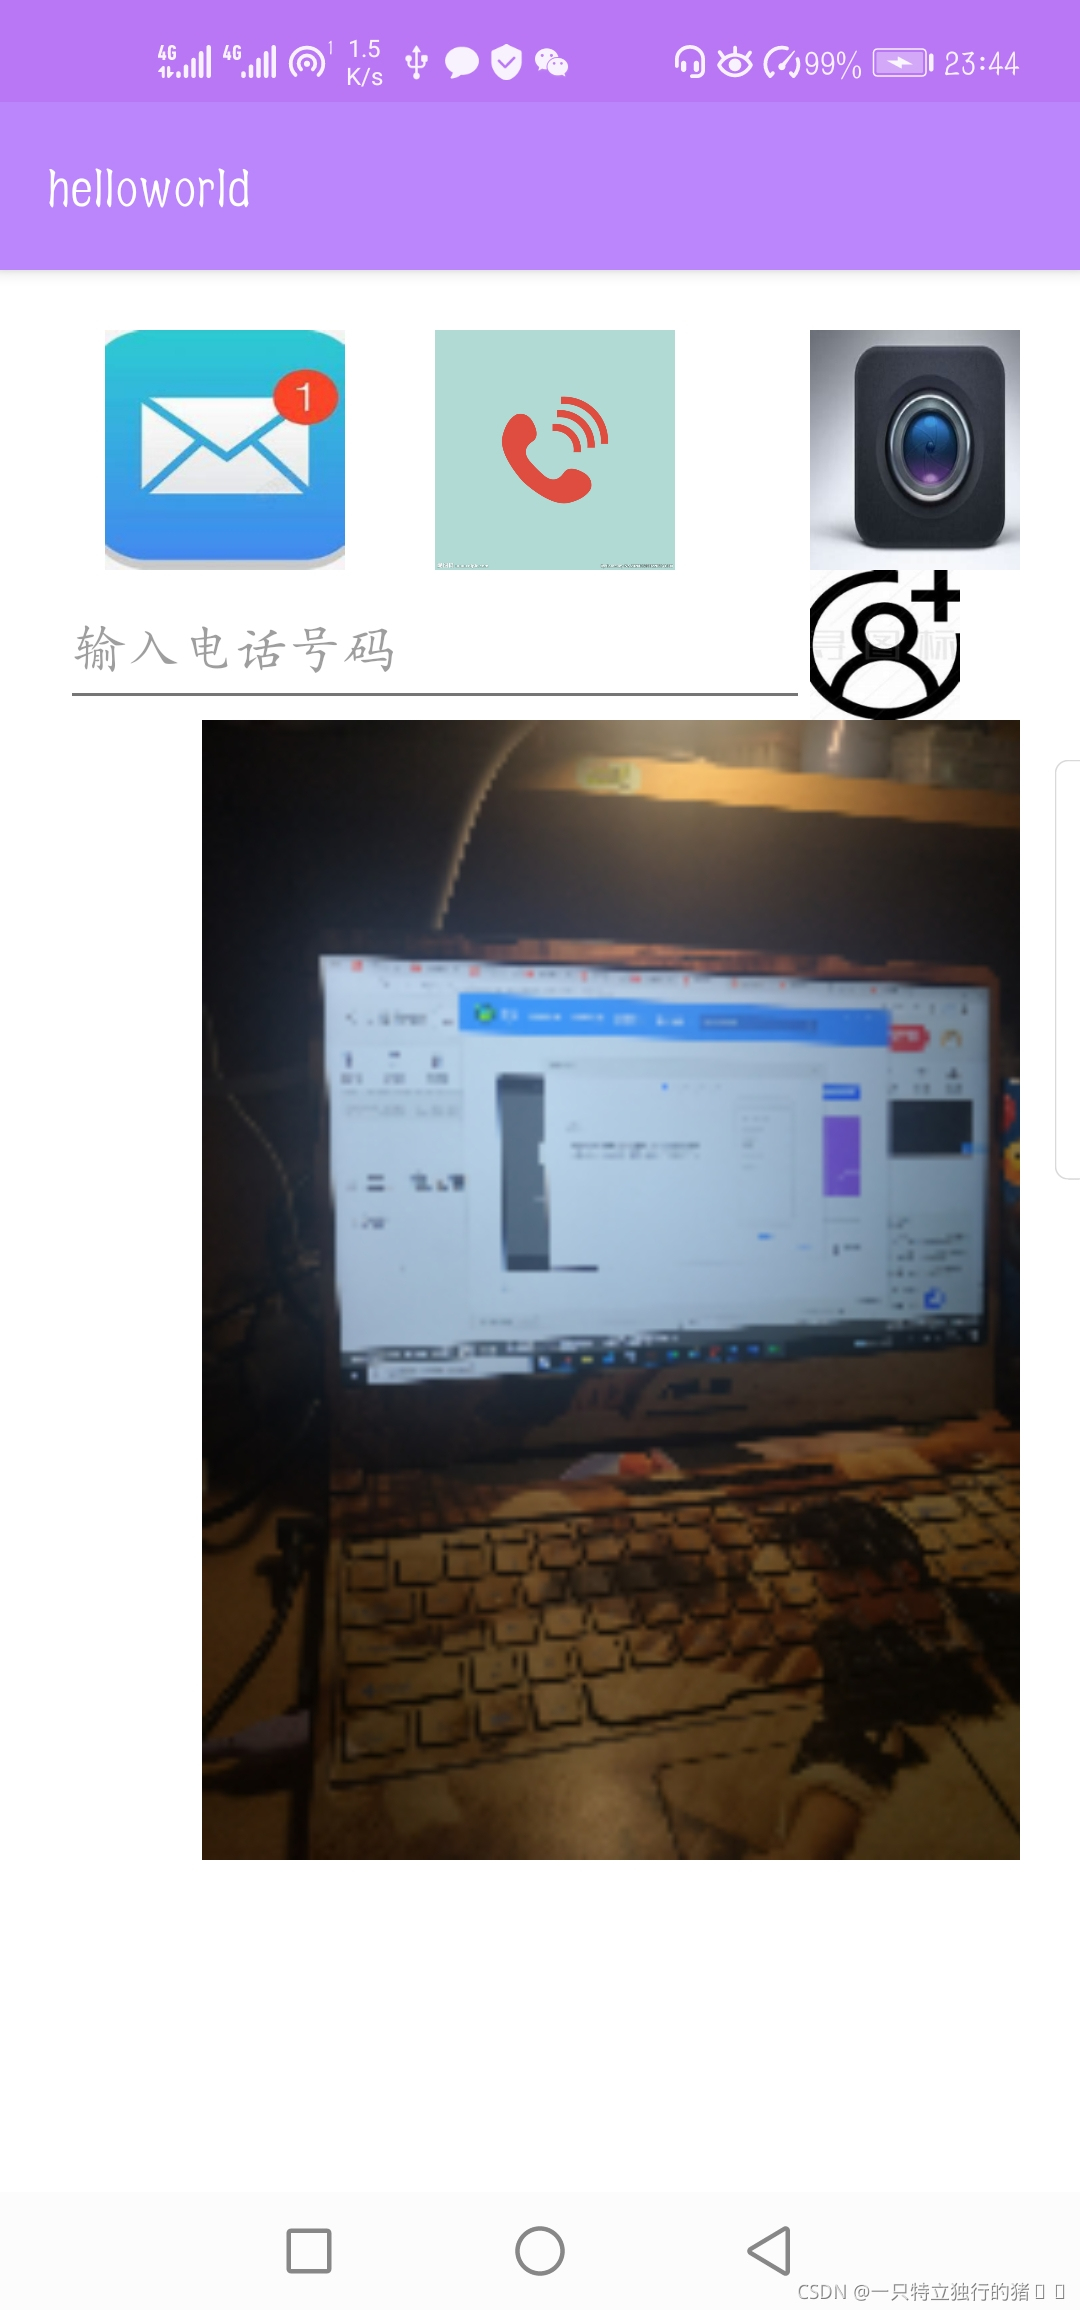
3.点击相机图标跳转拍照后
返回相片
4.点击联系人图标跳转到另一个页面
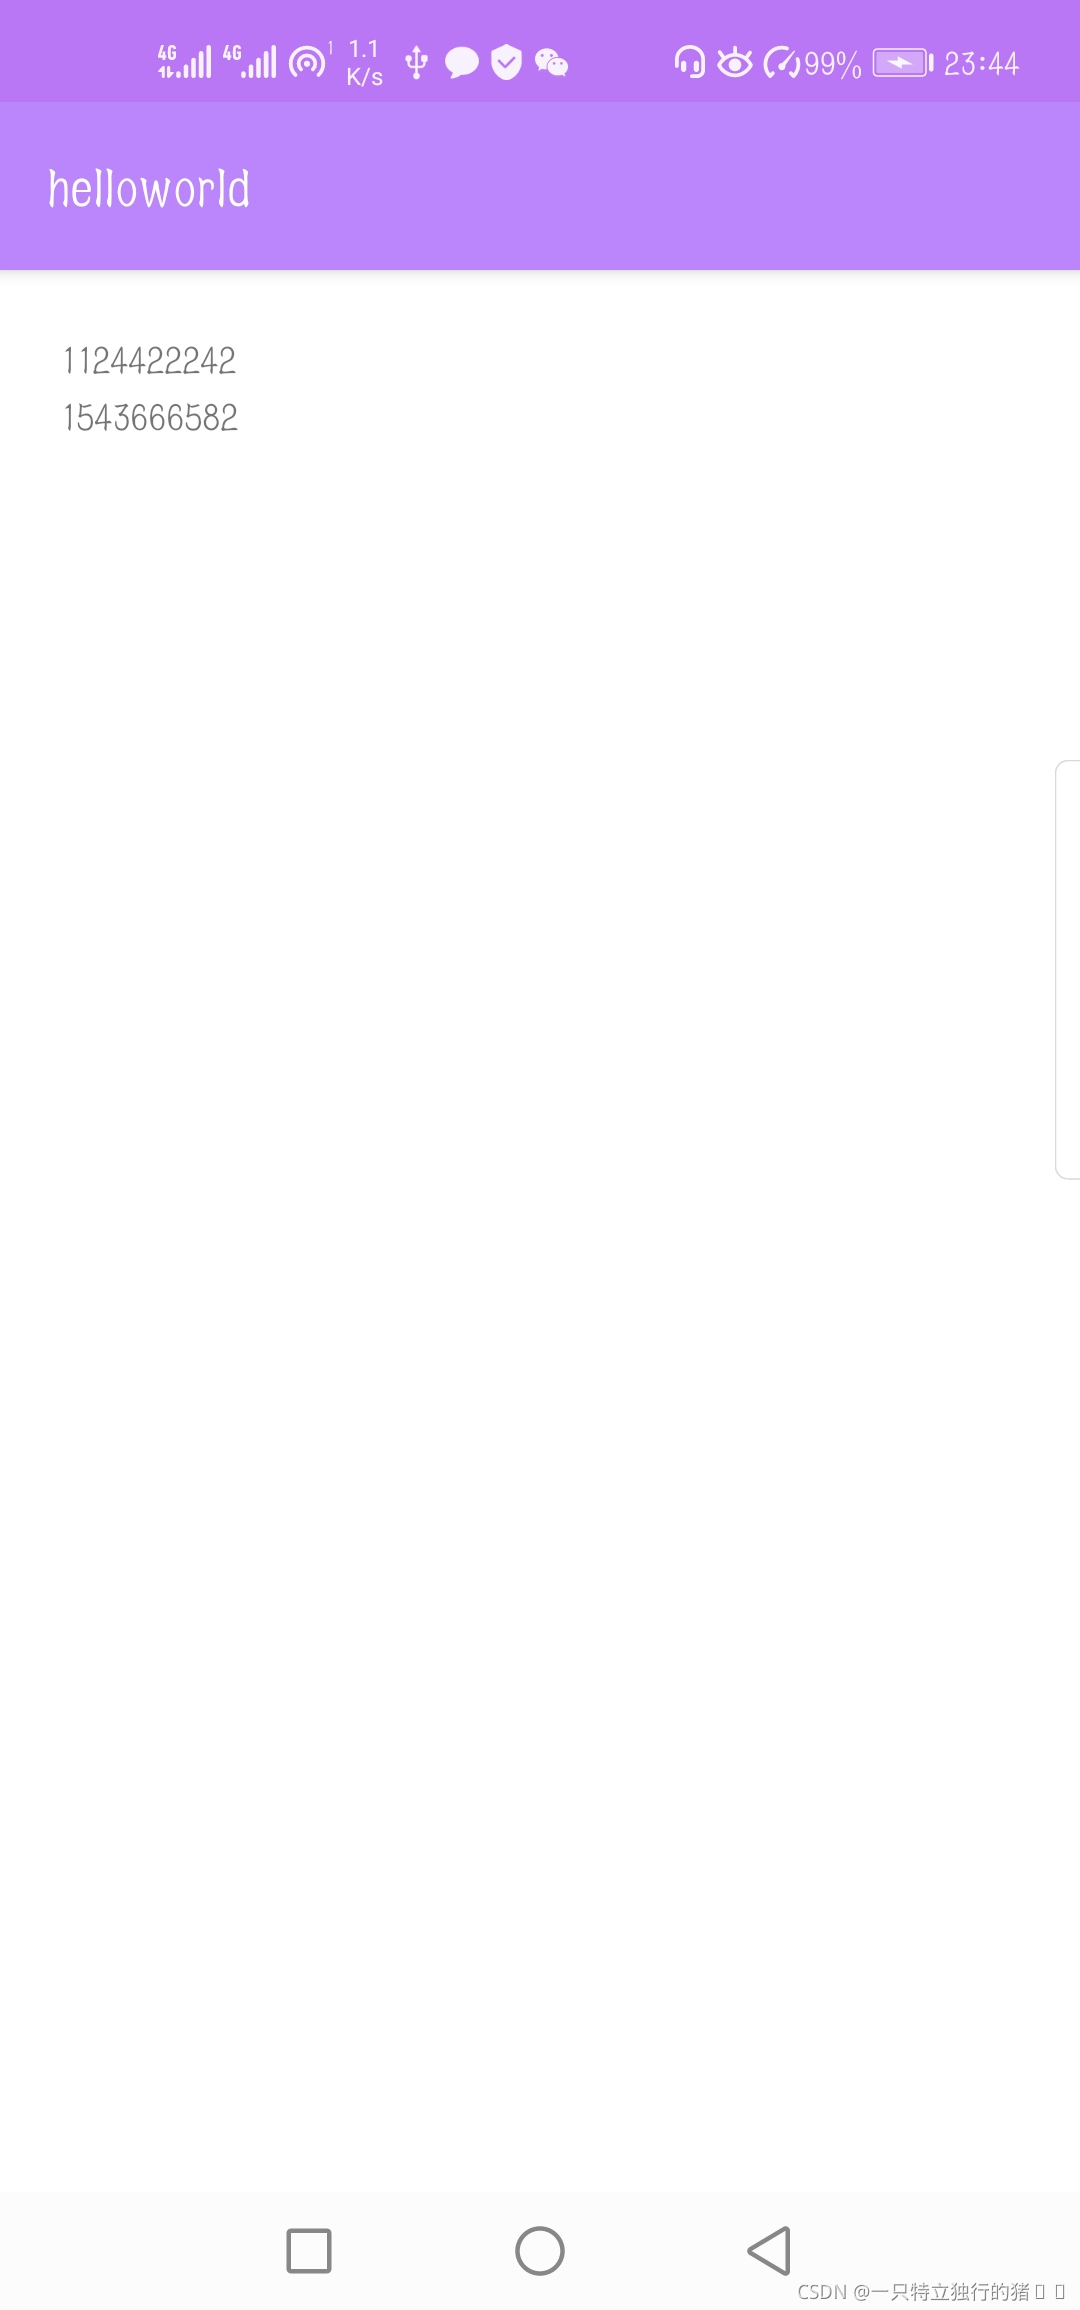
点击号码返回值


 1330
1330


 被折叠的 条评论
为什么被折叠?
被折叠的 条评论
为什么被折叠?
 到【灌水乐园】发言


