


1.创建一个环境
conda create -n Xinference python=3.102.激活环境
conda activate Xinference3.配置国内镜像源
升级pip
python -m pip install --upgrade pip设置虚拟环境模型镜像源为清华大学镜像源
pip config set global.index-url https://pypi.tuna.tsinghua.edu.cn/simple若自己python基础环境已经搭建好了,以上步骤可省略。
下面是安装教程
4.安装XInference
pip install "xinference[all]"安装过程有两个坑
(1)llama-cpp-python相关报错,原因是XInference安装过程会默认安装llama-cpp-python包,但是安装的版本不可用,解决方法是安装一个可用版本,此时查的官网上的最新版本是0.3.2,安装后即可解决
pip install llama-cpp-python==0.3.2(2)pytorch相关报错:
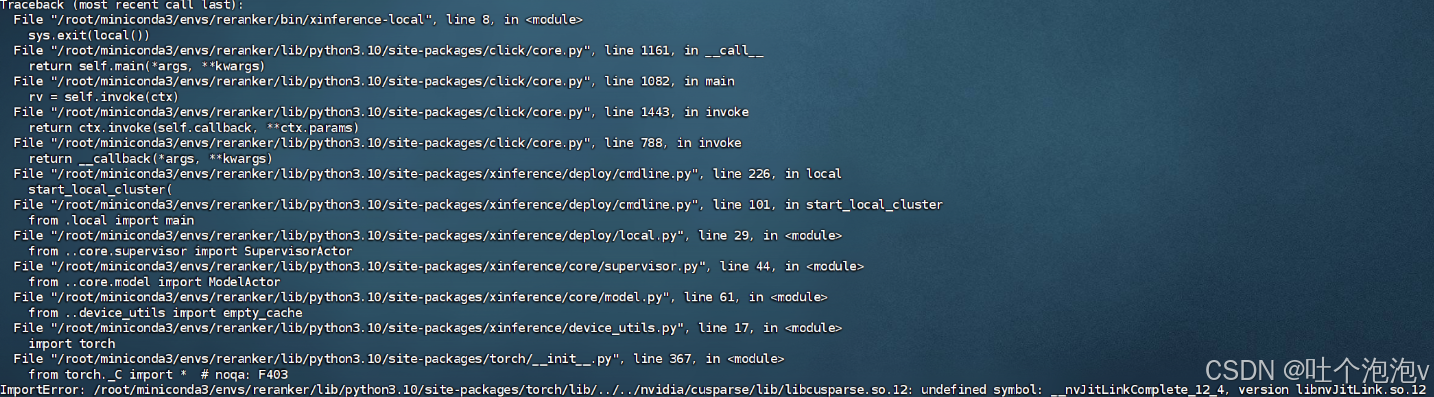
原因是XInference安装过程会自动安装一个pytorch,而安装的版本不可用,解决版本是卸载后重装一个可用的,需要先卸载,这点很关键。
pip uninstall torch查pytorch官网安装一个与cuda版本适配的
pip install torch==2.5.1 torchvision==0.20.1 torchaudio==2.5.1 --index-url https://download.pytorch.org/whl/cu121终端输入
python -c "import torch; print(torch.cuda.is_available())"输出结果为True,则表示 PyTorch 正常
到此XInference就安装好了,xinference[all]表示安装包含所有引擎的
5.XInference部署模型
官网文档自定义模型 — Xinference可以参考,但是有坑。
(1)网上查了很多资料,都说这两步就能部署好
xinference-local --host 0.0.0.0 --port 9997
XINFERENCE_MODEL_SRC=modelscope xinference launch --model-name bge-m3 --model-type embedding
说明一下,以上步骤是在线部署,就是先在线下载再部署,只有官网支持的模型才能用,此处设置下载源为国内的modelscope会更快,但是网速不行还是很容易失败;第二个坑是端口号不能乱改。
(2)建议是离线下载模型,再做部署,更容易成功
启动xinference服务:
xinference-local --host 0.0.0.0 --port 9997也可以后台启动:
nohup xinference-local --host 0.0.0.0 --port 9997 &> nohup.out &启动模型:
xinference launch --model_path ~/llm/bge-reranker-large --model-name bge-large-zh-v1.5 --model-type embedding
xinference launch --model_path ~/llm/bge-reranker-large --model-name bge-reranker-large --model-type rerank
路径改成自己下载的模型路径,我部署的是embedding模型是bge-large-en-v1.5,rerank模型是bge-reranker-large,后台启动日志输出到nohup.out文件中。
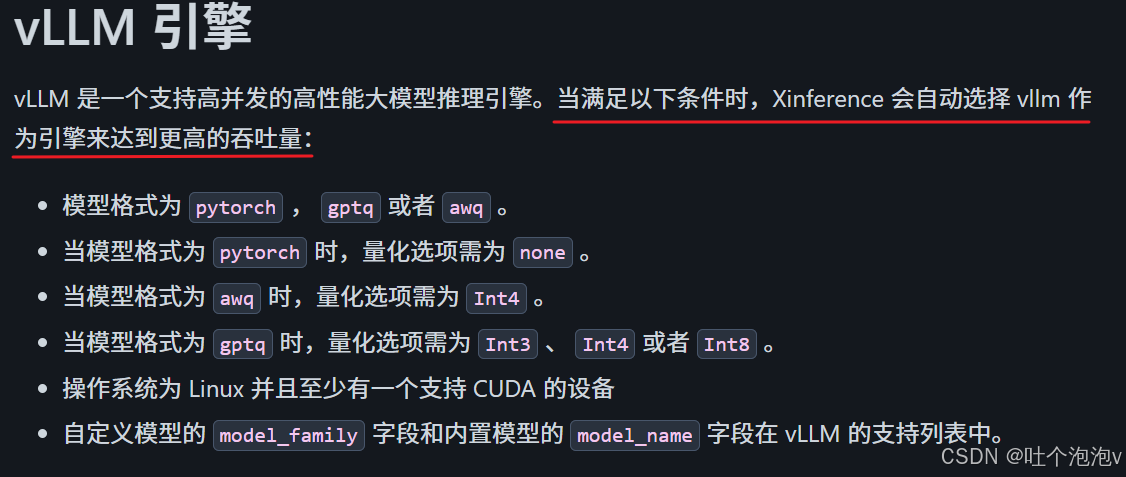
启动模型时也可以加一个--model-engine来指定引擎,不加会有默认的引擎。
(3)也可以做自定义部署。
要先注册
xinference register --model-type <model_type> --file model.json --persist注册的有问题可用
xinference registrations --model-type <model_type>

xinference unregister --model-type <model_type> --model-name custom-llama-2
查看和注销模型。
注册模板,embedding的
{
    "model_name": "custom-bge-base-en",
    "dimensions": 768,
    "max_tokens": 512,
    "language": ["en"],
    "model_id": "BAAI/bge-base-en",
    "model_uri": "file:///path/to/bge-base-en"
}
rerank的
{
    "model_name": "custom-bge-reranker-v2-m3",
    "type": "normal",
    "language": ["en", "zh", "multilingual"],
    "model_id": "BAAI/bge-reranker-v2-m3",
    "model_uri": "file:///path/to/bge-reranker-v2-m3"
}最后是用launch来启动
xinference launch --model-name bge-large-en-v1.5 --model-type embedding
xinference launch --model-name bge-reranker-large --model-type rerank自定义部署注意改成自己的注册的模板,launch启动的时候用的model-name是模板上的模型名称。
(4)停止模型
xinference terminate --model-uid "bge-large-zh-v1.5"
xinference terminate --model-uid "bge-reranker-large"
因为有守护进程所以直接杀死进程不起作用,kill掉后过一会又会重启的,需要用上面的命令来停掉模型,model-uid需要与启动模型时的模型UID一致。


 525
525

 被折叠的 条评论
为什么被折叠?
被折叠的 条评论
为什么被折叠?
 到【灌水乐园】发言


