


一:开发环境搭建。
1:新建unity 3D工程。
2:官网下载SDK。
https://developer-global.pico-interactive.com/

官方推荐用第一个。Pico Unity Integration SDK。
文档:
https://developer-cn.pico-interactive.com/document/unity/chapter-overview/
3:unity导入下载的离线包。

4:模型下载。
需要翻墙,快一些。
5:到这一步直接运行,有摄像机画面,但不会随头部运动而动。

真机调试,选择此处。

到这一步直接运行,头部会跟随运动,无手柄显示,只有一根红线。
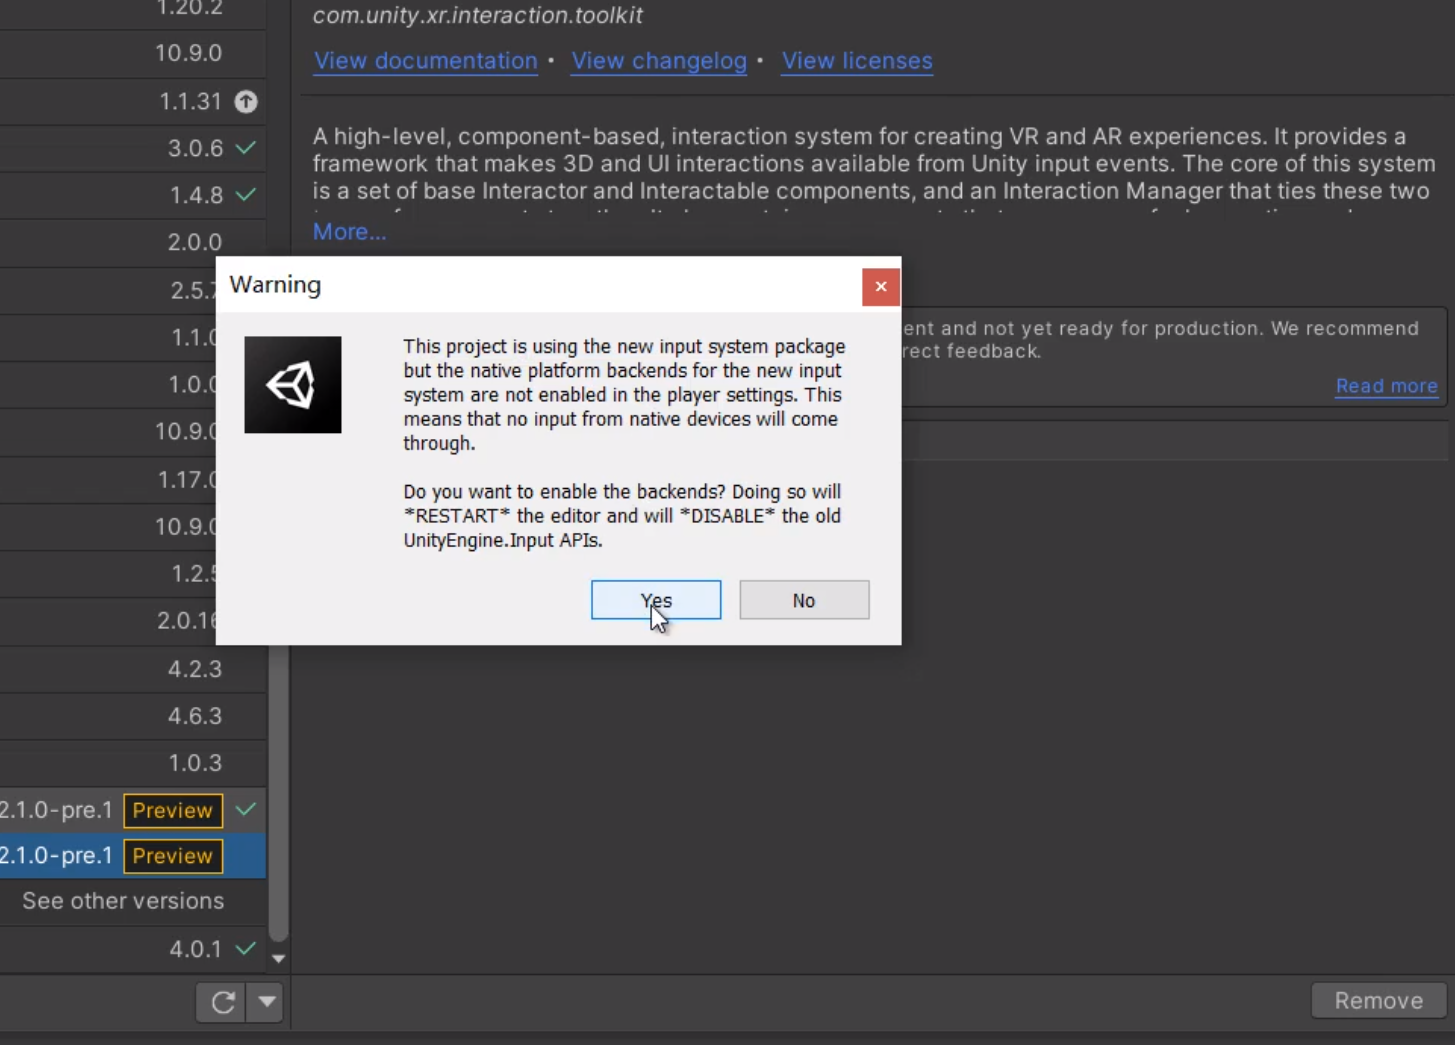

此两处点yes。 go ahead。

6:到这一步直接运行,手柄会动,但没预制体。
添加手柄跟随运动。
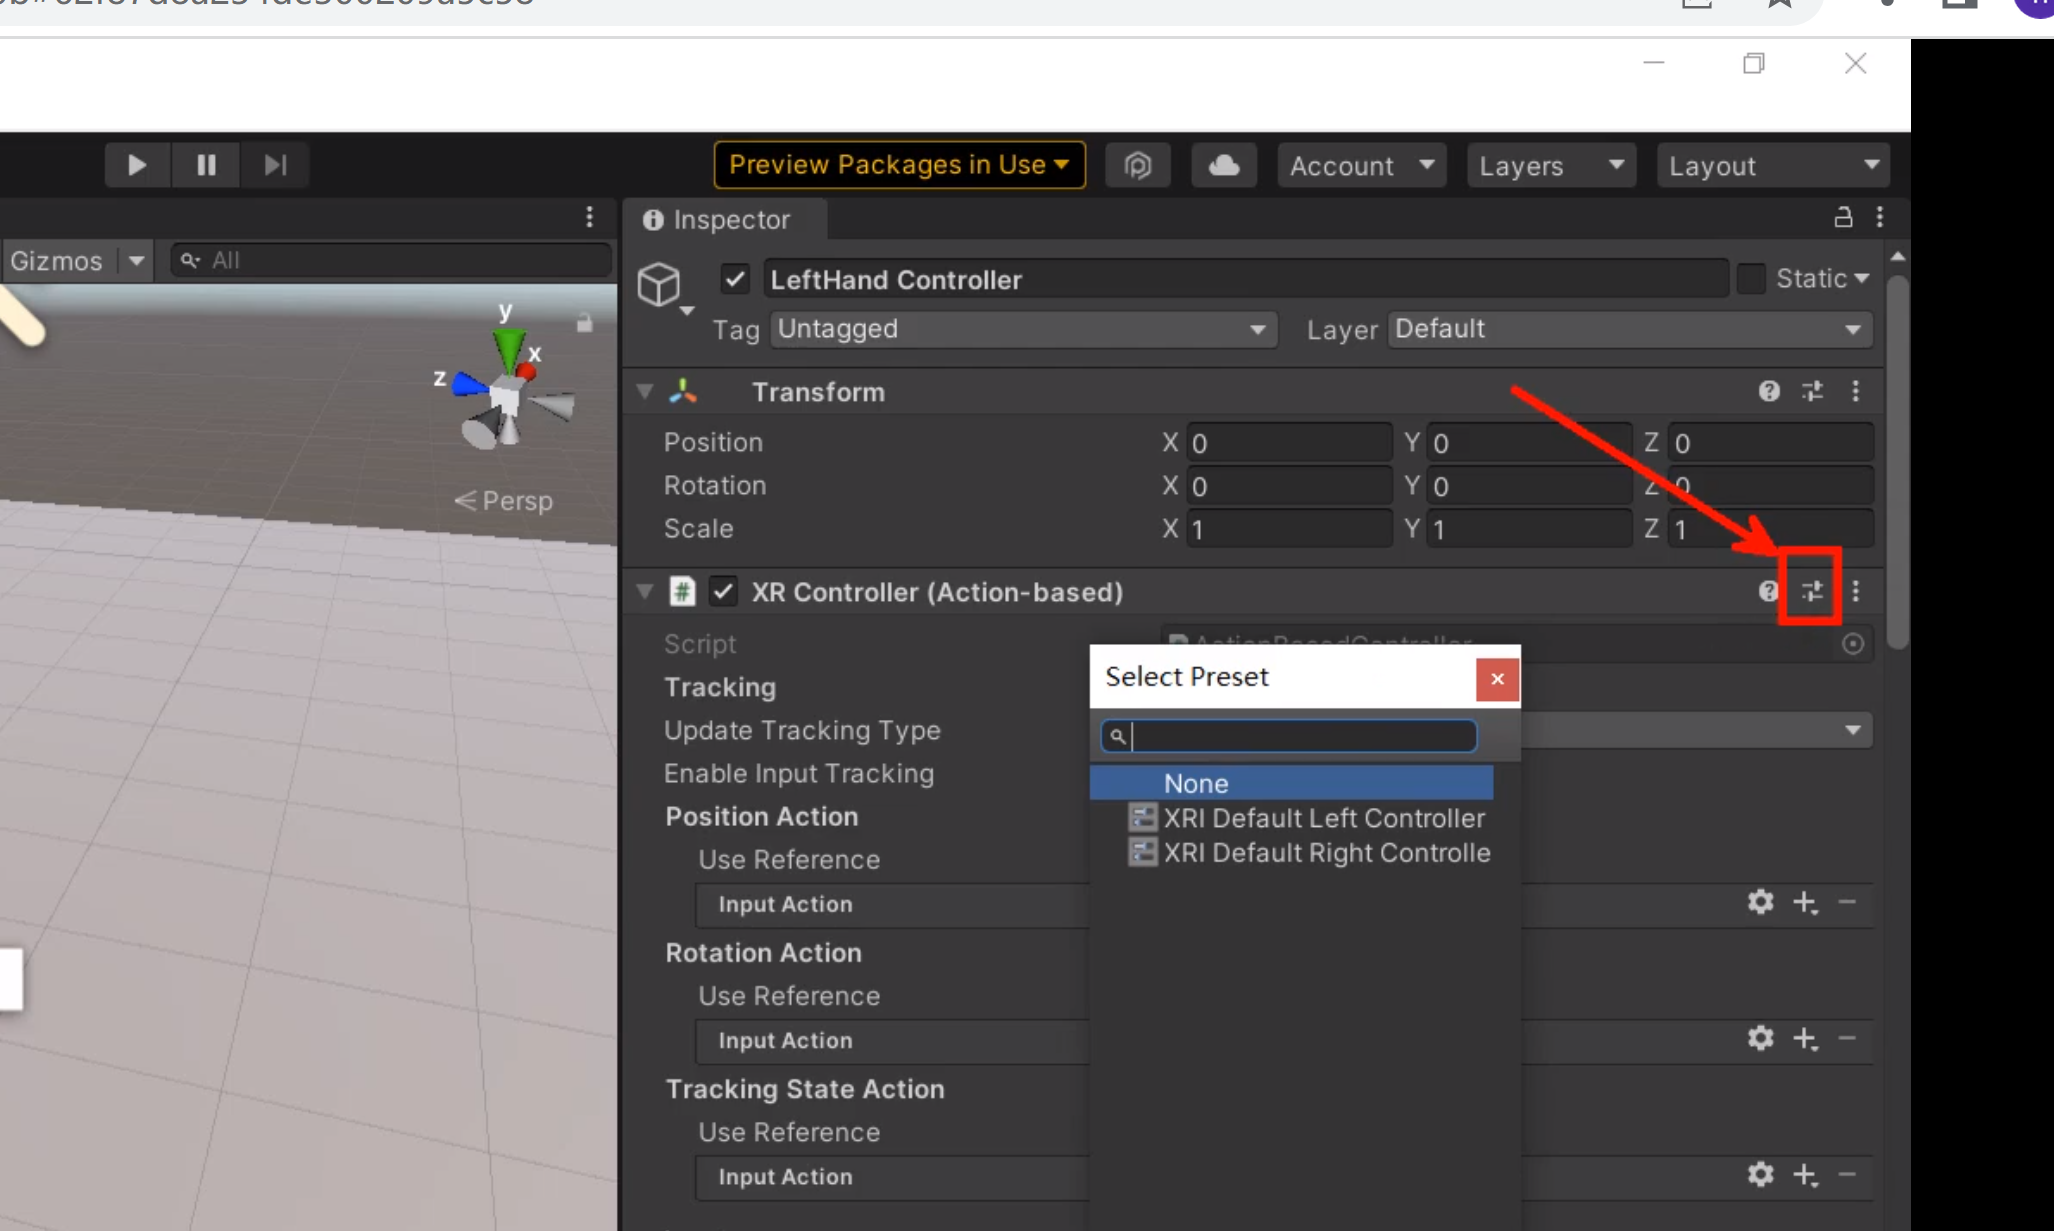

添加手柄预制体。

7:将XR Origin高度设置为0,符合人眼角度。
二:实时监控数据工具。
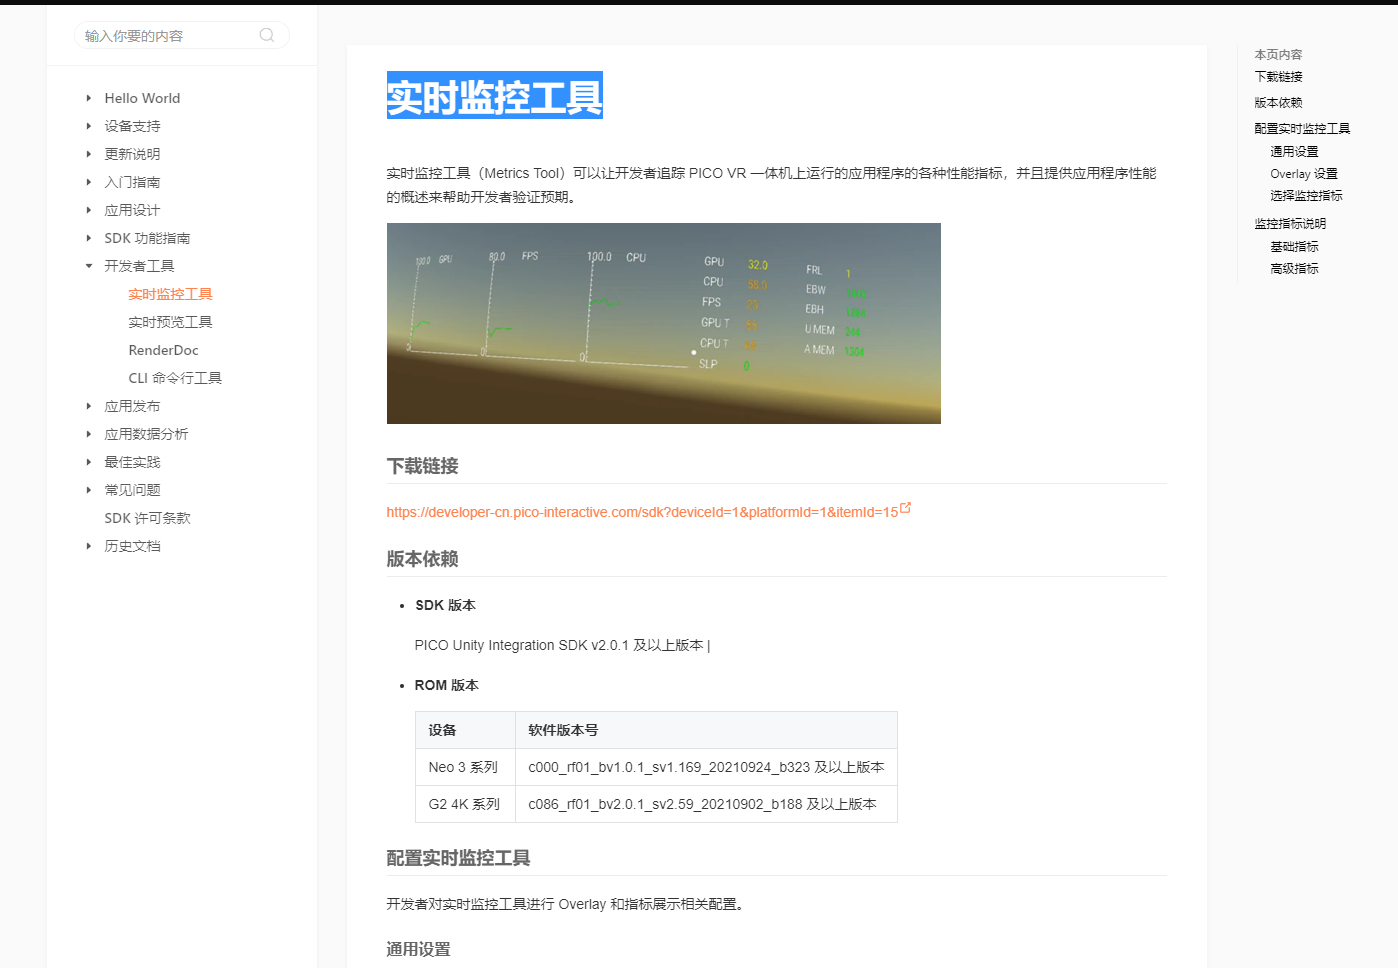
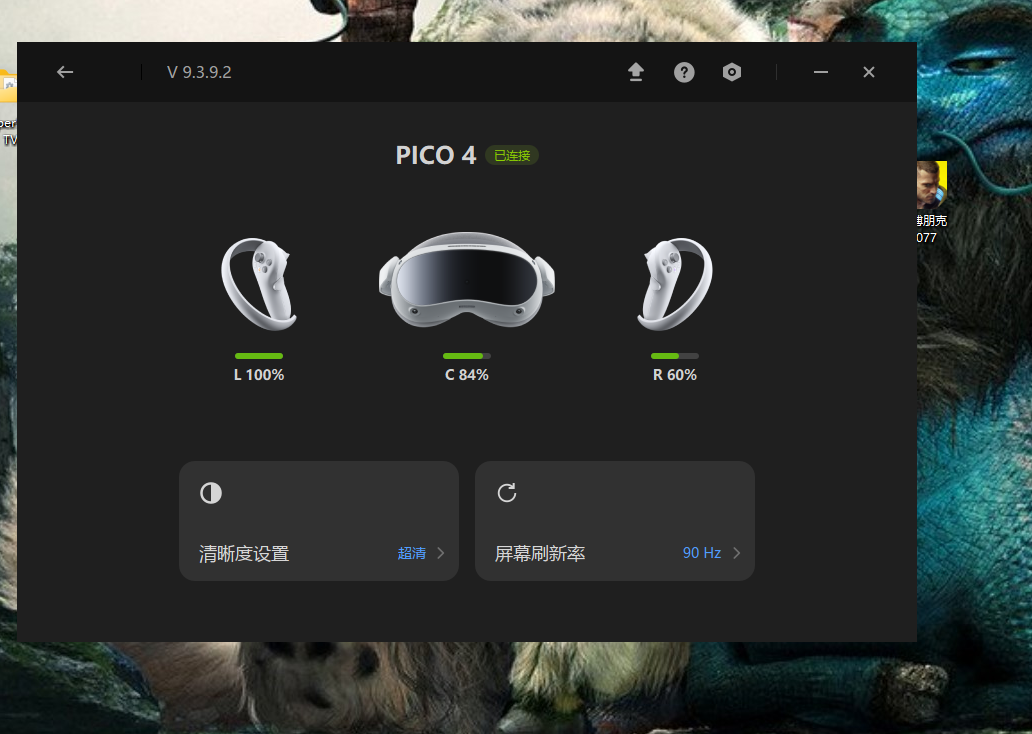
直接下载,然后拷贝进PICO监测。
(已有新得办法。)

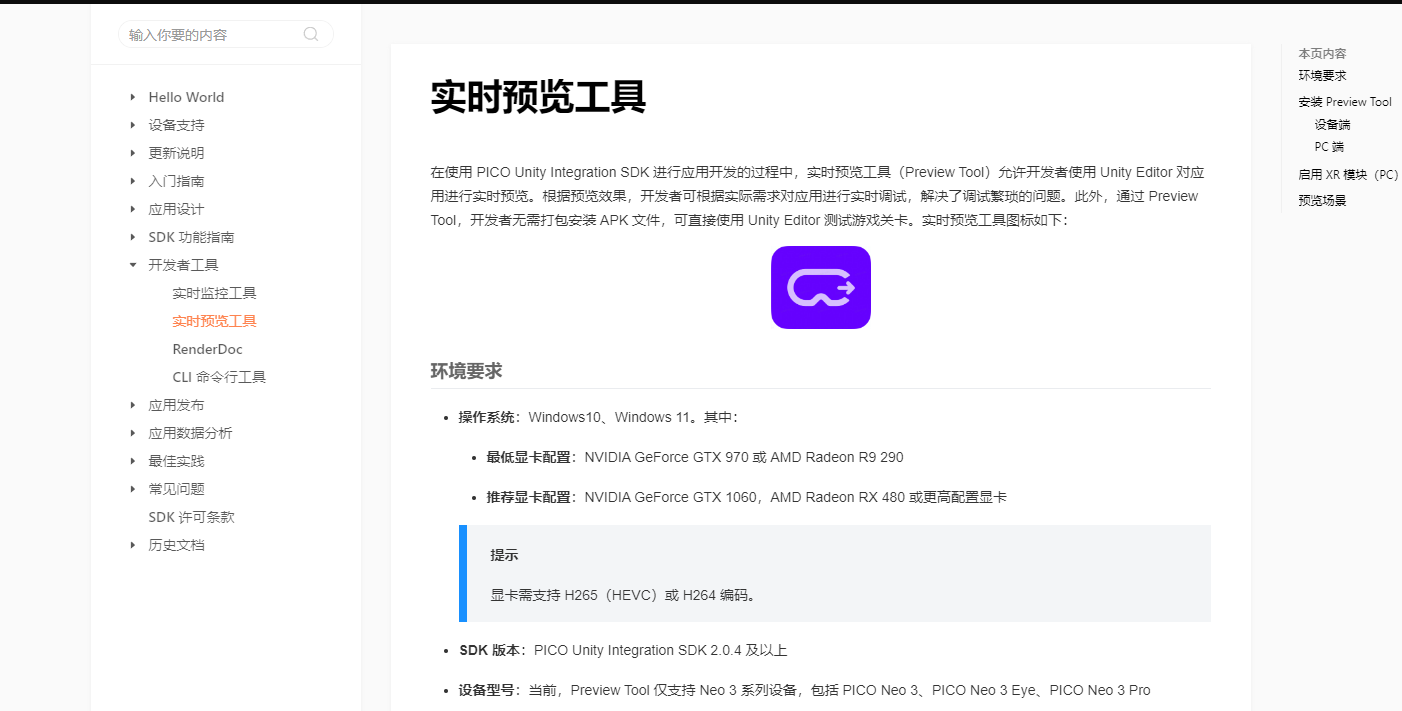
三:实时预览工具。Pico和电脑端Unity同画面。
1:将安装包拷贝进Pico安装。
2:运行PC端预览工具。


(已有新得办法。)
四:更改手握激光棒颜色


五:传送。
1:地面添加Teleportation。

2:XR Origin添加Teleportation Provider和Locomotion System(添加后适应地形组件,不容易倒掉),并将自身添加进去。

3:将XR Origin赋值给地面的提供者。

4:默认为侧键传送。
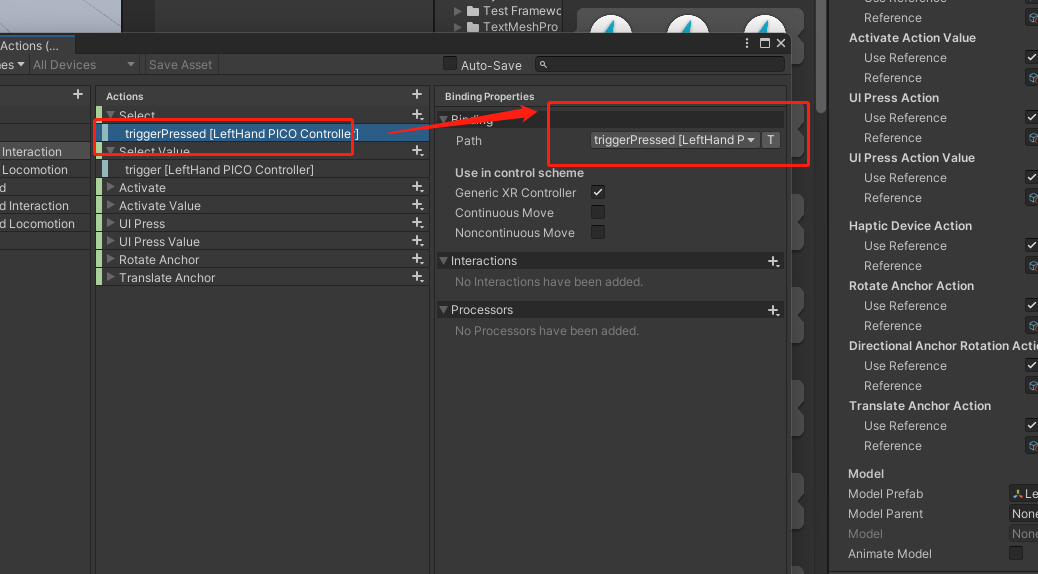
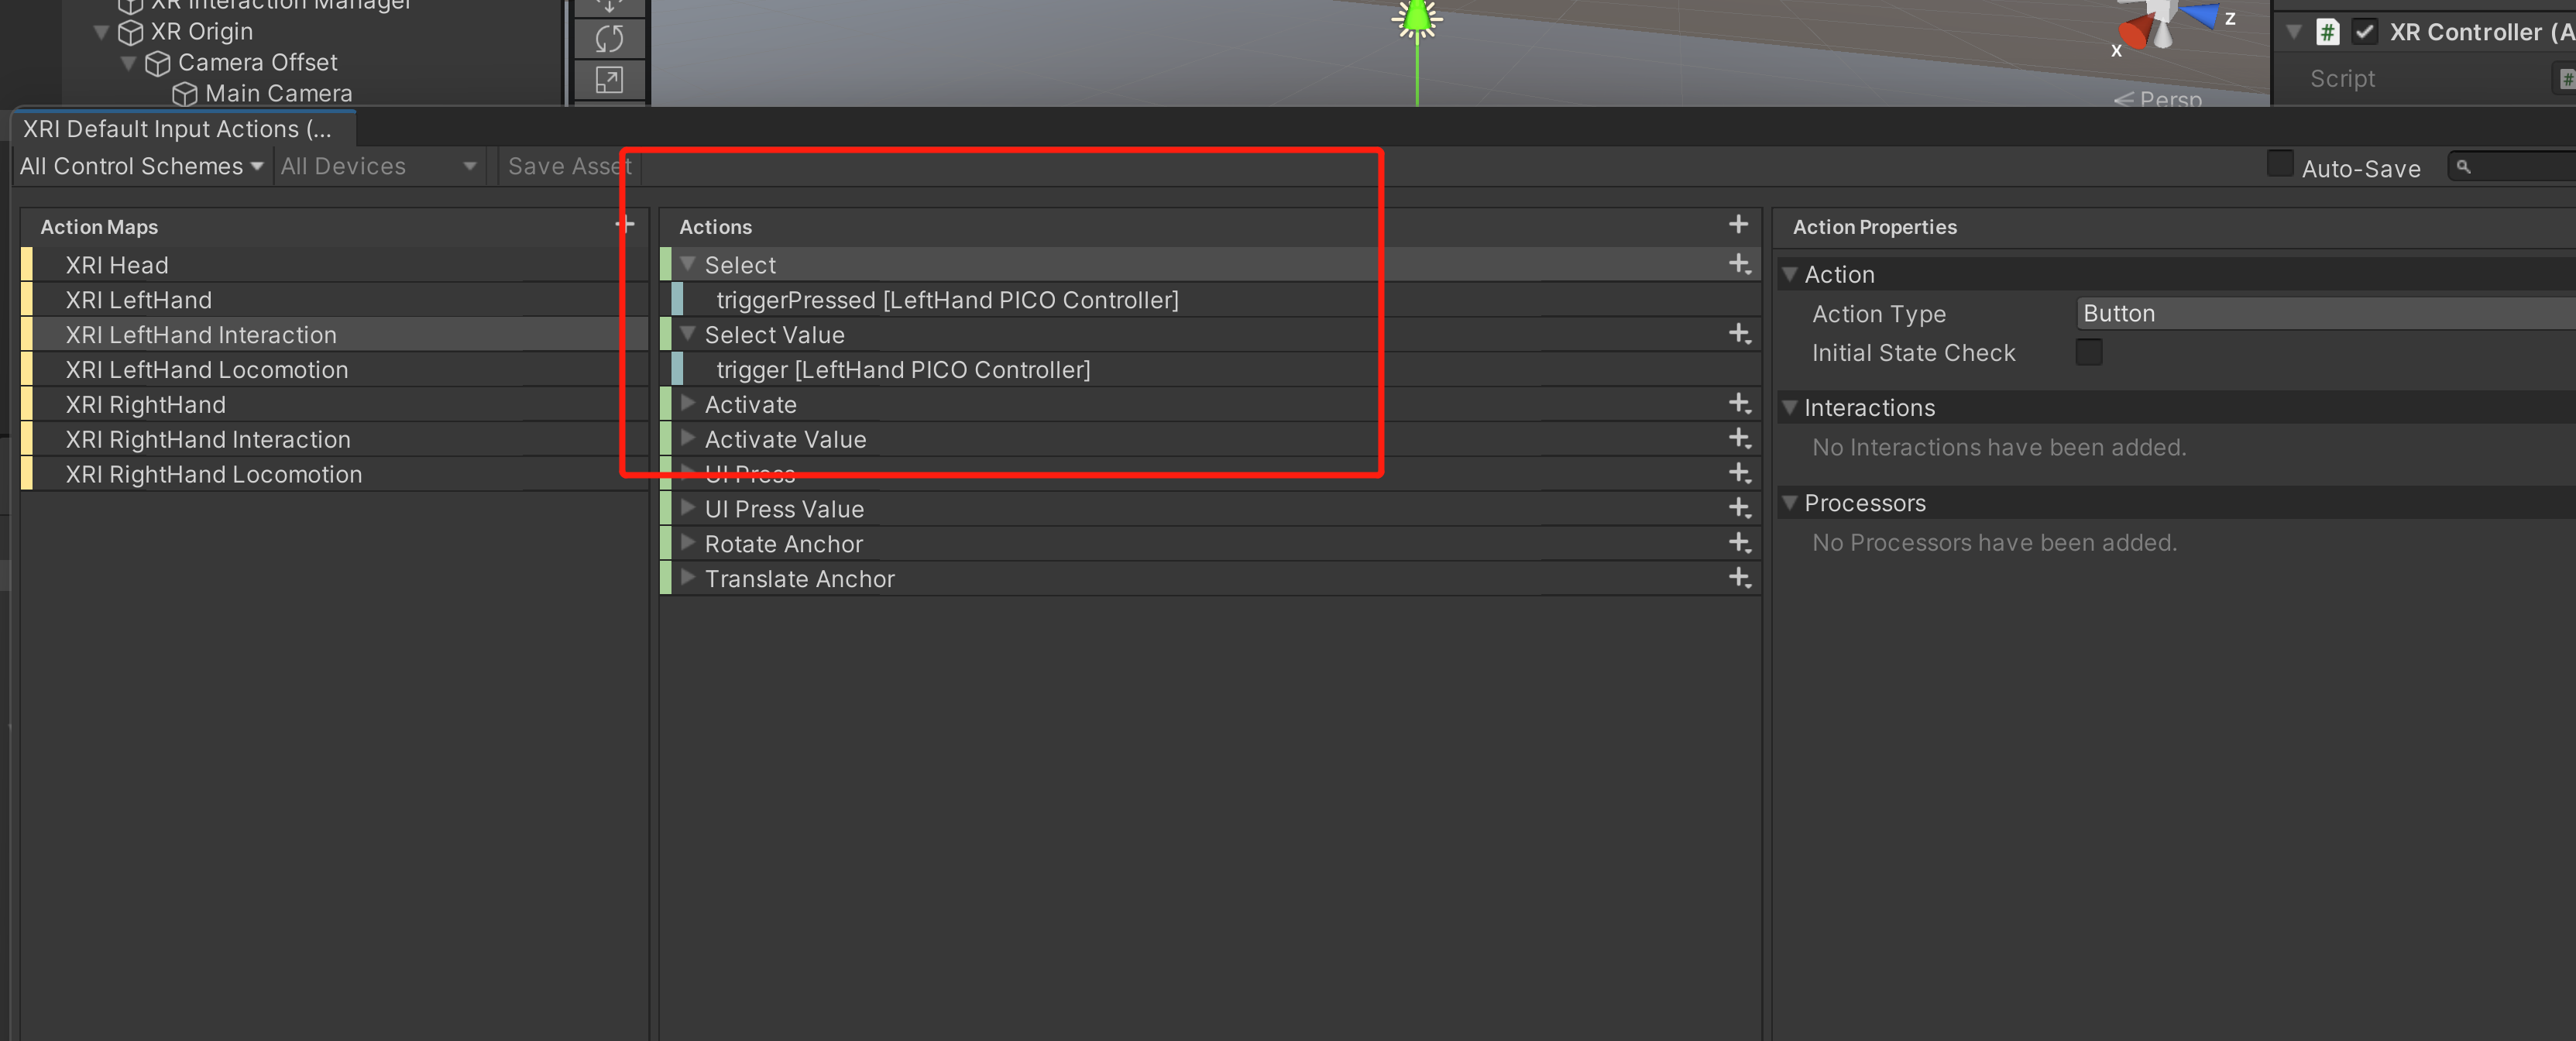
六:更改传送确认键。

七:锚点传送。

一:新建地面。
二:添加锚点组件。
三:将头显加入组件。

四:更改传送描点位置。
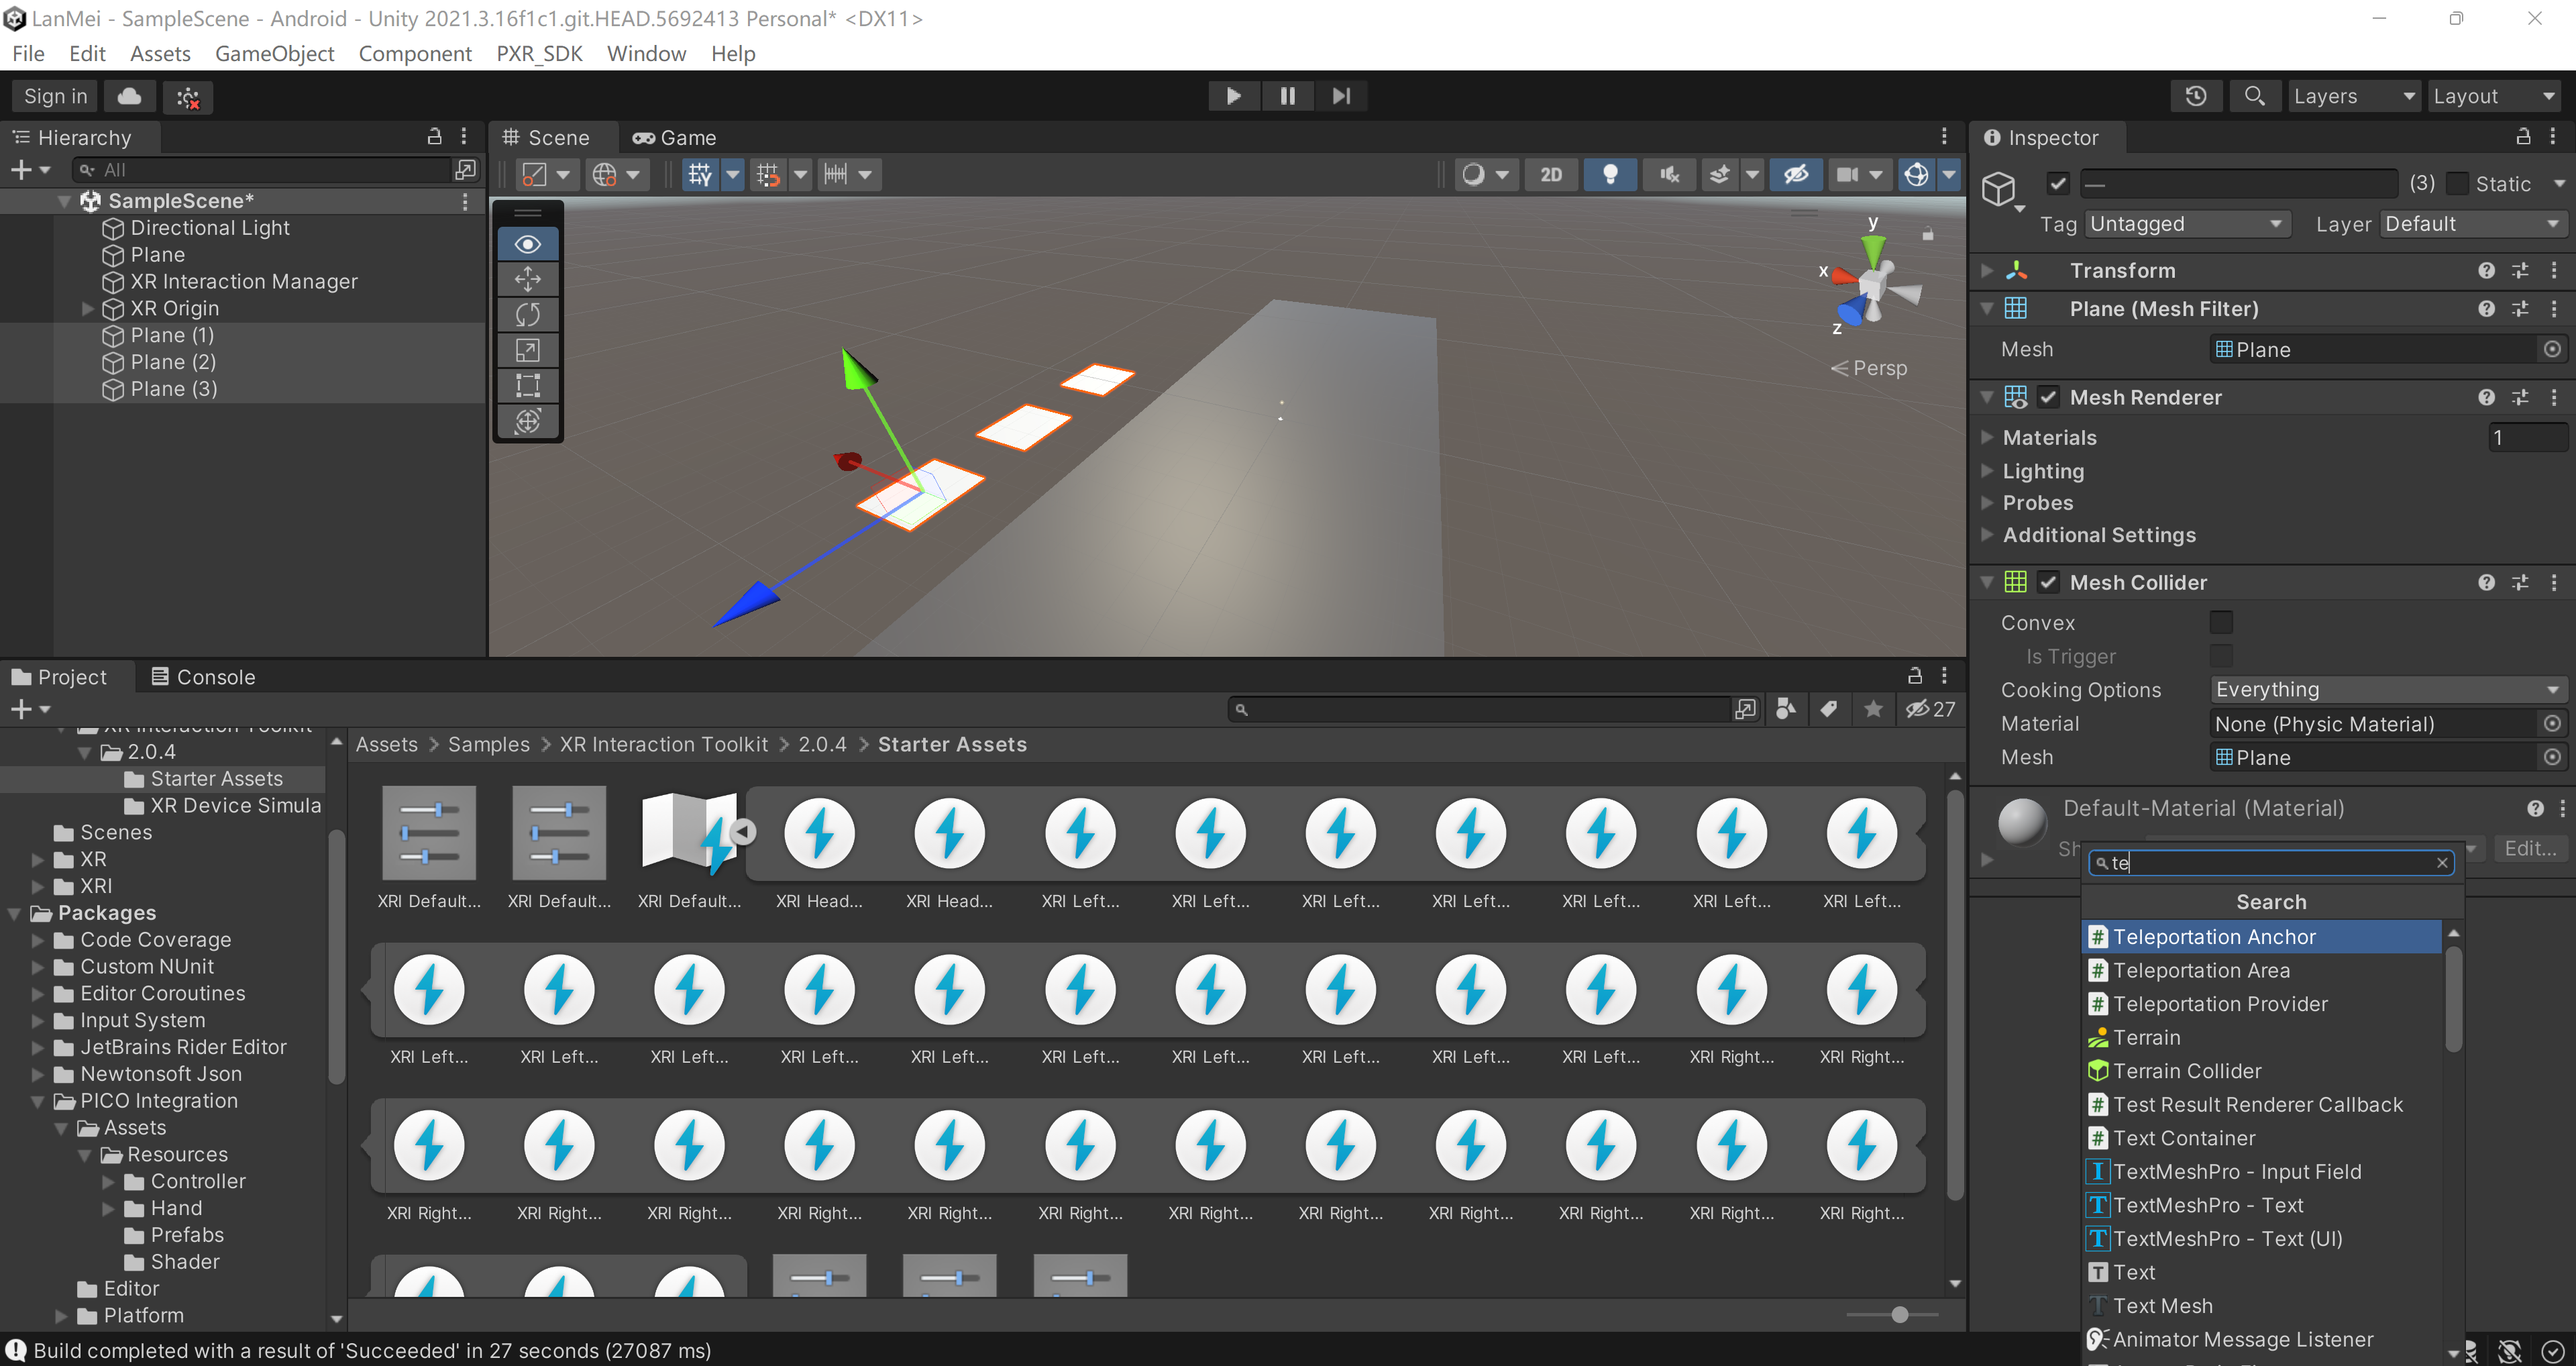
1:在地面下添加正方体。
2:将正方体赋值给锚点位置。
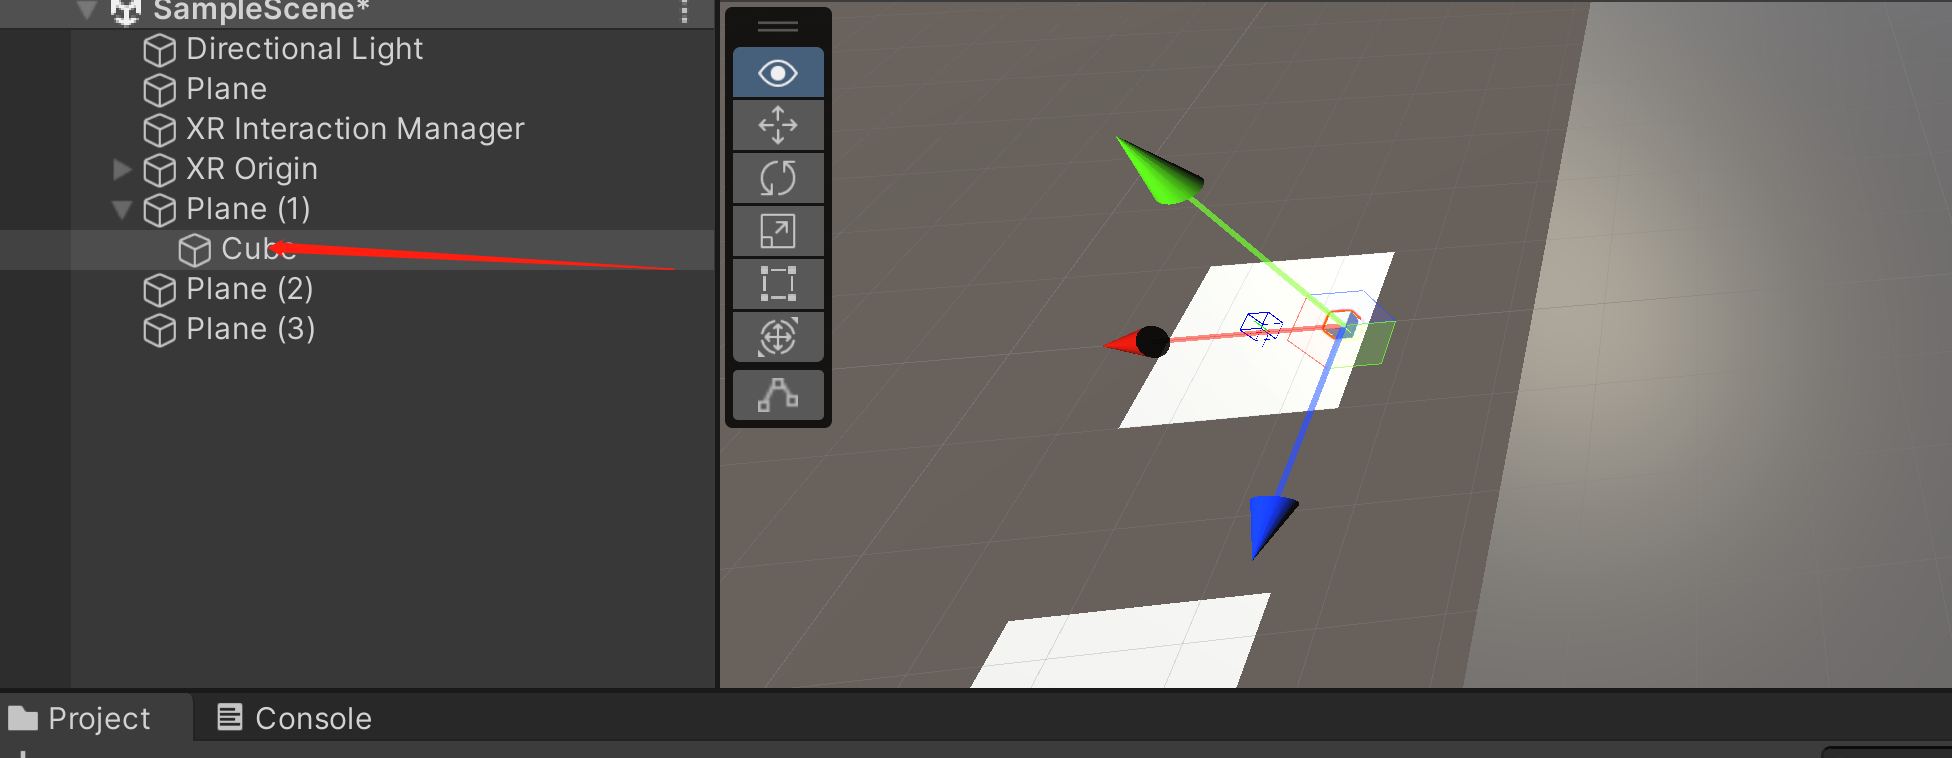

正方体显示的话,可以将正方体隐藏。
八:左扳手方向键控制物体移动。
using System.Collections;
using System.Collections.Generic;
using UnityEngine;
using UnityEngine.XR;    //引入XR命名空间
public class ControlObject : MonoBehaviour
{
    // Start is called before the first frame update
    void Start()
    {

    }

    // Update is called once per frame
    void Update()
    {

        //移动偏移量   定义二维向量。
        Vector2 vec2DAxis = Vector2.zero;
        //获取左手柄的值,赋值给上面定义的变量。
        InputDevices.GetDeviceAtXRNode(XRNode.LeftHand).TryGetFeatureValue(CommonUsages.primary2DAxis,out vec2DAxis);

        transform.position = new Vector3(transform.position.x + vec2DAxis.x * Time.deltaTime, transform.position.y,transform.position.z + vec2DAxis.y * Time.deltaTime);
    }
}

放在自身,则为自身移动。
九:物体加入动力学。
添加Rigidbody。

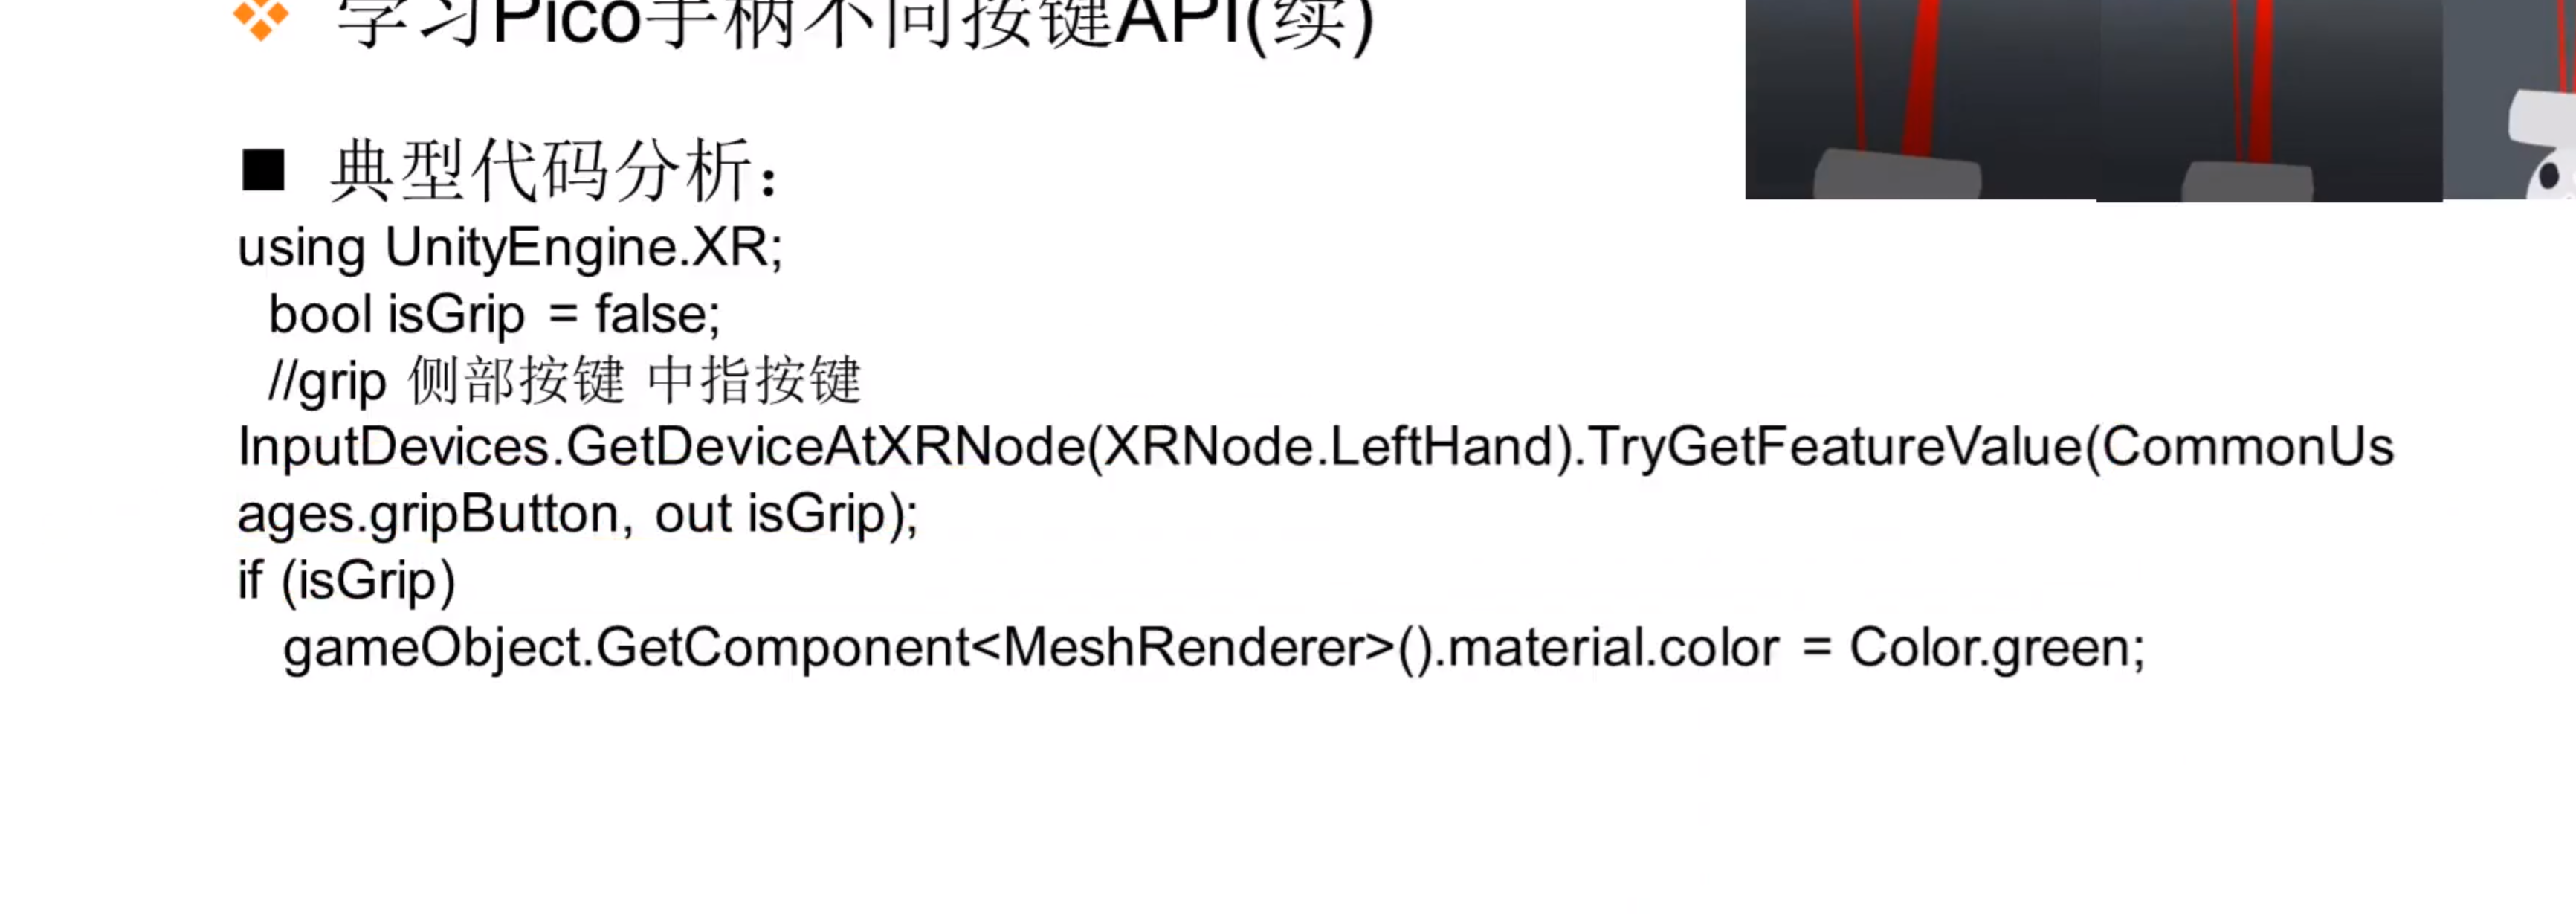
十:检测按键。
using System.Collections;
using System.Collections.Generic;
using UnityEditor.TextCore.Text;
using UnityEngine;
using UnityEngine.XR;    //引入XR命名空间
public class ControlObject : MonoBehaviour
{
    // Start is called before the first frame update
    void Start()
    {

    }

    // Update is called once per frame
    void Update()
    {

        //移动偏移量
        Vector2 vec2DAxis = Vector2.zero;

        //不同按键

        bool isGrip = false;    //握手按键(中指)
        bool isTrigger = false;     //扳手按键(食指)
        bool isMenu = false;    //菜单按键
        bool isPrimaryButton = false;   //手柄主键
        bool isSecondaryButton = false;     //手柄副键


        InputDevices.GetDeviceAtXRNode(XRNode.LeftHand).TryGetFeatureValue(CommonUsages.primary2DAxis,out vec2DAxis);

        transform.position = new Vector3(transform.position.x + vec2DAxis.x * Time.deltaTime, transform.position.y,transform.position.z + vec2DAxis.y * Time.deltaTime);

        InputDevices.GetDeviceAtXRNode(XRNode.RightHand).TryGetFeatureValue(CommonUsages.gripButton, out isGrip);

        if(isGrip)
        {
            this.gameObject.GetComponent<MeshRenderer>().material.color = Color.green;

        }

        InputDevices.GetDeviceAtXRNode(XRNode.RightHand).TryGetFeatureValue(CommonUsages.triggerButton, out isTrigger);

        if (isTrigger)
        {
            this.gameObject.GetComponent<MeshRenderer>().material.color = Color.red;

        }

        InputDevices.GetDeviceAtXRNode(XRNode.RightHand).TryGetFeatureValue(CommonUsages.menuButton, out isMenu);

        if (isMenu)
        {
            this.gameObject.GetComponent<MeshRenderer>().material.color = Color.yellow;

        }

        InputDevices.GetDeviceAtXRNode(XRNode.RightHand).TryGetFeatureValue(CommonUsages.primaryButton, out isPrimaryButton);

        if (isPrimaryButton)
        {
            this.gameObject.GetComponent<MeshRenderer>().material.color = Color.blue;

        }

        InputDevices.GetDeviceAtXRNode(XRNode.RightHand).TryGetFeatureValue(CommonUsages.secondaryButton, out isPrimaryButton);

        if (isSecondaryButton)
        {
            this.gameObject.GetComponent<MeshRenderer>().material.color = Color.white;

        }
    }
}
十一:VR版UI界面
1:添加XR组件,UI Canvas。别的和UI一样。
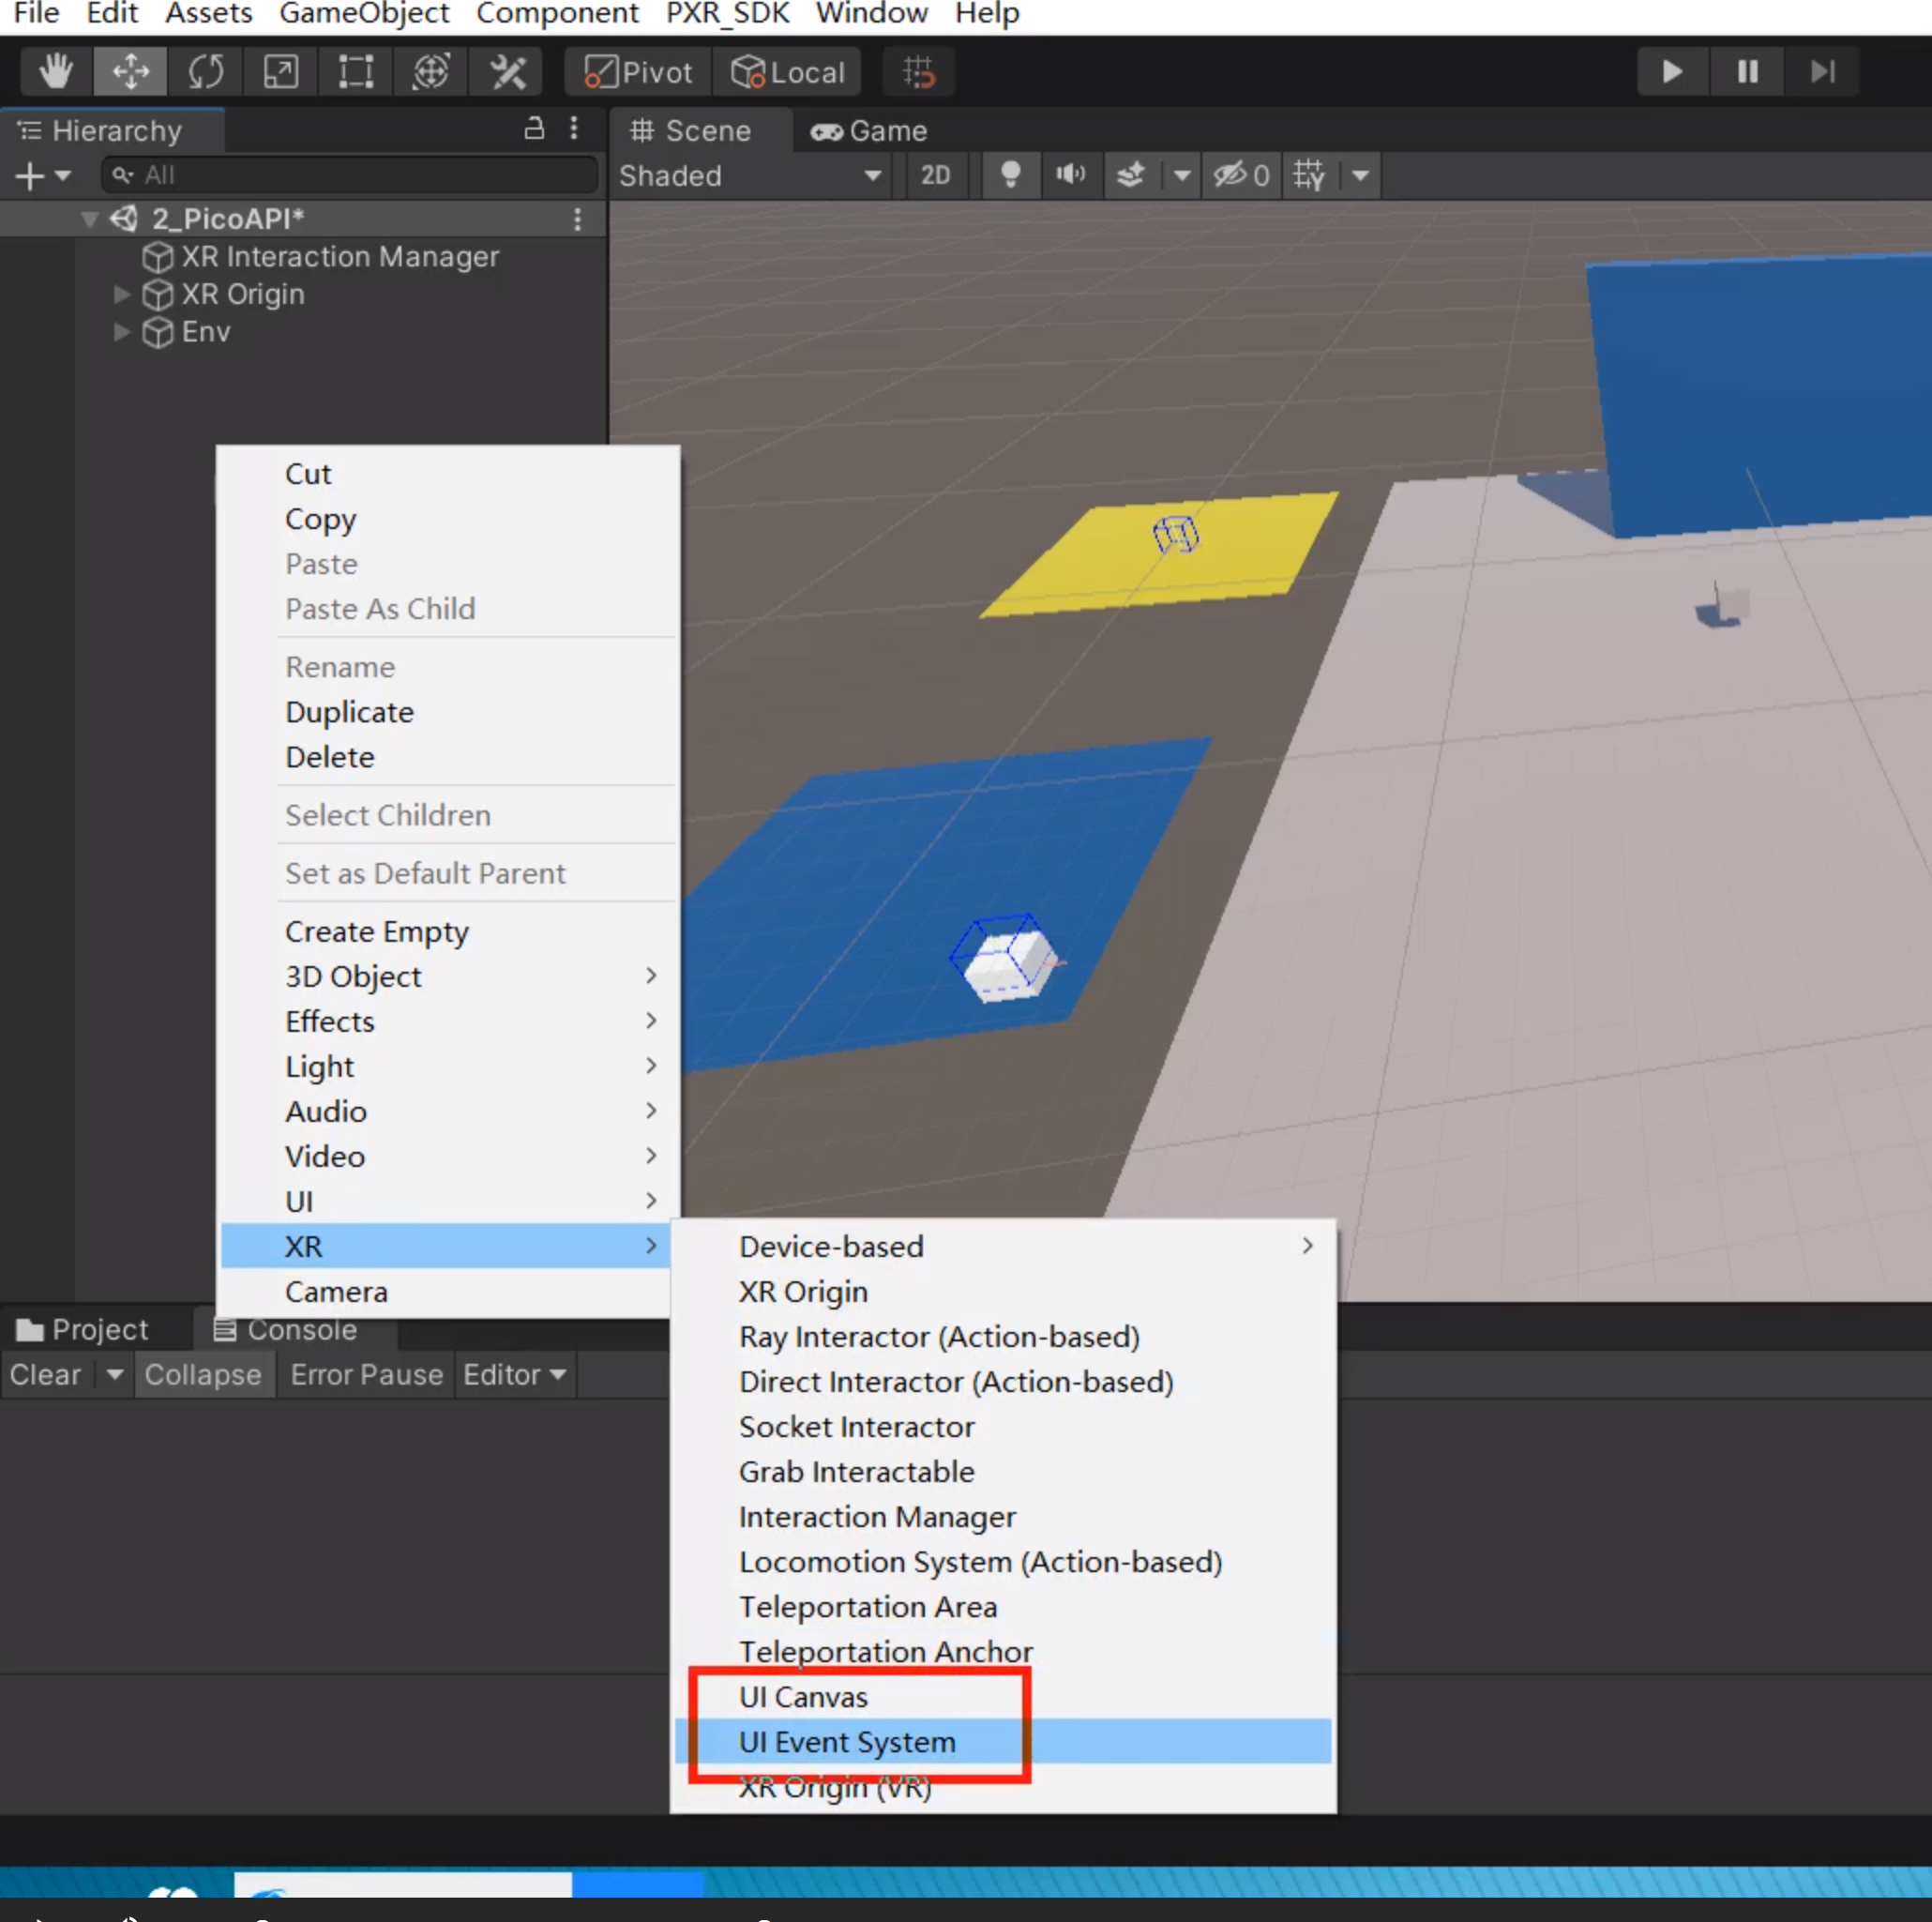
2:添加组件后,要保证Width和Height足够大,而去缩小Scale。不然会糊。

**Pico UE开发打包。
1:
打包教程:
https://www.bilibili.com/video/BV1bg411p7mT/?vd_source=dd4795916fd6c08bb59ae5fea830857f
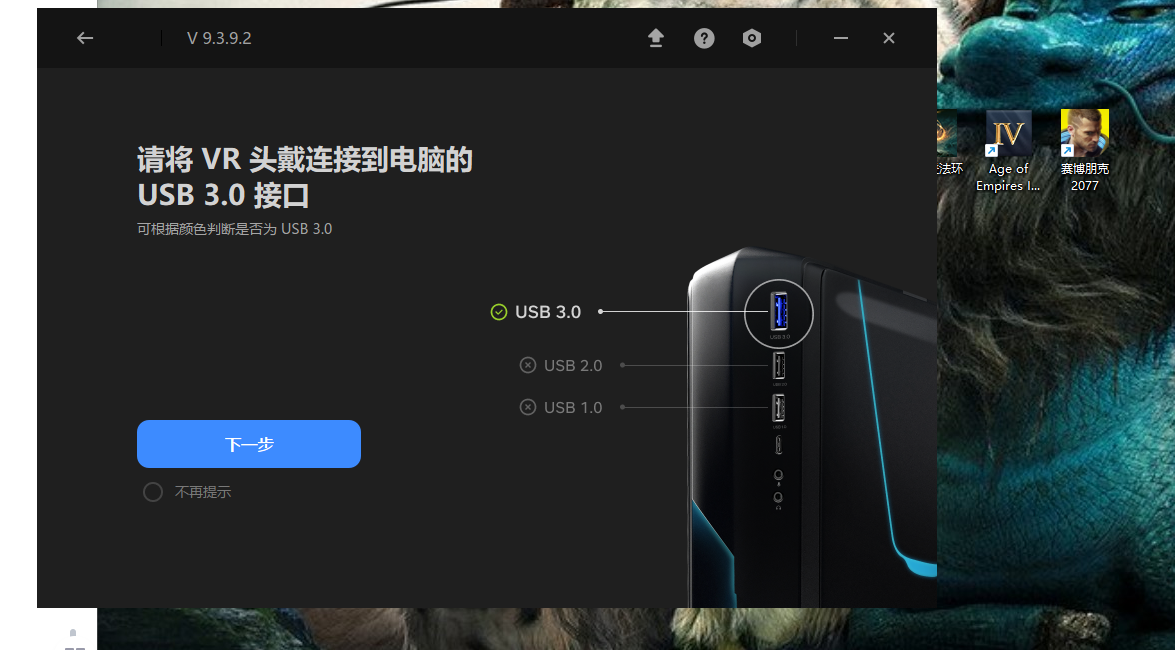
**十一:PICO预览UE工程
1:安装SteamVR。
2:安装pico游戏串流助手
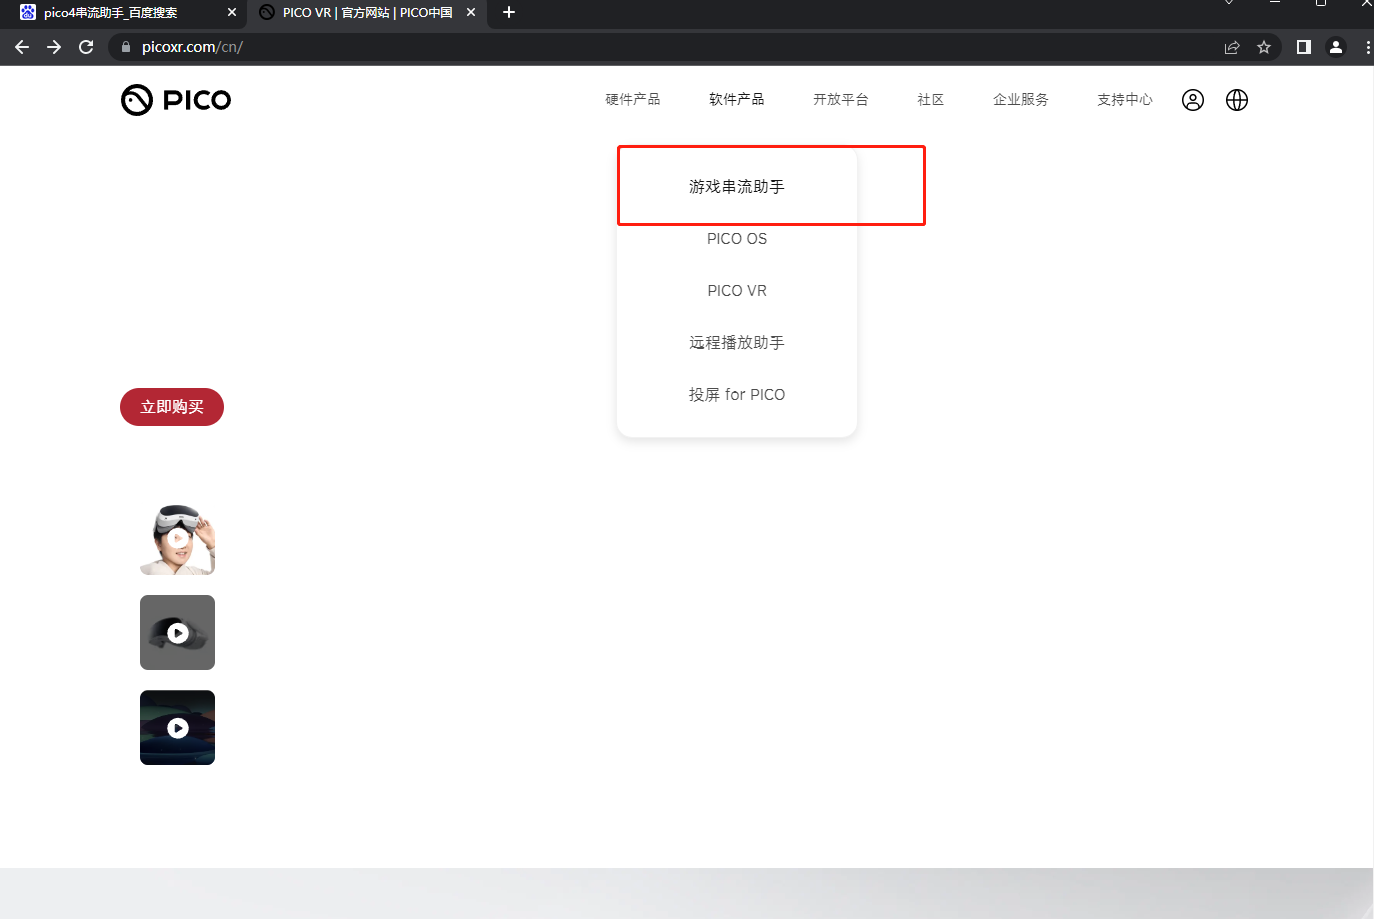

pico端游戏串流助手是自带的。
3:pico端启动游戏串流助手,连接
4:UE安装steamVR插件,运行。
教程
一:【杨同学 PICO 应用开发】用 PICO 实现类似于贝壳找房的 “VR 看房” 功能;附带有详细的 Unity 操作步骤
1:链接
2:截图

二:PICO 4 实用VR开发指南 - 5分钟从零开始打造 VR 街景
1:链接
2:截图

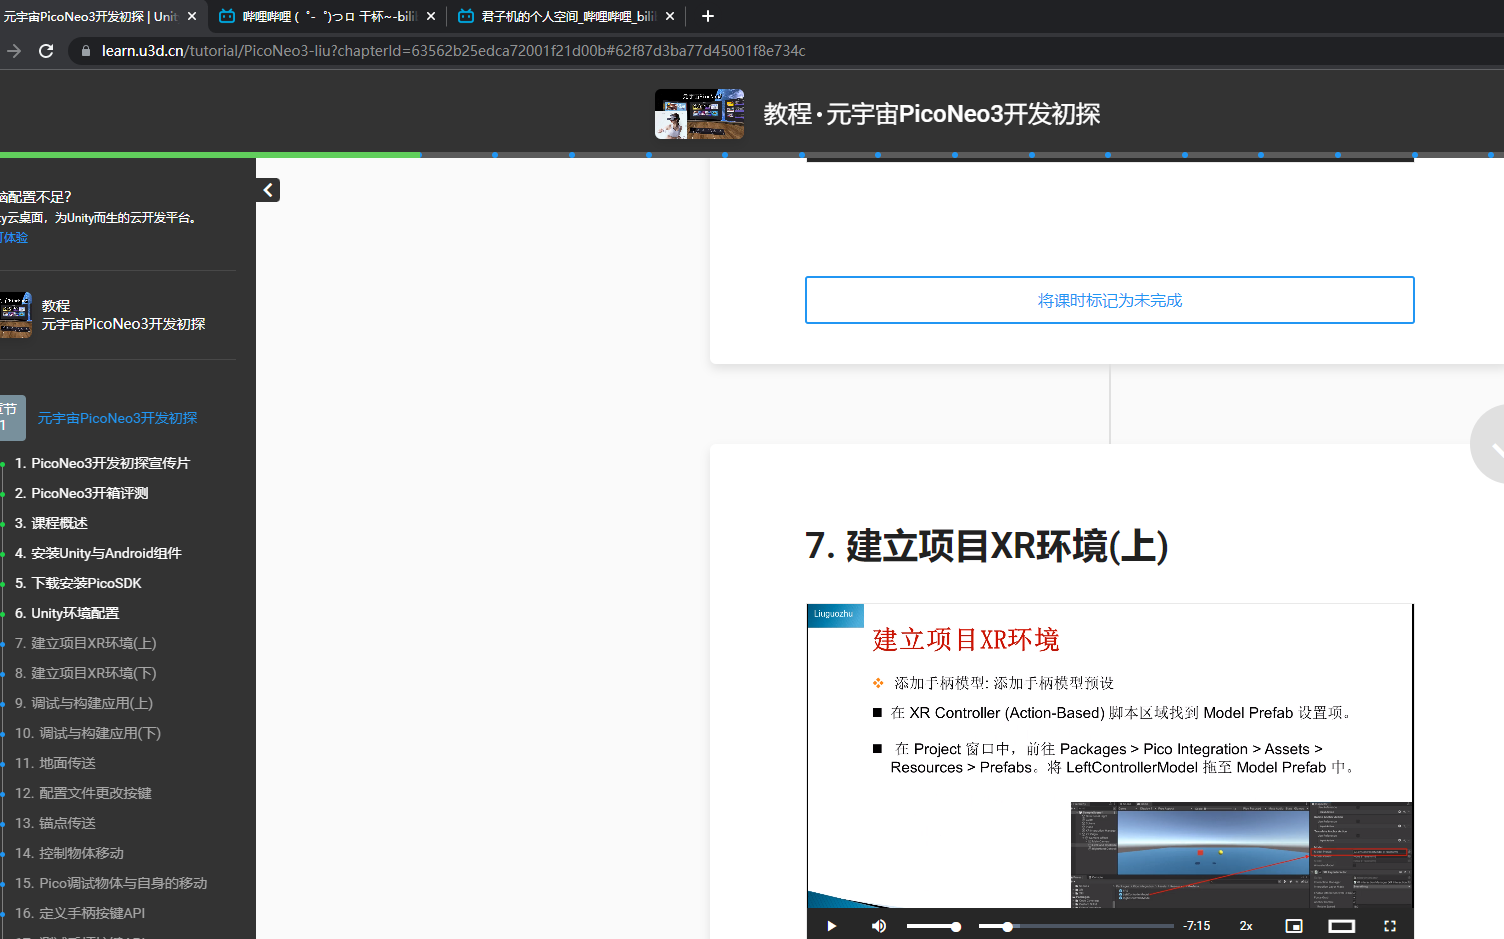
三:教程 元宇宙PicoNeo3开发初探
1:链接
2:截图


 6257
6257


 被折叠的 条评论
为什么被折叠?
被折叠的 条评论
为什么被折叠?
 到【灌水乐园】发言


