


安装 ssh
sudo apt upgrade openssh-server
终端登录服务器
ssh root@xxx.175.195.190 -p 2289
密码登录
1.修改配置文件 /etc/ssh/sshd_config 的选项:
PasswordAuthentication yes #启用密码验证
2.传输脚本:
#!/bin/bash -x

# 需要安装 GitBash 工具

DST_HOSTS="root@xxx.xxx.xxx.xxx"
DATA_ZIP="./publish.zip"
RUN_CMD="sudo unzip -o /root/publish.zip"
RUN_CMD="ls"
DST_KD_PATH="/root/"

echo "23131344"

for DST in $DST_HOSTS
do
    if [ -f "$DATA_ZIP" ]; then
    	echo -e $DST
    	scp -P 2284 $DATA_ZIP $DST:$DST_KD_PATH
    	# -p 选项要在  DST 的后面 !!!
    	ssh $DST -p 2284 "cd $DST_KD_PATH;$RUN_CMD"
    	echo -e "complete!"
	fi
done

#sleep 3

# Wait for user input
read -p "Press Enter to continue..."

# Close the shell
exit
证书登录
1.修改 /etc/ssh/sshd_config 的配置:
vim /etc/ssh/sshd_config                #编辑服务端主配置文件
PasswordAuthentication no 						#启用密码验证
PubkeyAuthentication yes 						  #启用密钥对验证
AuthorizedKeysFile .ssh/authorized_keys 		#指定公钥库文件
PermitEmptyPasswords yes
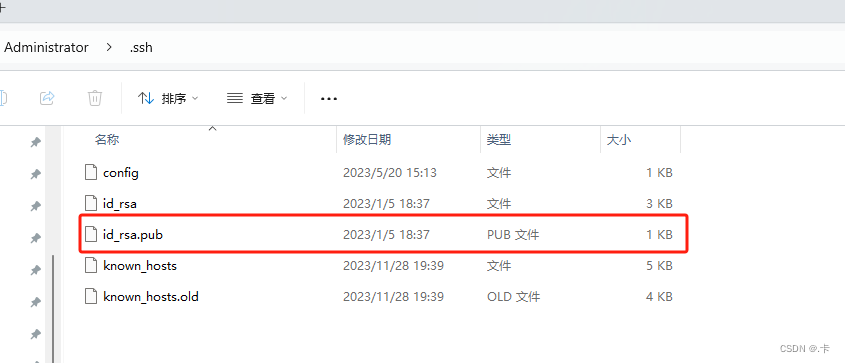
2.客户端生成证书对
ssh-keygen -t rsa -m pem -f my.pem -C "your@email.com"
- 记住证书密码,如果没有设置,就不需要!
- 不设置证书密码,并且 ssh的配置 PermitEmptyPasswords=yes ,就可以不用在上传时,输入证书密码了。
3.上传公钥到服务器
cat /root/id_rsa.pub >> /home/zhangsan/.ssh/authorized_keys
4.修改目录权限(非必要):
sudo chmod 700 ~/.ssh/ -R
6.使用私钥连接,脚本内容:
#!/bin/bash -x

# 需要安装 GitBash 工具

DST_HOSTS="ubuntu@170.106.153.53"
DATA_ZIP="publish.zip"
RUN_CMD="sudo unzip -o /home/ubuntu/publish.zip"
#RUN_CMD="ls"
DST_KD_PATH="/home/ubuntu"
#echo "|3St]2YK-ypWa9GN"

for DST in $DST_HOSTS
do
    if [ -f "$DATA_ZIP" ]; then
    	echo -e $DST
    	scp -i ./id_rsa -P 7859 $DATA_ZIP $DST:$DST_KD_PATH
    	ssh -i ./id_rsa $DST -p 7859 "cd $DST_KD_PATH;$RUN_CMD"
    	echo -e "complete!"
	fi
done

#sleep 3

# Wait for user input
read -p "Press Enter to continue..."

# Close the shell
exit
5.客户端上传文件:

注意这里的用户,是linux的登录用户。
重启ssh
systemctl start sshd


 5692
5692


 被折叠的 条评论
为什么被折叠?
被折叠的 条评论
为什么被折叠?
 到【灌水乐园】发言


