环境配置以及视角修改和着色器亮度修改
首先注意我的文件生成目录为bin目录所以要用到的dll文件必须放到bin目录文件夹下面,而不是debug下面
- 调整视角位置更高一点
public:
	Camera() {
		fov = 45;
		Position = glm::vec3(0.0f, 7.0f, 20.0f);
		UP = glm::vec3(0.0f, 1.0f, 0.0f);
		Front = glm::vec3(0.0f, 0.0f, -1.0f);    //移动的距离在旋转和wasd移动时都要用到,注意这里用的是-1
	}
- 调整的亮一点,取消光源衰减
	result = (light.ambient*material.ambient
		+diffuse*light.diffuse*material.diffuse
		+specular*light.specular*material.specular)*lightColor;
而不是
	result = (light.ambient*material.ambient
		+diffuse*light.diffuse*material.diffuse
		+specular*light.specular*material.specular)*lightColor*attenuation;
model函数
- 注意构造函数里边的参数应该是:Model(const char* path),因为你输入的是一个不变的量
- model函数实际上构建了一个又一个的mesh,所以在输出的时候是用的还是mesh.Draw
- 注意mesh向量数组的构建
- 本身就有处理obj的纹理的能力
#pragma once
#ifndef MODEL_H
#define MODEL_H

#include <glad/glad.h>

#include <glm/glm.hpp>
#include <glm/gtc/matrix_transform.hpp>
#include "stb_image.h"
#include <assimp/Importer.hpp>
#include <assimp/scene.h>
#include <assimp/postprocess.h>

#include "mesh.h"
#include "Shader.h"

#include <string>
#include <fstream>
#include <sstream>
#include <iostream>
#include <map>
#include <vector>
using namespace std;
class Model
{
public:
	/*  函数   */
	Model(const char* path)
	{
		loadModel(path);	//调用模型路径加载函数
	}
	//渲染函数
	void Draw(Shader shader)
	{
		for (unsigned int i = 0; i < meshes.size(); i++)
			meshes[i].Draw(shader);	//调用mesh的draw函数
	}
private:
	/*  模型数据  */
	vector<Mesh> meshes;
	string directory;
	/*  加载模型函数   */
	void loadModel(string path)
	{
		// 读取文件 via ASSIMP
		Assimp::Importer importer;
		const aiScene* scene = importer.ReadFile(path, aiProcess_Triangulate | aiProcess_FlipUVs);	//用三角形|翻转Y轴|还有一个切线空间暂时用不到
		// check for errors
		if (!scene || scene->mFlags & AI_SCENE_FLAGS_INCOMPLETE || !scene->mRootNode) // if is Not Zero
		{
			cout << "ERROR::ASSIMP:: " << importer.GetErrorString() << endl;
			return;
		}
		// retrieve the directory path of the filepath
		directory = path.substr(0, path.find_last_of('/'));

		// process ASSIMP's root node recursively
		processNode(scene->mRootNode, scene);	//通过路径寻找并且赋值
	}
	//递归去获取这些网格索引,获取每个网格,处理每个网格,接着对每个节点的子节点重复这一过程。
	//结构都放进meshes里边
	void processNode(aiNode* node, const aiScene* scene)
	{
		// 处理节点所有的网格(如果有的话)
		for (unsigned int i = 0; i < node->mNumMeshes; i++)
		{
			aiMesh* mesh = scene->mMeshes[node->mMeshes[i]];
			meshes.push_back(processMesh(mesh, scene));	//函数将一个新的元素加到vector的最后面,位置为当前最后一个元素的下一个元素
		}
		// 接下来对它的子节点重复这一过程
		for (unsigned int i = 0; i < node->mNumChildren; i++)
		{
			processNode(node->mChildren[i], scene);
		}
	}

	//将构造mesh函数放到model类里边
	Mesh processMesh(aiMesh* mesh, const aiScene* scene)
	{
		vector<Vertex> vertices;
		vector<unsigned int> indices;
		vector<Texture> textures;

		for (unsigned int i = 0; i < mesh->mNumVertices; i++)
		{
			Vertex vertex;
			// 处理顶点位置、法线和纹理坐标
			glm::vec3 vector; // we declare a placeholder vector since assimp uses its own vector class that doesn't directly convert to glm's vec3 class so we transfer the data to this placeholder glm::vec3 first.
			// positions
			vector.x = mesh->mVertices[i].x;
			vector.y = mesh->mVertices[i].y;
			vector.z = mesh->mVertices[i].z;
			vertex.Position = vector;
			// normals
			vector.x = mesh->mNormals[i].x;
			vector.y = mesh->mNormals[i].y;
			vector.z = mesh->mNormals[i].z;
			vertex.Normal = vector;
			// texture coordinates
			if (mesh->mTextureCoords[0]) // does the mesh contain texture coordinates?
			{
				glm::vec2 vec;
				// a vertex can contain up to 8 different texture coordinates. We thus make the assumption that we won't
				// use models where a vertex can have multiple texture coordinates so we always take the first set (0).
				vec.x = mesh->mTextureCoords[0][i].x;
				vec.y = mesh->mTextureCoords[0][i].y;
				vertex.TexCoords = vec;
			}
			else
				vertex.TexCoords = glm::vec2(0.0f, 0.0f);	//没有纹理的情况

			vertices.push_back(vertex);
		}
		// 处理索引
		for (unsigned int i = 0; i < mesh->mNumFaces; i++)
		{
			aiFace face = mesh->mFaces[i];
			// retrieve all indices of the face and store them in the indices vector
			for (unsigned int j = 0; j < face.mNumIndices; j++)
				indices.push_back(face.mIndices[j]);
		}
		//处理材质
		//把所有的材质按照类型分类放到向量里边
		if (mesh->mMaterialIndex >= 0)
		{
			//注意这里是给材质对象赋值
			aiMaterial* material = scene->mMaterials[mesh->mMaterialIndex];
			//分别构造两个纹理数组存放漫反射和镜面反射纹理
			vector<Texture> diffuseMaps = loadMaterialTextures(material,
				aiTextureType_DIFFUSE, "texture_diffuse");
			textures.insert(textures.end(), diffuseMaps.begin(), diffuseMaps.end());	//填充
			vector<Texture> specularMaps = loadMaterialTextures(material,
				aiTextureType_SPECULAR, "texture_specular");
			textures.insert(textures.end(), specularMaps.begin(), specularMaps.end());
		}

		return Mesh(vertices, indices, textures);
	}

	//加载与存储纹理
	vector<Texture> loadMaterialTextures(aiMaterial* mat, aiTextureType type,
		string typeName)
	{
		vector<Texture> textures;
		for (unsigned int i = 0; i < mat->GetTextureCount(type); i++)
		{
			aiString str;
			mat->GetTexture(type, i, &str);
			Texture texture;
			texture.id = TextureFromFile(str.C_Str(), directory);
			texture.type = typeName;
			texture.path = str.C_Str();
			textures.push_back(texture);
		}
		return textures;
	}
	//读取纹理文件
	unsigned int TextureFromFile(const char* path, const string& directory)
	{
		string filename = string(path);
		filename = directory + '/' + filename;

		unsigned int textureID;
		glGenTextures(1, &textureID);

		int width, height, nrComponents;
		unsigned char* data = stbi_load(filename.c_str(), &width, &height, &nrComponents, 0);
		if (data)
		{
			GLenum format;
			if (nrComponents == 1)
				format = GL_RED;
			else if (nrComponents == 3)
				format = GL_RGB;
			else if (nrComponents == 4)
				format = GL_RGBA;

			glBindTexture(GL_TEXTURE_2D, textureID);
			glTexImage2D(GL_TEXTURE_2D, 0, format, width, height, 0, format, GL_UNSIGNED_BYTE, data);
			glGenerateMipmap(GL_TEXTURE_2D);

			glTexParameteri(GL_TEXTURE_2D, GL_TEXTURE_WRAP_S, GL_REPEAT);
			glTexParameteri(GL_TEXTURE_2D, GL_TEXTURE_WRAP_T, GL_REPEAT);
			glTexParameteri(GL_TEXTURE_2D, GL_TEXTURE_MIN_FILTER, GL_LINEAR_MIPMAP_LINEAR);
			glTexParameteri(GL_TEXTURE_2D, GL_TEXTURE_MAG_FILTER, GL_LINEAR);

			stbi_image_free(data);
		}
		else
		{
			std::cout << "Texture failed to load at path: " << path << std::endl;
			stbi_image_free(data);
		}

		return textureID;	//返回textureID
	}
};
#endif
主函数修改
- 添加了model的构造函数
- 旋转修改模型改为绕着一个Y轴旋转
- 我自己定义了光源,所以并没有删除mesh函数的构造
int main() {

	//初始化
	GLFWwindow* window = init(); //创建一个窗口指针,因为里边是一个空指针所有init函数必须改变类型

	//着色
	Shader lightShader("lamp.vert", "lamp.frag");
	Shader cubeShader("cube.vert", "cube.frag");    //使用封装shader类

	glm::mat4 trans = glm::mat4(1.0f);  //单位矩阵
	glm::mat4 model = glm::mat4(1.0f);  //模型矩阵:用于物体坐标转化为世界坐标
	glm::mat4 view = glm::mat4(1.0f);

	glfwSetInputMode(window, GLFW_CURSOR, GLFW_CURSOR_DISABLED);   //防止窗口对鼠标进行拦截
	//渲染引擎
	glEnable(GL_DEPTH_TEST);    //打开深度缓存

    //生成mesh:光照用
    Mesh mesh = processCubeMesh();

    //使用model类生成model对象
    Model ourModel("D:/openGLResource/bin/nanosuit/nanosuit.obj");
	while (!glfwWindowShouldClose(window)) {    //当需要退出时候退出

		//因为每一个循环的进入时间不一样,确保推进的距离一样,要用到时间差
		currentFrame = glfwGetTime();
		deltaTime = currentFrame - lastFrame;
		lastFrame = currentFrame;

		processInput(window); //每个周期都调用键位函数

		//动态变化摄像机位置
		float radius = 10.0f;   //半径
		float camX = sin(glfwGetTime()) * radius;
		float camZ = cos(glfwGetTime()) * radius;

		//设置颜色值和透明度,需要链接opengl32库才行
		glClearColor(0.2f, 0.3f, 0.3f, 0.1f);   //背景
		glClear(GL_COLOR_BUFFER_BIT | GL_DEPTH_BUFFER_BIT);   //清理颜色或者深度缓存

		//绘制立方体
		trans = glm::mat4(1.0f);
		model = glm::translate(trans, cubePositions[0]);    //只变换位置用来区分不同的立方体
		model = glm::rotate(model, (float)glfwGetTime(), glm::vec3(0.0f, 3.0f, 0.0f));  //角度(逆向),绕
		view = camera.GetViewMatrix();

		glm::mat4 projection;   //投影
		projection = glm::perspective(glm::radians(camera.fov), 800.0f / 600.0f, 0.1f, 100.0f);  //透视投影:FOV,屏幕长宽比,近,远。
		cubeShader.useShader();
		//传值给传送多个矩阵让其发生位置变化
		glUniformMatrix4fv(glGetUniformLocation(cubeShader.ID, "projection"), 1, GL_FALSE, glm::value_ptr(projection));
		glUniformMatrix4fv(glGetUniformLocation(cubeShader.ID, "view"), 1, GL_FALSE, glm::value_ptr(view));
		glUniformMatrix4fv(glGetUniformLocation(cubeShader.ID, "model"), 1, GL_FALSE, glm::value_ptr(model));
		glUniform4f(glGetUniformLocation(cubeShader.ID, "lightPos"), cubePositions[1].r, cubePositions[1].g, cubePositions[1].b, 1);   //注意lightposion的三个值,现在是齐次坐标
		glUniform3f(glGetUniformLocation(cubeShader.ID, "viewPos"), camera.Position.r, camera.Position.g, camera.Position.b);   //观察的方向
		glUniform3f(glGetUniformLocation(cubeShader.ID, "front"), camera.Front.r, camera.Front.g, camera.Front.b);   //相机朝向的方向
		glUniform3f(glGetUniformLocation(cubeShader.ID, "objectColor"), 1.0f, 0.5f, 0.31f);

		glUniform3f(glGetUniformLocation(cubeShader.ID, "lightColor"), 1.0f, 1.0f, 1.0f);
		//绘制mesh
		//mesh.Draw(cubeShader);
        ourModel.Draw(cubeShader);
		//绑定第二个立方体
		model = glm::translate(trans, cubePositions[2]);
		glUniformMatrix4fv(glGetUniformLocation(cubeShader.ID, "model"), 1, GL_FALSE, glm::value_ptr(model));
		//mesh.Draw(cubeShader);//画第二个立方体
        //ourModel.Draw(cubeShader);
		//绘制光源
		trans = glm::mat4(1.0f);
		model = glm::translate(trans, cubePositions[1]);
		model = glm::scale(model, glm::vec3(0.2f, 0.2f, 0.2f));
		trans = projection * view * model;
		lightShader.useShader();    //注意这是新的useShader了
		glUniform3f(glGetUniformLocation(lightShader.ID, "lightColor"), 1.0f, 1.0f, 1.0f);
		glUniformMatrix4fv(glGetUniformLocation(lightShader.ID, "transform"), 1/*个矩阵*/, GL_FALSE,
			glm::value_ptr(trans));  //设置偏移矩阵
		mesh.Draw(lightShader);
        //ourModel.Draw(lightShader);
		glfwSwapBuffers(window);
		glfwPollEvents();   //立即处理已经到位的事件,如果没有这个就会一直渲染而不触发事件
	}
	//退出
	glfwTerminate();
	return 0;
}
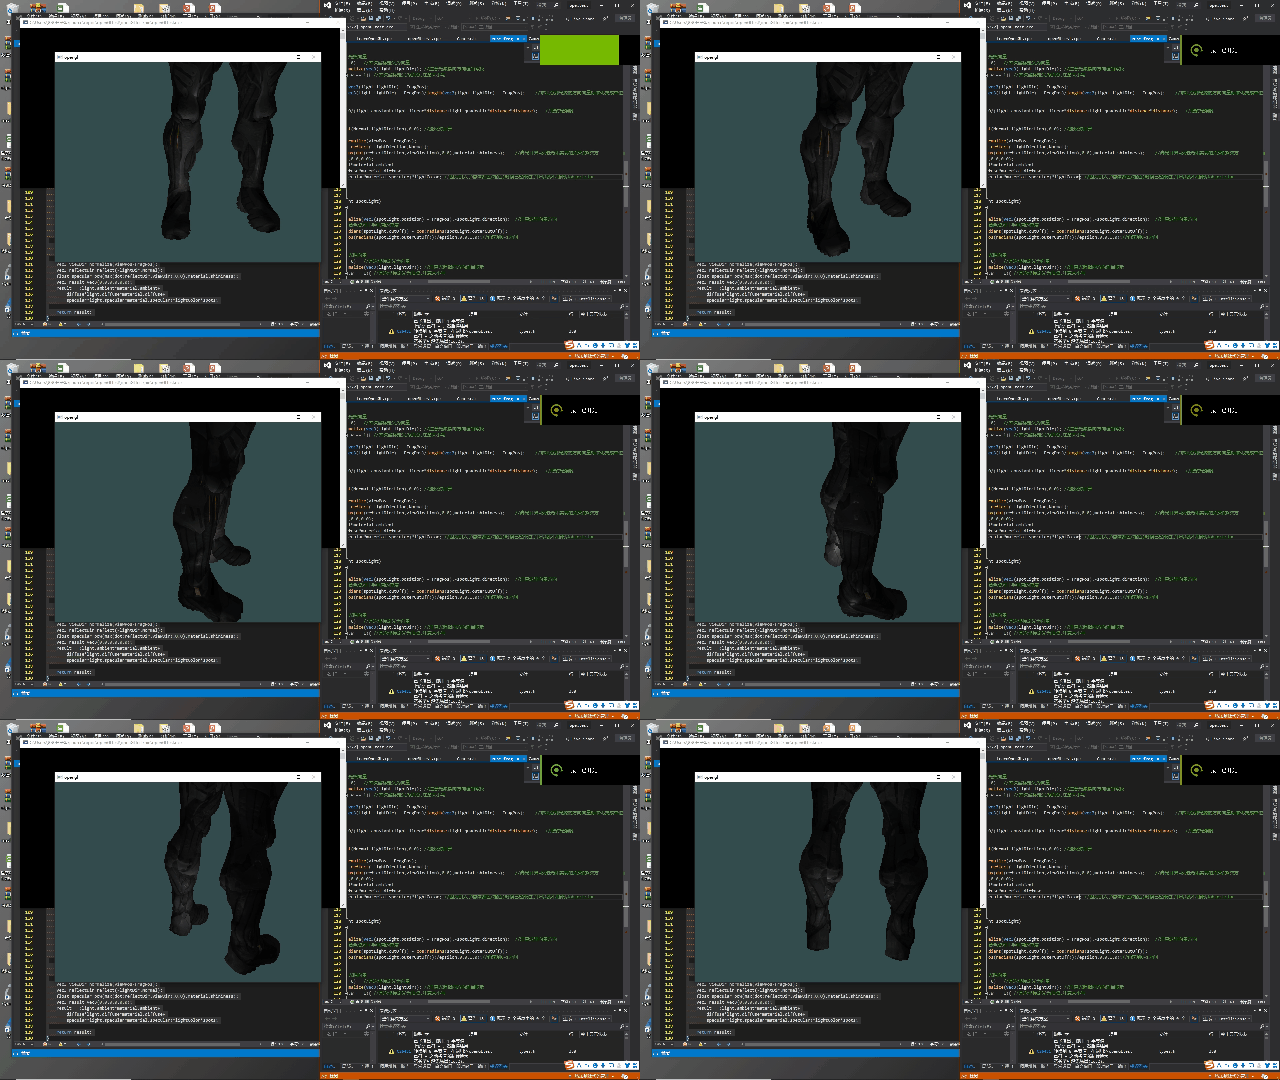
结果
- 只有纹理的漫反射而没有什么衰减等因素的影响

- 只取消光衰减之后的样子,注意漫反射以及镜面反射


 1154
1154


 被折叠的 条评论
为什么被折叠?


