


文章目录
pytorch–学习网络中的池化层,全连接层和激活函数
池化层
卷积操作中 pool层是比较重要的,是提取重要信息的操作,可以去掉不重要的信息,减少计算开销。
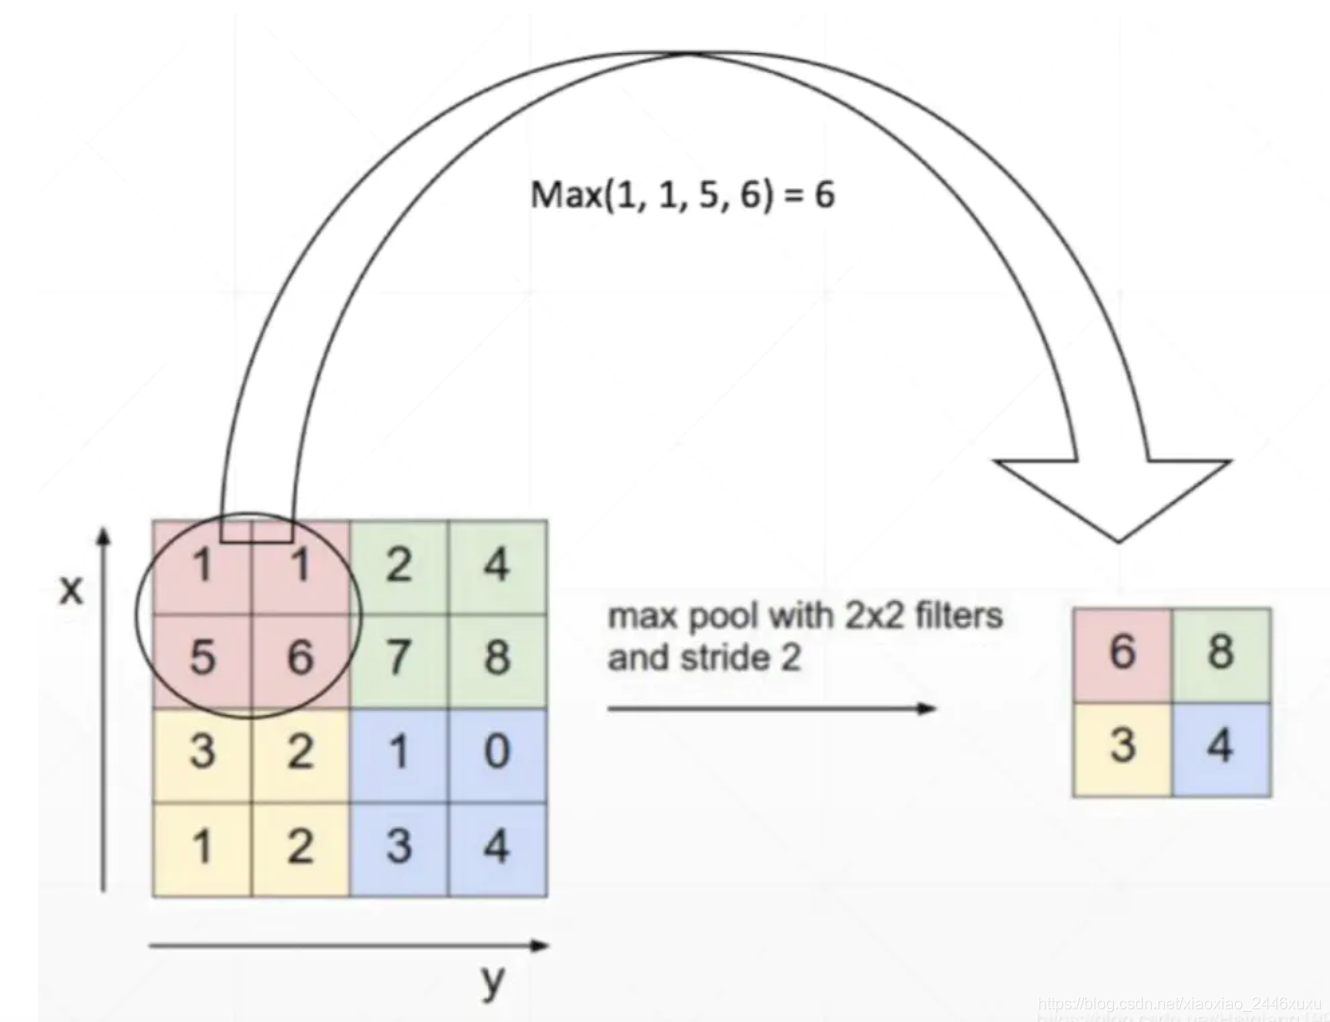
nn.MAXPool2d:功能是对二维信号进行最大池化

kernel_size(int or tuple) - max pooling的窗口大小,
stride(int or tuple, optional) - max pooling的窗口移动的步长。默认值是kernel_size
padding(int or tuple, optional) - 输入的每一条边补充0的层数
dilation(int or tuple, optional) – 一个控制窗口中元素步幅的参数
ceil_mode - 如果等于True,计算输出信号大小的时候,会使用向上取整,代替默认的向下取整的操作
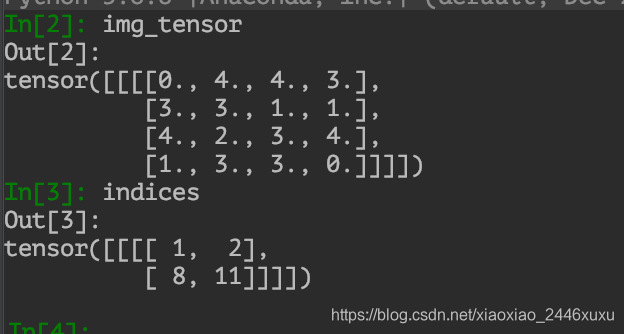
return_indices - 如果等于True,会返回输出最大值的序号,对于上采样操作会有帮助
练习:
import os
#获取当前py目录的路径
BASE_DIR = os.path.dirname(os.path.abspath(__file__))
import torch
import random
import numpy as np
import torchvision
import torch.nn as nn
from torchvision import transforms
from matplotlib import pyplot as plt
from PIL import Image
from tools.common_tools import transform_invert, set_seed
#创建类
path_tools = os.path.abspath(os.path.join(BASE_DIR, "..", "..", "tools", "common_tools.py"))
assert os.path.exists(path_tools), "{}不存在,请将common_tools.py文件放到 {}".format(path_tools, os.path.dirname(path_tools))

import sys
hello_pytorch_DIR = os.path.abspath(os.path.dirname(__file__)+os.path.sep+".."+os.path.sep+"..")
sys.path.append(hello_pytorch_DIR)

from tools.common_tools import set_seed
# ================================= load img ==================================
path_img = os.path.join(os.path.dirname(os.path.abspath(__file__)), "lena.png")
#获取图片
img = Image.open(path_img).convert('RGB') # 0~255
# convert to tensor
#将图片转换成tensor
img_transform = transforms.Compose([transforms.ToTensor()])
img_tensor = img_transform(img)
#增加维度
img_tensor.unsqueeze_(dim=0) # C*H*W to B*C*H*W
#kernel_size
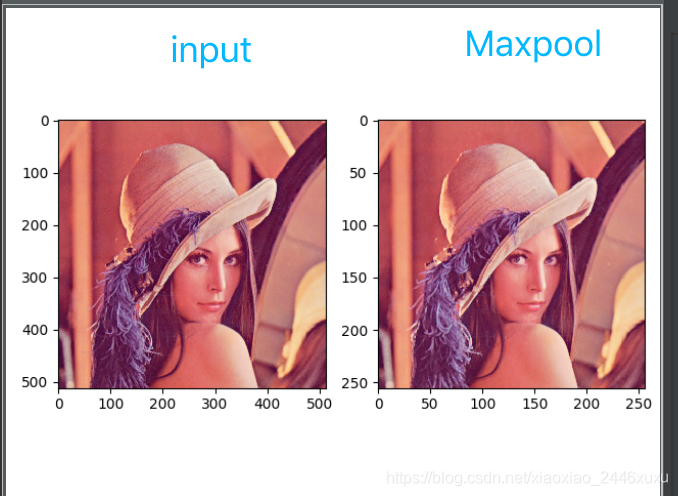
maxpool_layer = nn.MaxPool2d((2, 2), stride=(2, 2)) # input:(i, o, size) weights:(o, i , h, w)
img_pool = maxpool_layer(img_tensor)
池化前尺寸:torch.Size([1, 3, 512, 512])
池化后尺寸:torch.Size([1, 3, 256, 256])
nn.AvgPool2d:
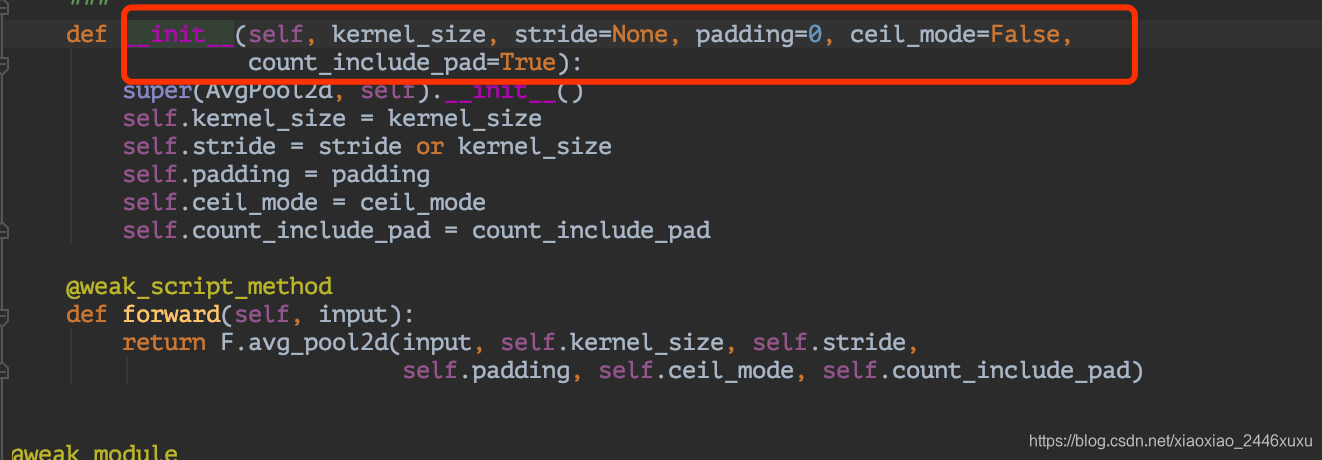
kernel_size: the size of the window
stride: the stride of the
padding to be added on both sides
ceil_mode: when True, will useceilinstead offloorto compute the output shape 尺寸向上取整
count_include_pad: when True, will include the zero-padding in the averaging calculation 填充值用于计算,设置True,填充值用于计算
avgpoollayer = nn.AvgPool2d((2, 2), stride=(2, 2))   # input:(i, o, size) weights:(o, i , h, w)
img_pool = avgpoollayer(img_tensor)
池化前尺寸:torch.Size([1, 3, 512, 512])
池化后尺寸:torch.Size([1, 3, 256, 256])

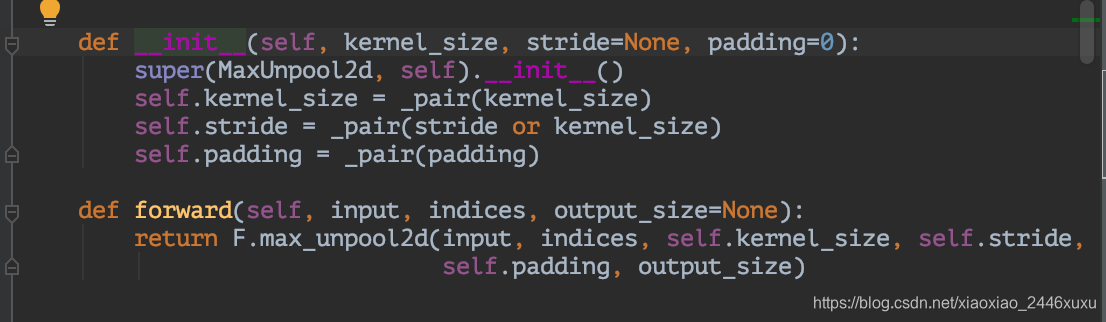
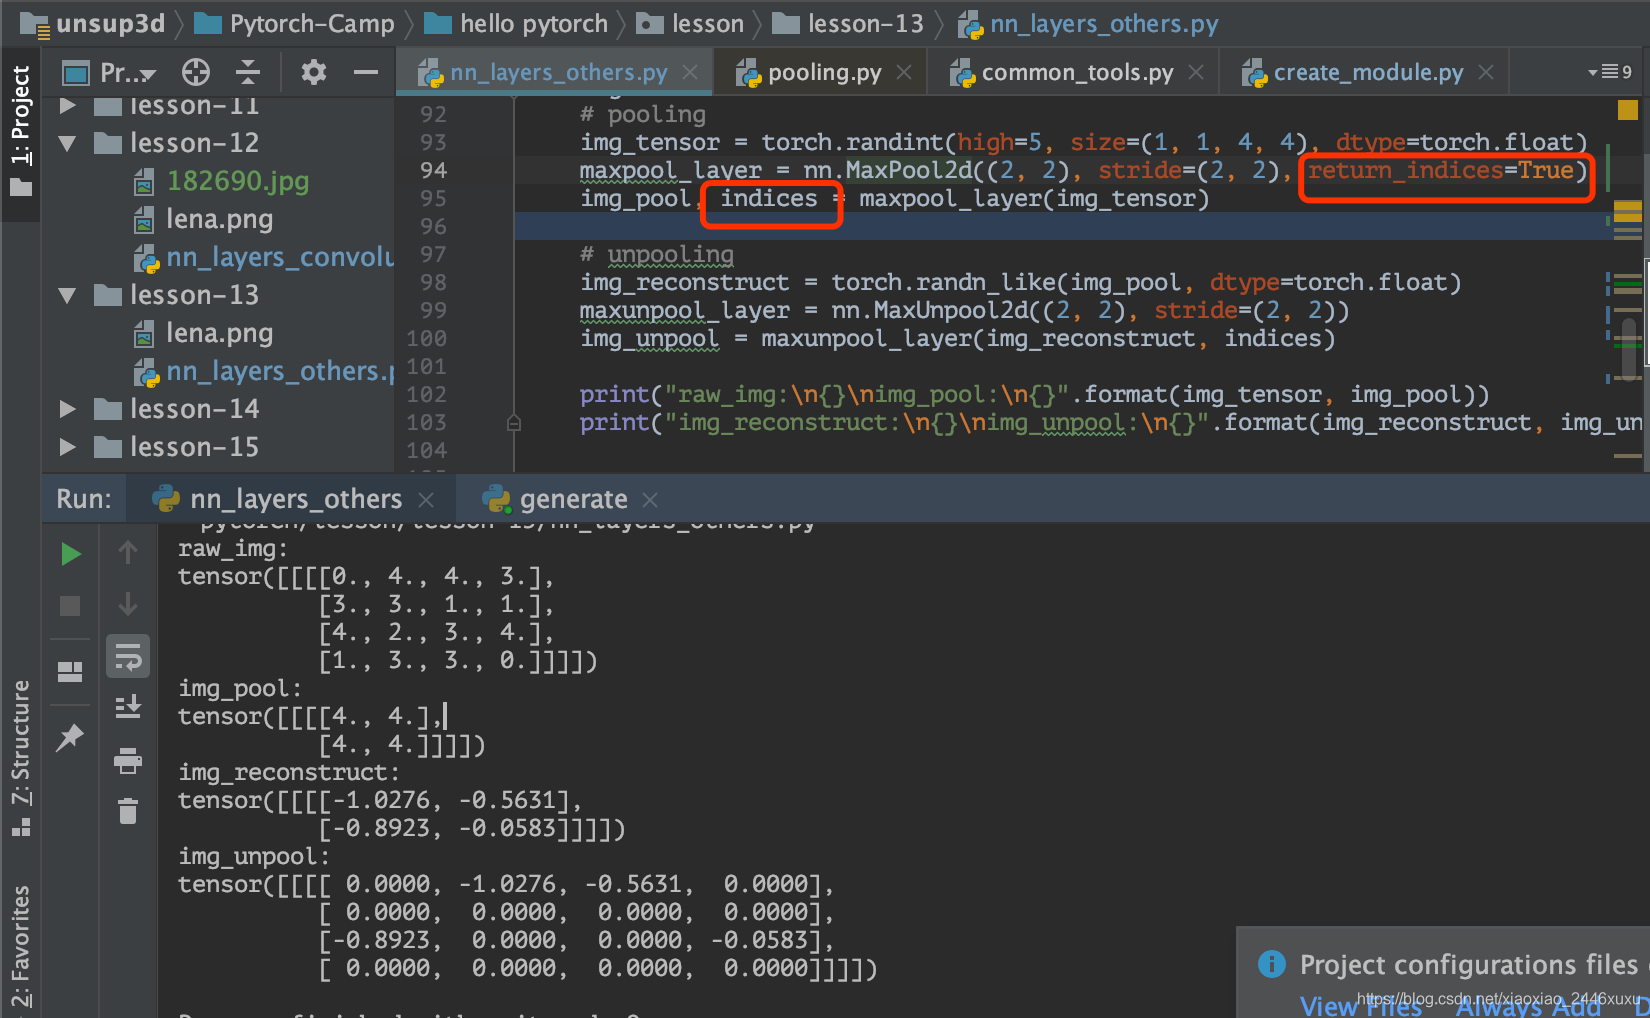
nn.MaxUnpool2d:反池化操作
img_tensor = torch.randint(high=5, size=(1, 1, 4, 4), dtype=torch.float)
maxpool_layer = nn.MaxPool2d((2, 2), stride=(2, 2), return_indices=True)
img_pool, indices = maxpool_layer(img_tensor)

    # unpooling
img_reconstruct = torch.randn_like(img_pool, dtype=torch.float)
maxunpool_layer = nn.MaxUnpool2d((2, 2), stride=(2, 2))
img_unpool = maxunpool_layer(img_reconstruct, indices)

print("raw_img:\n{}\nimg_pool:\n{}".format(img_tensor, img_pool))
    print("img_reconstruct:\n{}\nimg_unpool:\n{}".format(img_reconstruct, img_unpool))
线性层
也是全连接层
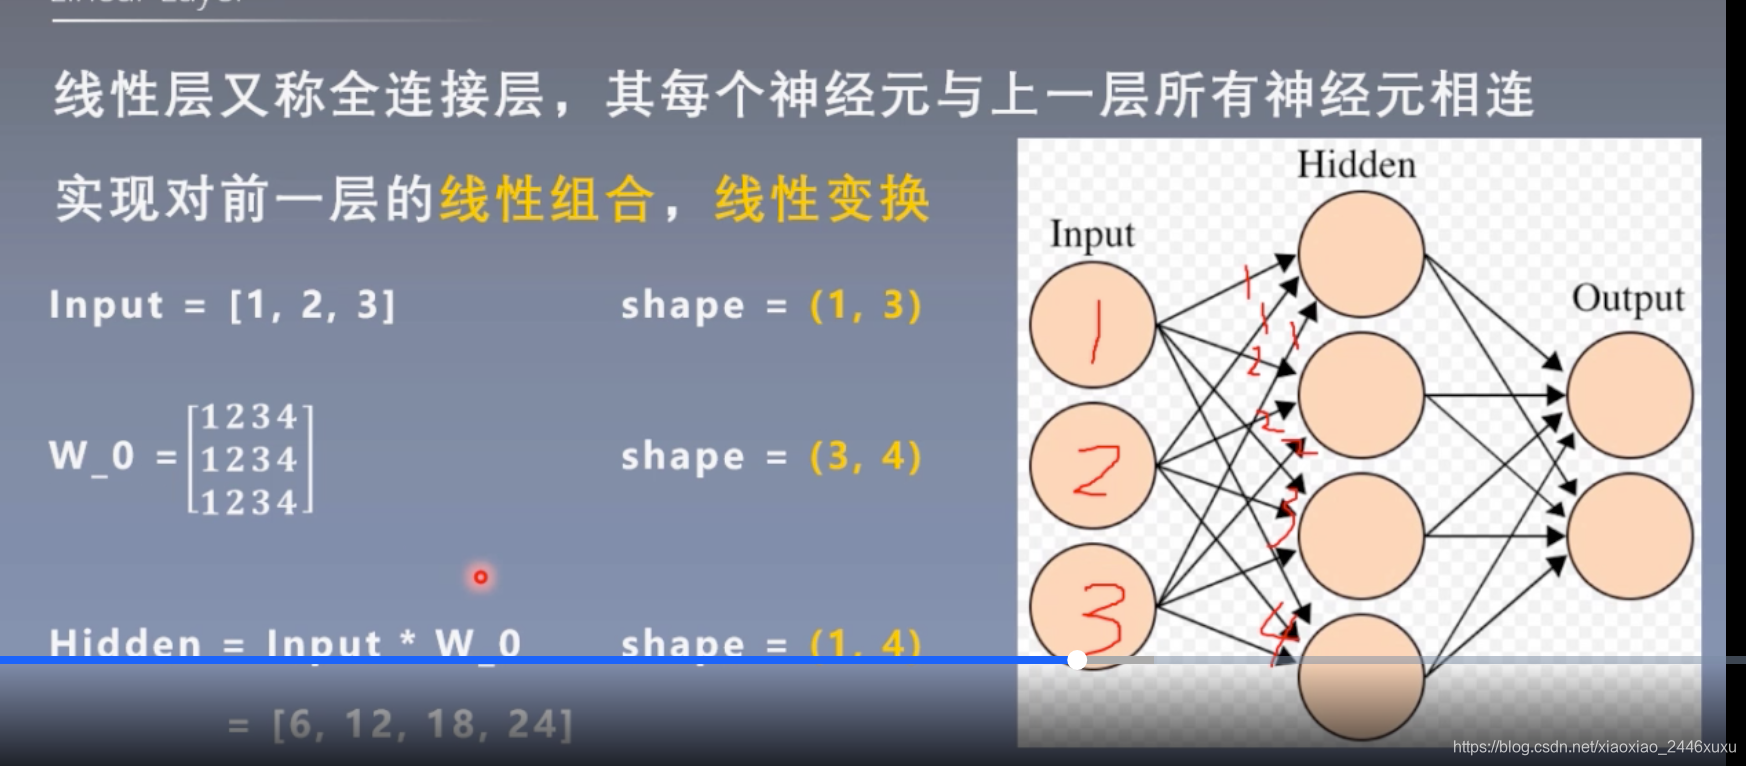
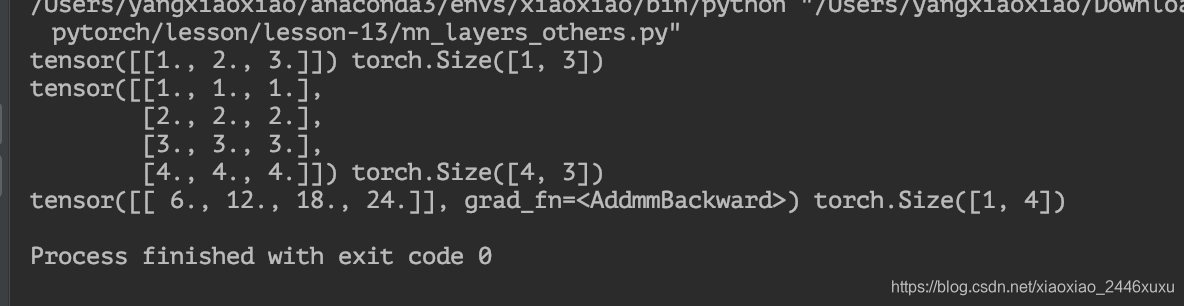
nn.Linear

inputs = torch.tensor([[1., 2, 3]])
linear_layer = nn.Linear(3, 4)
linear_layer.weight.data = torch.tensor([[1., 1., 1.],
                                             [2., 2., 2.],
                                             [3., 3., 3.],
                                             [4., 4., 4.]])

linear_layer.bias.data.fill_(0.)
output = linear_layer(inputs)
print(inputs, inputs.shape)
print(linear_layer.weight.data, linear_layer.weight.data.shape)
print(output, output.shape)
linear_layer.bias.data.fill_(0.5)

激活函数
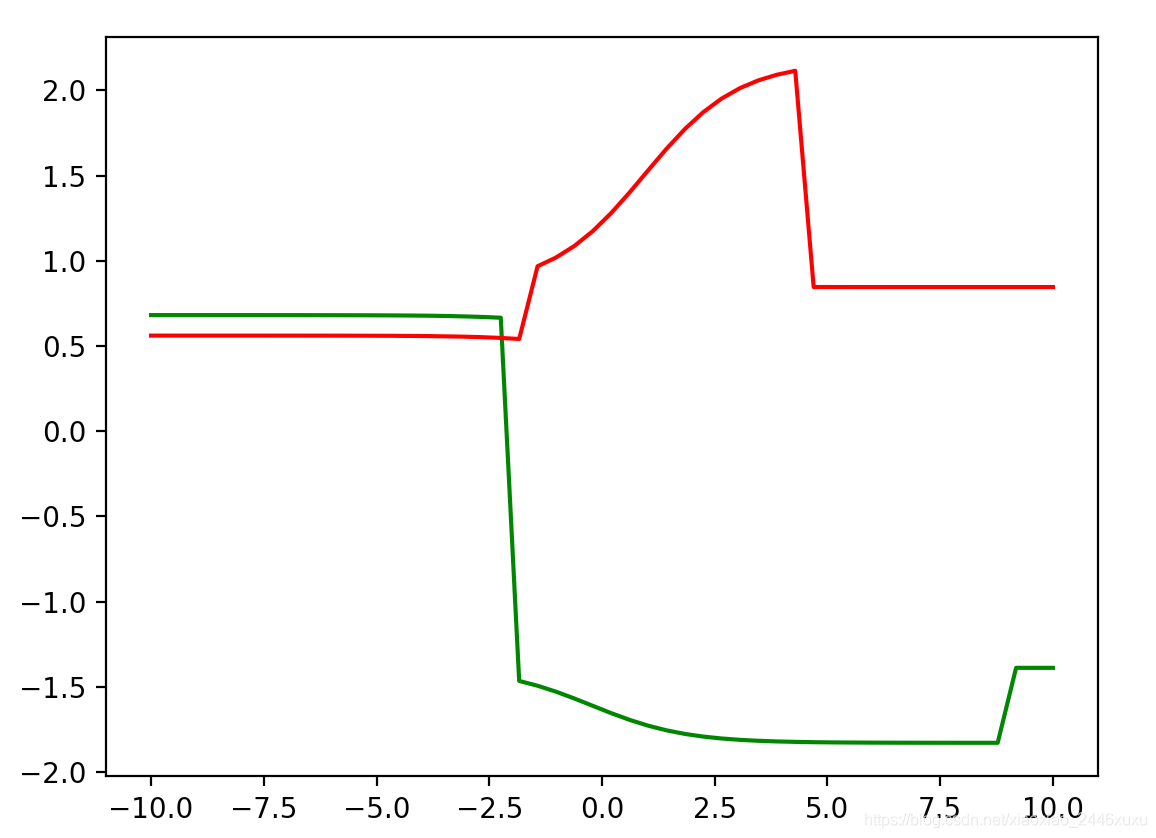
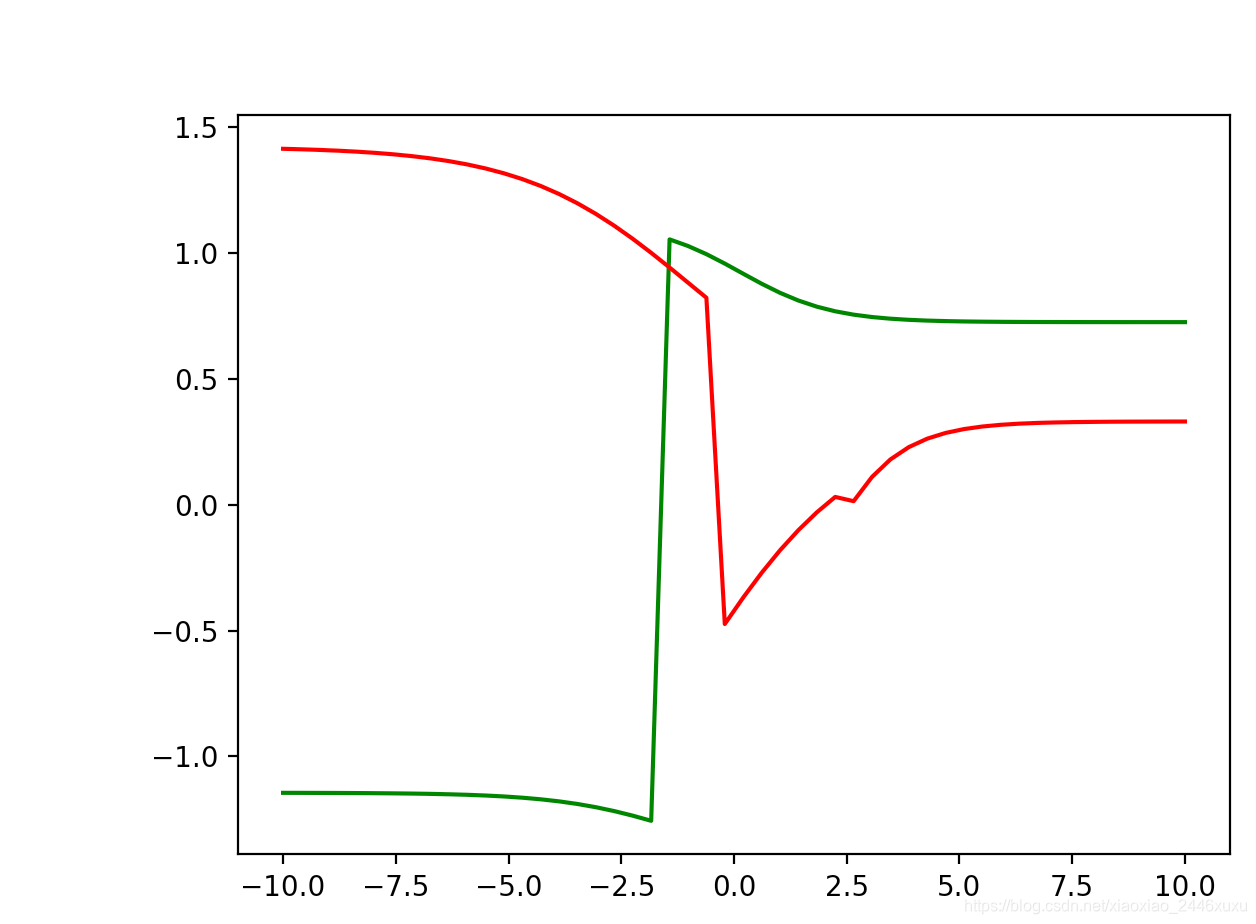
下面这个程序告诉你激活函数可以拟合任意一个非线性层。
from matplotlib.animation import FuncAnimation
import numpy as np
import matplotlib.pyplot as plt
import random
def sigmoid(x):
    return 1 / (1 + np.exp(-x))

def random_linear(x):
    k, b = random.normalvariate(0, 1), random.normalvariate(0, 1)

    return k * x + b
sub_x = np.linspace(-10, 10)
%matplotlib notebook
def draw_a_random_curve():
    i = random.choice(range(len(sub_x)))
    linear_output = np.concatenate((random_linear(sub_x[:i]), random_linear(sub_x[i:])))
    i2 = random.choice(range(len(linear_output)))
    output = np.concatenate((random_linear(sigmoid(linear_output[:i2])), random_linear(sigmoid(linear_output[i2:]))))

    return output


def draw(index):
    fig.clear()
    plt.plot(sub_x, draw_a_random_curve(), color='green')
    plt.plot(sub_x, draw_a_random_curve(), color='red')


fig = plt.gcf()
FuncAnimation(fig, draw, interval=500)


 8525
8525


 被折叠的 条评论
为什么被折叠?
被折叠的 条评论
为什么被折叠?
 到【灌水乐园】发言


