


1. Flux Fill的官方示例
或者参考官方代码:https://huggingface.co/black-forest-labs/FLUX.1-Fill-dev
bfl_repo = "../model_hub/black-forest-labs/FLUX.1-Fill-dev"
pipe = load_flux_quanto_fp8(bfl_repo)

image = Image.open("../dataset/tmp/cup.png")    # input image has mul masked
mask = Image.open("../dataset/tmp/cup_mask.png")  # mask image

image_fill = pipe(
    prompt="a white paper cup",
    image=image,
    mask_image=mask,
    height=1632,
    width=1232,
    guidance_scale=30,
    num_inference_steps=50,
    max_sequence_length=512,
    generator=torch.Generator("cpu").manual_seed(0)
).images[0]
image_fill.save(f"../dataset/tmp/cup_flux_fill.png")

import huicv.visualization as huivis
huivis.grid_pil_images([image, mask, image_fill], 3, 1) # 可视化
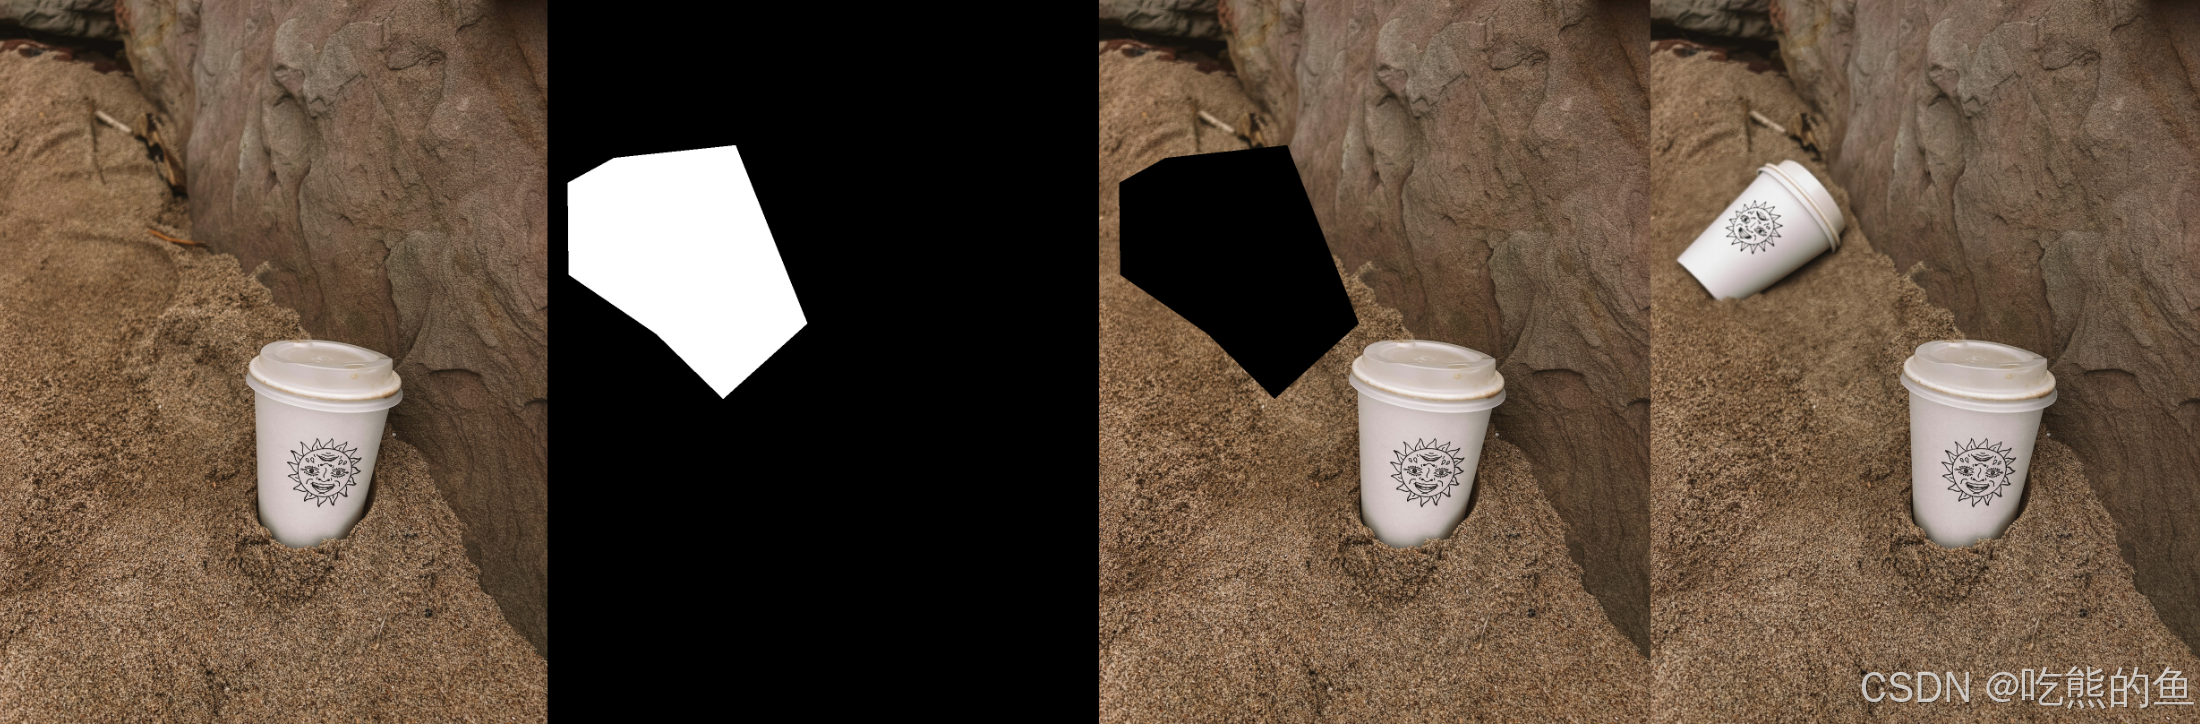
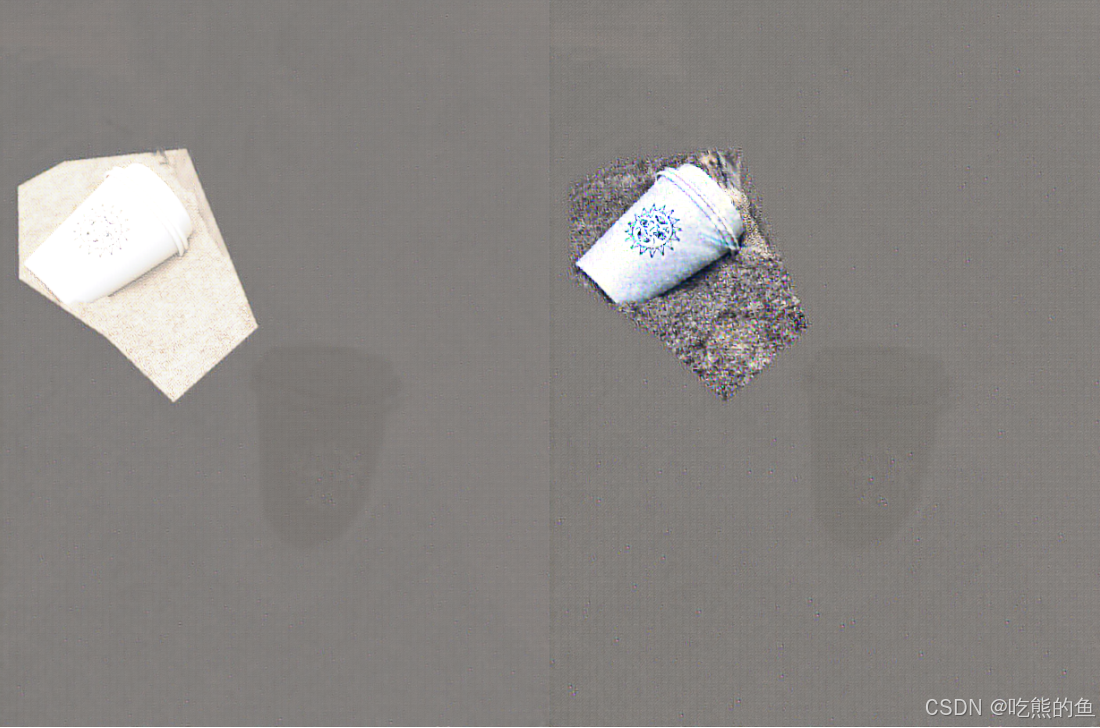
2. 可视化Flux-Fill到底修改了什么
通过VAE decode可视化特征的差值
# VAE是卷积网络,具备很强的空间属性:也就图像和特征有很强的对于关系,改变某个位置的特征,影响最大的是其对应的图像。
# Flux-Fill主要这对Mask区域的特征做修改,说明模型在训练中能学习出针对Mask区域的VAE特征做大幅度变换的能力。

def vae_encode(self, image):
    width, height = image.size
    image_pre = self.image_processor.preprocess(image, height=height, width=width)
    image_pre = image_pre.to(device="cuda", dtype=torch.bfloat16)
    with torch.no_grad():
        encoder_output = self.vae.encode(image_pre)
        latents = encoder_output.latent_dist.sample(None)
    return latents

def vae_decode(self, latents_1):
    with torch.no_grad():
        image = self.vae.decode(latents_1, return_dict=False)[0]
        r_image = self.image_processor.postprocess(image, output_type="pil")[0]
    return r_image

latents_image = vae_encode(pipe, image)
latents_cont_image = vae_encode(pipe, context_image)
latents_image_fill = vae_encode(pipe, image_fill)

diff_latent_cont = latents_image_fill - latents_cont_image
diff_img_cont = vae_decode(pipe, diff_latent_cont)
diff_latent_ori = latents_image_fill - latents_image
diff_img_ori = vae_decode(pipe, diff_latent_ori)

huivis.grid_pil_images([diff_img_cont, diff_img_ori], 2, 1)
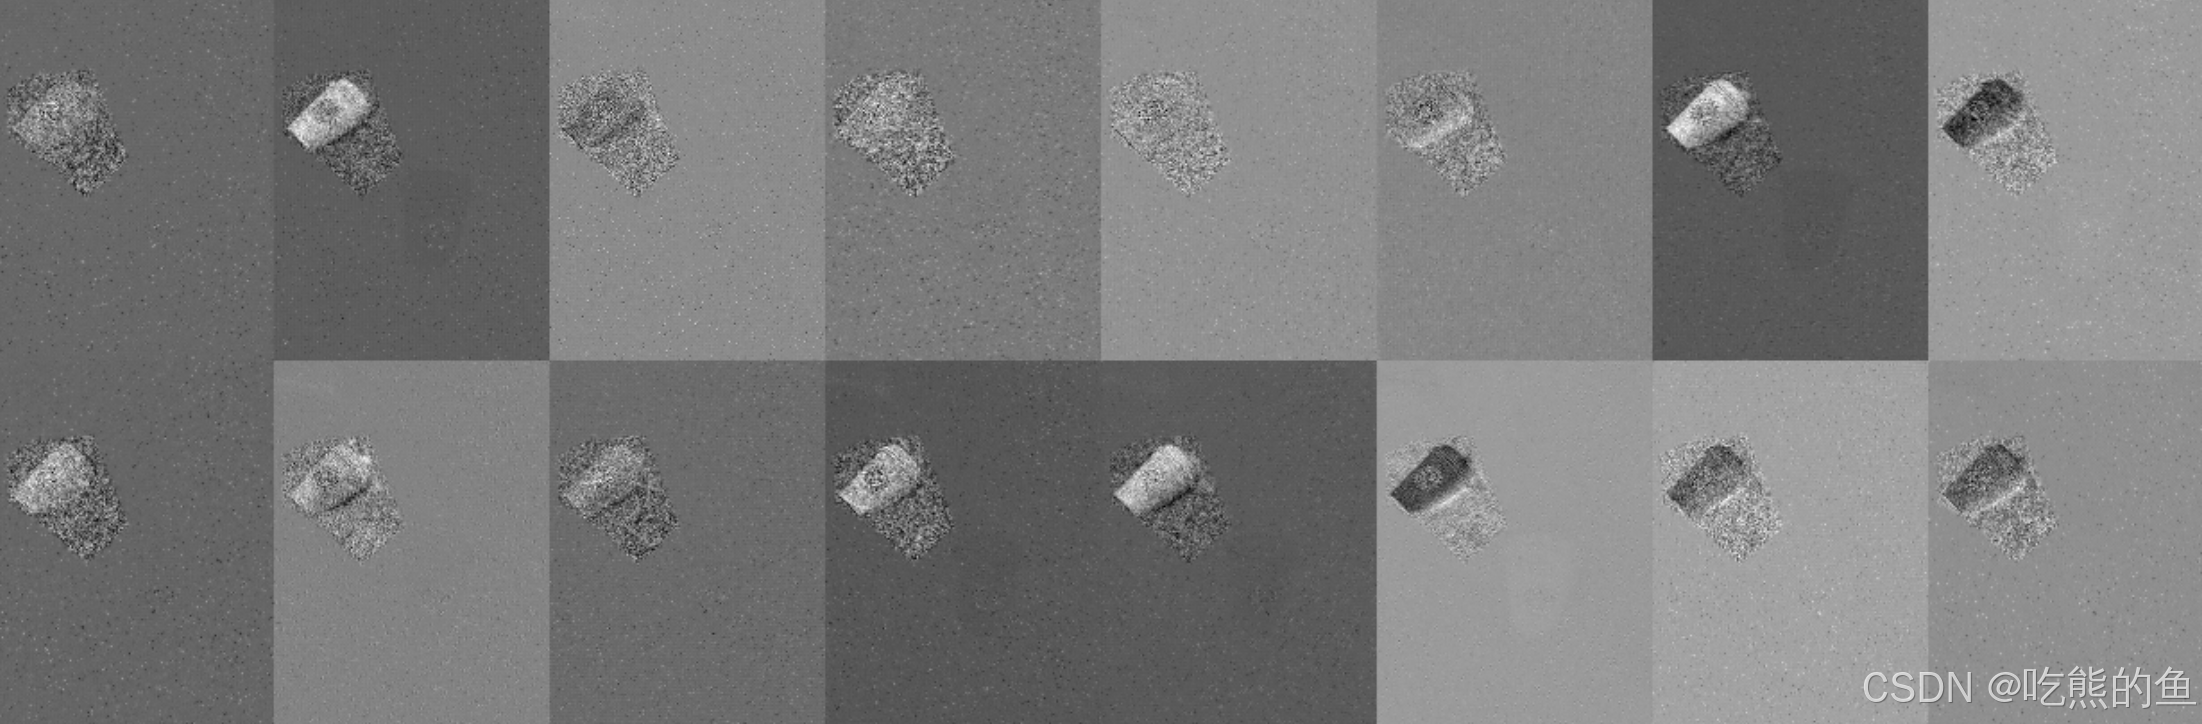
不使用VAE decode直接可视化特征
可以看见其实diffusion输出的特征中视觉要素已经很明显了,VAE只是让它们看起更像是自然图像。
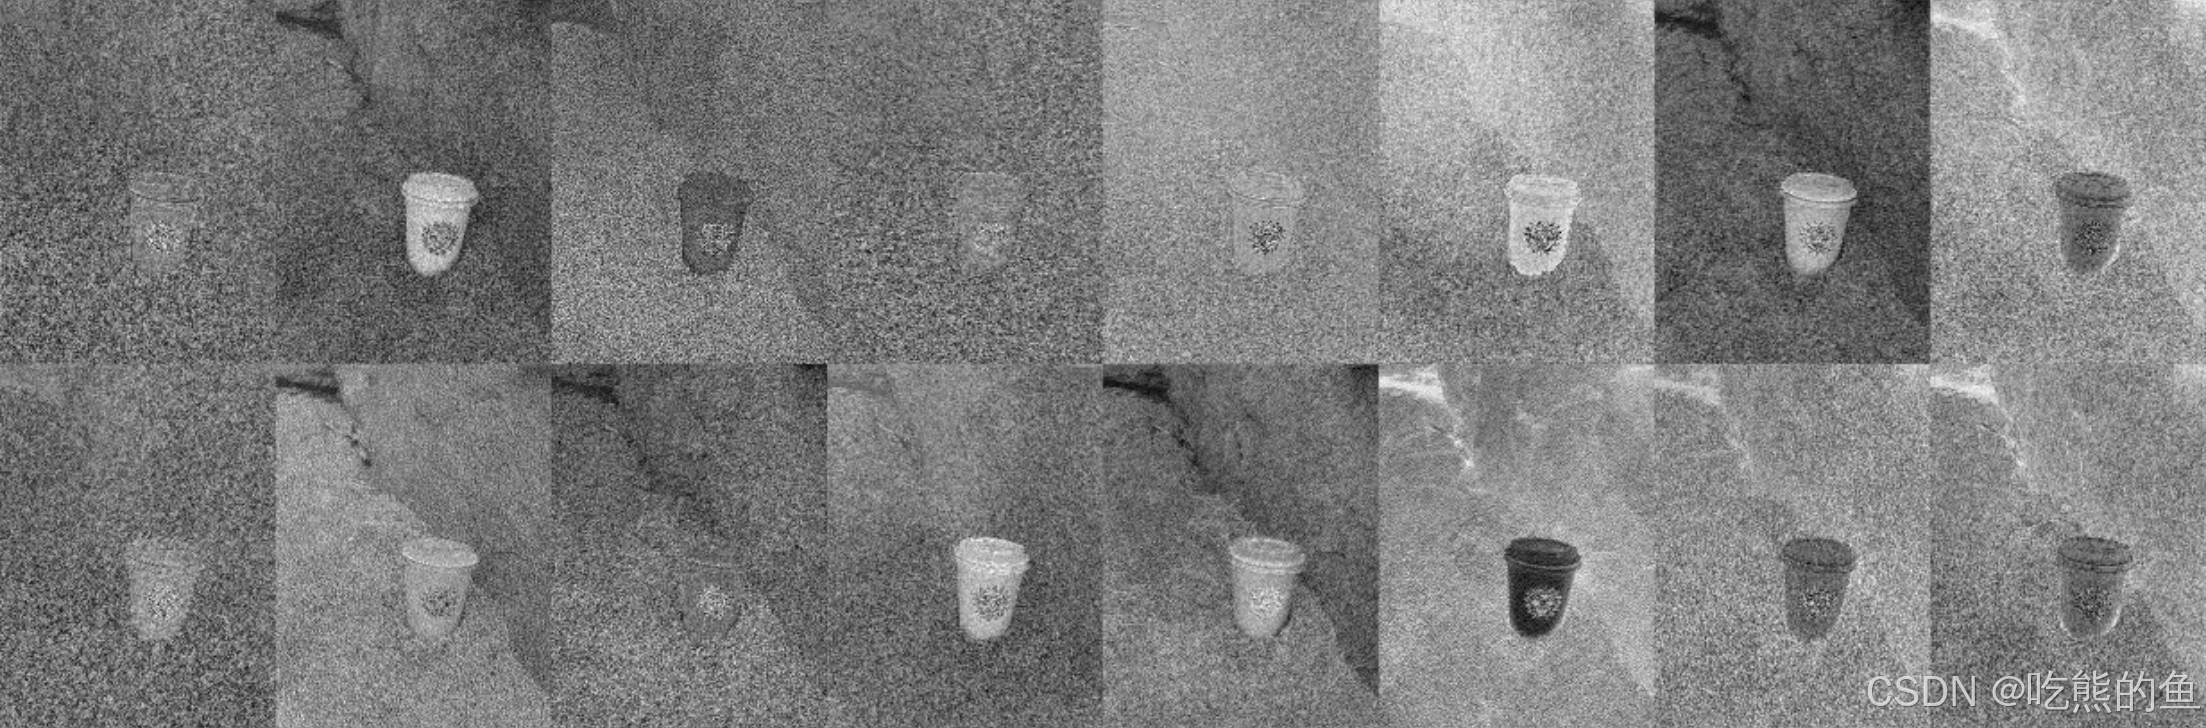
1) diff_latent
def to_image(f):
    f = (f - f.min()) / (f.max() - f.min())
    a2 = (f*255).to(torch.float32).cpu().numpy().astype(np.uint8)
    return Image.fromarray(a2)

imgs = [to_image(f) for f in diff_latent_ori[0]]
huivis.grid_pil_images(imgs, 8, 2)
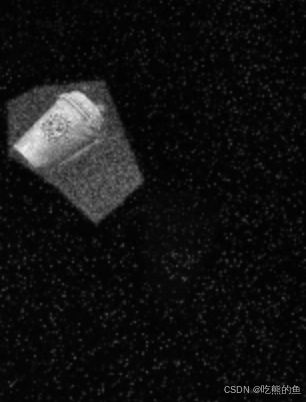
直接求和
to_image(diff_latent_ori.abs().sum(dim=1)[0])
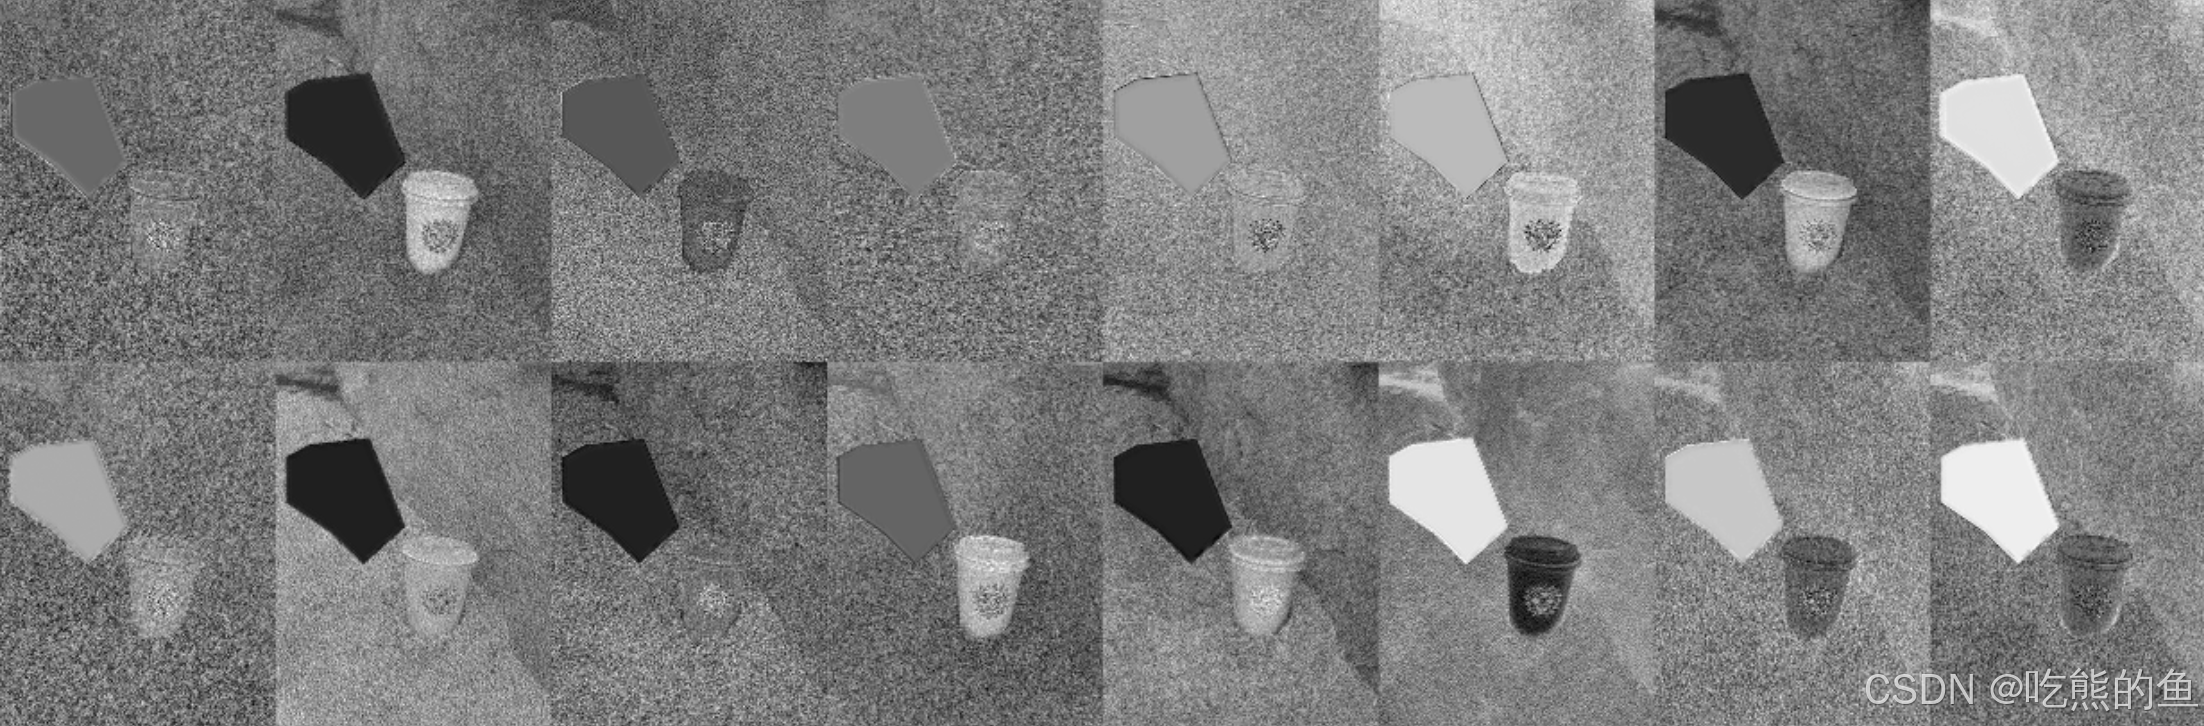
2) 可视化原图和context图的latents
imgs = [to_image(f) for f in latents_image[0]]
huivis.grid_pil_images(imgs, 8, 2)

imgs = [to_image(f) for f in latents_cont_image[0]]
huivis.grid_pil_images(imgs, 8, 2)
3. VAE在做什么
image = Image.open("../dataset/tmp/cup.png")
image = Image.open(os.path.join(assert_dirs, "flux_fill/旅游出行_524169_ori.jpg"))

def randn(latents): return torch.randn(size=latents.shape, device=latents.device, dtype=latents.dtype)
latents_image = vae_encode(pipe, image)
d = 80
ld = d / 255 * (latents_image.max() - latents_image.min()).item()
print("latents_image:", latents_image.max().item(), latents_image.min().item(), d, ld)

huivis.grid_pil_images([
    image,
    vae_decode(pipe, latents_image + ld),
    vae_decode(pipe, latents_image - ld),
    vae_decode(pipe, latents_image + ld*randn(latents_image)),
    vae_decode(pipe, latents_image - ld*randn(latents_image)),
    vae_decode(pipe, latents_image * 8),
    vae_decode(pipe, latents_image / 8),
], 7, 1)


可以看到,加法在调整亮度,乘法在改变色调。
这说明VAE特征空间可以看作是在不同色调的亮度值的分解,当应用加法,所有色调都被加亮,呈现为亮度增强,当应用乘法时,数值大的色调被增强的越大,体现为色调的强化。


 1984
1984

 被折叠的 条评论
为什么被折叠?
被折叠的 条评论
为什么被折叠?
 到【灌水乐园】发言


