


目录
需求:
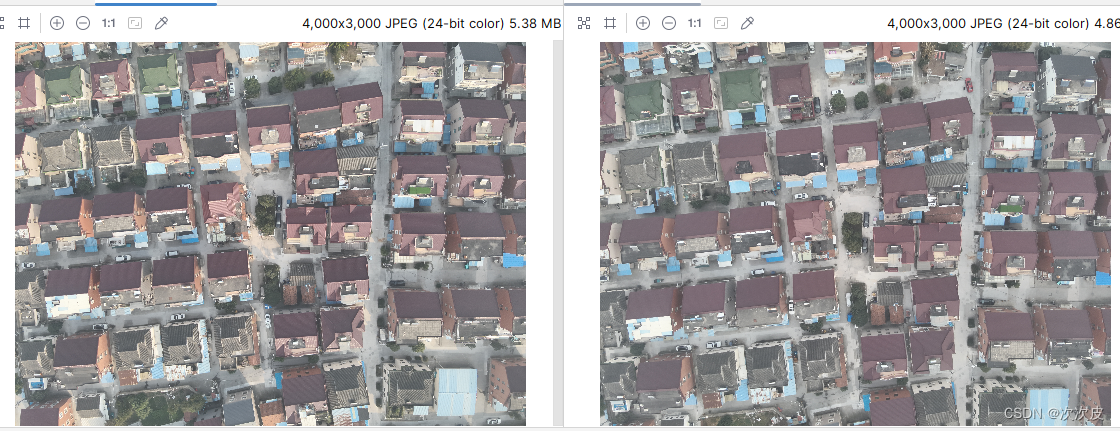
无人机视角下,不同时间同一地点拍摄的两张图片,比对后,将不同标注在第一张图片上,比如说违建,第一次拍摄的时候发现有违建,过段时间需要检查这个违建拆除了没有于是再拍摄一张,开发者要做的是,比对两张图片的违建情况并标记出来
难点:
两张图片拍摄角度不完全一样、图片大小可能存在差异、图片上除了违建不同之外可能存在其他不同(比如不同时间下该地点行人或者车辆停放之类的不同,这种是不需要标记的)
思路:
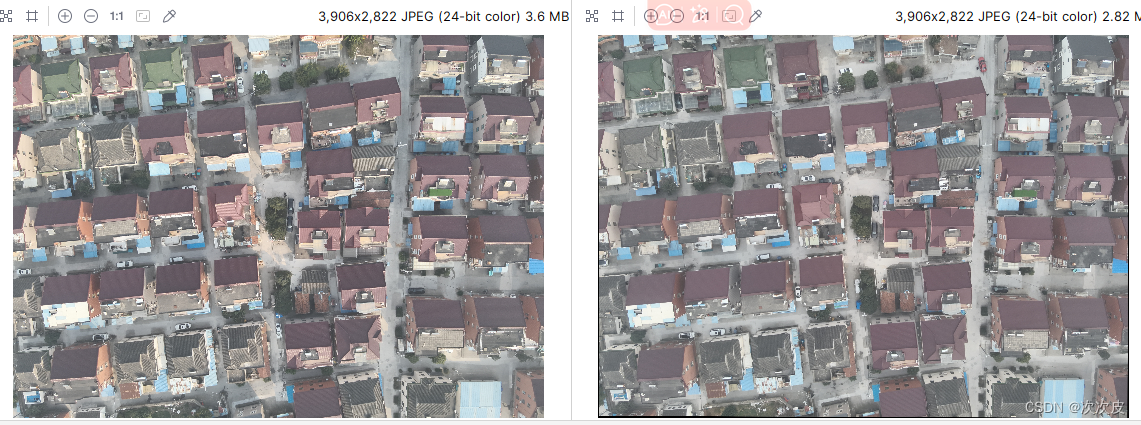
1、将两张照片旋转对齐,使大小角度一致
2、将处理后的照片使用模型识别(需要提前做好模型训练),专门识别出违建目标
3、比对两张图片识别出来的目标,将多出来的目标标红,少的目标标绿
代码:
1、stage1.py
import cv2
import numpy as np
import matplotlib.pyplot as plt
# stage1 将图片比对原始图片,转化大小角度之后保存
# 加载图片A和B
imgA = cv2.imread('../images/origin.jpg')
imgB = cv2.imread('../images/update1.jpg')
# 特征点检测和匹配
# 创建了一个 ORB 检测器对象。
detector = cv2.ORB_create()
# orb.detectAndCompute() 函数来检测关键点并计算描述符。
keypointsA, descriptorsA = detector.detectAndCompute(imgA, None)
keypointsB, descriptorsB = detector.detectAndCompute(imgB, None)
# 创建基于暴力匹配的特征匹配器
matcher = cv2.BFMatcher(cv2.NORM_HAMMING, crossCheck=True)
# 使用 bf.match(des1, des2) 进行特征匹配,并根据距离排序匹配结果。
matches = matcher.match(descriptorsA, descriptorsB)
# sorted() 函数对特征匹配结果进行排序。在这里,matches 是一个特征匹配对象的列表,每个对象包含了匹配的两个特征点以及它们之间的距离信息。
matches = sorted(matches, key=lambda x: x.distance)
pointsA = np.float32([keypointsA[m.queryIdx].pt for m in matches]).reshape(-1, 1, 2)
pointsB = np.float32([keypointsB[m.trainIdx].pt for m in matches]).reshape(-1, 1, 2)
# 对齐图像B
M, mask = cv2.findHomography(pointsB, pointsA, cv2.RANSAC, 5.0)
# 对一张图像进行透视变换,使其与另一张图像对齐
alignedImgB = cv2.warpPerspective(imgB, M, (imgA.shape[1], imgA.shape[0]))
#cv2.imwrite("stage1.png", alignedImgB)
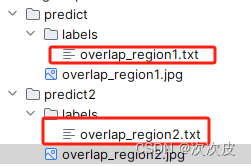
# 找到重叠区域的边界
mask_gray = cv2.cvtColor(alignedImgB, cv2.COLOR_BGR2GRAY)
ret, thresh = cv2.threshold(mask_gray, 1, 255, cv2.THRESH_BINARY)
contours, hierarchy = cv2.findContours(thresh, cv2.RETR_EXTERNAL, cv2.CHAIN_APPROX_SIMPLE)
x, y, w, h = cv2.boundingRect(contours[0])
# 裁剪出图二重叠部分
overlap_region2 = alignedImgB[y:y+h, x:x+w]
# 保存结果
cv2.imwrite('overlap_region2.jpg', overlap_region2)
# 裁剪出图一重叠部分
overlap_region1 = imgA[y:y+h, x:x+w]
# 保存结果
cv2.imwrite('overlap_region1.jpg', overlap_region1)
结果:
2、stage2.py
# stage2 将原始图片的彩钢瓦识别后提取

import cv2
from ultralytics import YOLO
from PIL import Image

model = YOLO('../../illegal-building/train2560_100_3/weights/best.pt')
image = Image.open('../matched_org_image1.jpg')
image2 = Image.open('../matched_org_image2.jpg')

results = model.predict(source=image2, save=True, save_txt=True, classes=0, line_width=5, iou=0.1)
print("======")
print(results)
结果:
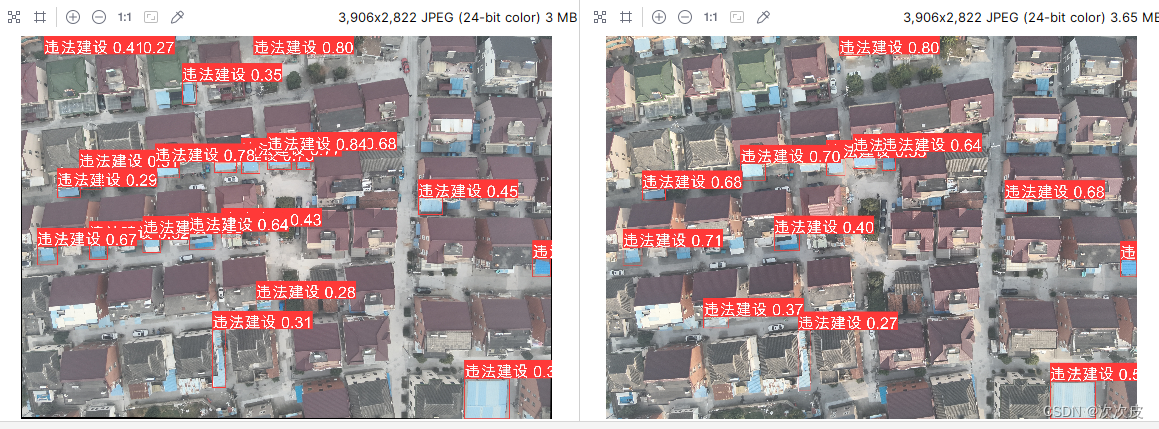
比对识别出来的目标框
3、stage3.py
# stage3 比对两张图片的识别框
# 相比与原始图像多出来的框,和少的框,绘制到第二张图片上
# 多出来的用红色标记、少了的用绿色标记
import cv2

# 将读取的标注信息放的数组里
def readtxttoarray(path):
    array = []
    # 打开文件进行读取
    with open(path, 'r') as file:
        # 逐行读取文件内容并添加到数组中
        for line in file:
            rects = [float(rect) for rect in line.strip().split(" ")]
            array.append(rects)  # 去除每行末尾的换行符并添加到数组中
    return array

def is_within_range(num1, num2):
    """
    判断两个数之间的误差是否在指定阈值范围内
    :param num1: 第一个数
    :param num2: 第二个数
    :param threshold: 误差阈值,默认为0.02
    :return: 如果两个数之间的误差小于等于阈值,则返回True,否则返回False
    """
    # 计算两个数的差的绝对值
    diff = abs(num1 - num2)
    threshold = 0.02
    # 判断差值是否小于等于阈值
    return diff <= threshold

def check_intersection(box1, box2):
    # 提取边界框坐标
    a1, x1, y1, w1, h1 = box1
    a2, x2, y2, w2, h2 = box2
    # 计算水平方向上的投影
    x_overlap = max(0, min(x1 + w1, x2 + w2) - max(x1, x2))
    # 尺码、颜色:m粉白
    # 计算垂直方向上的投影
    y_overlap = max(0, min(y1 + h1, y2 + h2) - max(y1, y2))

    # 如果两个投影都有重叠,则说明存在交集
    return x_overlap > 0 and y_overlap > 0

# 如果每个标注点相差在0.02之间则认为是同一个框
# 获取在原始图片上有但是在更新后的图片上没有的标注信息
def getdiffbox(org_content, update_content):
    retbox = []
    for box in org_content:
        a = True;
        for rect in update_content:
            # 计算两个框是否相交
            if check_intersection(box, rect):
                # if (is_within_range(box[1], rect[1])and is_within_range(box[2], rect[2])and is_within_range(box[3], rect[3])and is_within_range(box[4], rect[4])):
                a = False
                break
        if a:
            retbox.append(box)
    return retbox

category = {
    0: "weijian",
    1: "lajiduifang",
    2: "zawuduifang",
    3: "piaofuwu",
    4: "shuishenzhiwu",
    5: "shatuluolu",
    6: "jianzhulaji",
    7: "lagua",
    8: "zhongzhi",
    9: "jieganfenshao",
}

# 将得到的框绘制到第二张图上
# 读取图像
def drawboxonfile(path, diff_box, color):
    img = cv2.imread(path)
    for box in diff_box:
        x_center = float(box[1]) * img.shape[1]  # 相对于图像宽度的中心坐标
        y_center = float(box[2]) * img.shape[0]  # 相对于图像高度的中心坐标
        width = float(box[3]) * img.shape[1]  # 相对于图像宽度的边界框宽度
        height = float(box[4]) * img.shape[0]  # 相对于图像高度的边界框高度

        # 计算边界框的左上角和右下角坐标
        x1 = int(x_center - width / 2)
        y1 = int(y_center - height / 2)
        x2 = int(x_center + width / 2)
        y2 = int(y_center + height / 2)
        # 绘制边界框和类别名称
        cv2.rectangle(img, (x1, y1), (x2, y2), color, 3)
        cv2.putText(img, category[(int)(box[0])], (x1, y1 - 10),
                    cv2.FONT_HERSHEY_SIMPLEX,
                    1,
                    color,
                    4, )
    # 显示带有标注信息的图像

    cv2.imwrite('result.jpg', img)
    cv2.waitKey(0)
    cv2.destroyAllWindows()

# 定义一个空数组用于存储文件内容
org_content = readtxttoarray("runs/detect/predict5/labels/matched_org_image1.txt")

# 定义一个空数组用于存储文件内容
#
update_content = readtxttoarray("runs/detect/predict4/labels/matched_org_image2.txt")

diff_box = getdiffbox(org_content, update_content)
raise_box = getdiffbox(update_content, org_content)

drawboxonfile("../matched_org_image1.jpg", diff_box, (0, 255, 0))
drawboxonfile("result.jpg", raise_box, (0, 0, 255))
结果:
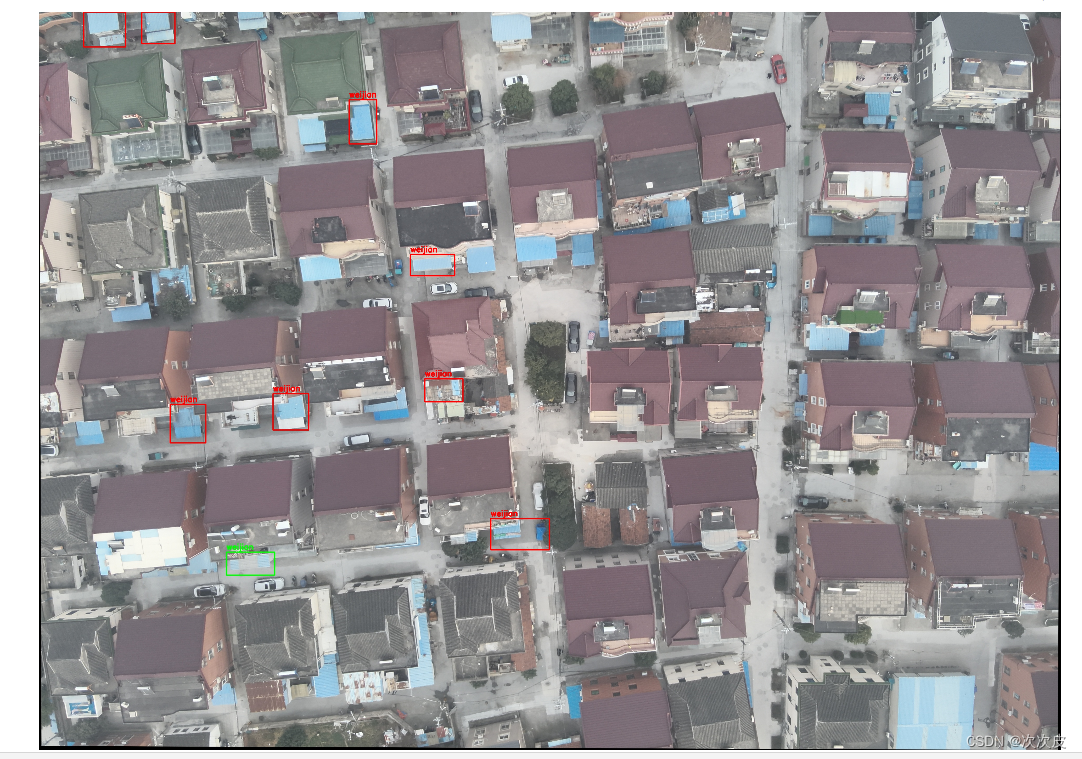
总结:
由于模型精确度不高,结果差强人意,但这个思路应该有可以借鉴的地方,遂整理一下


 4793
4793

 被折叠的 条评论
为什么被折叠?
被折叠的 条评论
为什么被折叠?
 到【灌水乐园】发言


